Sourdough Pizza
I’ve been in search of a good sourdough pizza dough recipe for a while. With the recipe below, I think I’ve found what I was looking for! I may still make some tweaks to it over time, but for now I am happily eating pizza for days with this one.

This recipe makes roughly six small pizzas (12 inches across). I use a Baking Steel for all my pizza baking needs, but you can use sheet pans or a pizza stone. For this recipe it’s super helpful to have some quart or 1/2 quart containers on hand. I save takeout and to-go containers and reuse them for this purpose. Once the dough has bulk fermented on the first day, you can leave it in the fridge up to three days. The “warm up” time prior to stretching out the dough is KEY! Lastly, your pizza is your blank slate. Top it with anything your heart desires— from caramelized onions and goat cheese to smoky leek confit and everything in between.

Ingredients
1000g bread flour
650g water
100g ripe starter
20g salt
Olive oil (for lining the quart containers)
All purpose & semolina flours for baking the pizzas
Topping Suggestions:
Caramelized onions
Goat cheese
Mozzarella
Pizza sauce
Confit leeks
Smoked gouda
Instructions
Combine flour and salt in the bowl of a stand mixer (you can also do this by hand if you don’t have a stand mixer).
Whisk the water and starter in another bowl or measuring vessel until you have a milky looking substance.
Using the dough hook, turn the mixer on low and gradually add the water in stages. You may need to scrape down the sides once in a while.
Once you’ve added all the water, turn the mixer up a notch to medium-low until the dough starts to come together and pulls away from the sides of the bowl. Continue mixing on this speed for another 1-2 minutes.
Turn the mixer off and let the dough rest for 10 minutes. This will allow some of the gluten to develop and the flour to absorb the water more fully.
Turn the mixer back on at medium speed and knead like this for 2 minutes.
Using a dough scraper, pour the dough out of the mixer bowl and onto a lightly floured work surface. Perform pull/folds (one on each “side” of the dough) and then transfer it to a new/clean bulk ferment bowl or container. Cover & let it rest for 30 minutes.
After 30 minutes, perform the second round of pull/folds. Cover and let rest for 35 minutes. Repeat this step two more times, for a total of four rounds of pull/folds, each separated by 30-35 minutes.
It’s time to divide the dough and shape it into individual pizza doughs balls. Get 6 quart or 1/2 quart containers ready by drizzling about 1/2 tbsp olive oil into each one and rubbing it all around with your hand. You just want the container to be well lined before you put the dough balls in.
Turn the dough out onto a lightly floured work surface. Divide the dough into 6 equal pieces - each will be about 295g. Form the pieces into smooth balls, and then place the seam sides down into each oiled container. Cover each container and place them into the fridge for at least 12 hours (the longer the better!).
Instructions continue below.
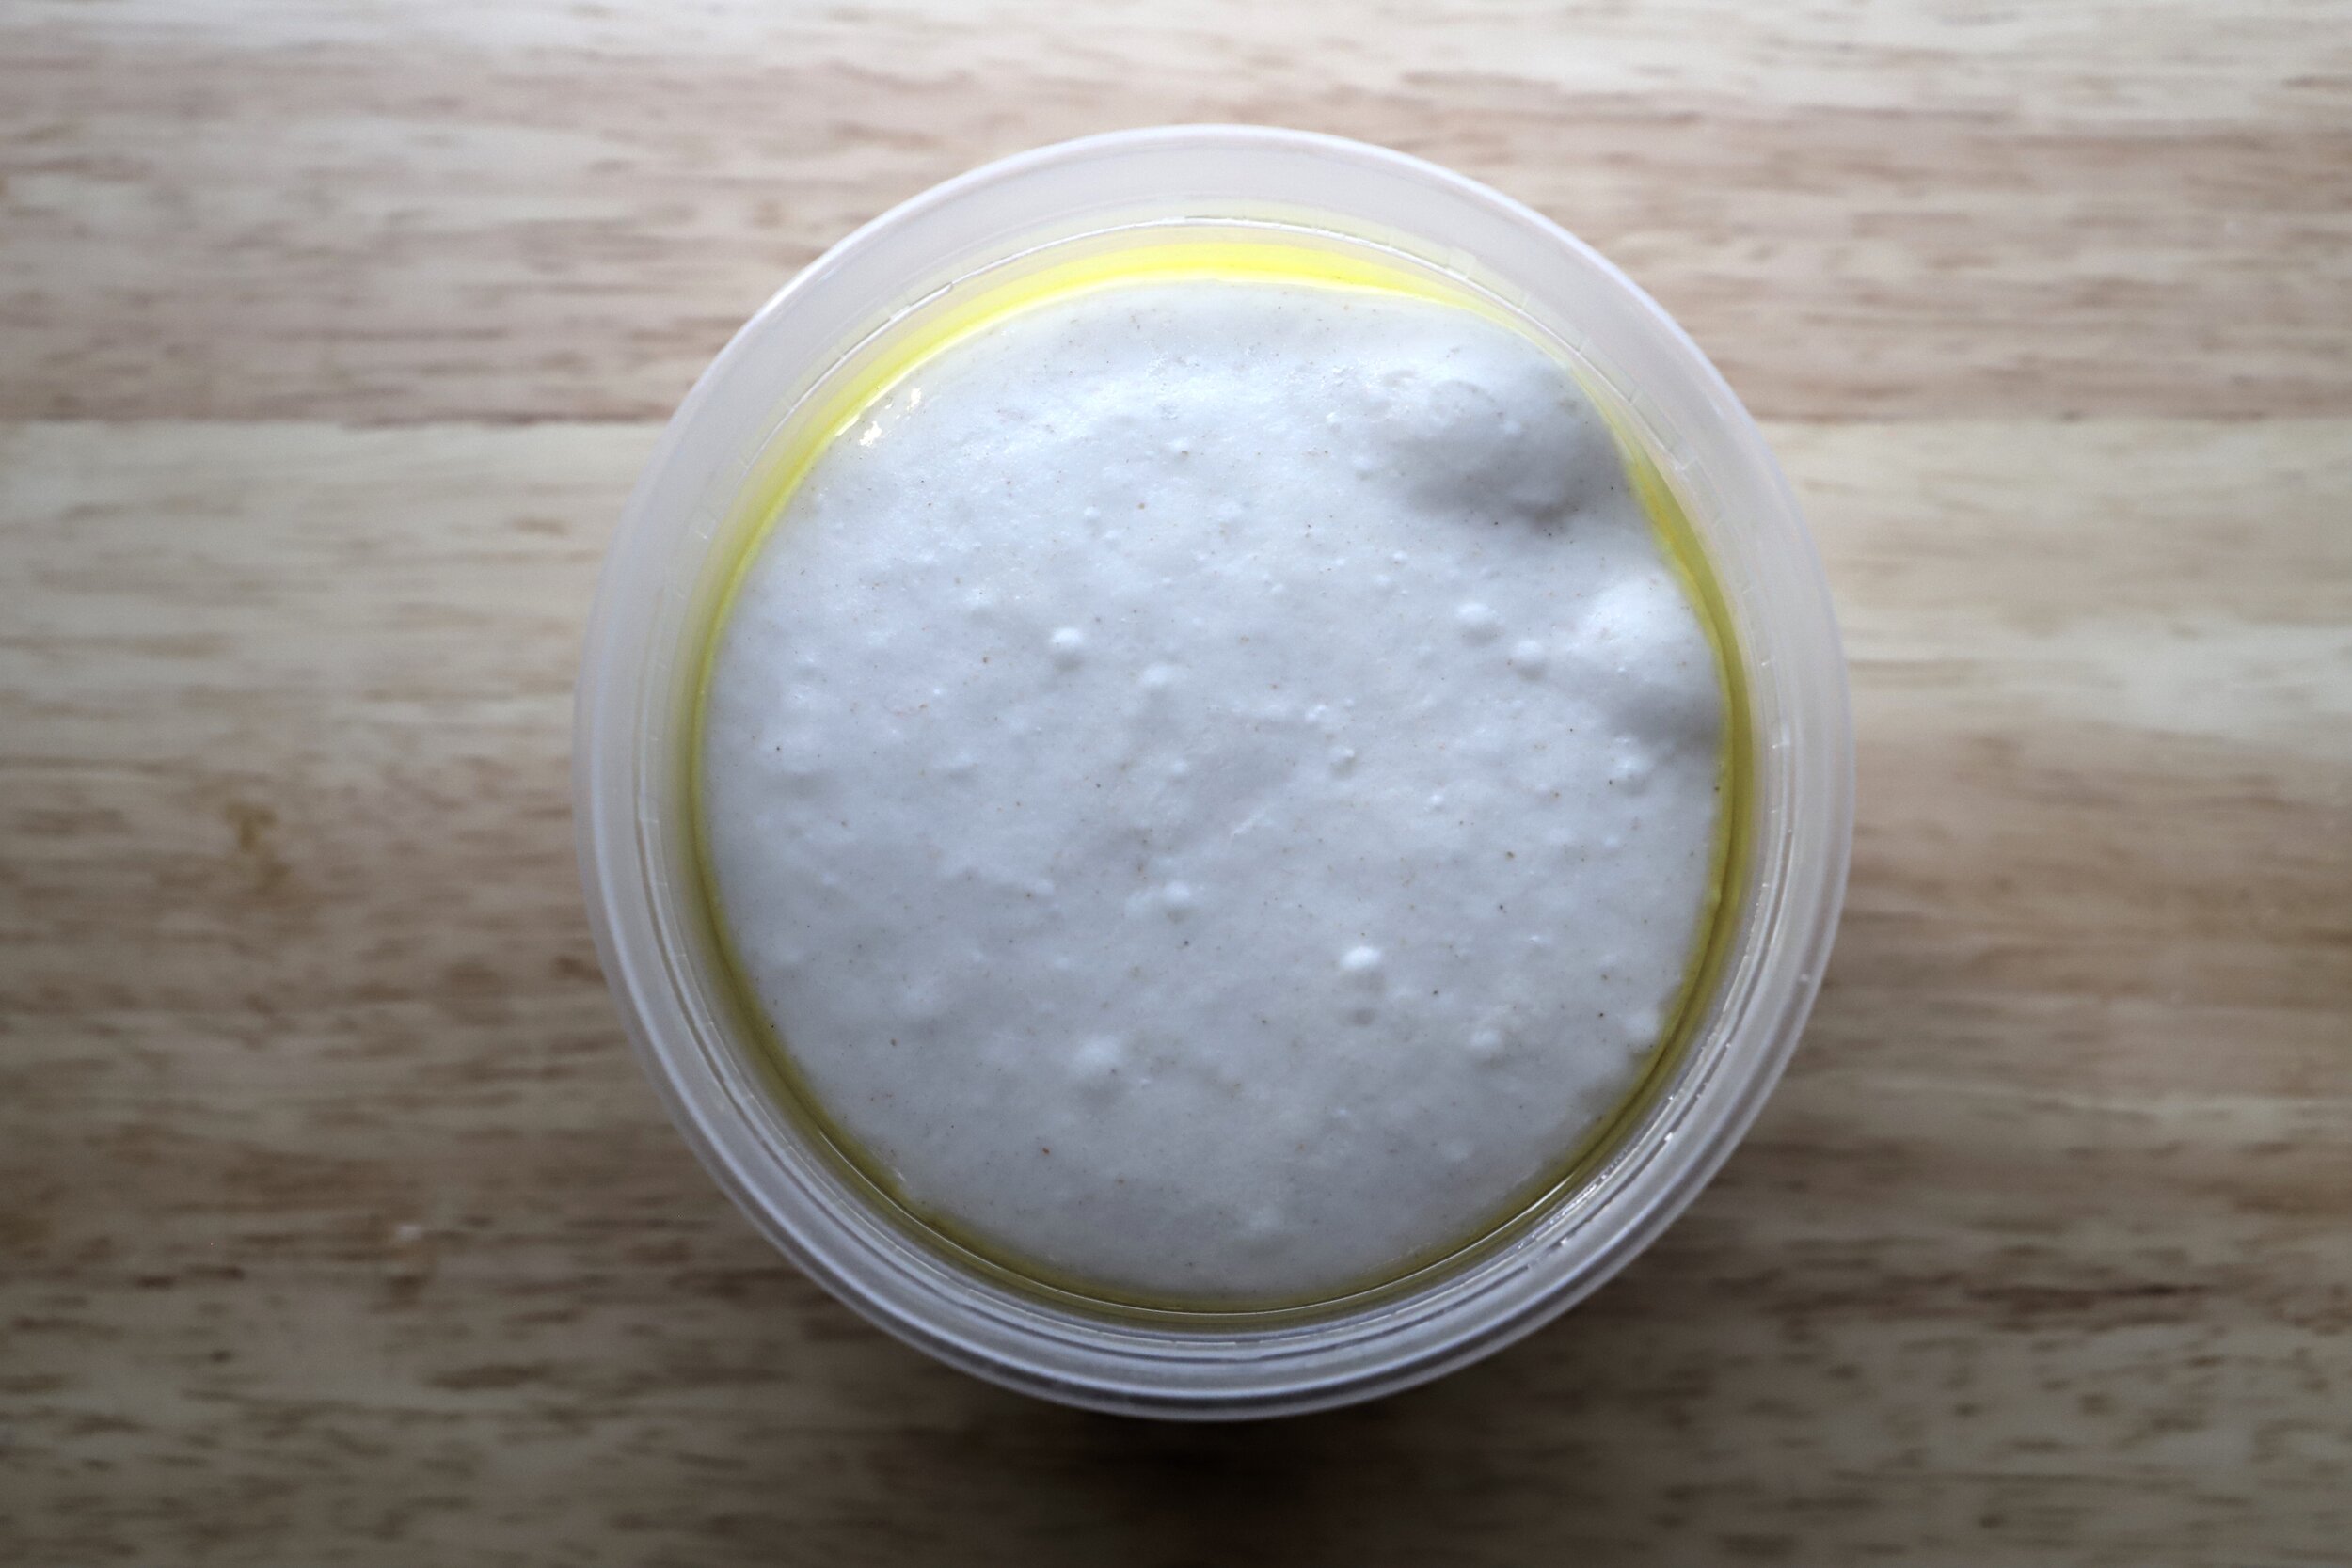
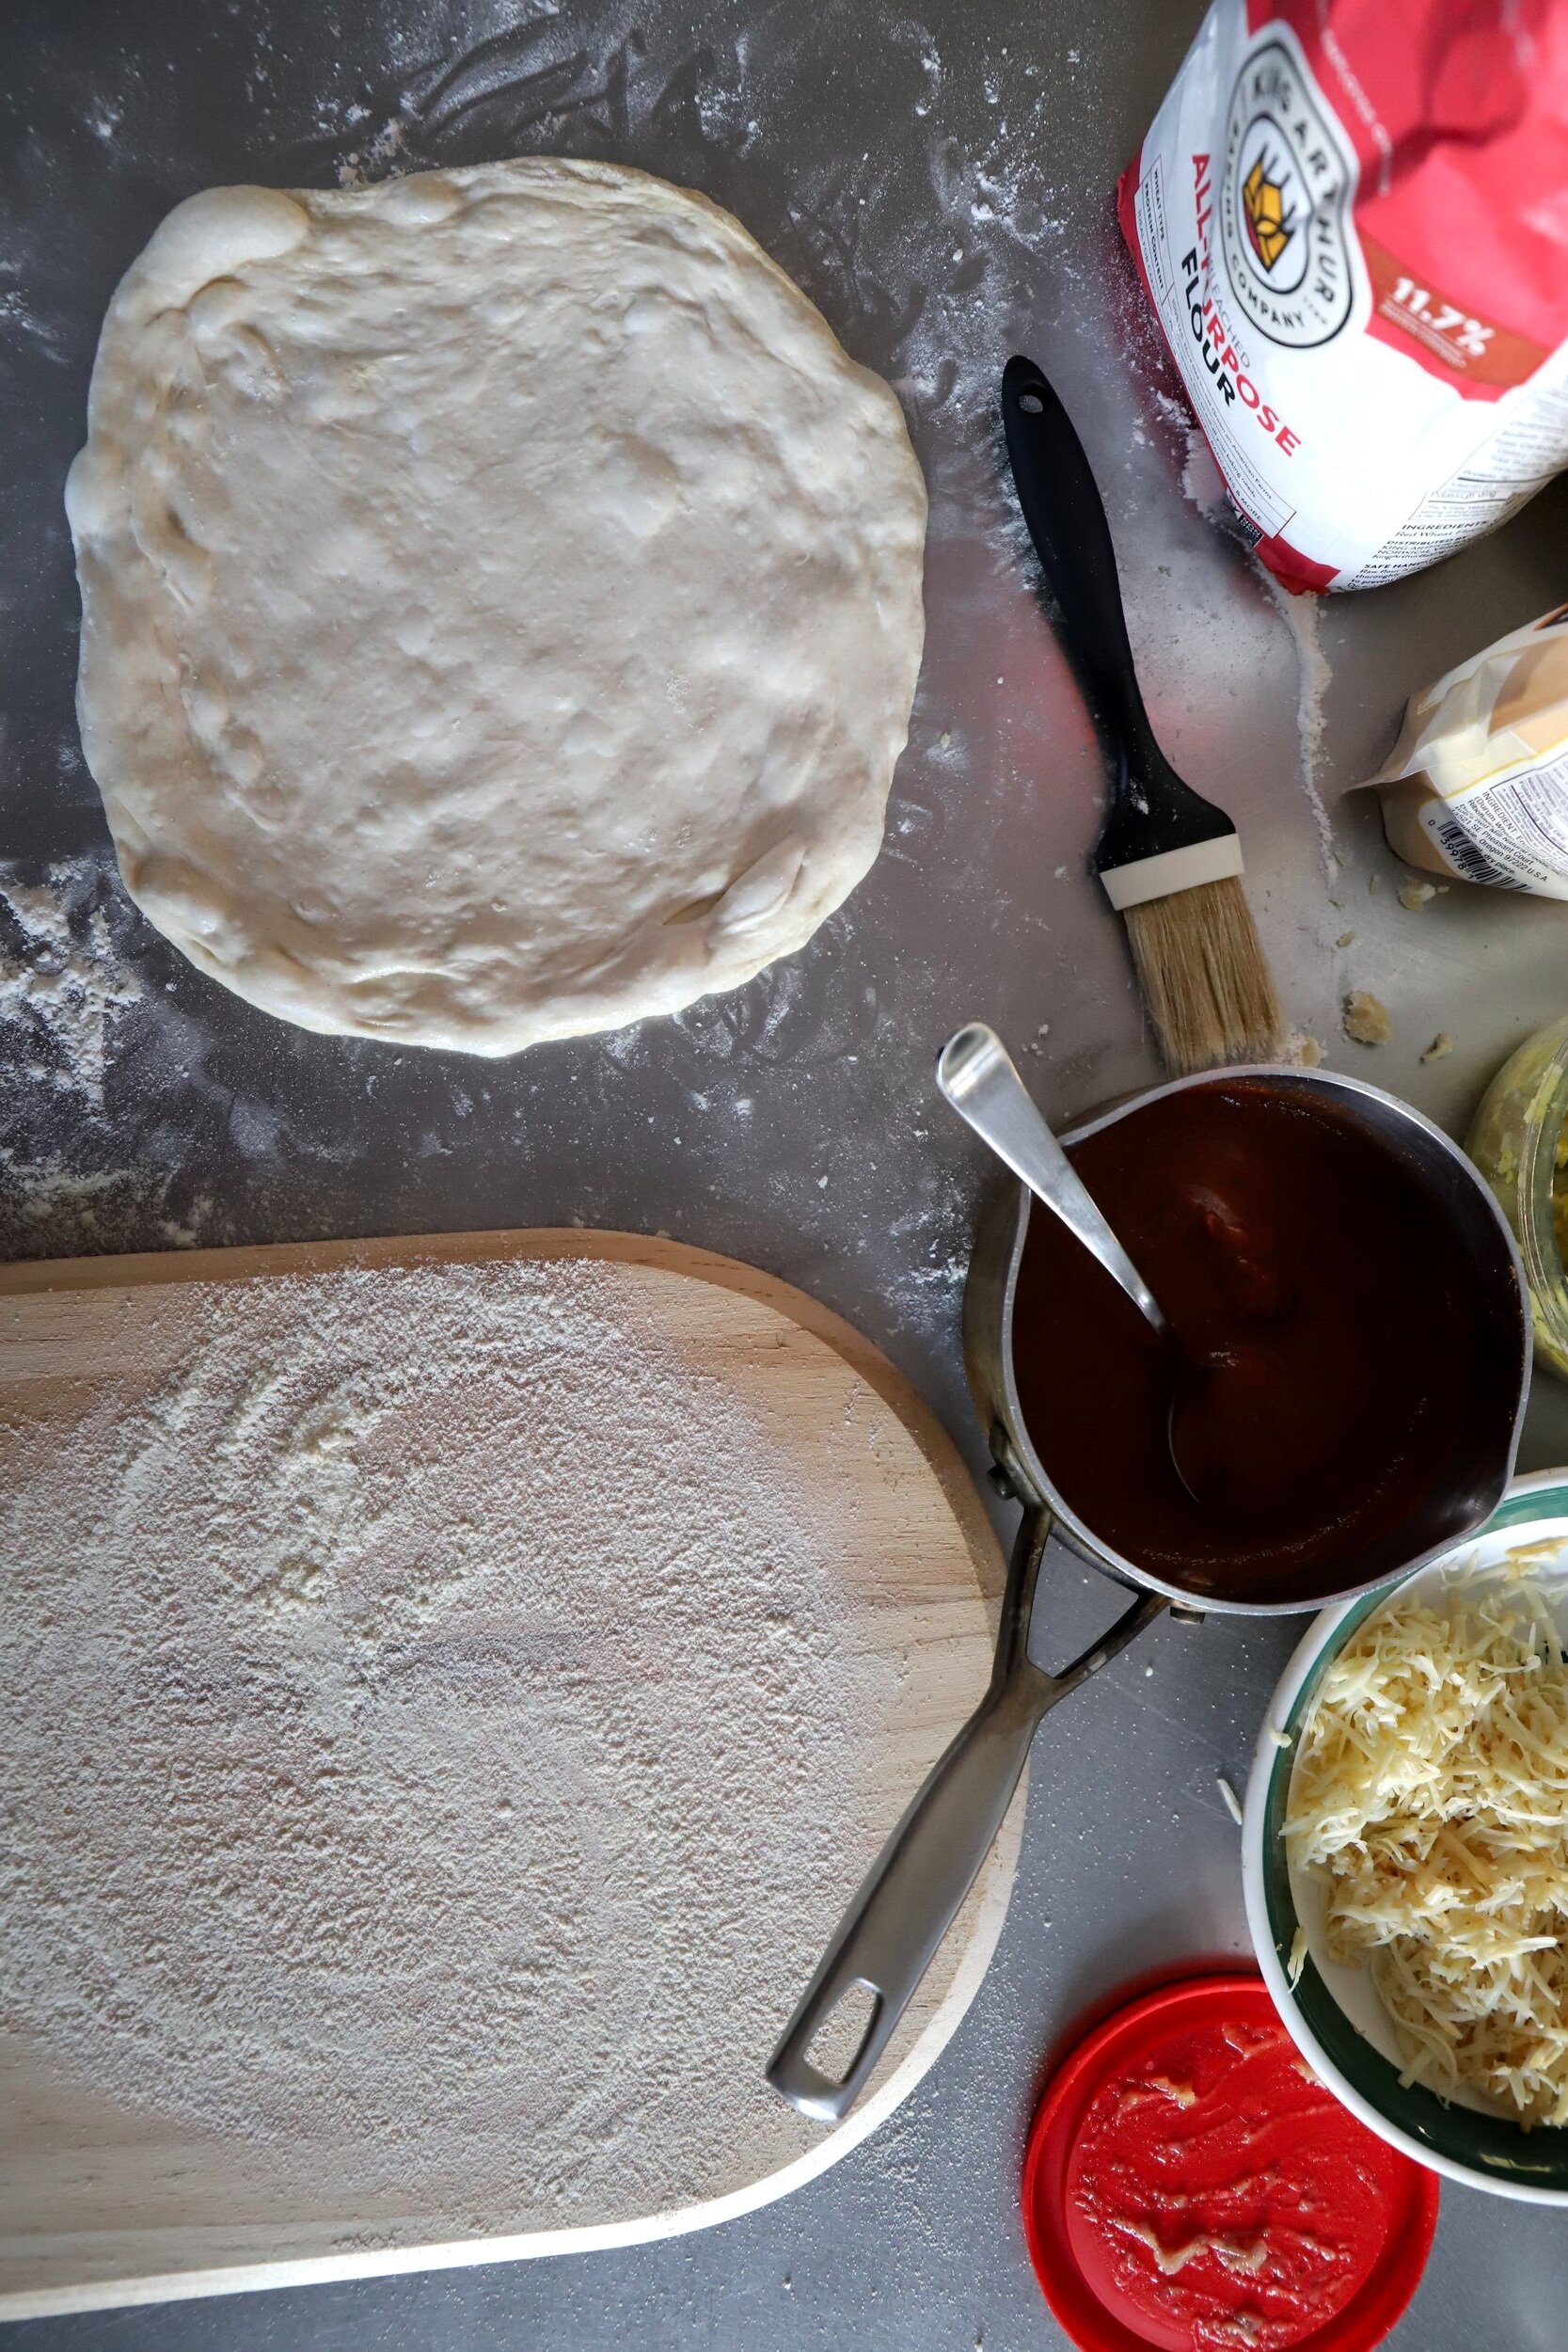
Above is a photo of a pizza dough ball in a 1/2 quart container after the fridge rest. Below is a photo of the topping process and more delicious baked pizzas.

Read next

My Sourdough Method

Winter Focaccia
11. About two hours before you plan to make the pizzas, take all the dough containers out of the fridge and let them come up to room temperature. Put them in a warm spot if you can.
12. Pre-heat the oven to 525F with a baking steel or pizza stone inside if you have one. Line a pizza peel or thin cutting board with a combination of all purpose flour and semolina flour. Mix them around on the surface with your hand. This will ensure that your pizza doesn’t stick as you load it into the oven.
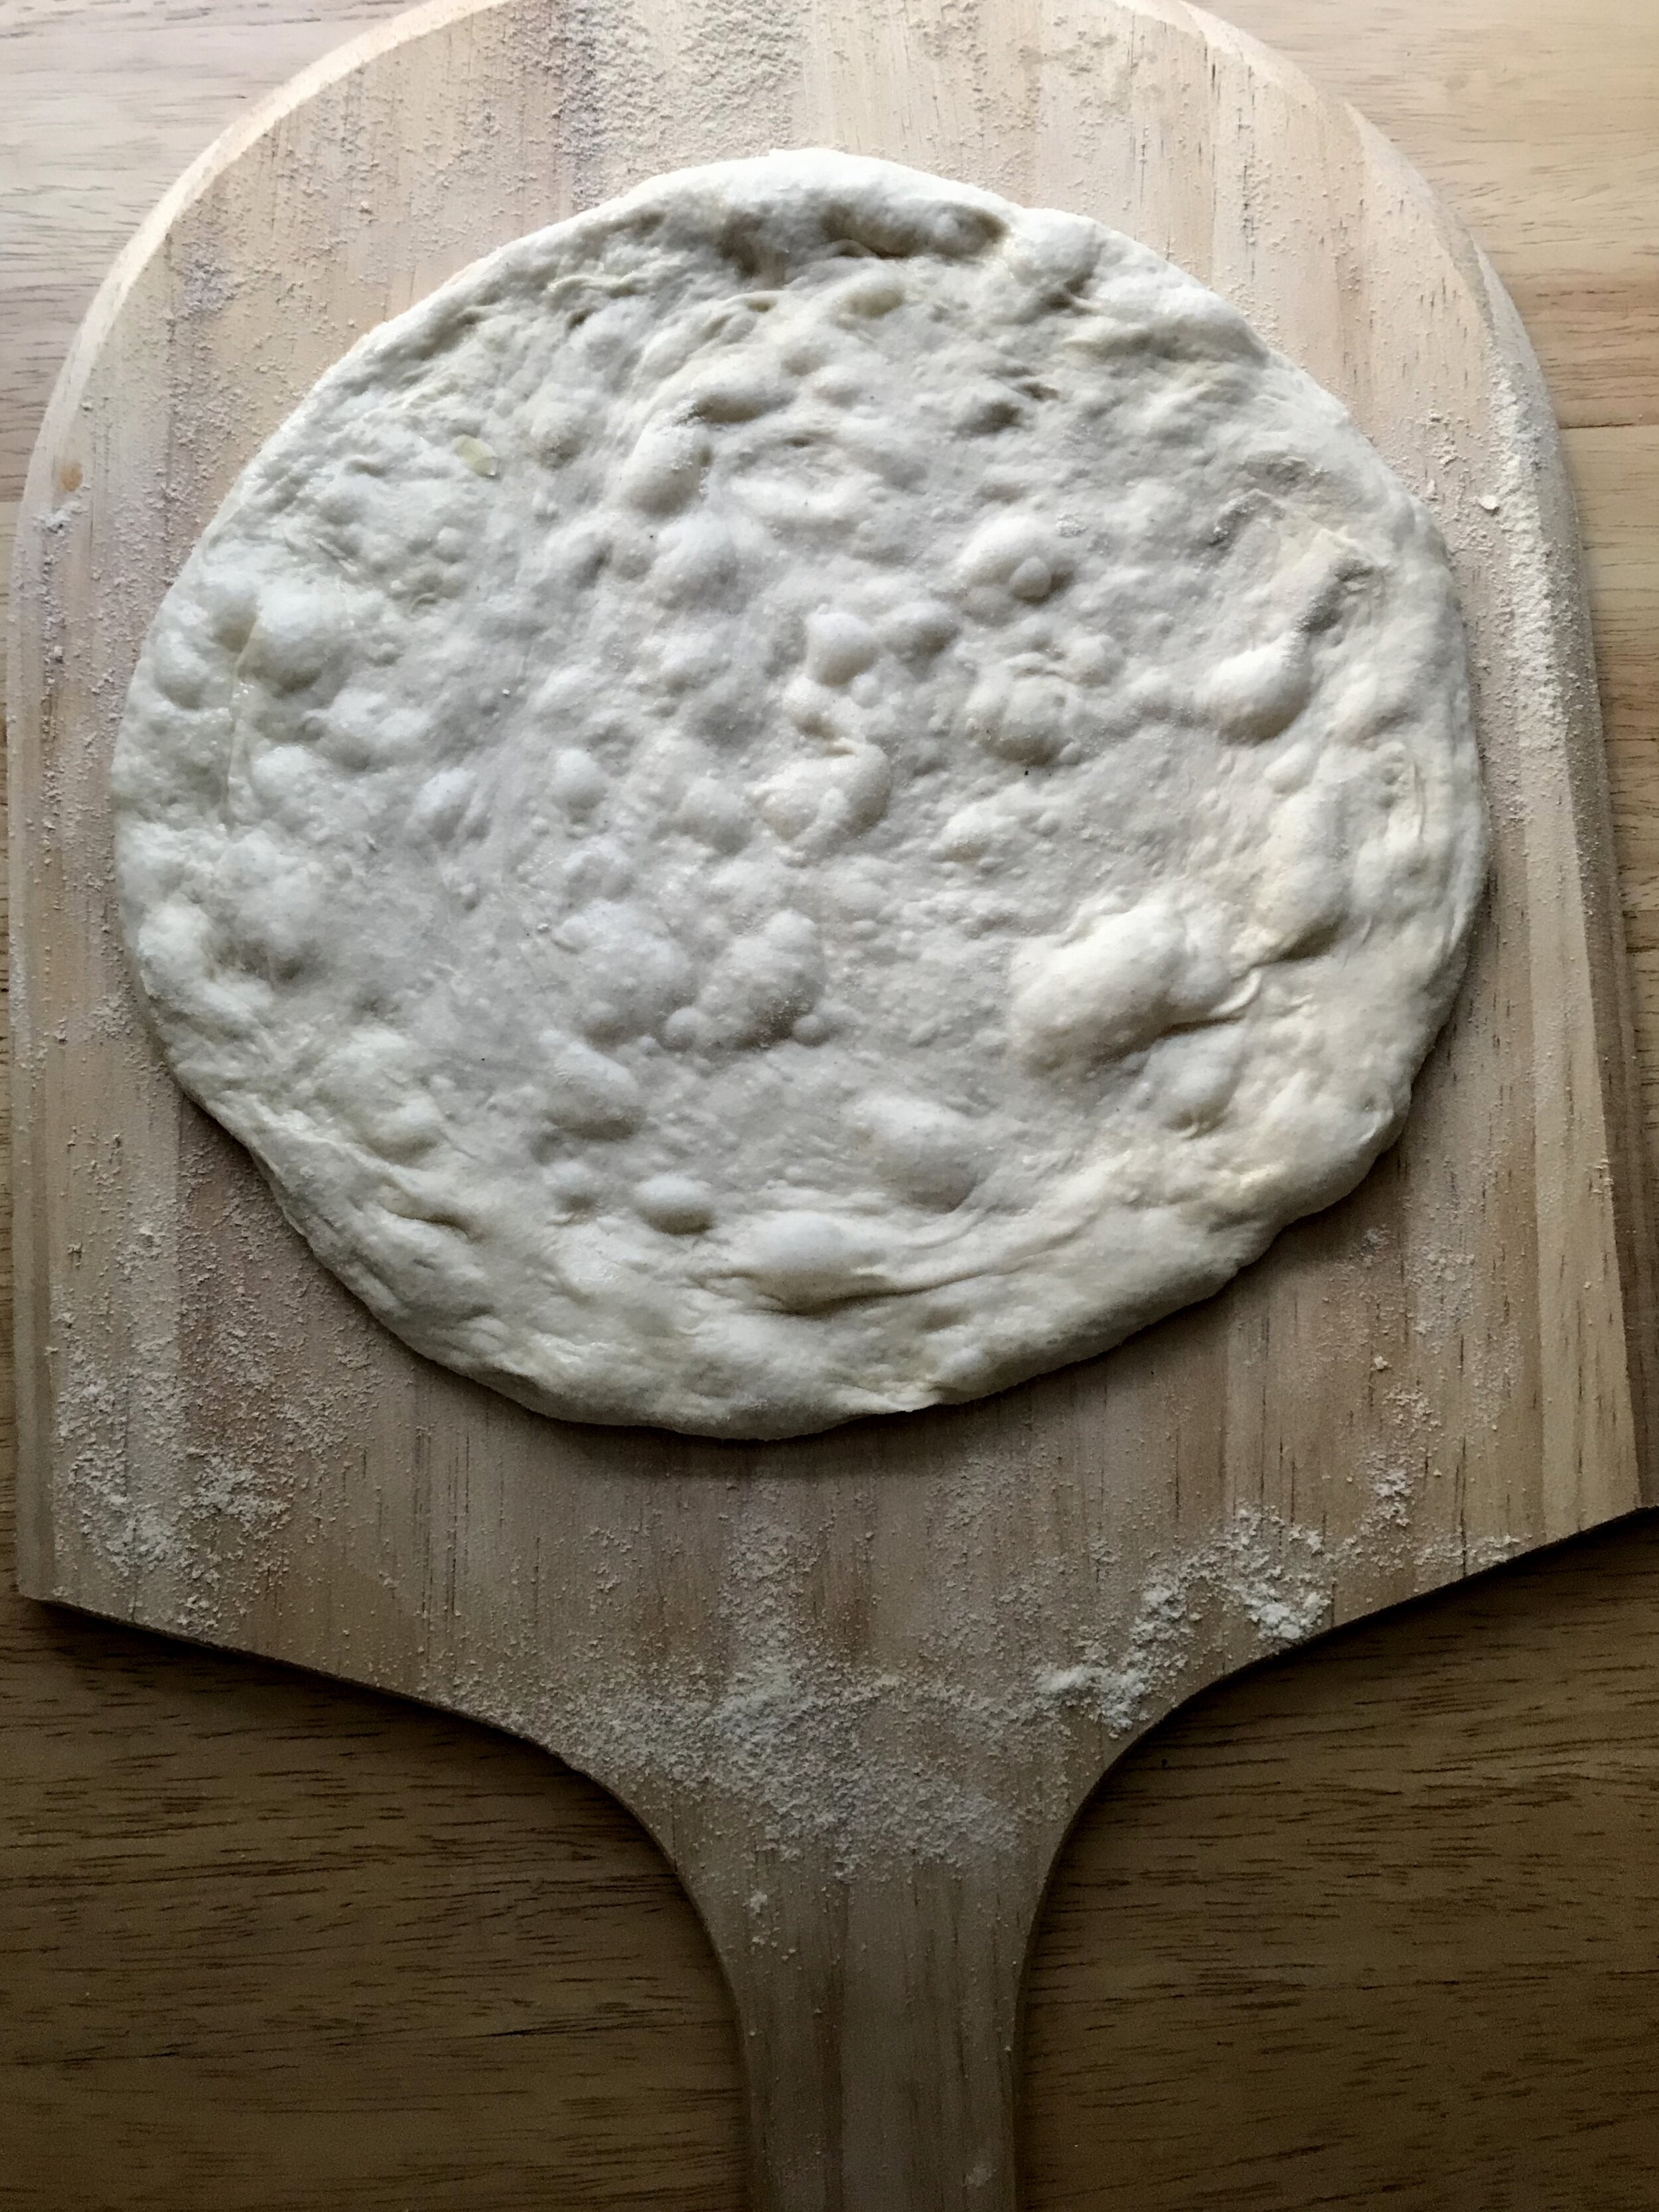
13. Flour a work surface and remove one of the pizza doughs. Flour your hands and gently stretch the dough until it’s about 12 inches across. Do not roll it - if your dough has warmed up enough, it should stretch easily on its own. Pick it up on one end and let gravity do the trick! Keep turning it in the air to evenly stretch it.
14. Place the stretched pizza dough onto the floured peel or cutting board. If you’re just using baking sheets, place the stretched dough onto a parchment lined baking sheet. Top your pizza and (if using a peel) give it a shake to make sure it slides around easily.
15. Load your pizza into the hot oven and bake for 10 minutes. While one pizza is in the oven, you can shape and top the next one. Continue this process until you’ve baked all the pizzas! You might even eat one in the process.
16. Slice and enjoy!!
The pizzas will keep for many days in the fridge. Just throw a slice or two into the toaster oven to warm it up. You can also put a whole pizza into a large plastic bag and freeze it for later. Bake it at 350F for 35 minutes, or until warm, to revive it.
I’d love to see your creations! Tag @nokneadtoworry on Instagram.