My Sourdough Method

Sourdough is an intensely personal process. From the amount of water to the way you shape it - there is no single or “right” way. There is only your way. I’ve tried methods from countless bakers out there and over time developed a combination of strategies that work for me. Below you’ll find the method that I prefer. All other sourdough boule and batard recipes I post will be variations on this master method. If you’re comfortable using baker’s percentages, you can scale up or down. Total bulk fermentation time will depend on temperature and humidity - ideally, 75-80F will be perfect for the dough and you’ll have a 6 hour bulk. For help with baker’s math (the percentages) see this post!
Ingredients:
500g flour (I prefer 90% bread flour and 10% whole wheat*)
355-360g water (71-72% hydration)
100g active sourdough starter (20% starter)
10g-20g salt (2%-4% salt, depending on personal preference)
*Both flours listed here are King Arthur [90% = 450g and 10% = 50g].

Ripe sourdough starter

Ripe starter floating in water
Mix the active starter into the water (ideally, the starter should float on top if it’s super active and ready to go. But don’t worry if it doesn’t float). Whisk together so that you have a milky looking substance.
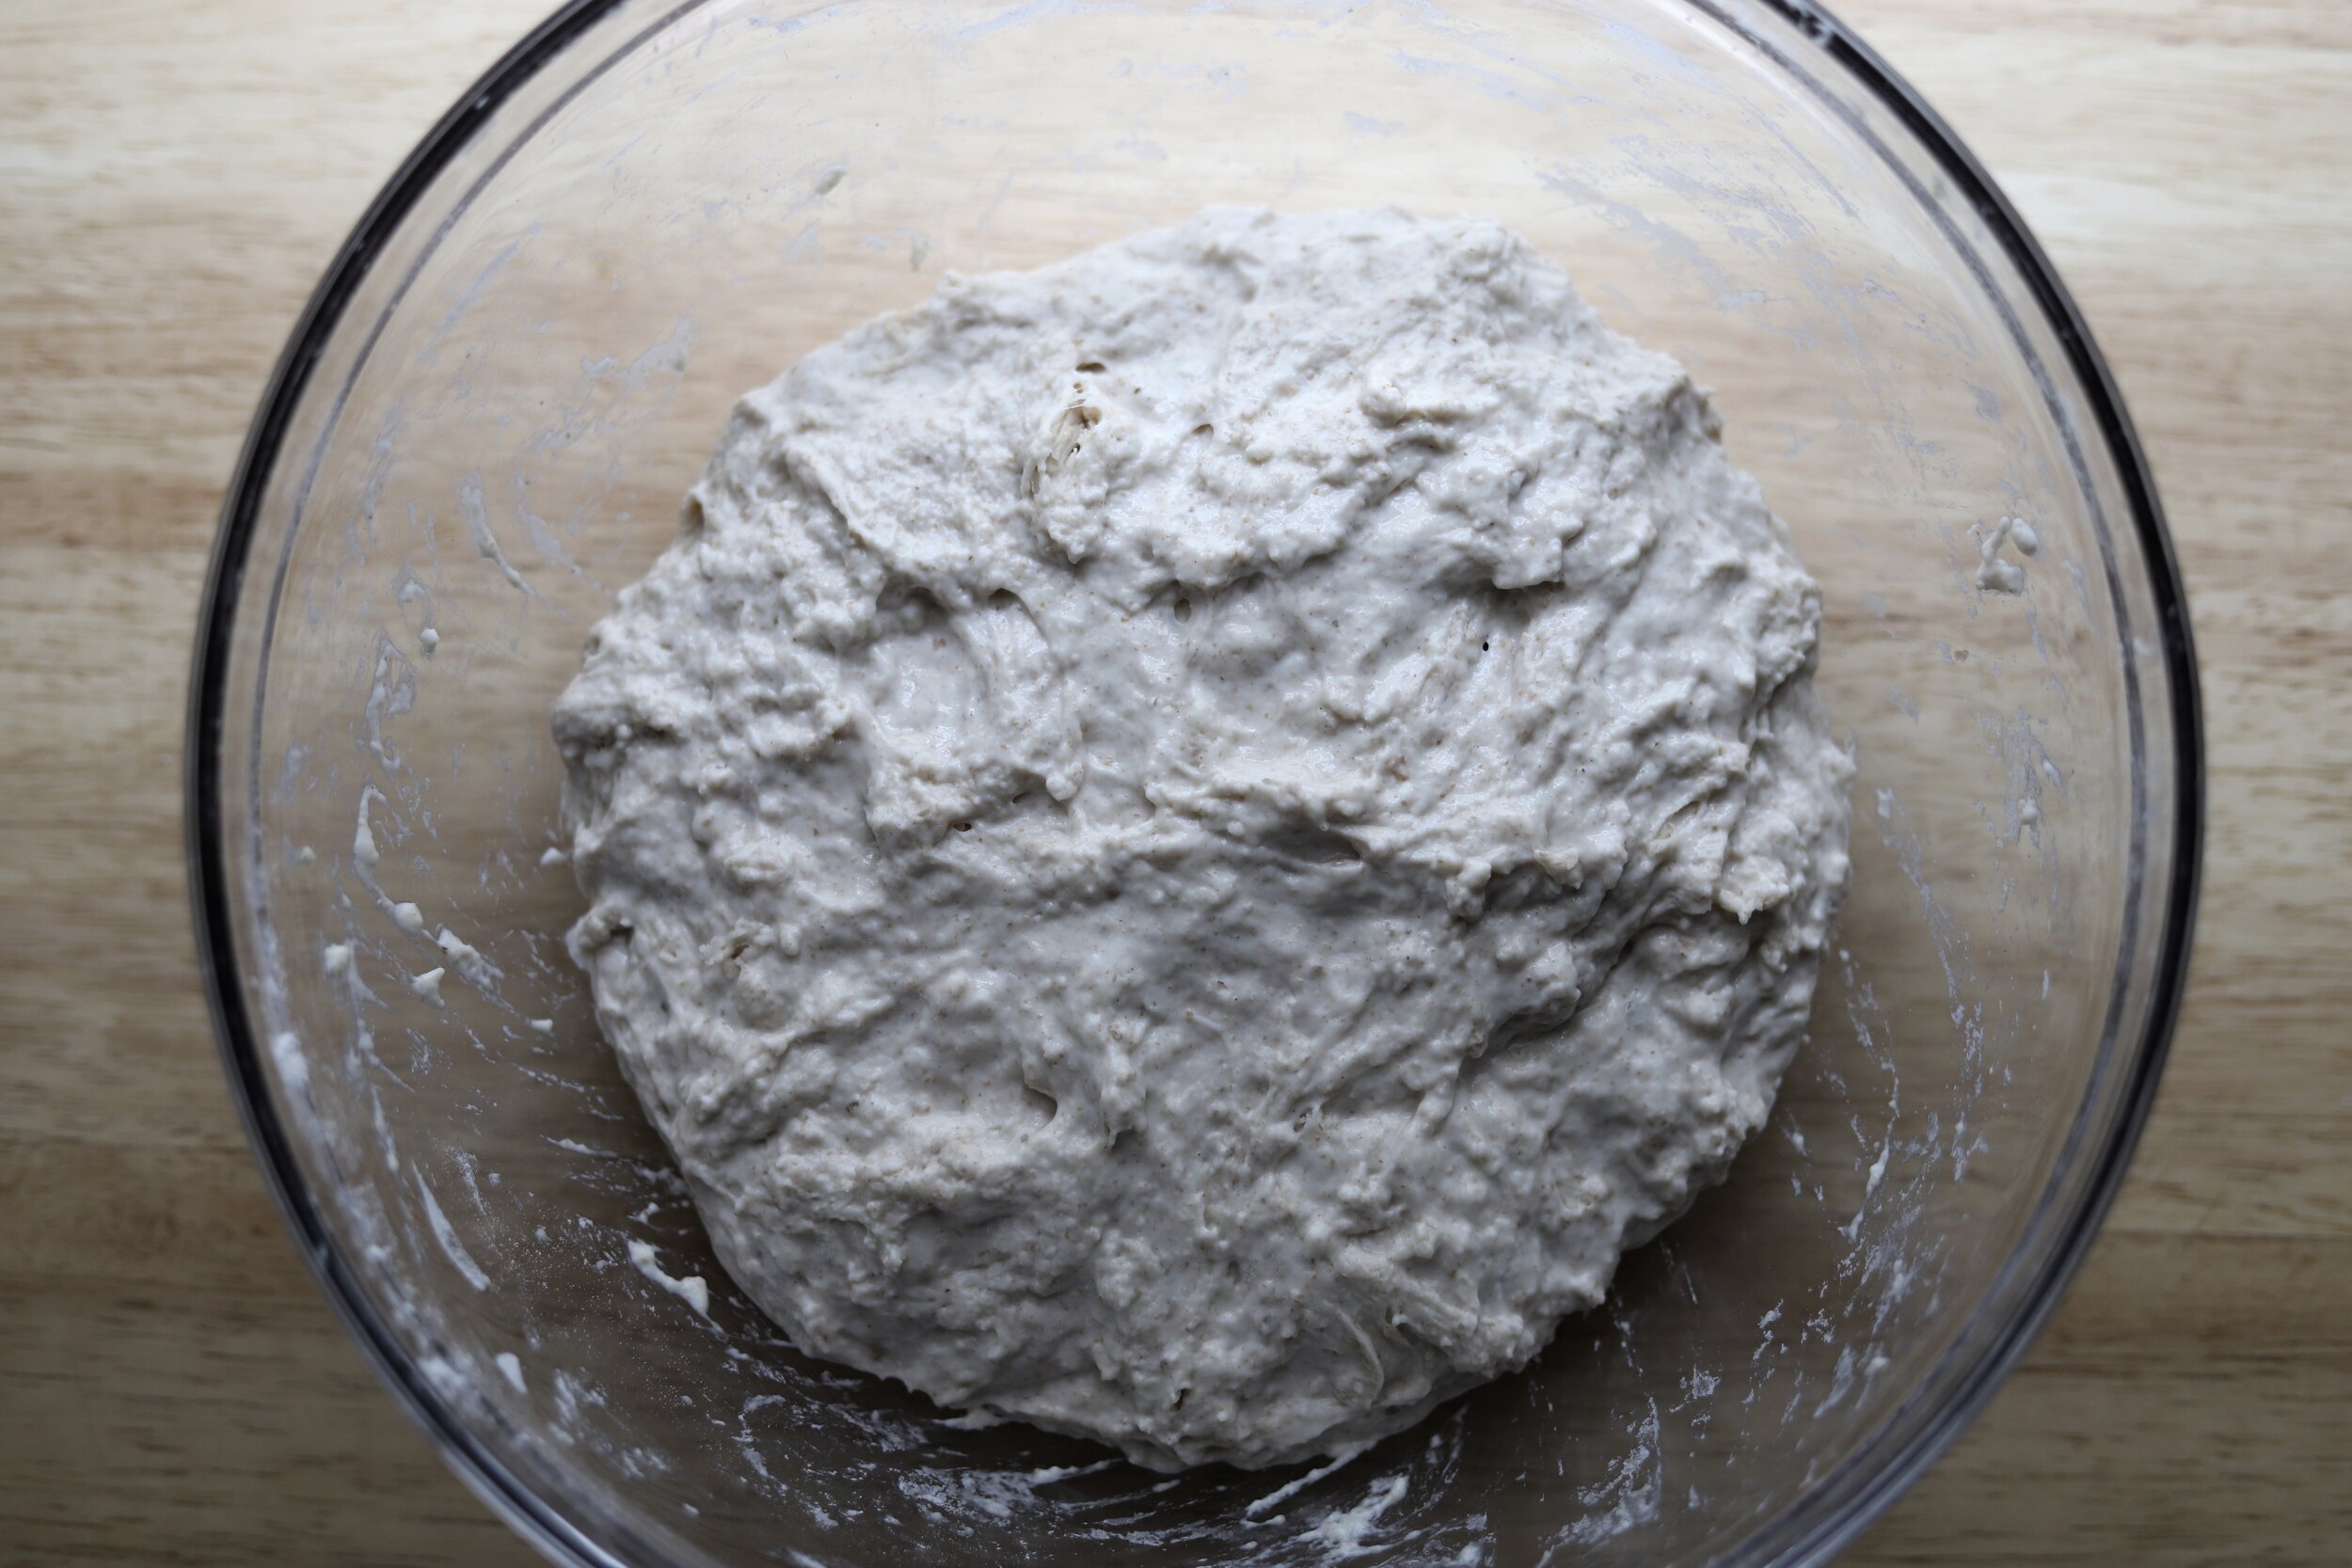
Pour the water/starter mix into the flour. Mix thoroughly until you no longer see any dry bits. You can use a wooden spoon, or your hands. Cover with plastic wrap, a damp cloth, or place the bowl into a large plastic bag and let it sit for 30 minutes.
Below: the dough right before mixing on the left, and after mixing on the right.

3. After 30 minutes, sprinkle the salt on top of the dough. Wet your hand and pinch the salt into the dough. Once you’ve pinched it all in, pull the dough up on one side and over into the center (pull/fold). Do this all around the dough until you have incorporated all the salt and the dough is in a nice ball shape. Cover and let it rest for 45 minutes.
4. After 45 minutes, perform pull/folds all around the dough (as if the dough were a box with 4 sides). Stretch the dough up from the bottom, lift it over itself into the center. Do this on all sides of the dough. Cover and let it rest for another 45 minutes.
Instructions continue below.
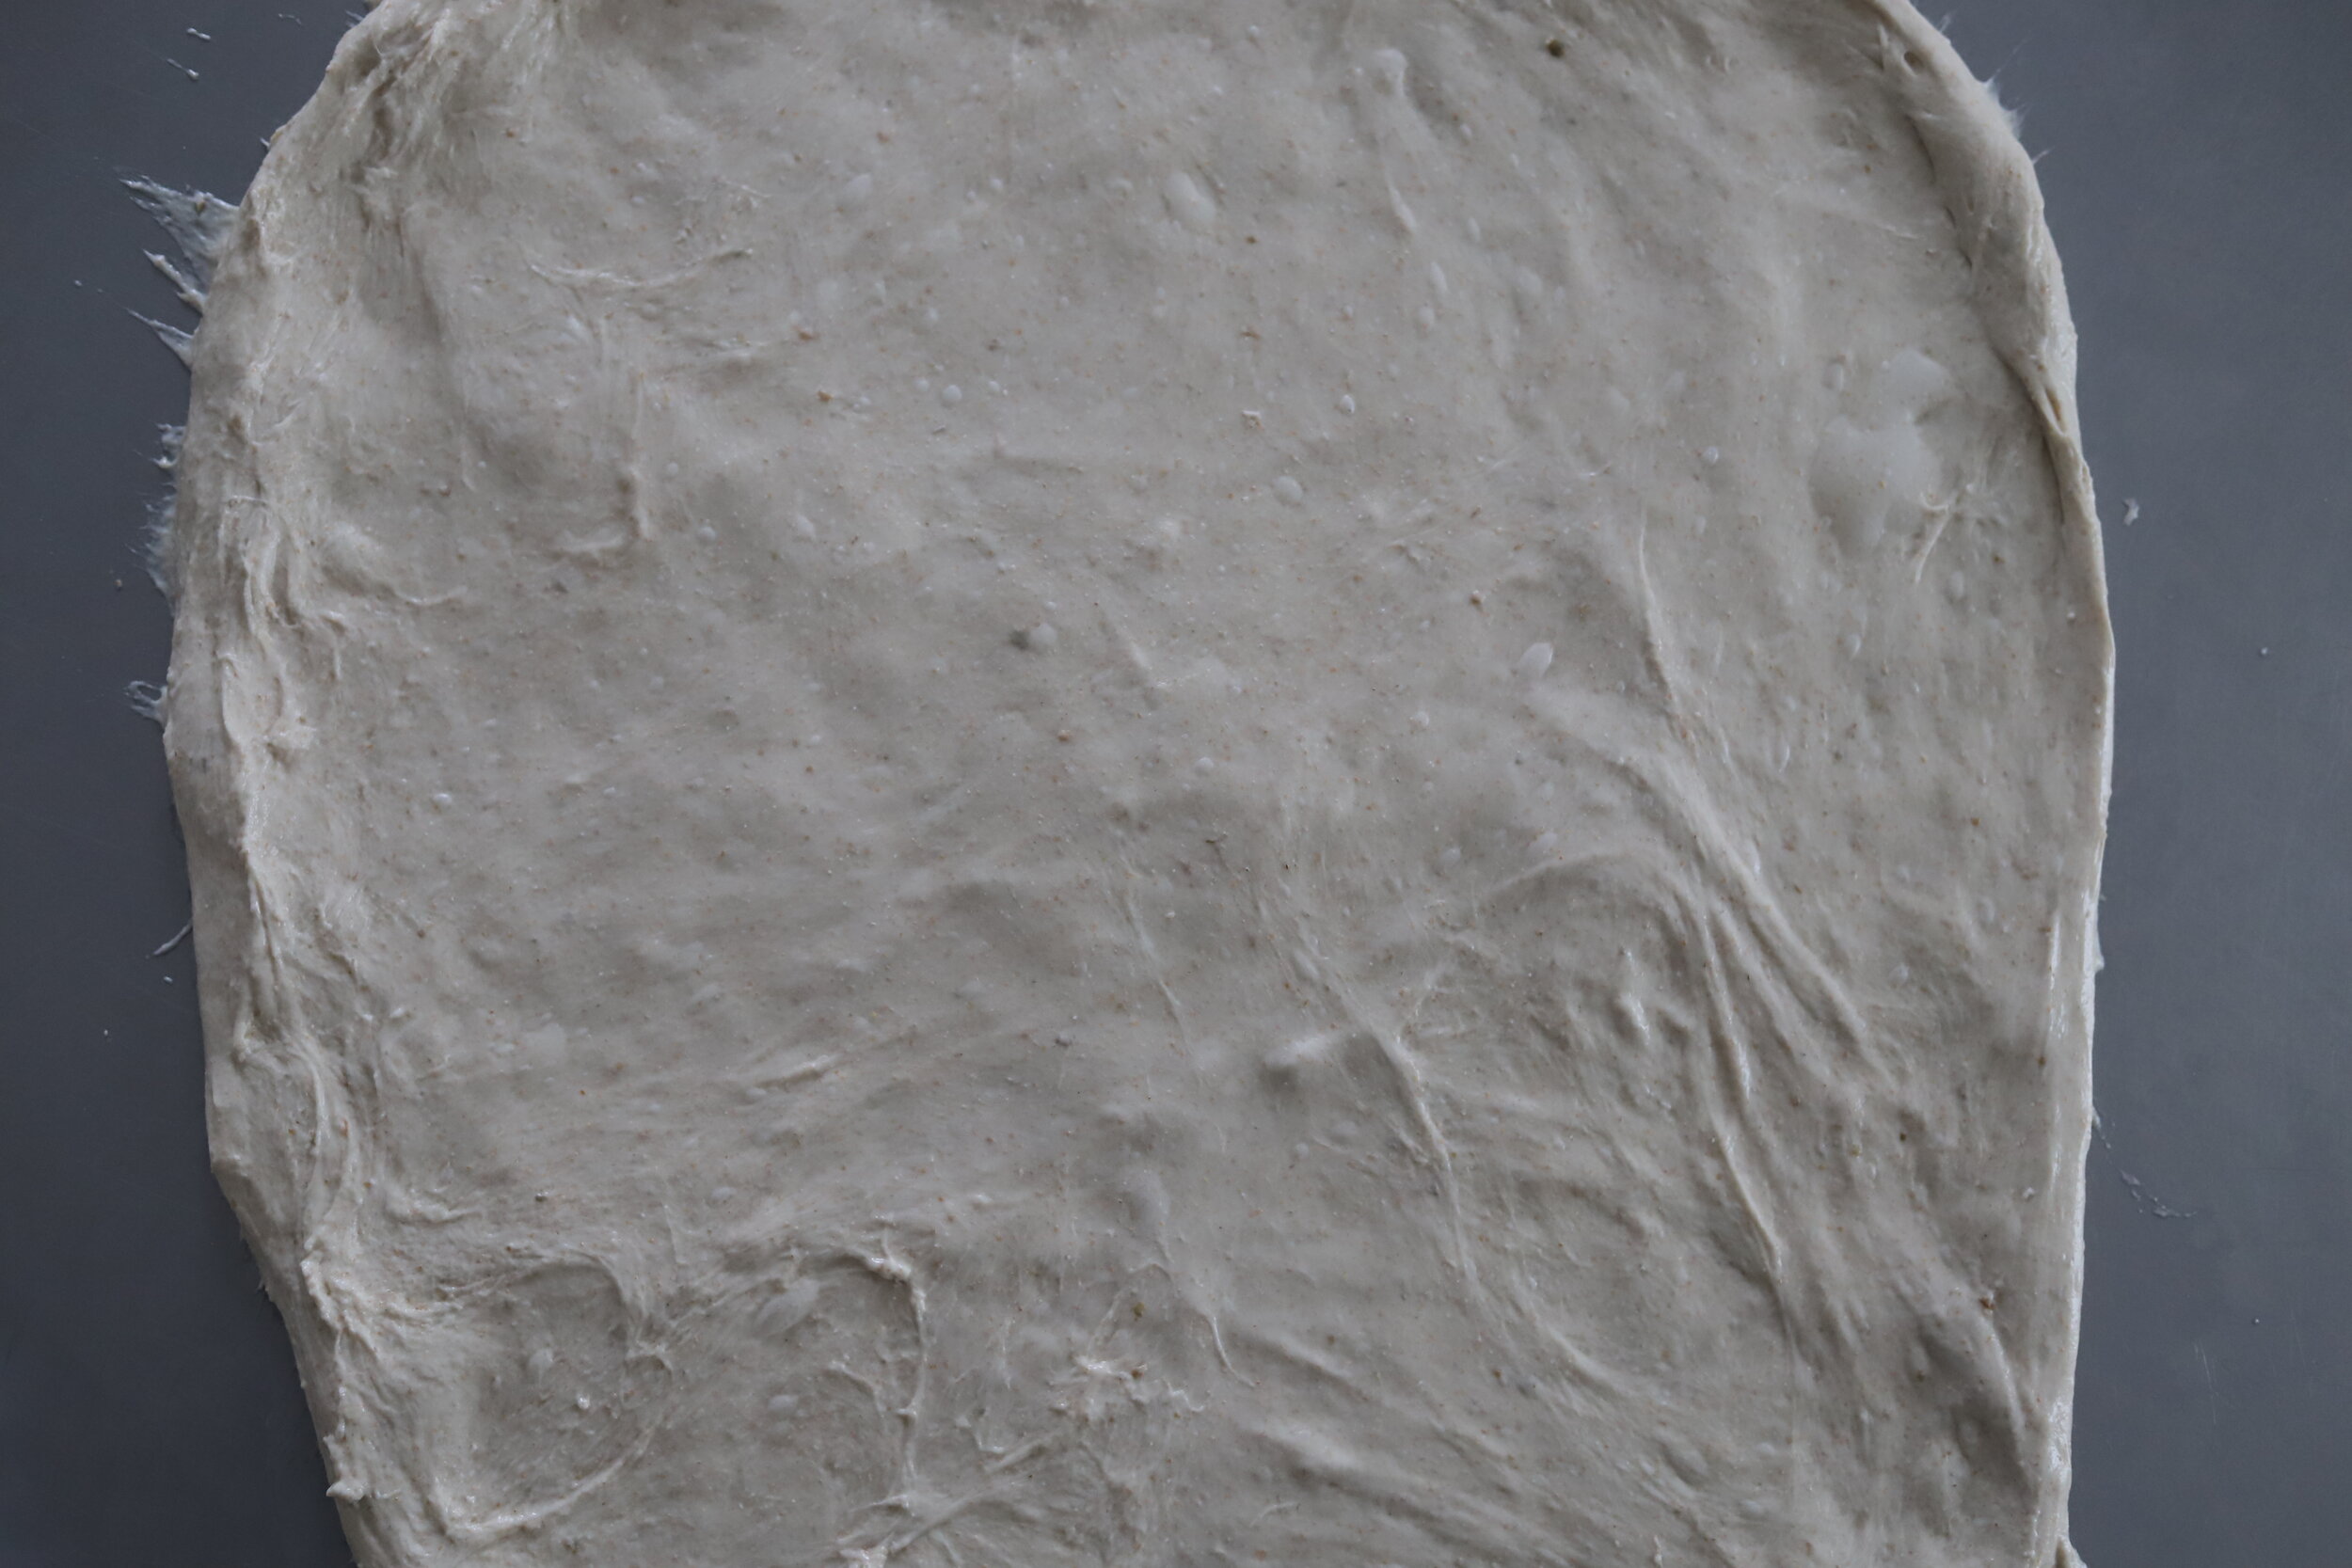
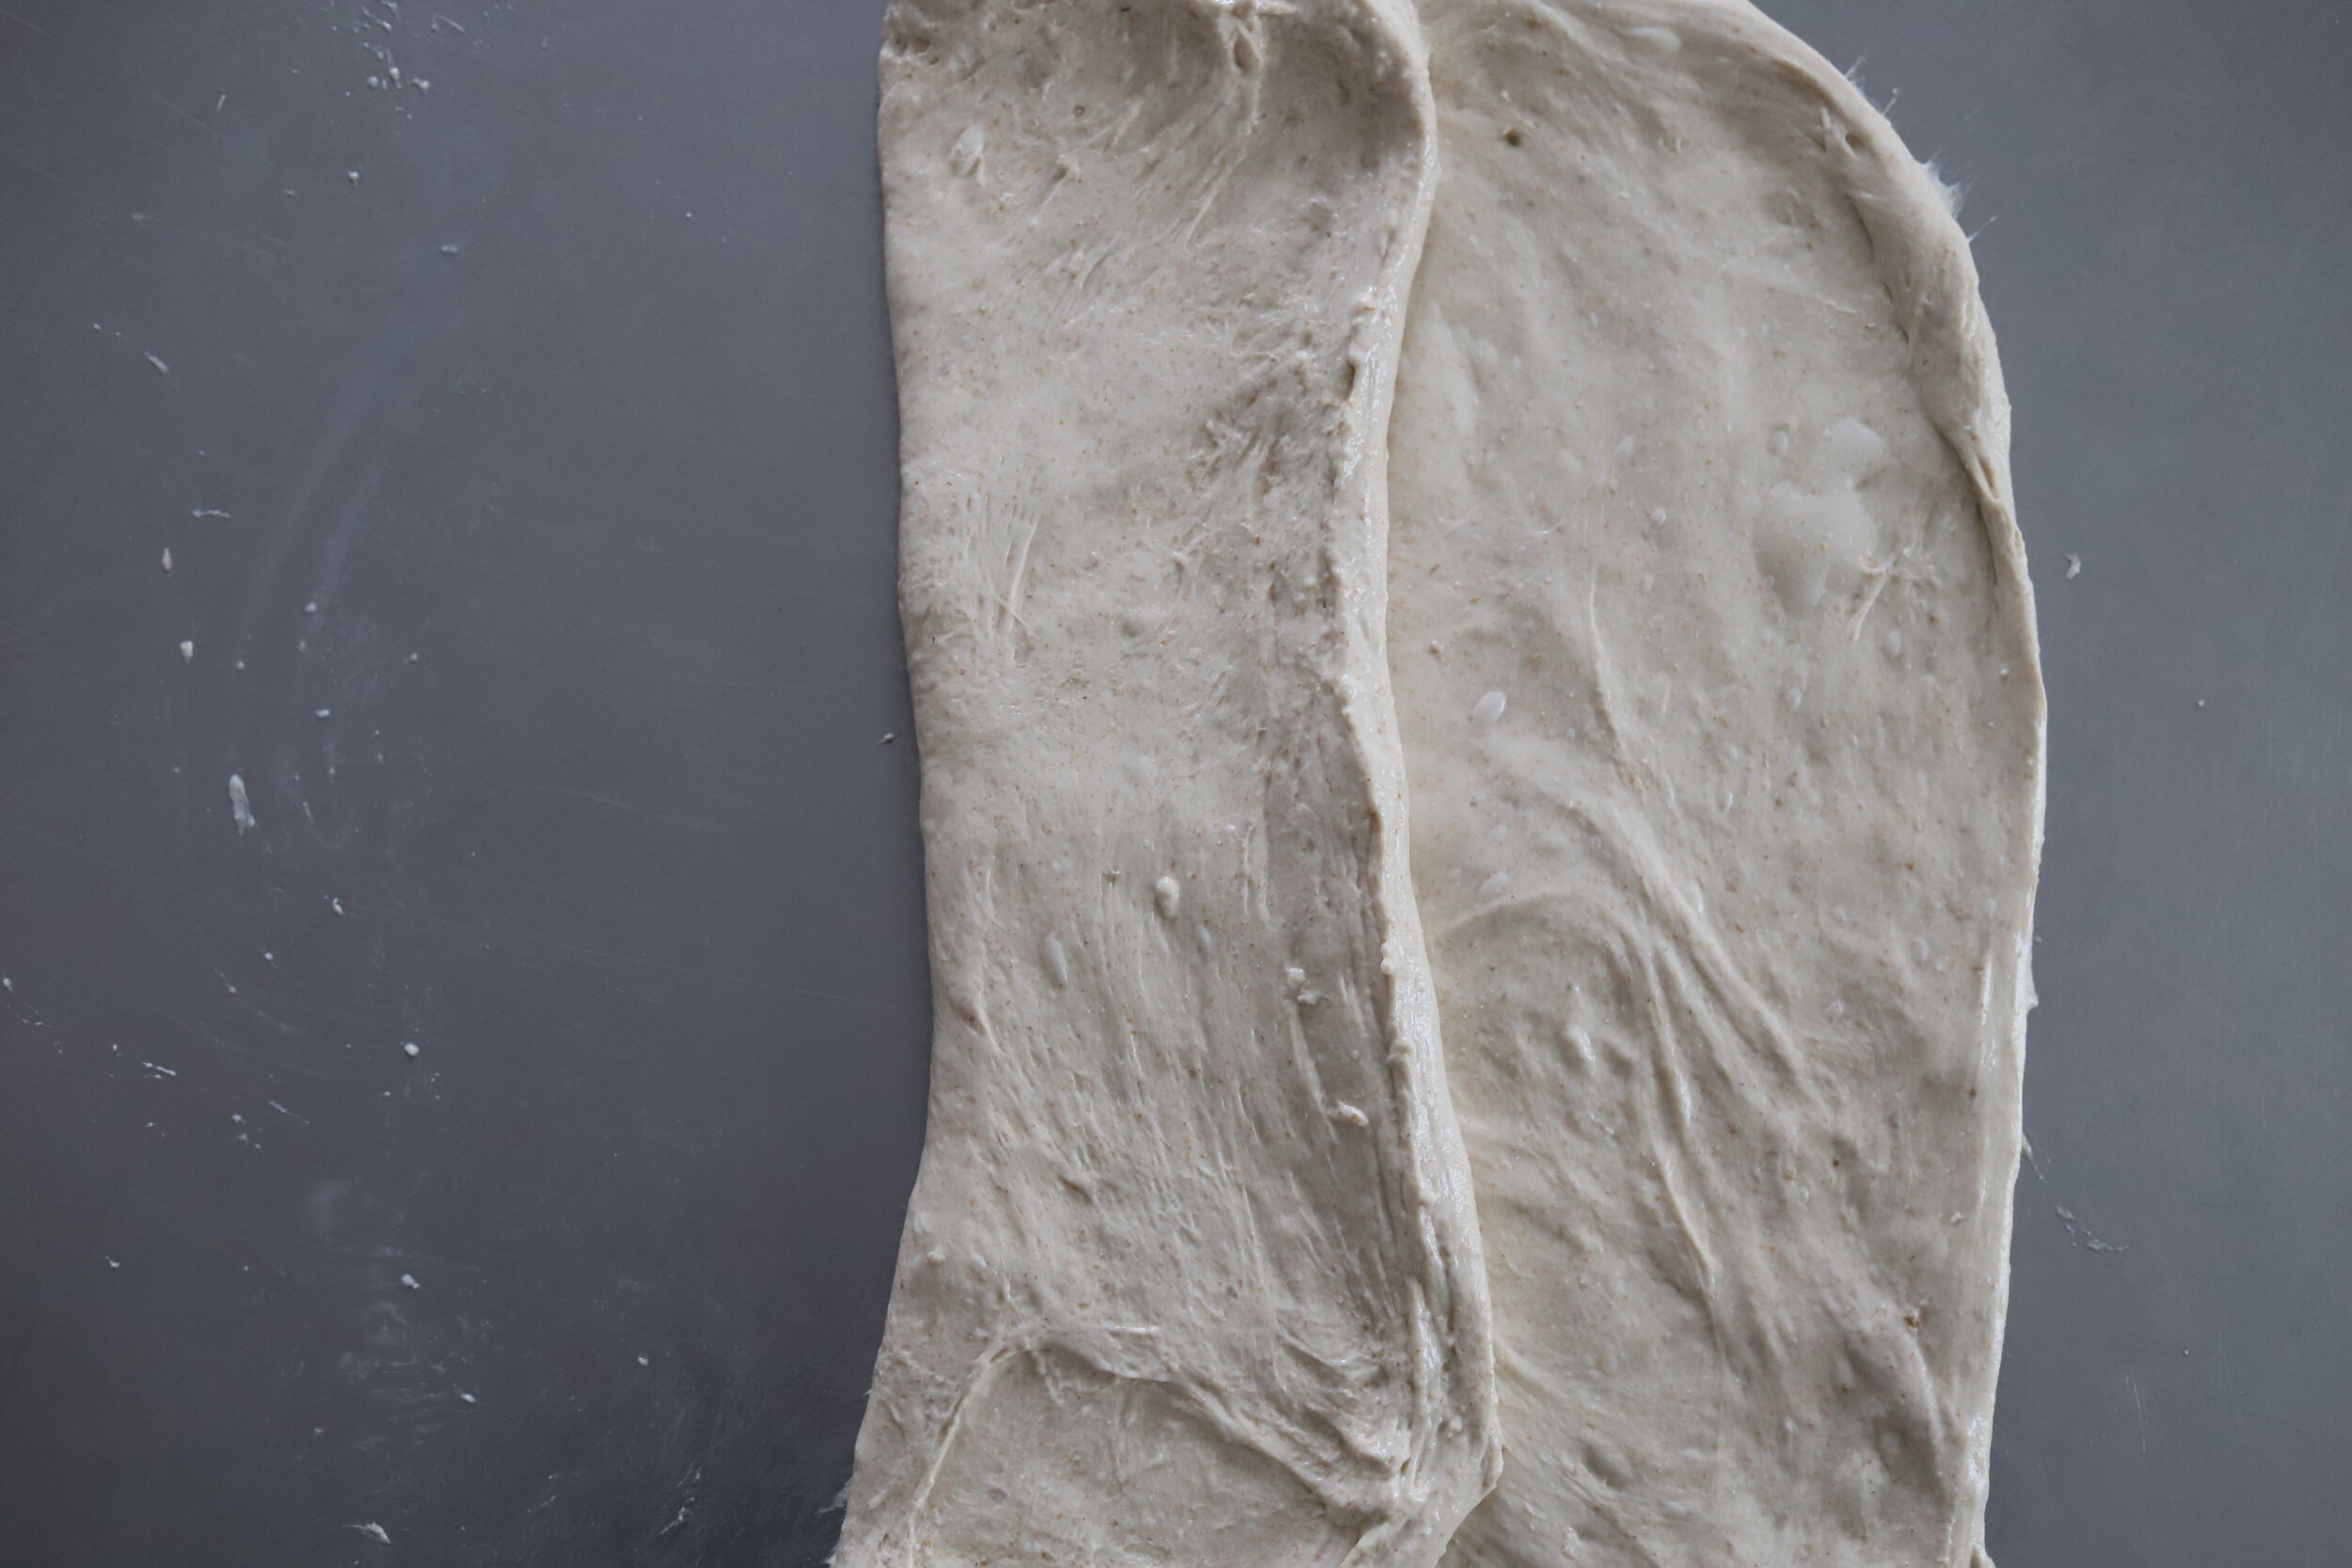
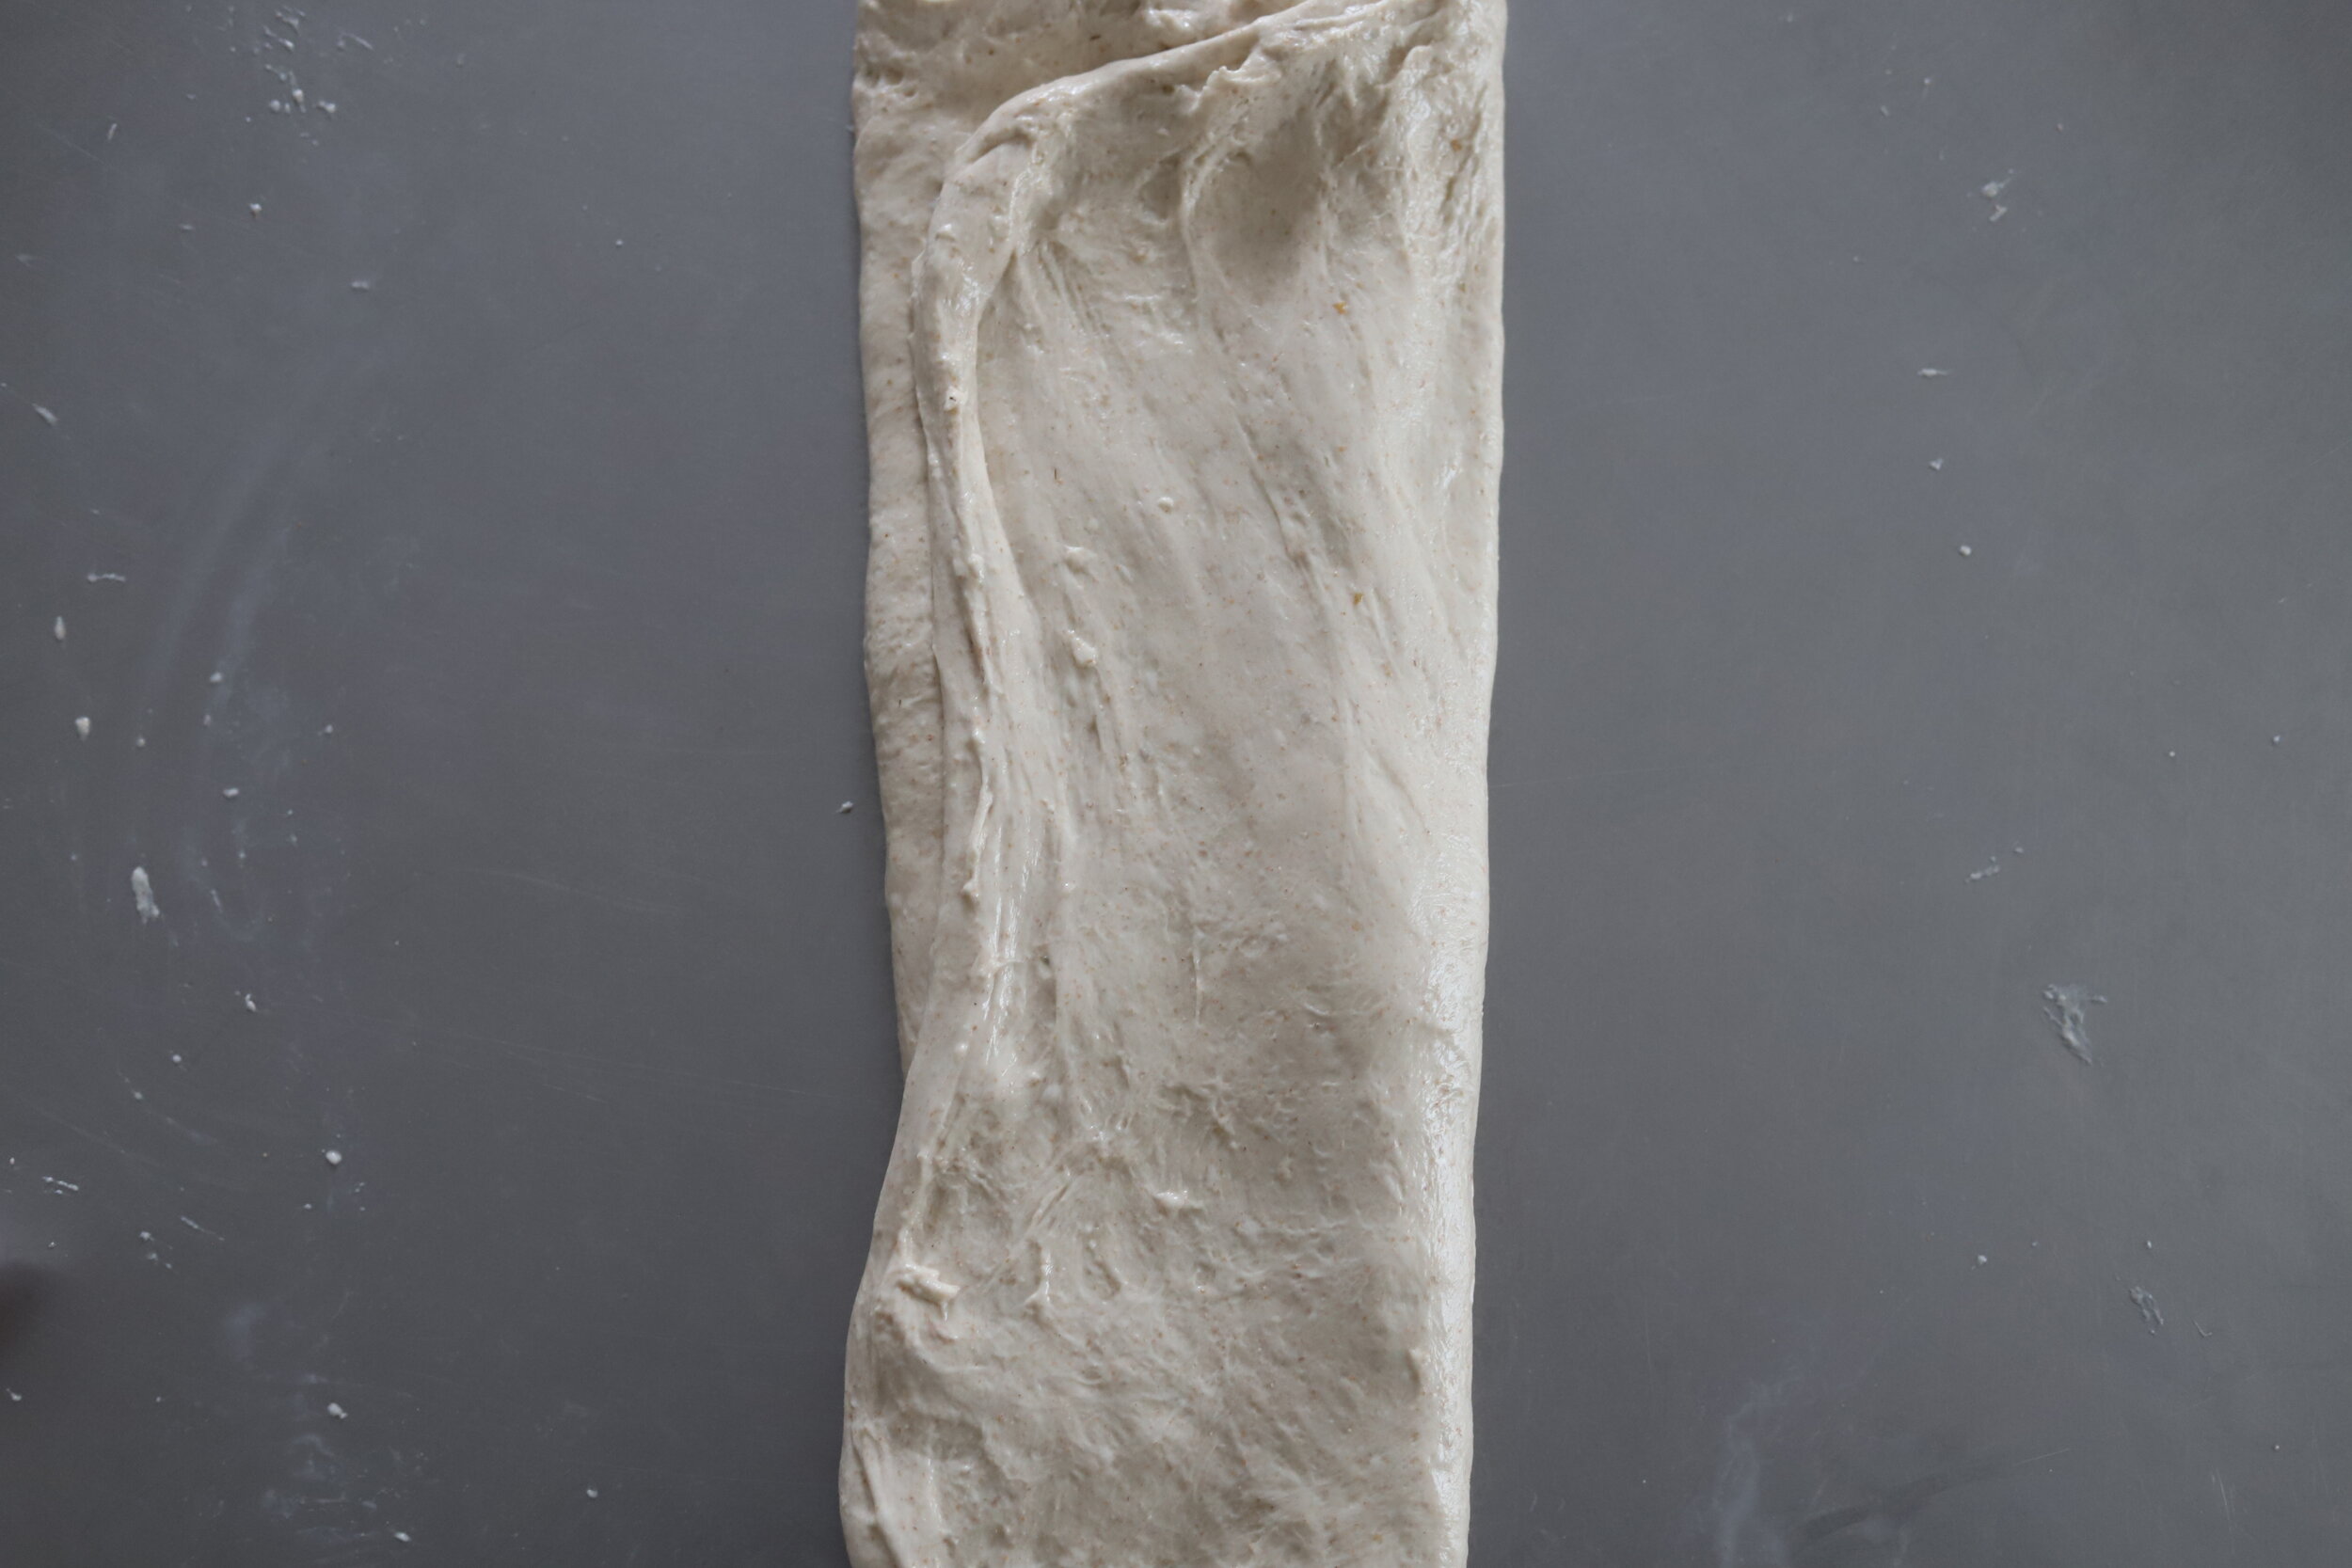
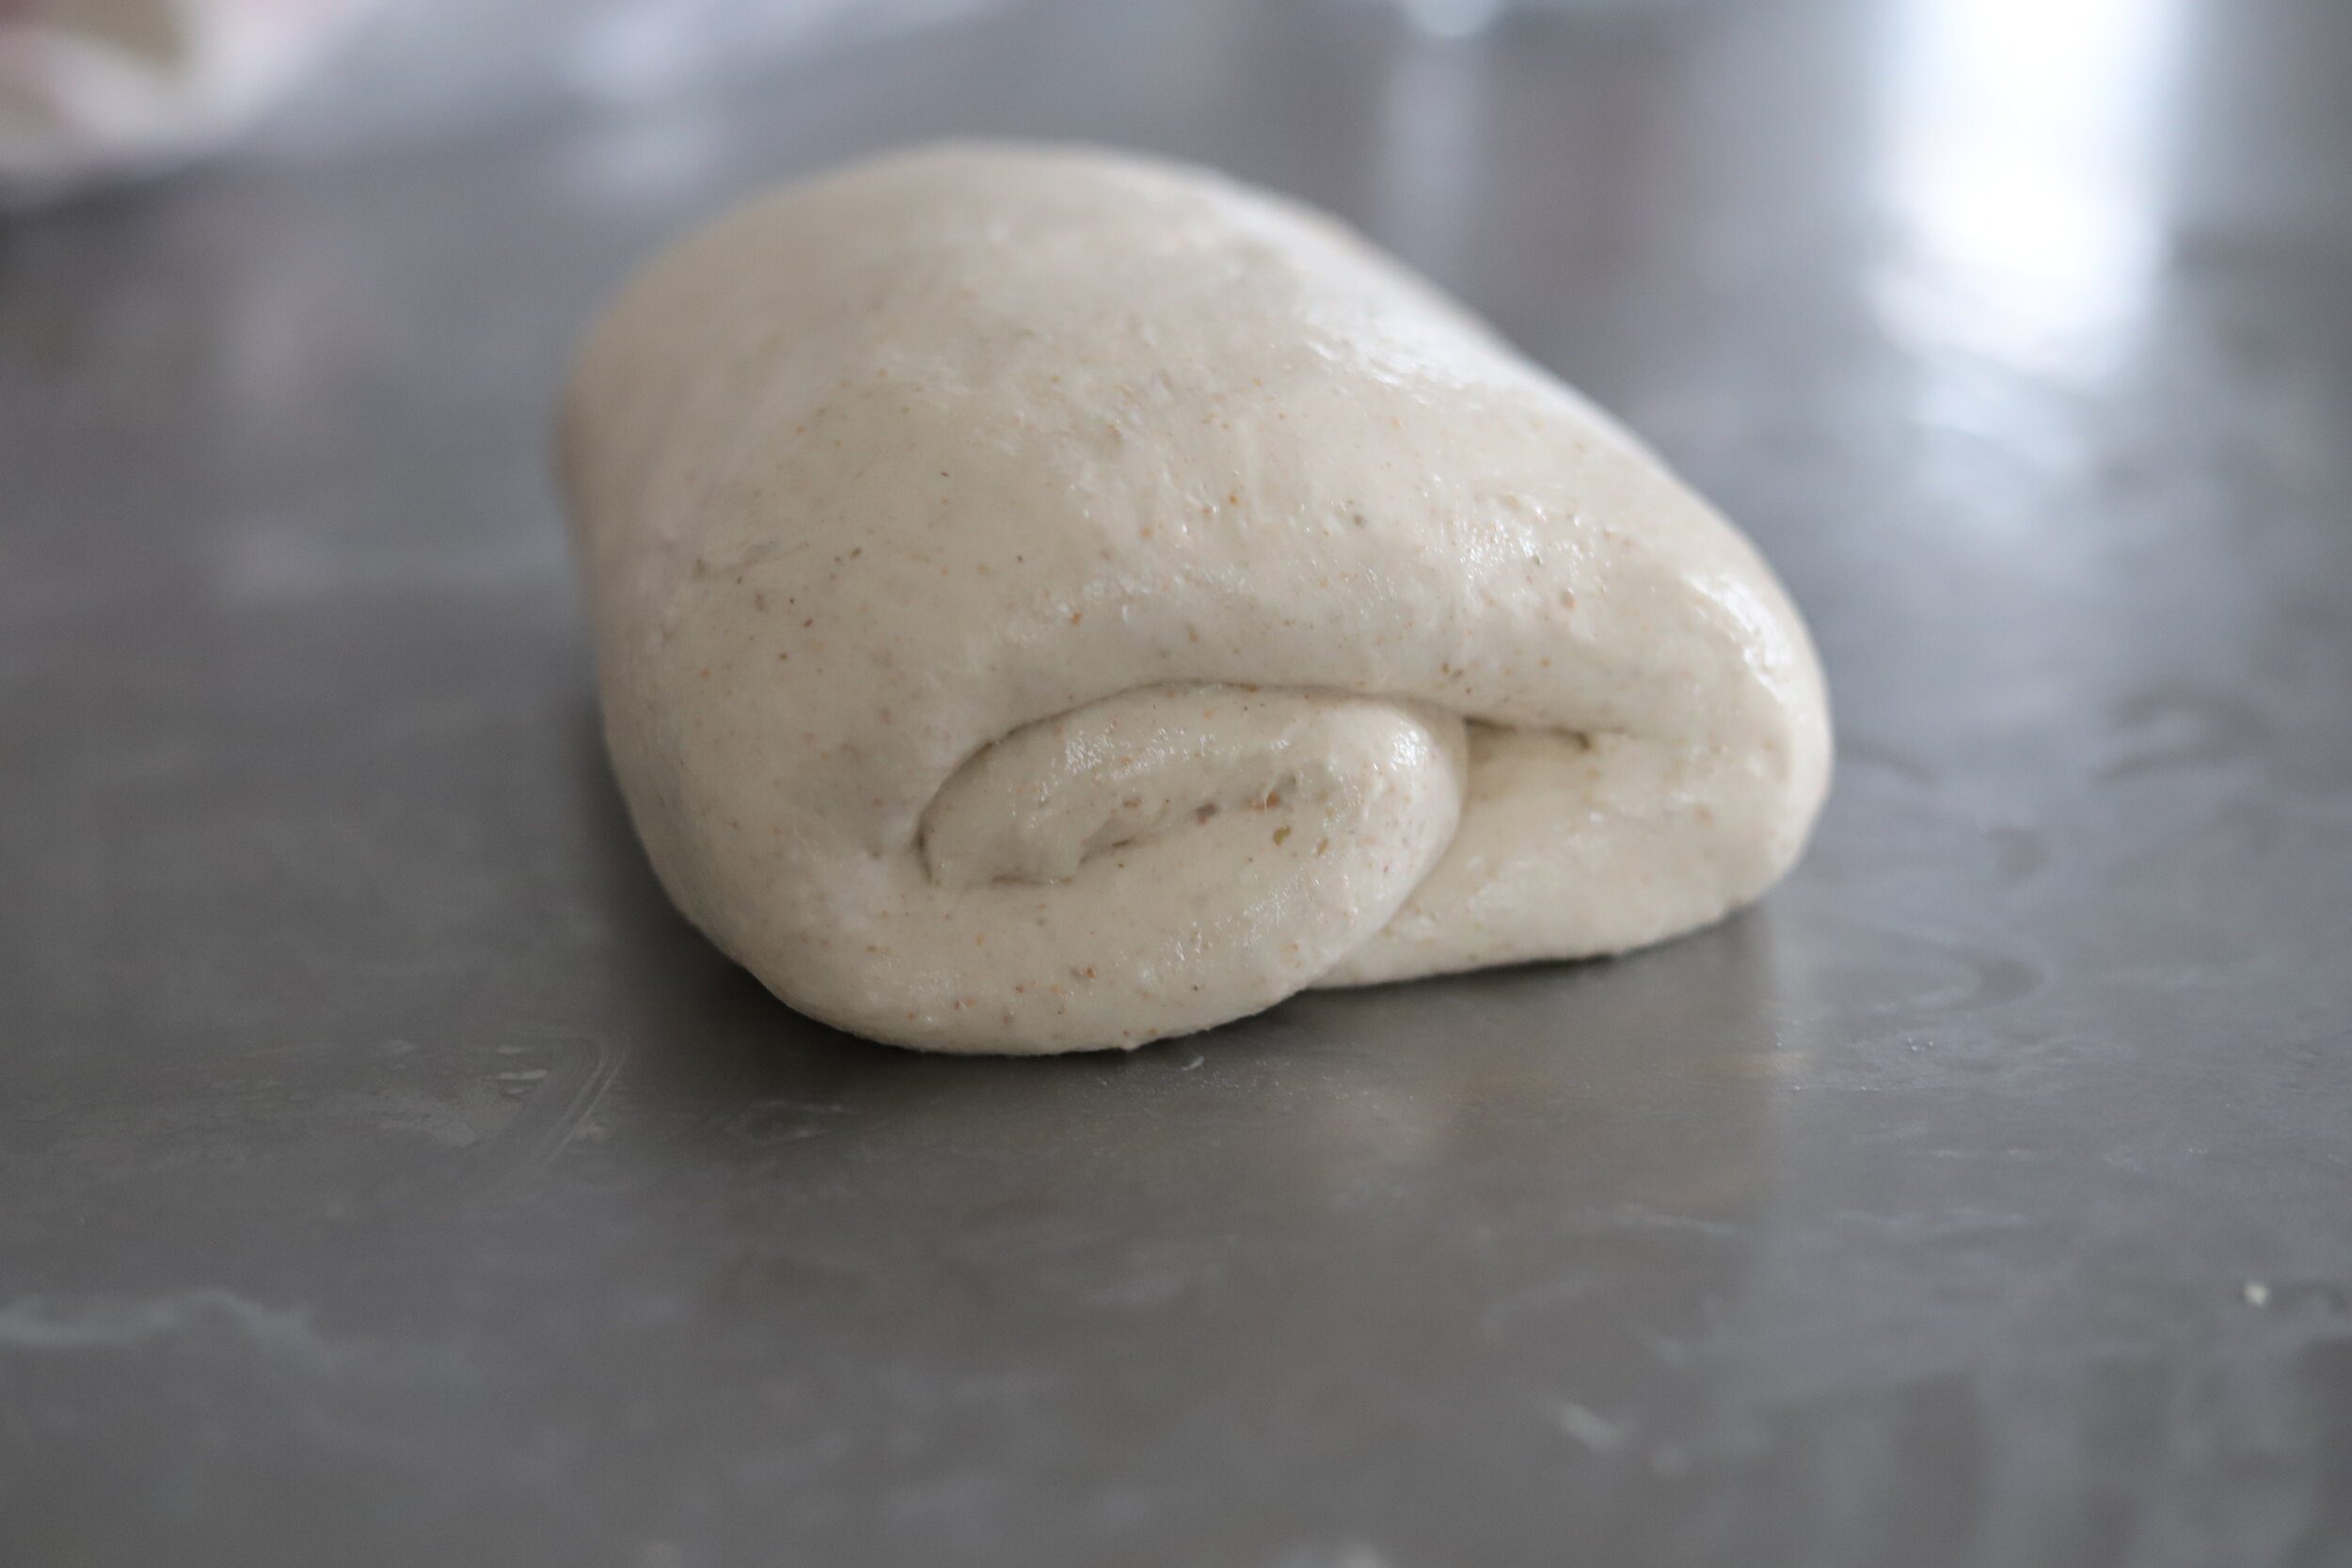
Pictured above: lamination (step 5).
5. (OPTIONAL) I like to laminate the dough at this point (approximately 1-1.5 hours after adding salt to the dough), but you don’t have to. If you skip it, repeat step 4 here. To laminate the dough, sprinkle some water on a clean work surface. Gently dump the dough out of the bowl and onto the surface. Working slowly, stretch the dough until it forms a large rectangular shape and is very taut across the surface. Then, fold one side over ⅓ of the way, then fold the other side over (like you’re folding a letter into thirds). You should now have a long, thin rectangle. Starting with one short end of the rectangle, roll it up. Put the dough back into the bowl, cover, let rest for 1 hour.
6. One hour later, do another round of pull/folds all around the dough. Cover, and let rest again for another hour.
7. Repeat the pull/folds step at least one more time, if not two more times. (You should feel the dough getting more pillowy and growing as time goes on. There is no perfect timing for sourdough because it depends entirely on the temperature in your kitchen, humidity, the type of flour you use, how young/old your starter is, how active your starter is, and so on.)
8. After you’ve done enough pull/folds, let the dough sit (covered) undisturbed for the remaining bulk fermentation time, about 1-2 hours (for me, this step happens approx. 5 hours after I make the dough, at a temperature of around 75 degrees).
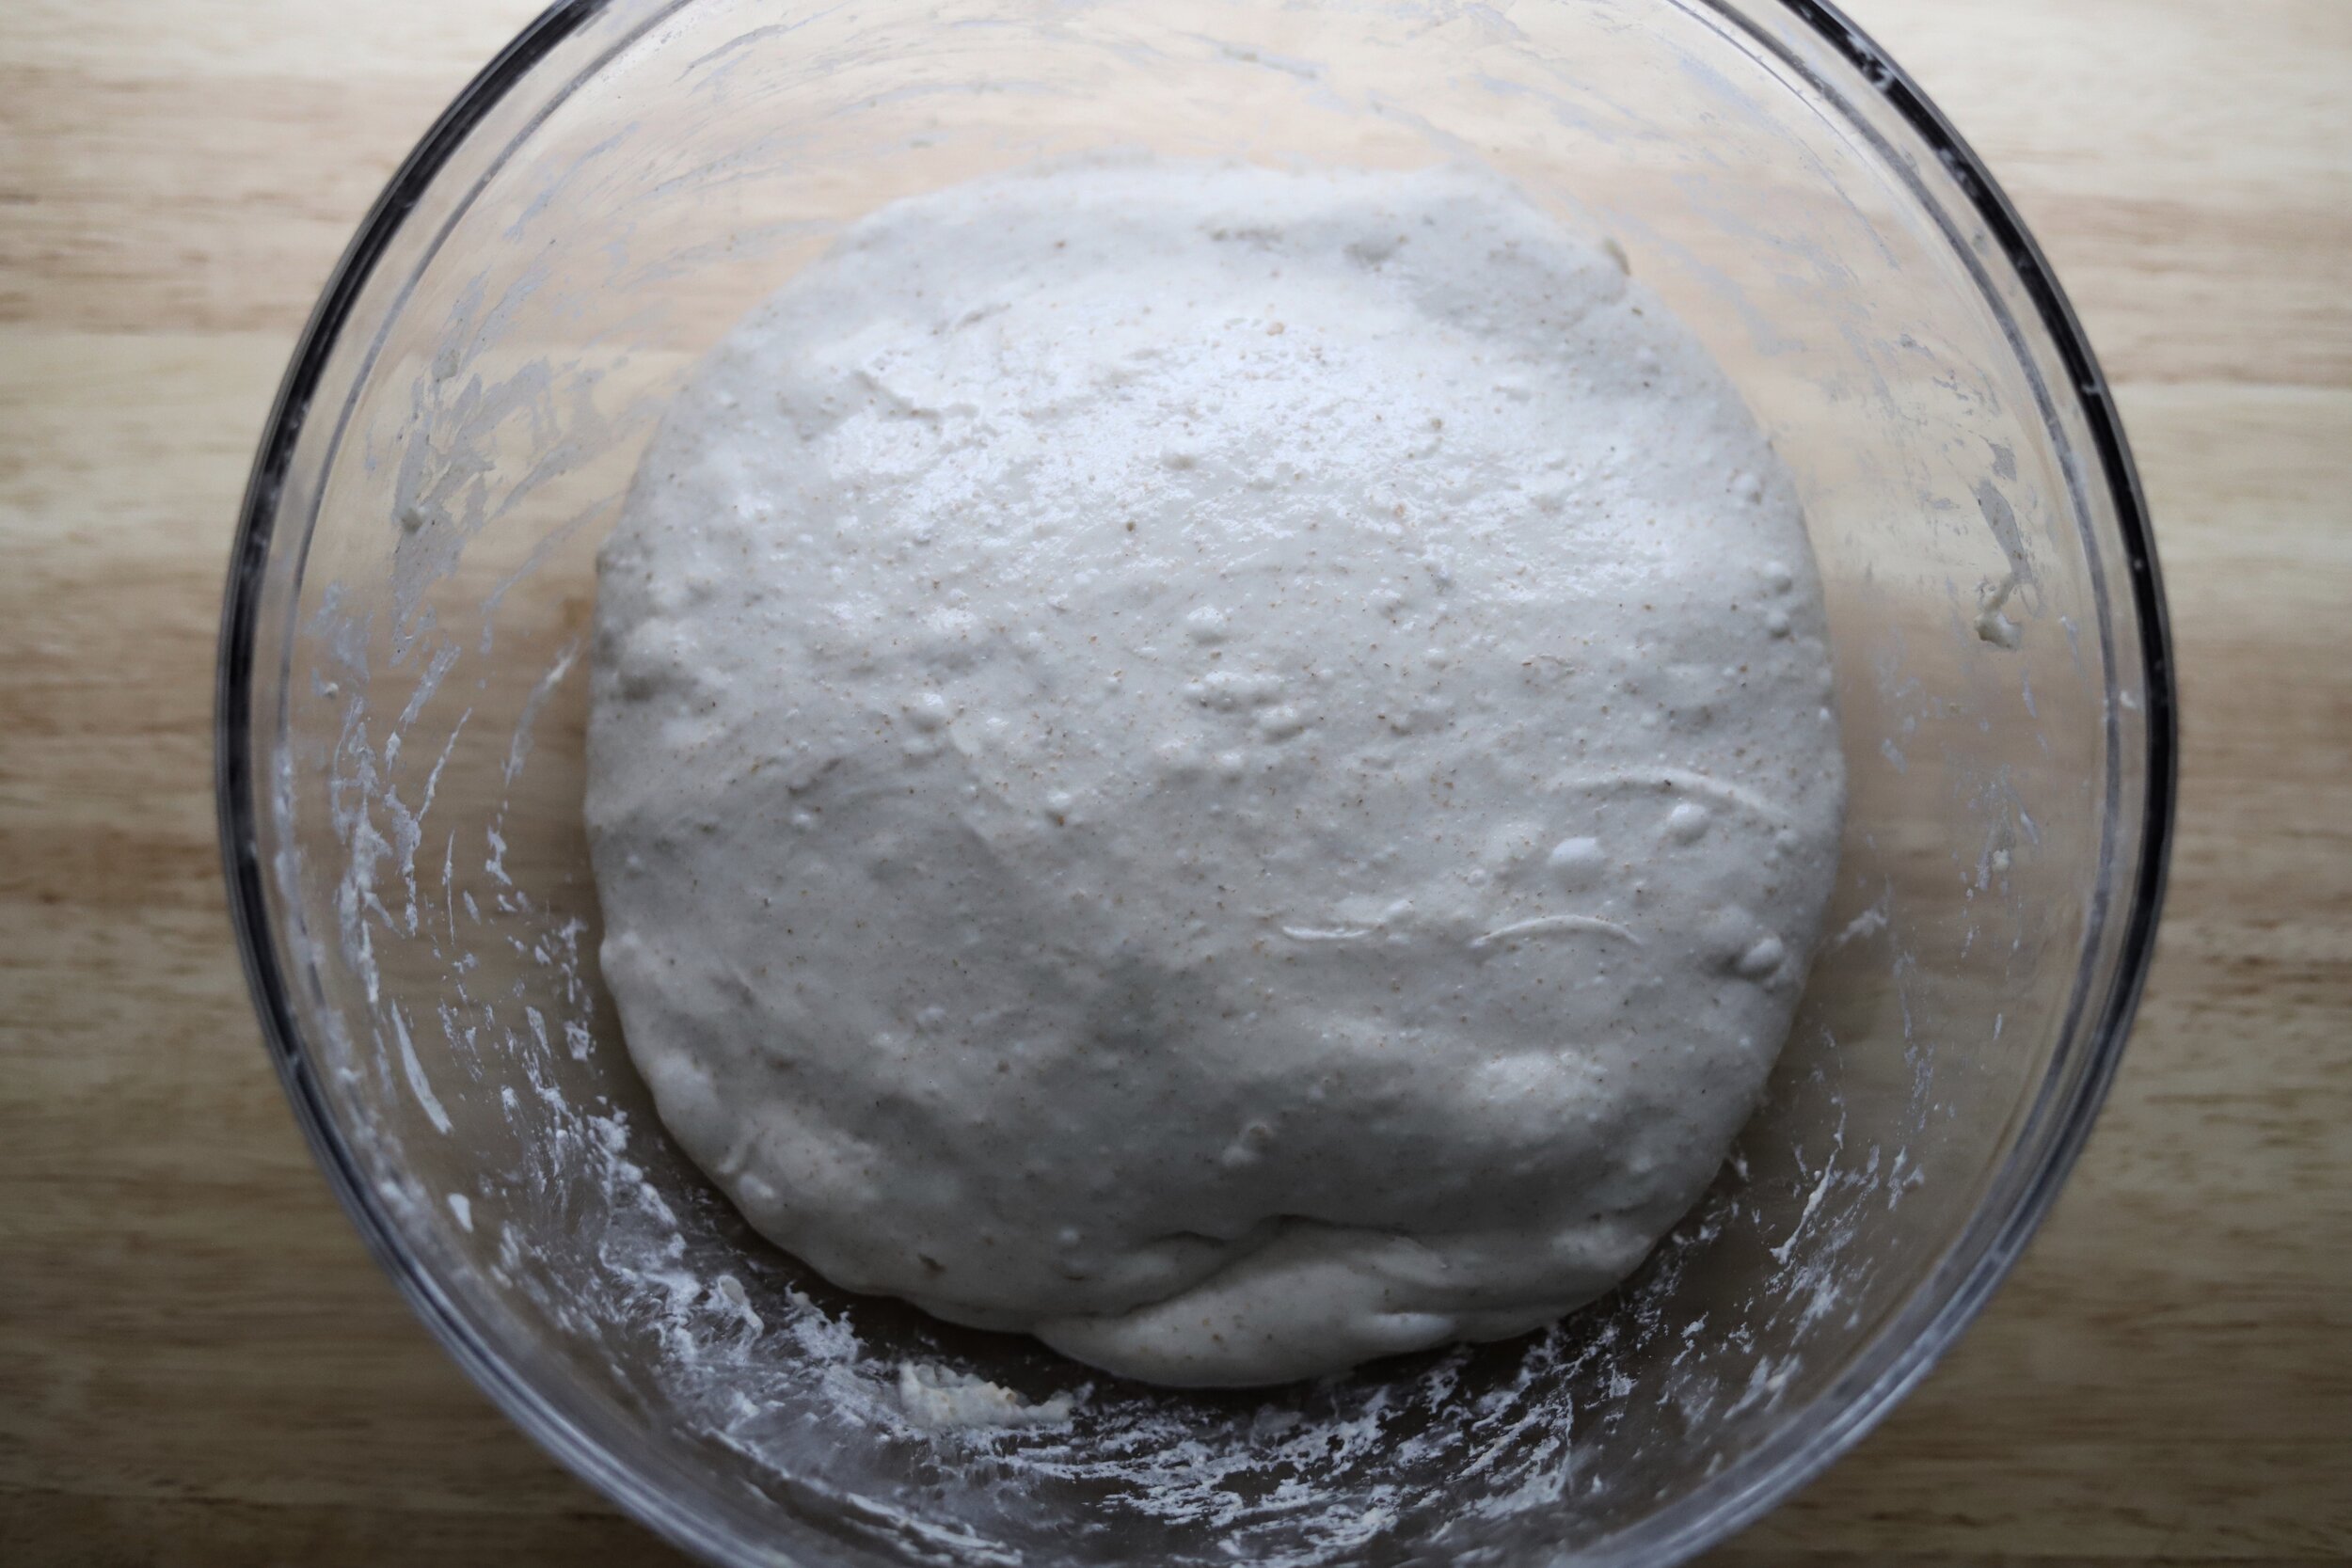
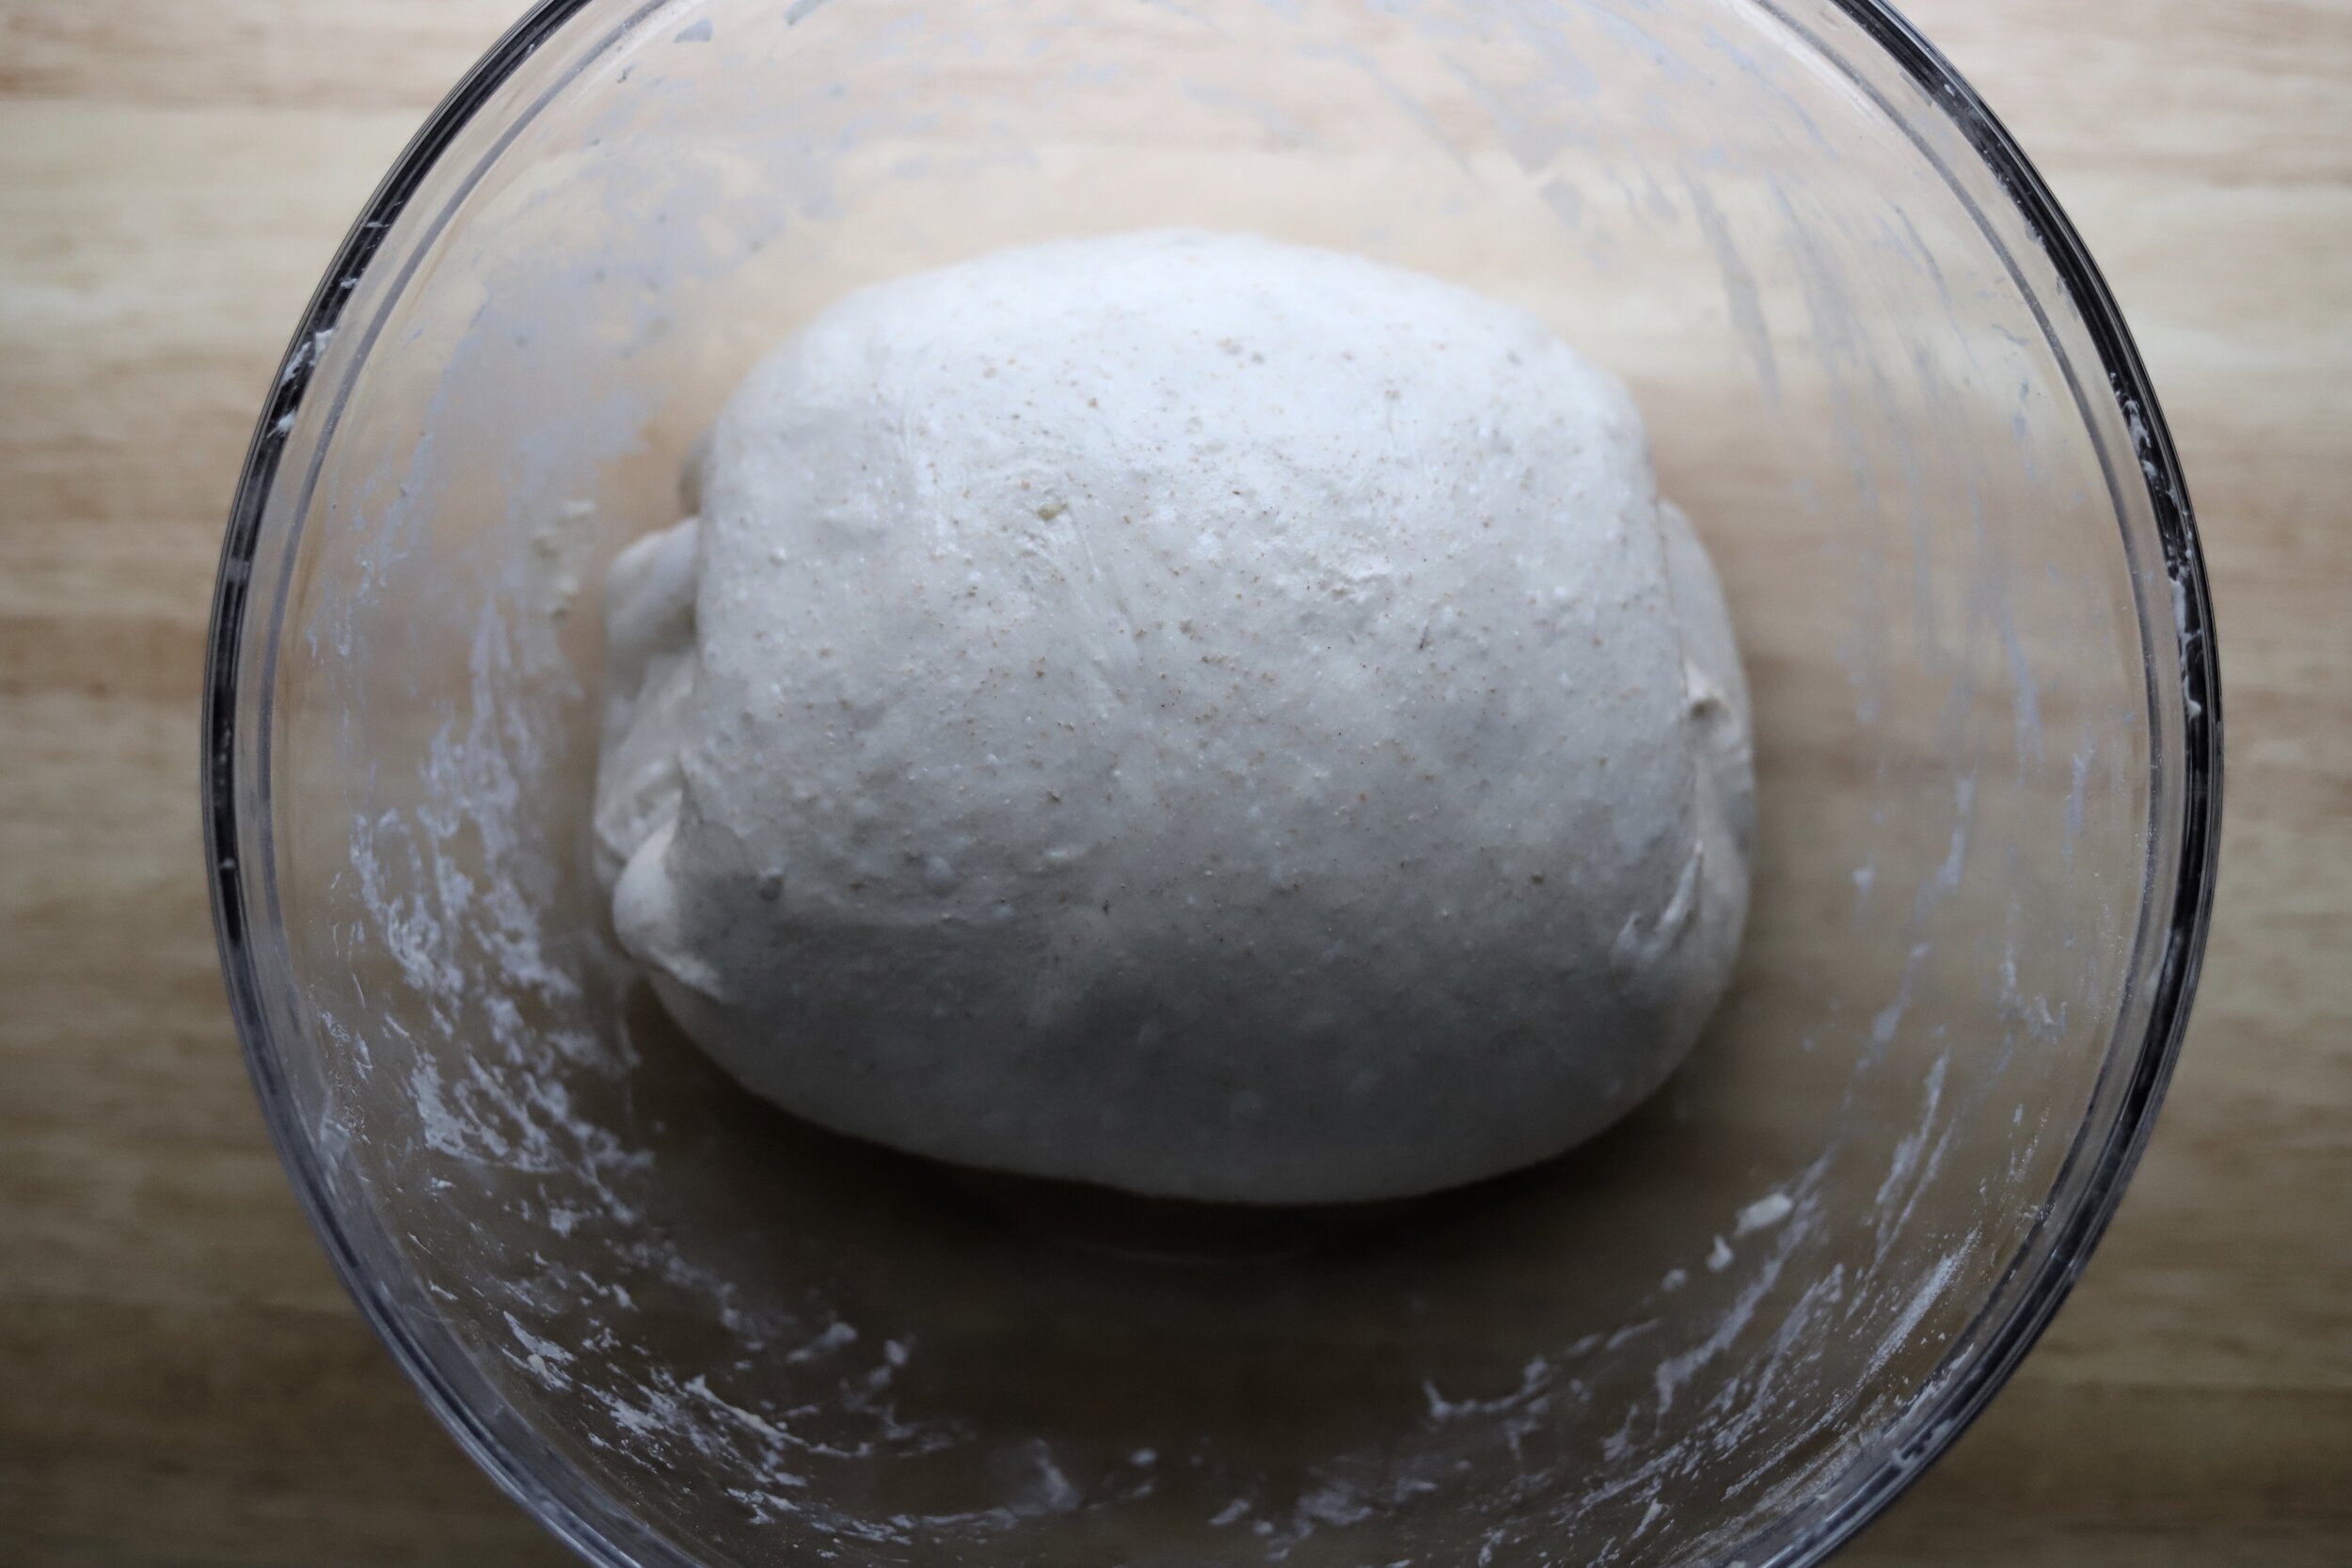
Pictured below: the dough before its final round of pull/folds on the left; and on the right is the dough right after its final round of pull/folds ready to rest.
9. Prepare a basket lined with a linen, or a banneton, by generously flouring it (ideally with rice flour). Turn the dough out onto a lightly damp work surface. Flatten the dough slightly, and then fold the right side over, followed by folding the left side over. Then roll the dough up (like making a burrito), pinch the seam closed, as well as the sides (don’t worry if it’s not perfect, this part if finicky). With the seam side down, try to add as much surface tension as you can by pushing the dough back and forth a bit on the counter. I have lots of videos on this saved in my Instagram highlights under “shaping.” A round loaf may have a slightly different process than an oval loaf.
10. Let it rest for just a moment before topping it with a bit of flour, turning it over (seam side up) and lifting it into the basket or banneton (seam side up still). Sprinkle a little flour around the edges to make sure it doesn’t stick. Cover with a damp towel, cling wrap, or place it into a large plastic bag). Let it sit at room temperature for about 20 minutes, then put it into the fridge overnight.
11. In the morning, pre-heat the oven to 475F with a dutch oven inside or another oven safe large pot/baking vessel. When the oven is ready, take your dough out of the fridge. Place a piece of parchment paper over the top of the basket (where the seam side is/was) and flip/turn the dough out from the basket.
12. Score (cut) the top of the dough to create a place for the steam to escape. Carefully place the dough into the hot dutch oven (keeping in mind that it is VERY hot). Cover and bake for 30 minutes.
13. After 30 minutes, remove the top of the dutch oven and continue to bake the sourdough for another 15 minutes.
14. Remove the dough from the oven, you can check for doneness by knocking on the bottom of the loaf. It should make a clear knocking sound and not be muffled. If it’s muffled, bake for another 5-10 minutes.
15. Let the bread cool on a rack for at least an hour if you can (it will finish cooking inside and be much easier to slice). Then slice into it and enjoy!
Sourdough can be sliced and placed into a sealed container at room temperature for a day or two. If you still have some left after that, move the container into the fridge. Take a piece out and toast it when you want some! You can also freeze the sliced sourdough.
I’d love to see your creations! Tag @nokneadtoworry on Instagram.

Read next

Sourdough Bagels

Winter Focaccia