Winter Focaccia
I call this “winter focaccia” because in the cooler months of the year, I leave focaccia dough on the counter overnight to ferment. The lower temperatures are perfect for this, and the result is a perfect puffy dough that has not over-proofed. If you live in a warm climate year round, this won’t work for you - but fear not! After step 6, place the dough into the fridge overnight, and then in the morning let it continue to rise for a couple of hours on the counter before dimpling the dough and baking.

For this dough, you’ll want to feed your sourdough starter so that it’s ripe for use at around 9pm. For me, that usually means I can feed my starter (or a portion of my starter) at 5pm. In the winter, I put my fed started into the oven with the oven light on & door cracked open. This creates an even 75 degrees, which is perfect for my starter. Every kitchen and starter is different, so you’ll have to experiment and see what works best for you and the environment around you!

Ingredients
400g all purpose flour
100g whole wheat flour
400g water
80g ripe starter
10g salt
Olive oil; additional flaky salt; & dried herbs for topping if you’d like.
Instructions
Mix the starter into the water and combine thoroughly with a whisk. Combine the flours and the salt in a large mixing bowl, using a whisk to incorporate.
Pour the water/starter mixture into the flour/salt bowl and mix by hand to combine (either with your hand or with a wooden spatula). Mix until you see no dry bits of flour. Cover and let rest for 30 minutes.
Perform a round of pull/folds all around the dough by stretching the dough up on one side and folding it back over into the center. It helps to do this with wet hands. Do this on all sides until you have a smooth round of dough in the bowl. Cover and let rest for another 30 minutes.
The dough will have relaxed, so now repeat step 3 to continue building some strength into the dough. Cover and let rest another 30 minutes.
Line a 9x13 inch rectangular cake pan (or a large cast iron pan or an oven safe round pan) with parchment paper and drizzle some olive oil all over the bottom and the sides.
At this point, perform one more round of pull/folds and then turn the dough out into the lined pan. Gently encourage the dough to spread out a little, but don’t work it too much. Cover the top of the pan with cling wrap (not touching the dough) or put the pan into a giant plastic bag and seal it closed. Let it sit on the counter overnight like this.
Instructions continue below.
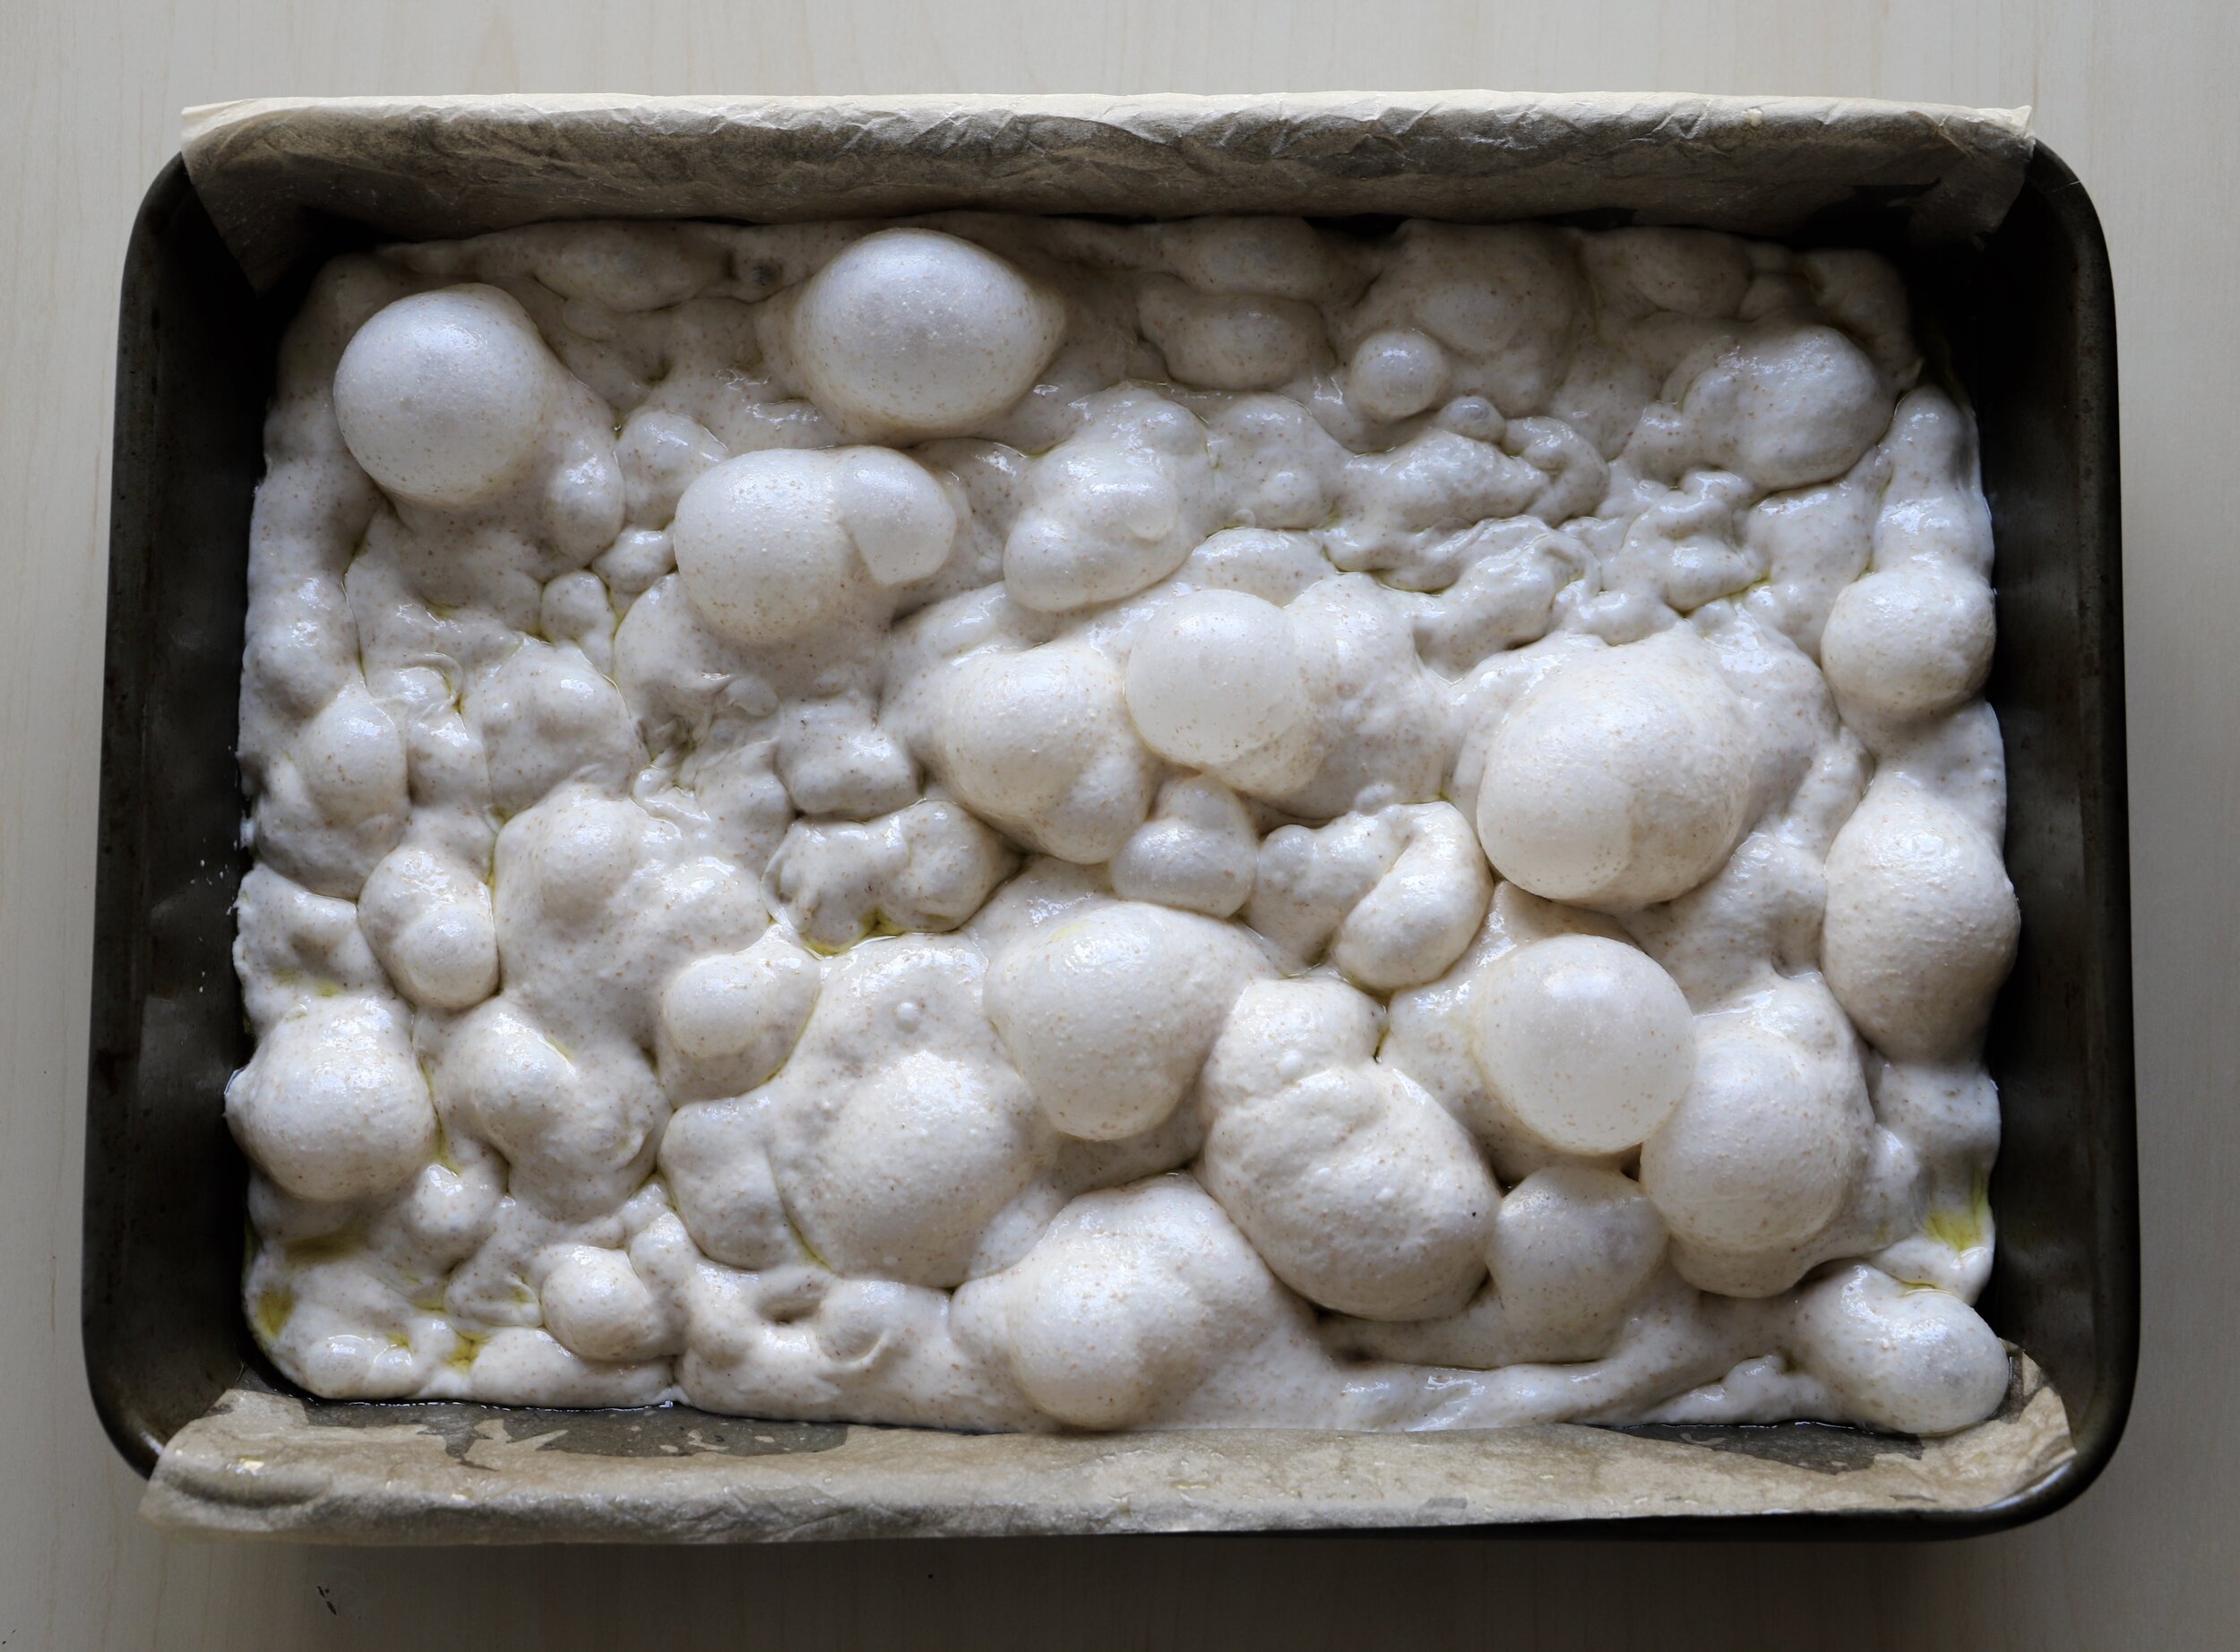
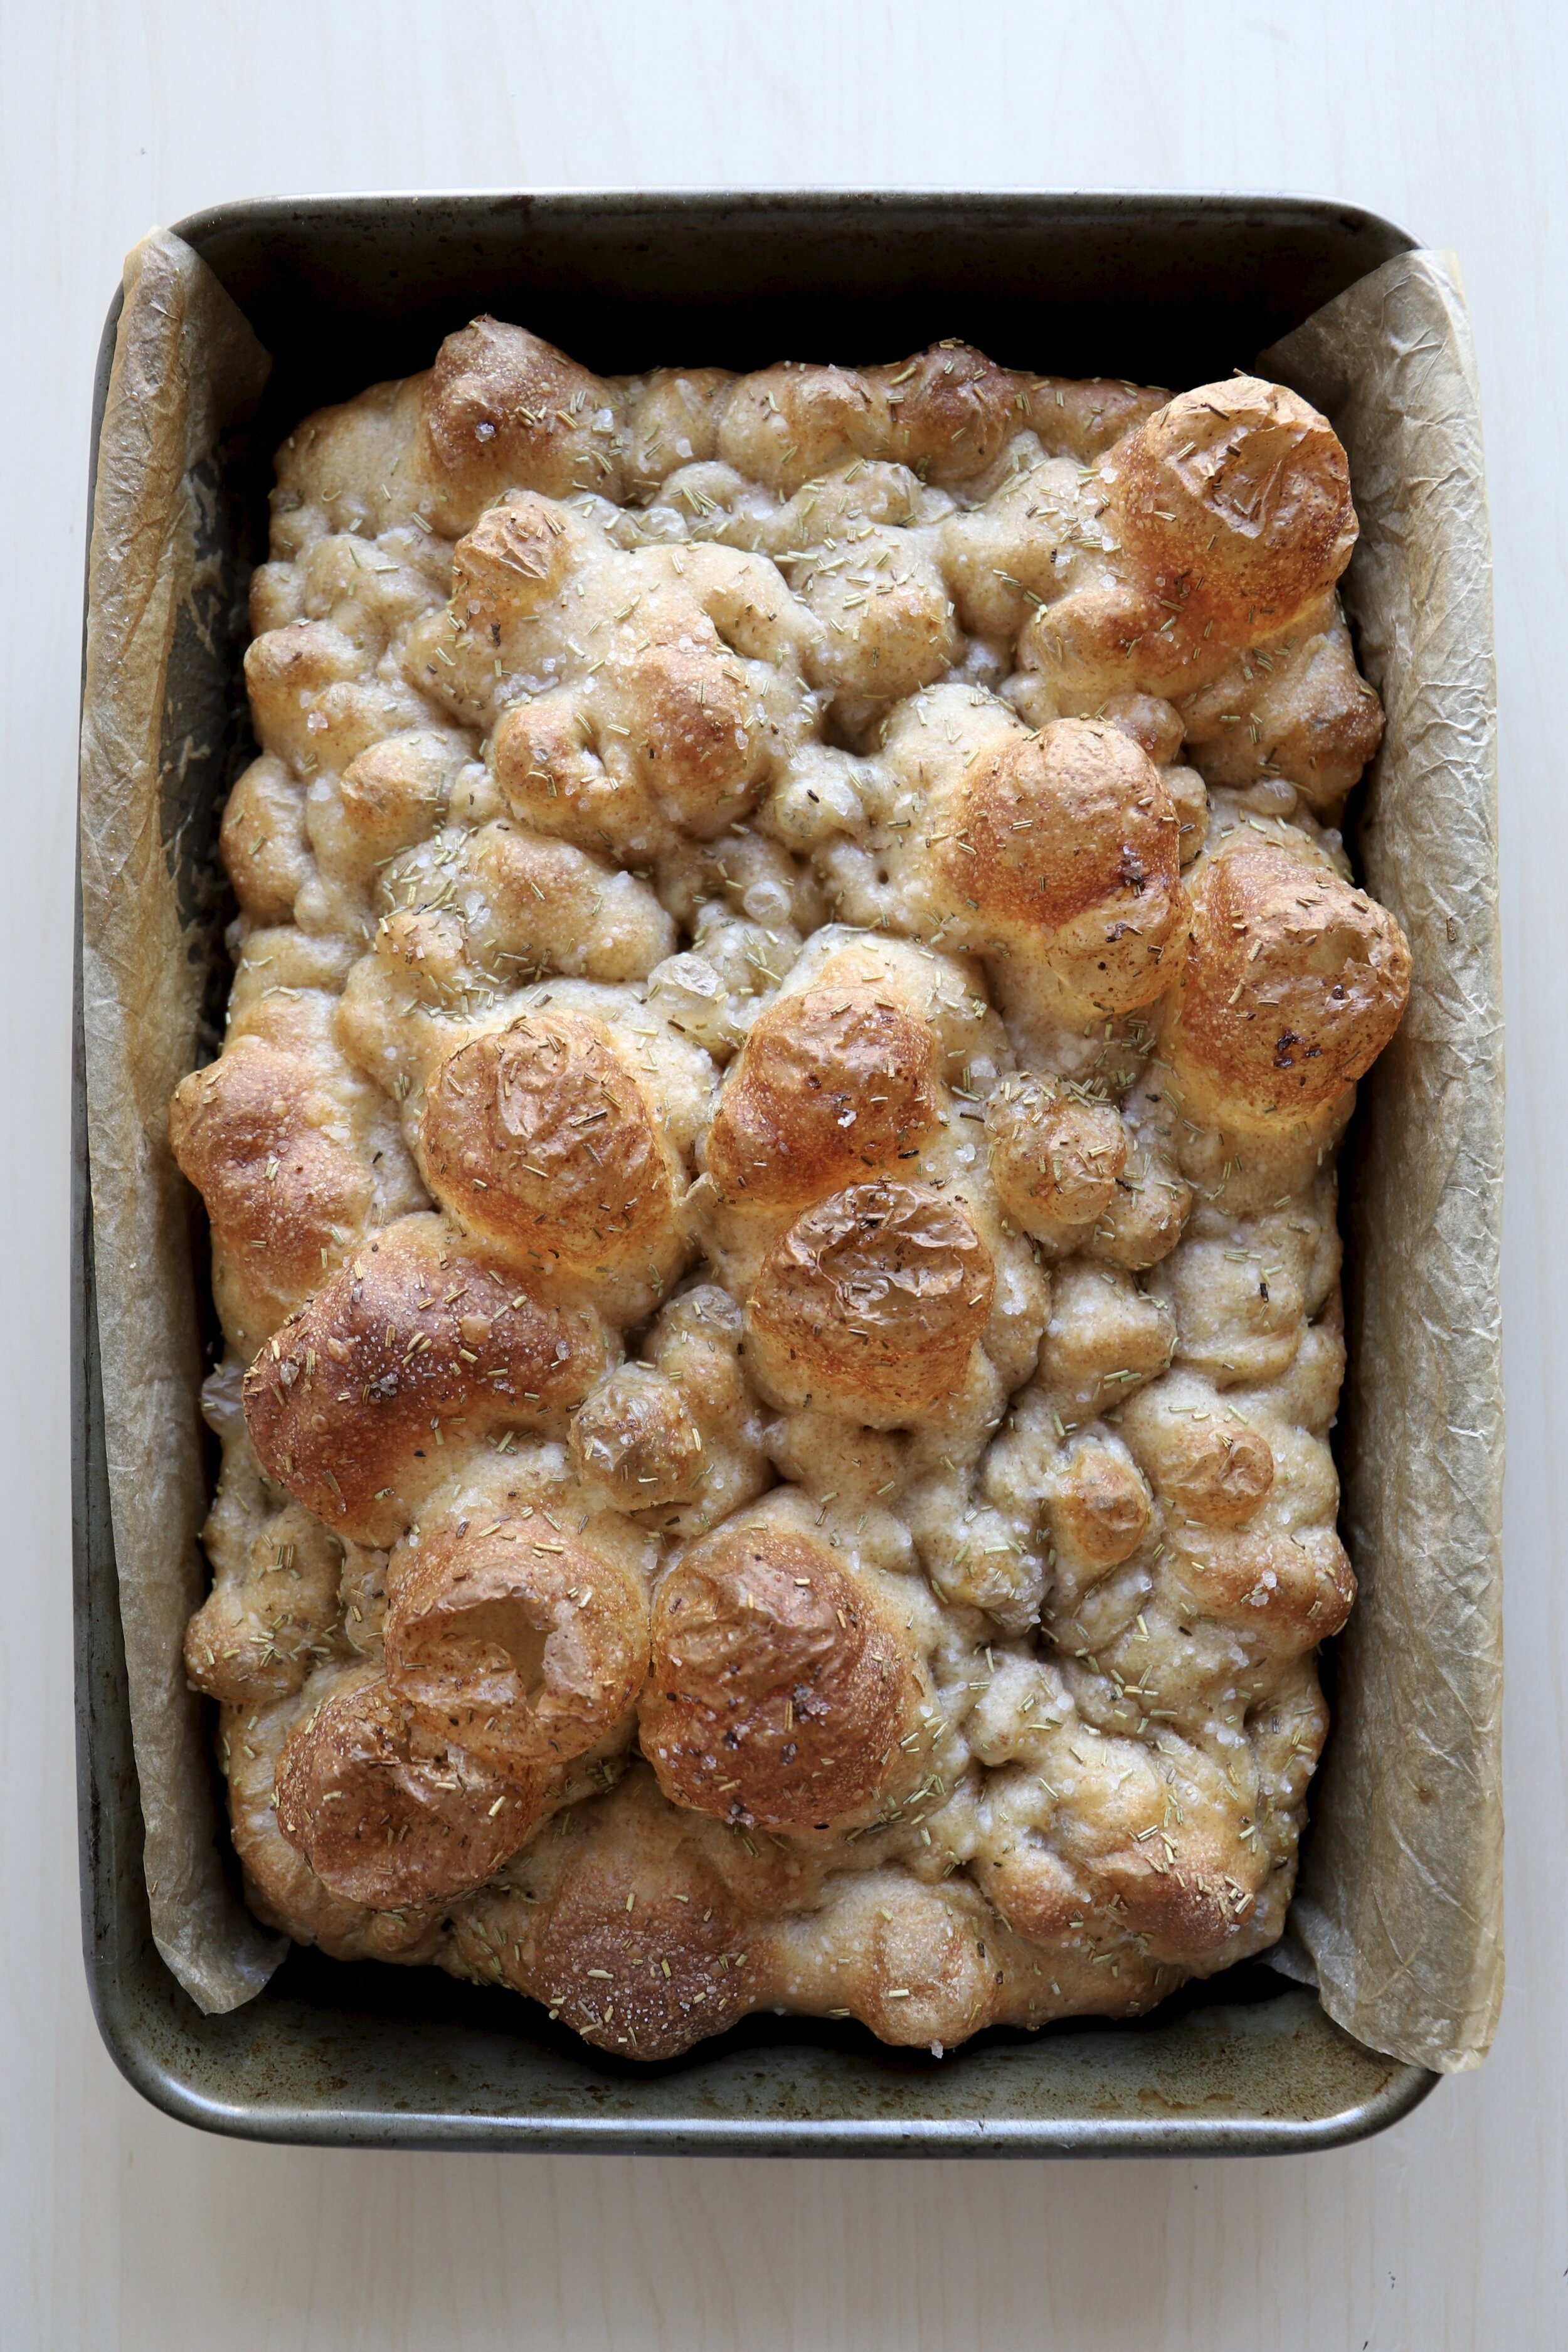
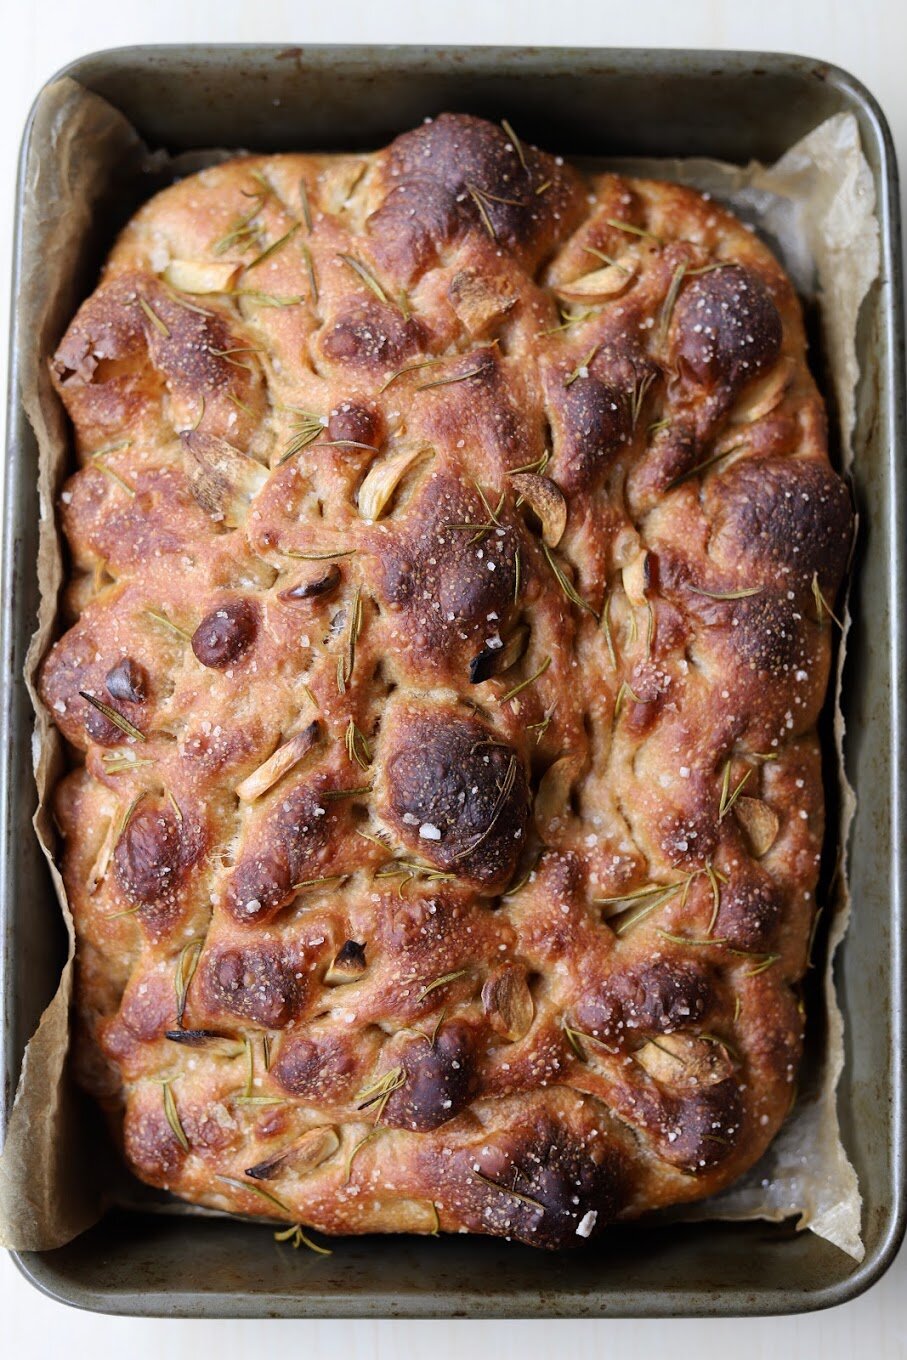
Above is a photo of the dough in the morning AFTER “dimpling” the dough with lightly oiled fingers. Note that it may not look bubbly by itself when you first see it in the morning. By pressing into the dough, you push around the gases that have developed and they rise up, trying to get out of the dough. That’s where the lovely bubbles come from. Below are photos of a variation on this recipe that I topped with fresh slices of garlic and rosemary.
7. To bake the focaccia dough in the morning, pre-heat the oven to 425F. Lightly oil your fingers and press into the dough, creating dimples and bubbles. Drizzle more olive oil on top of the dough, sprinkle flaky sea salt and/or dried herbs.
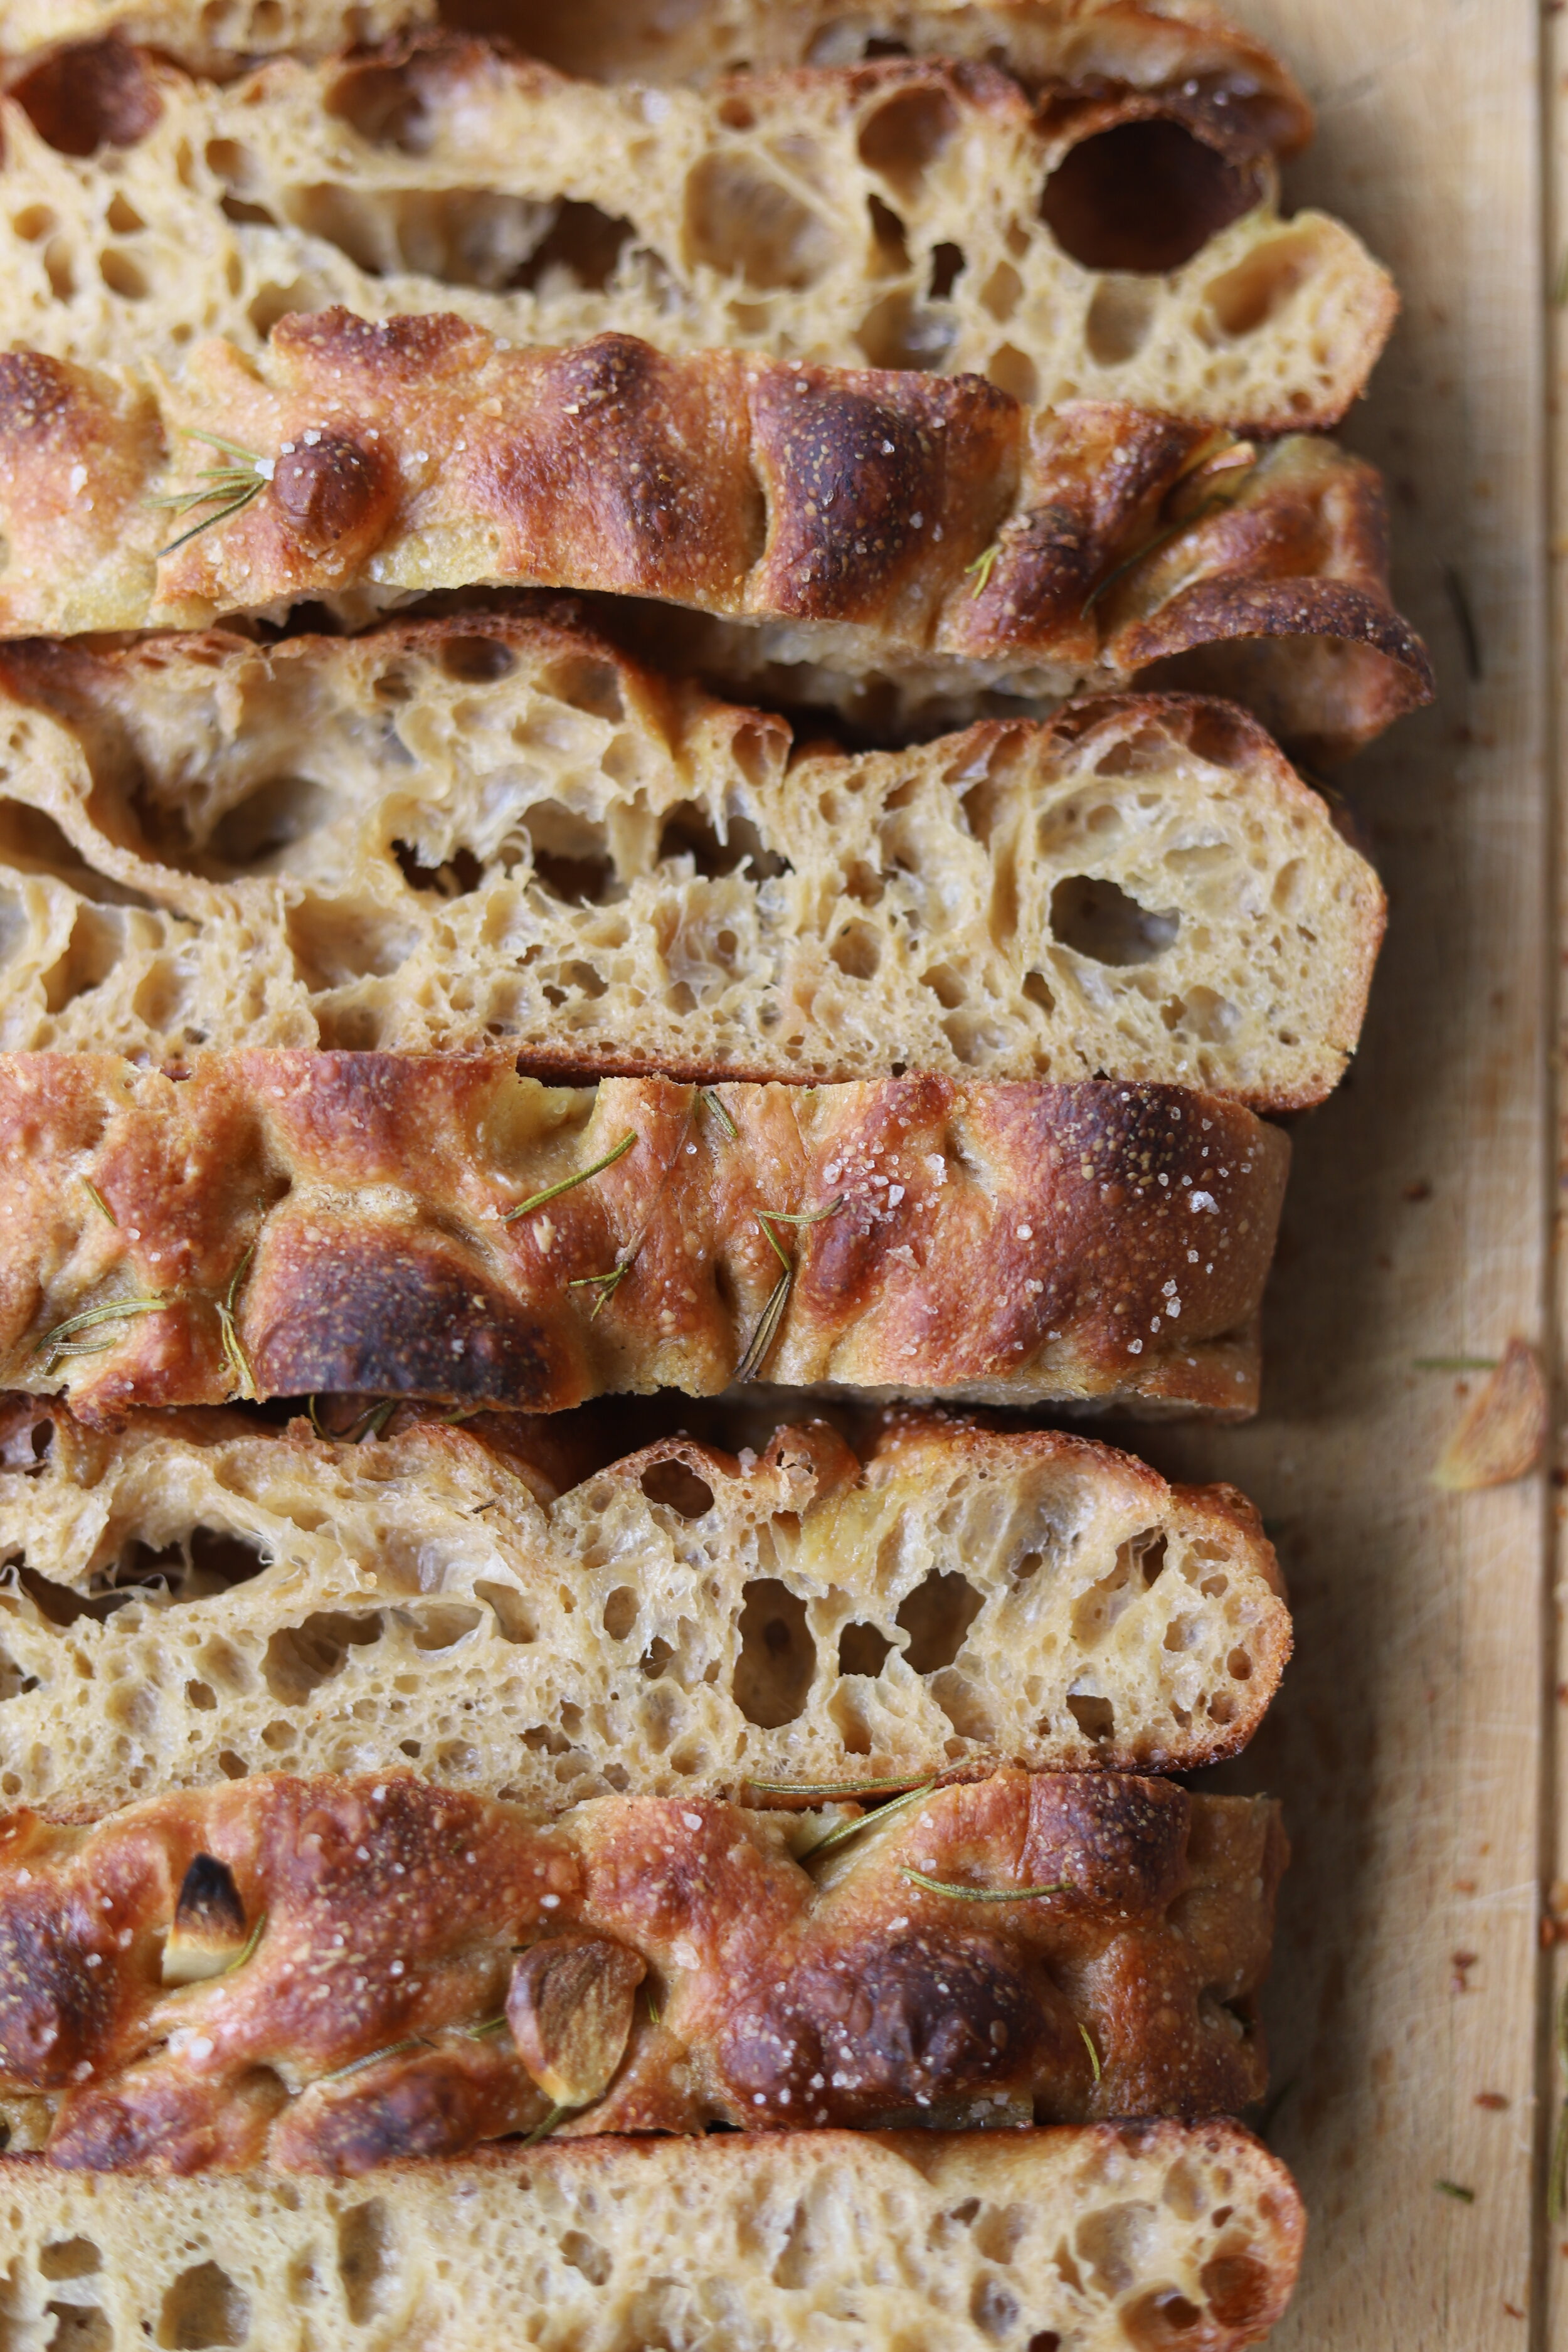
8. Bake for 40 minutes, tenting the pan with foil after 25 minutes to prevent the top from burning. Let the bread cool in the pan for about an hour before slicing. Enjoy!
I’d love to see your creations! Tag @nokneadtoworry on Instagram.
Read next

My Sourdough Method

Sourdough Bagels