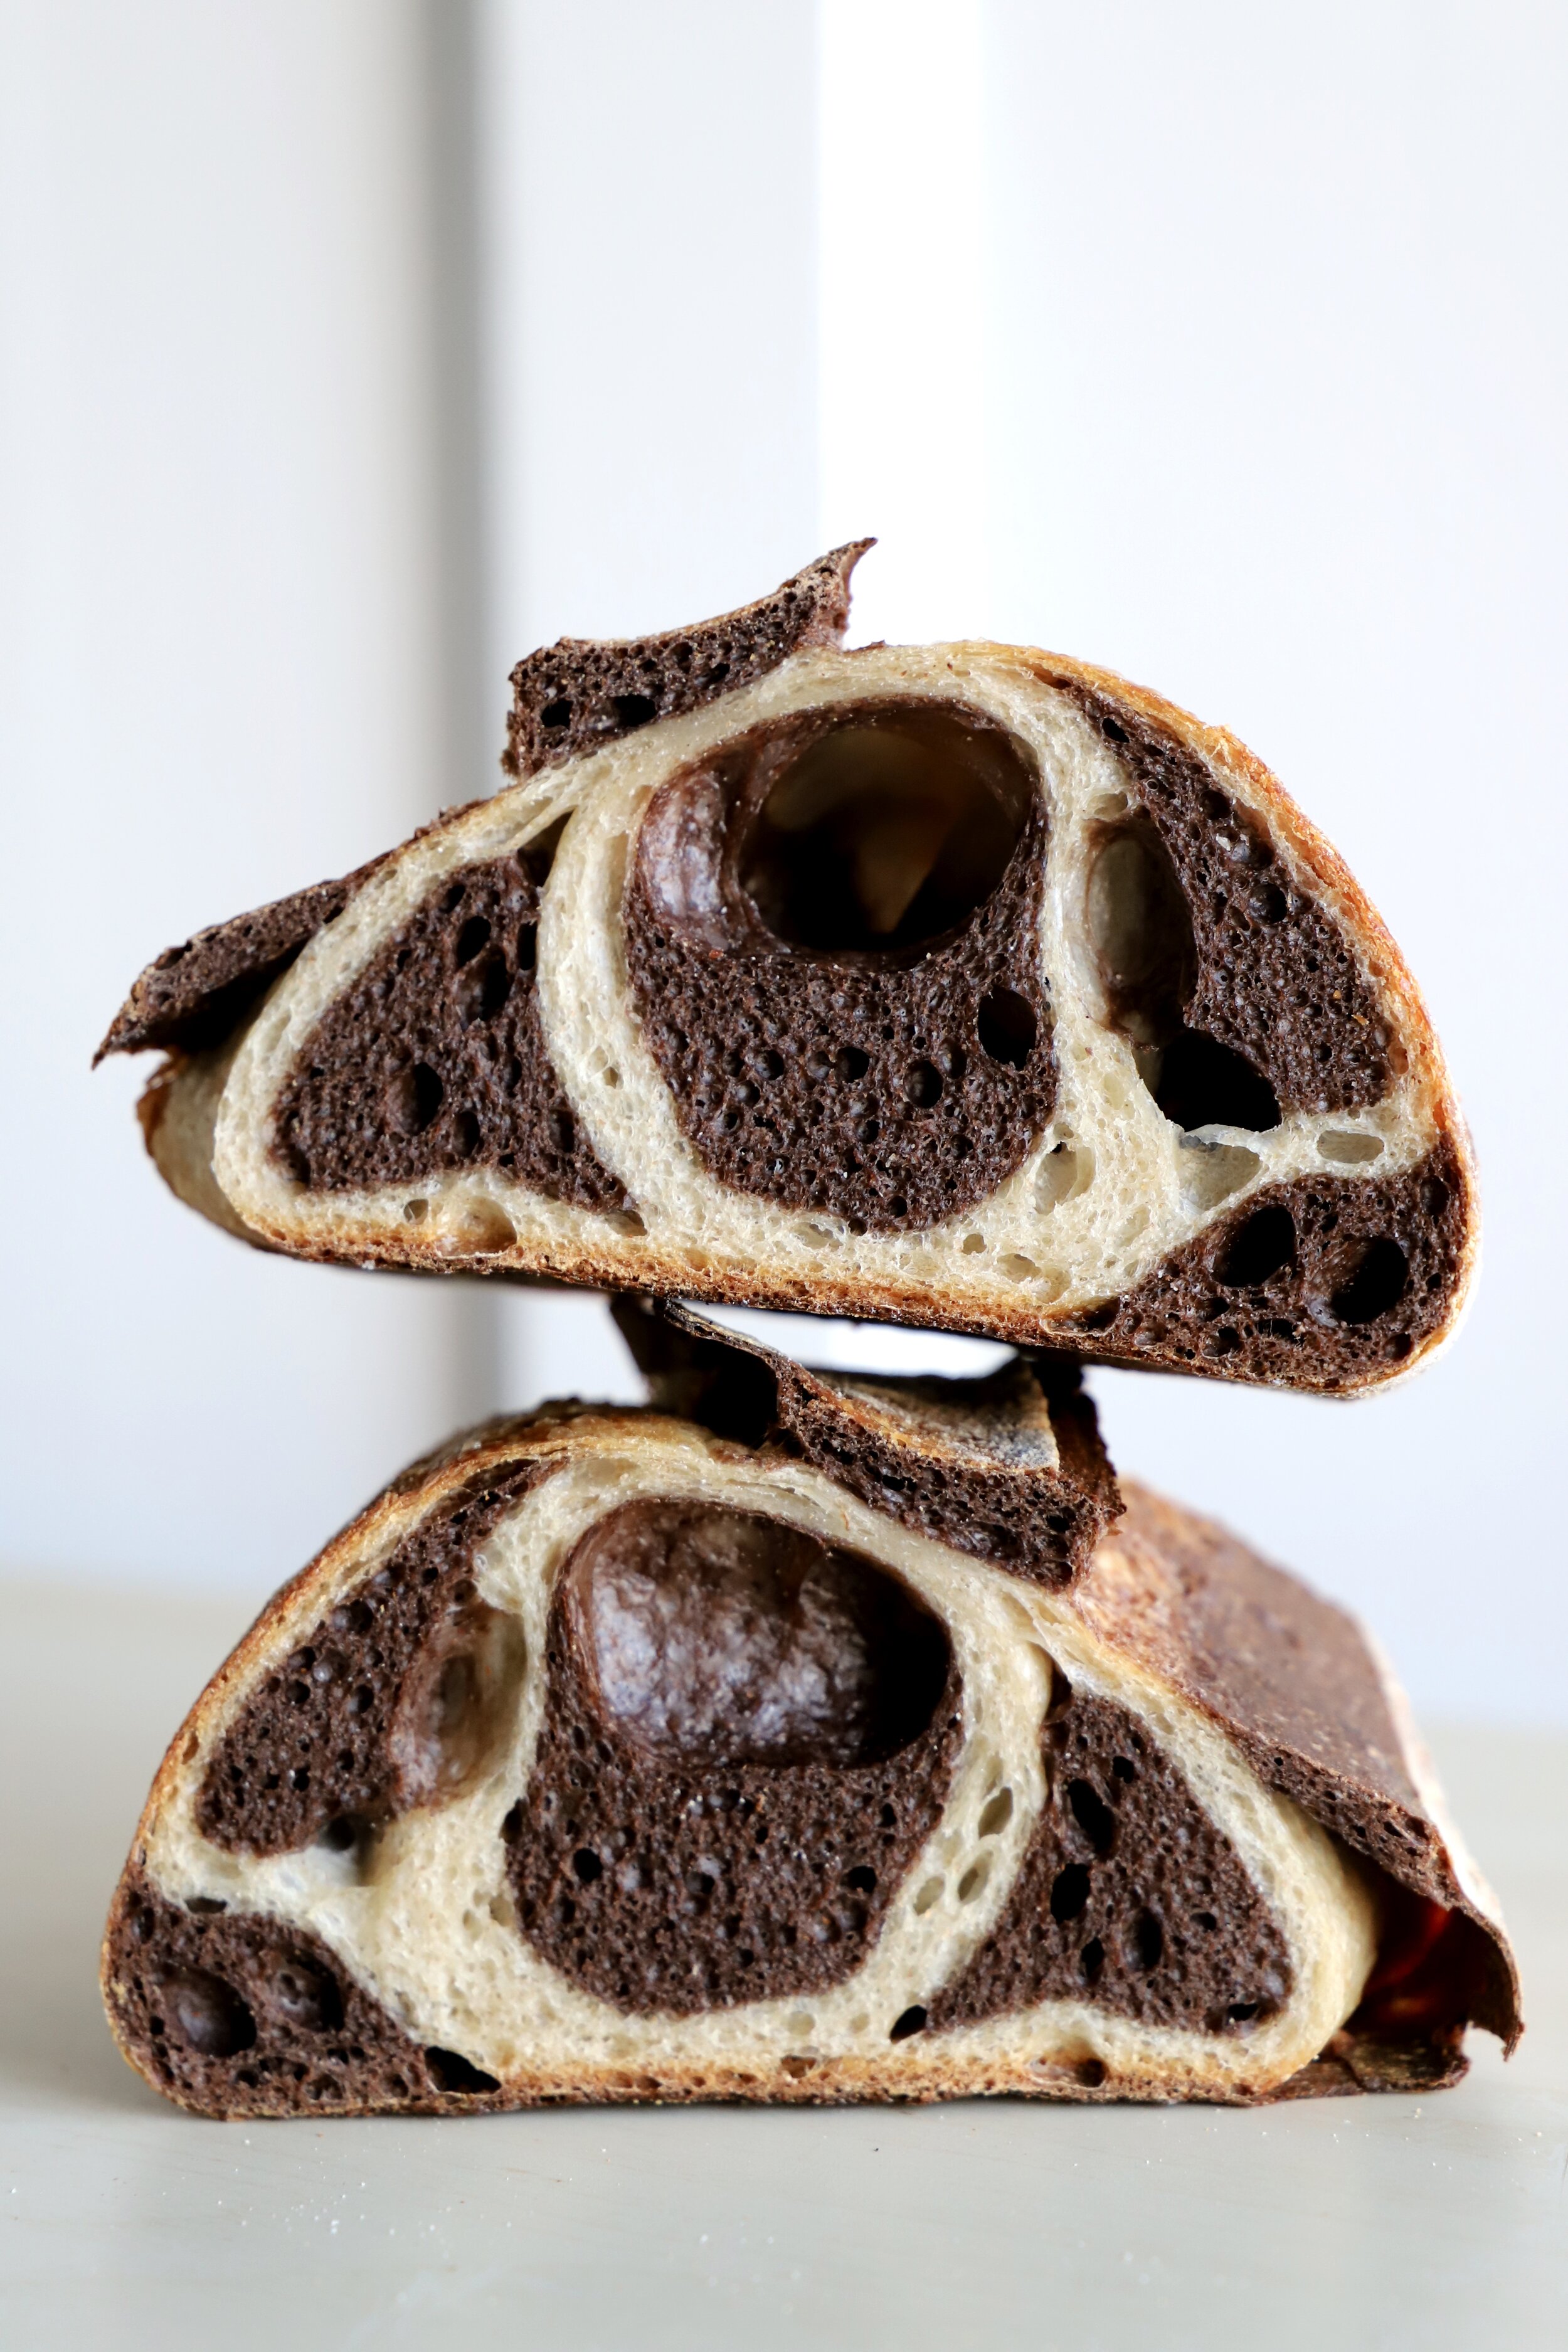
Cocoa Pattern Sourdough
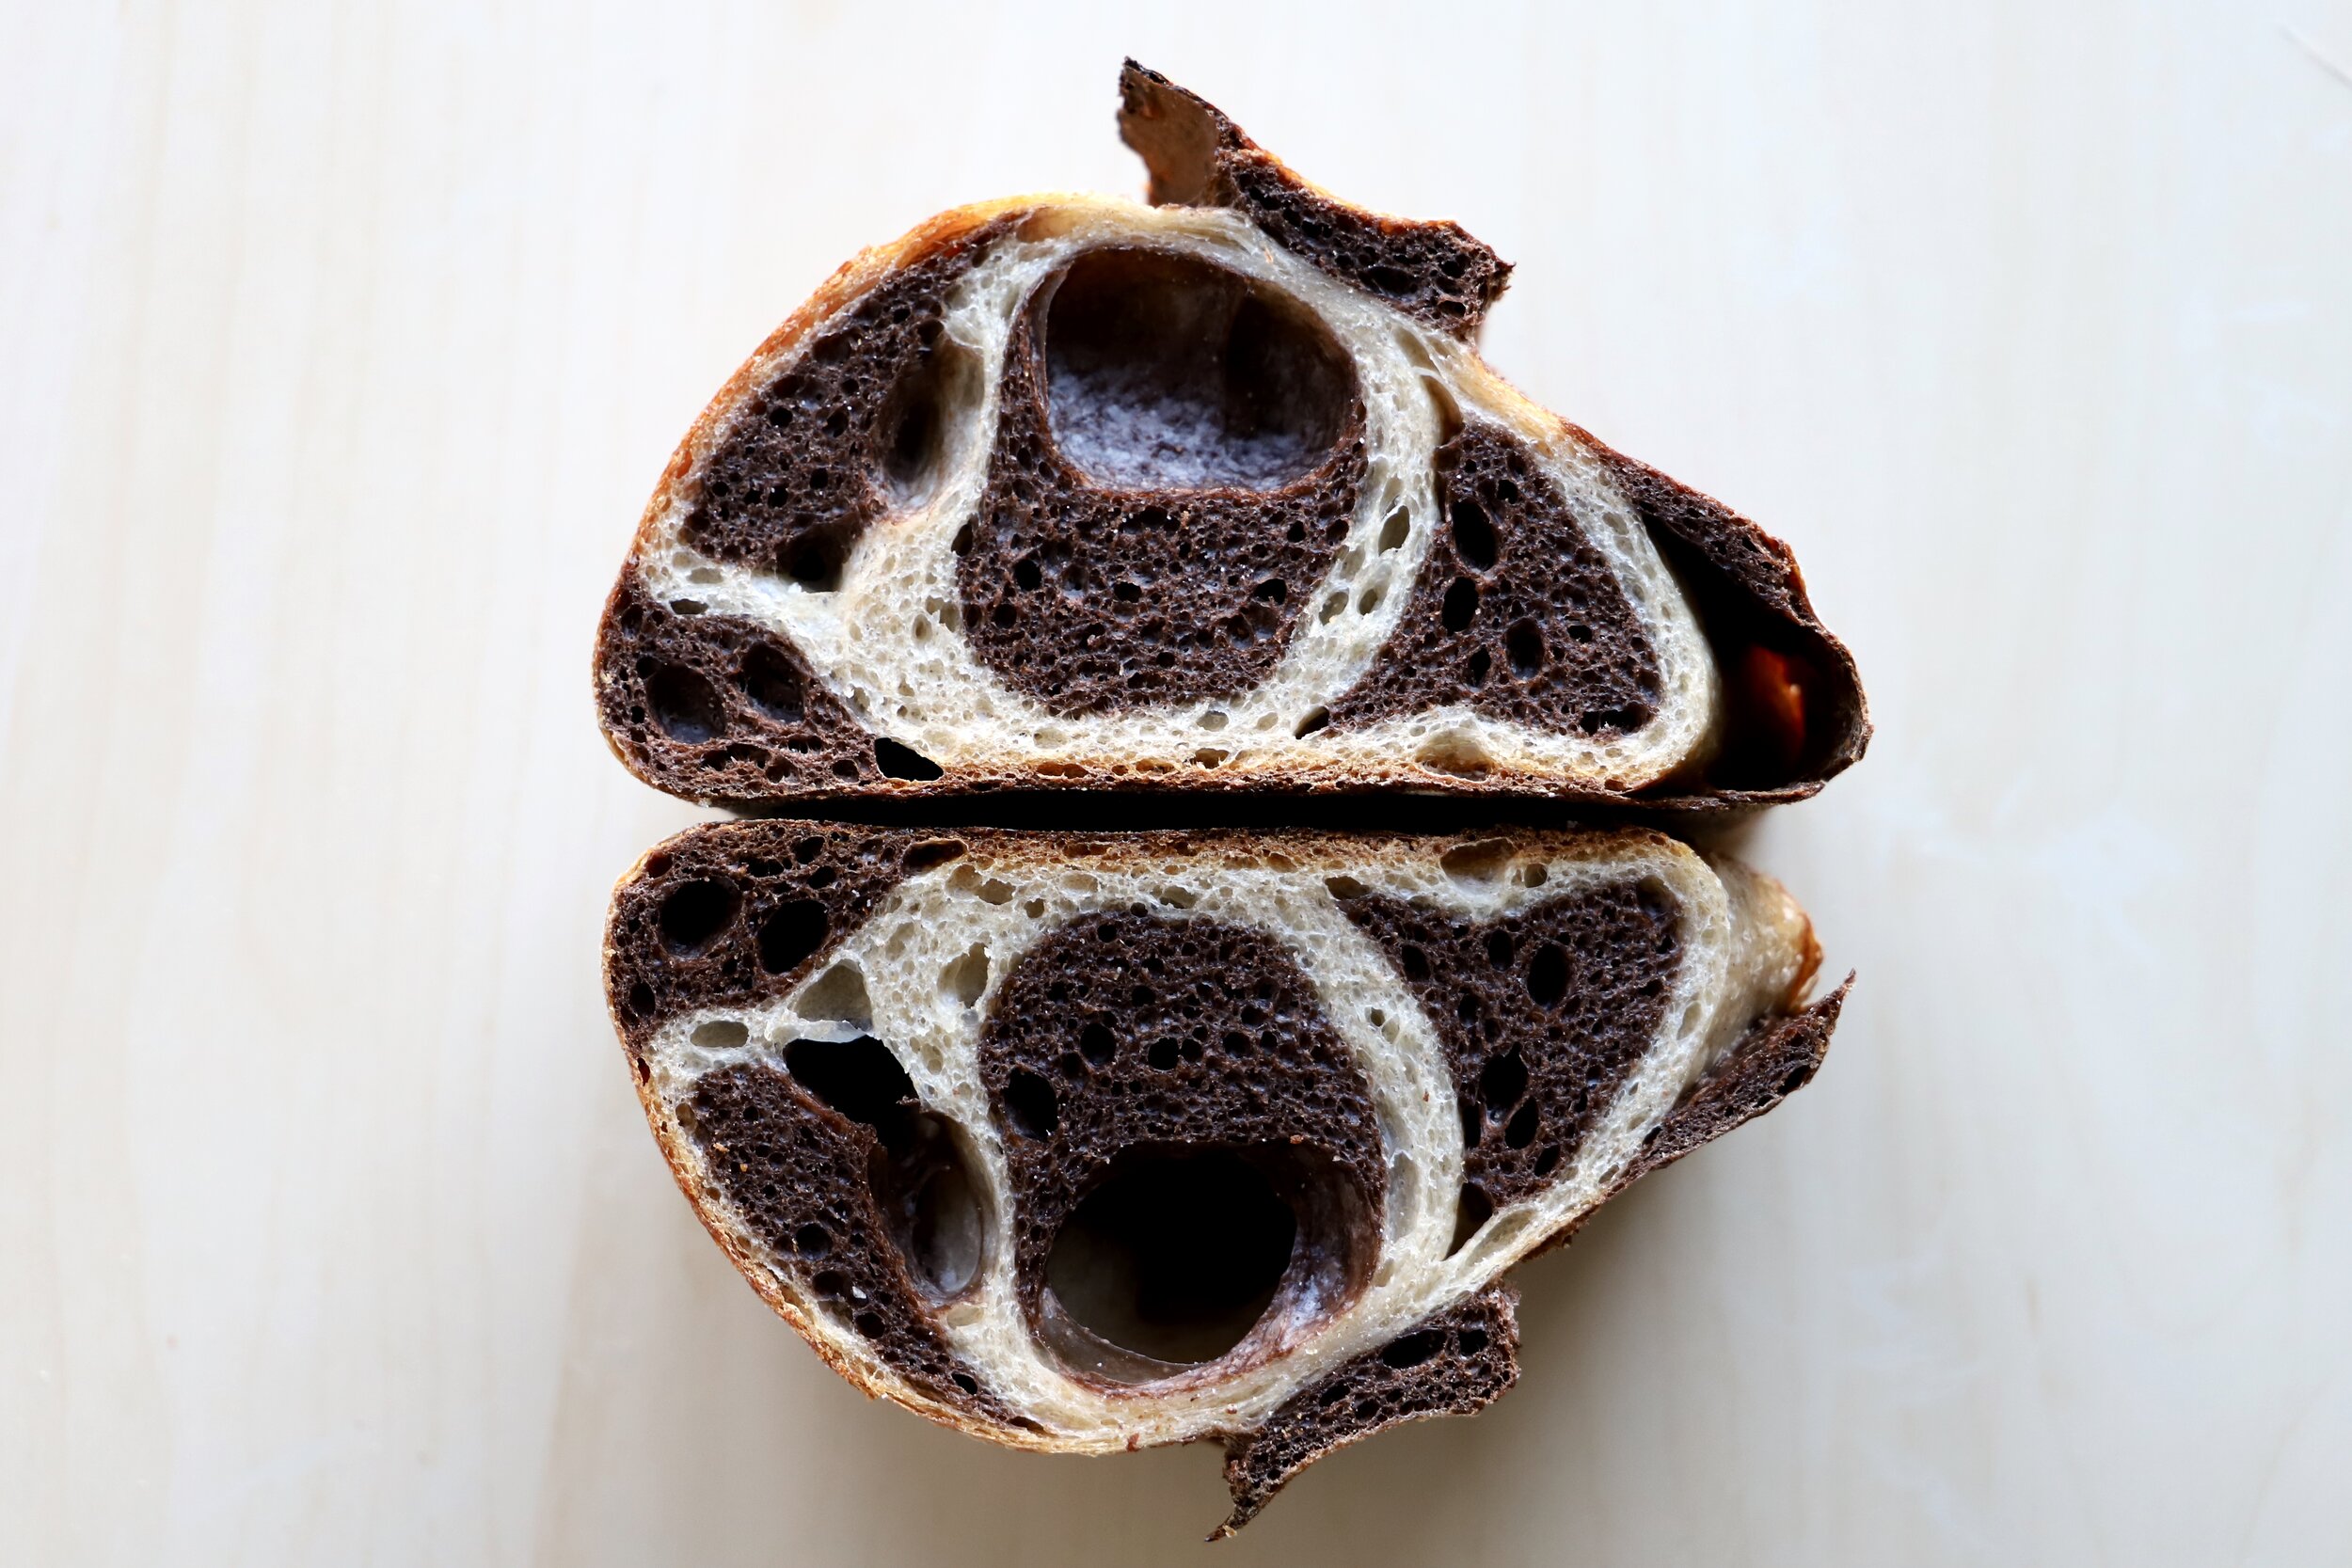
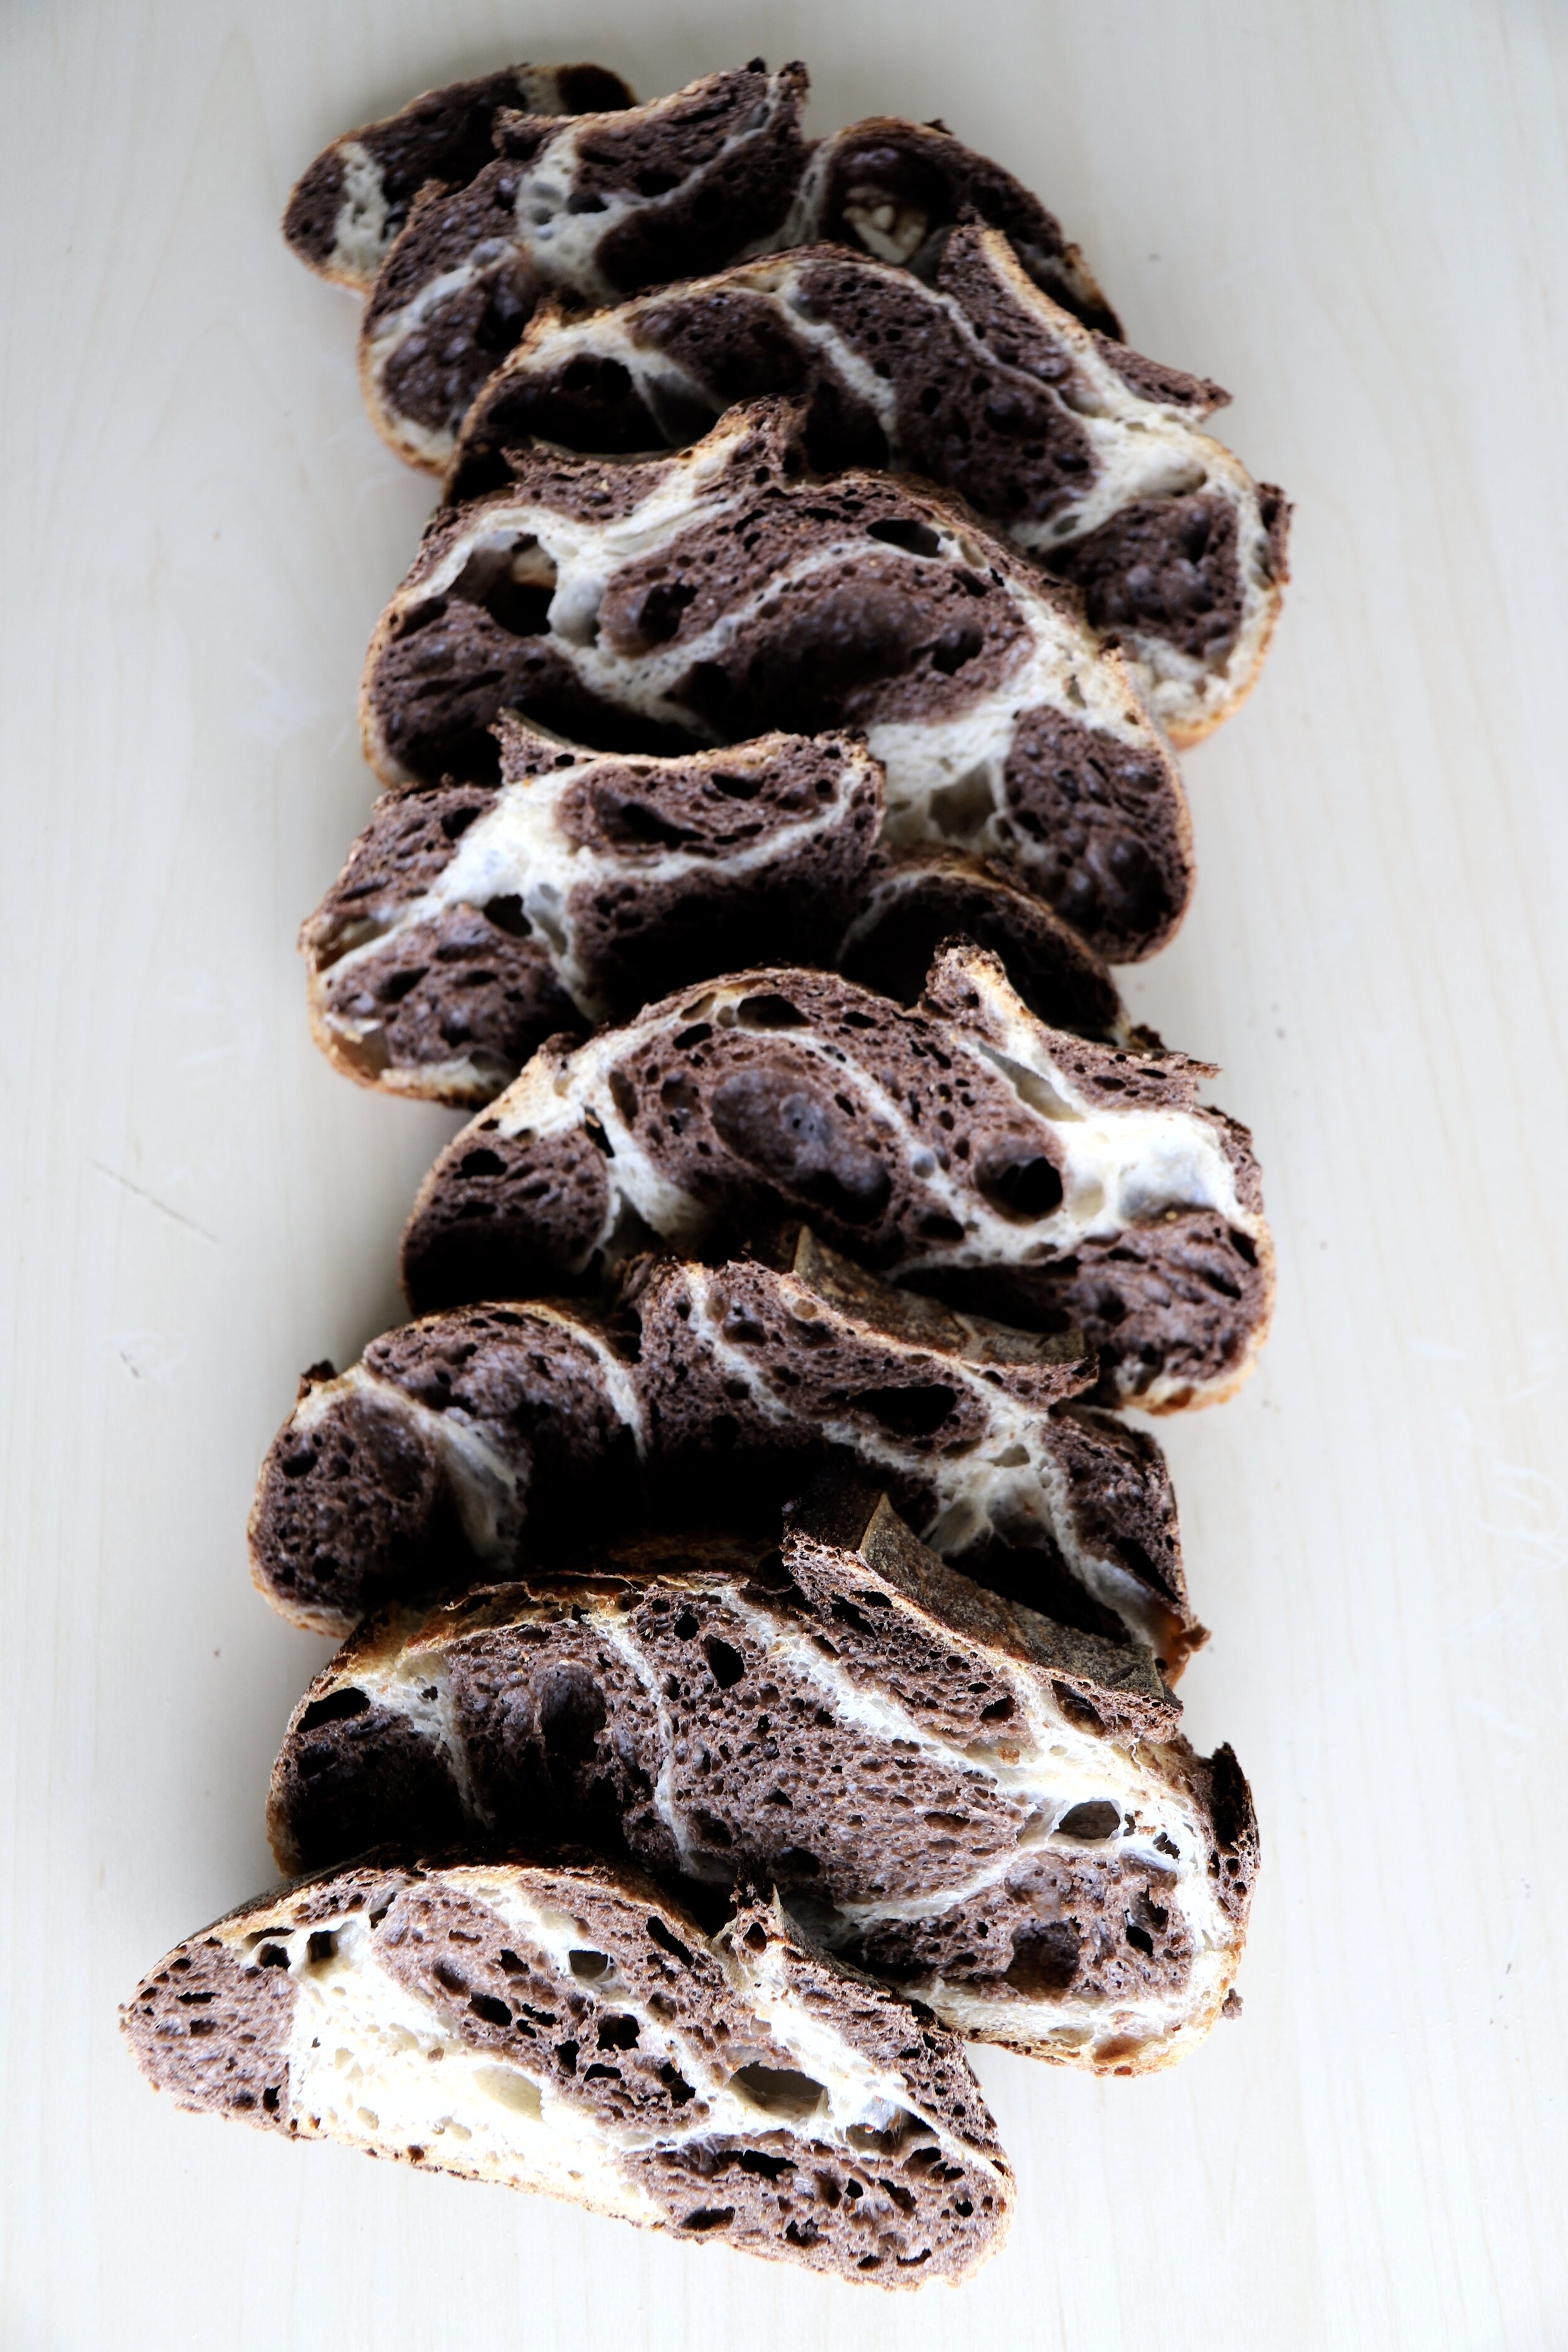
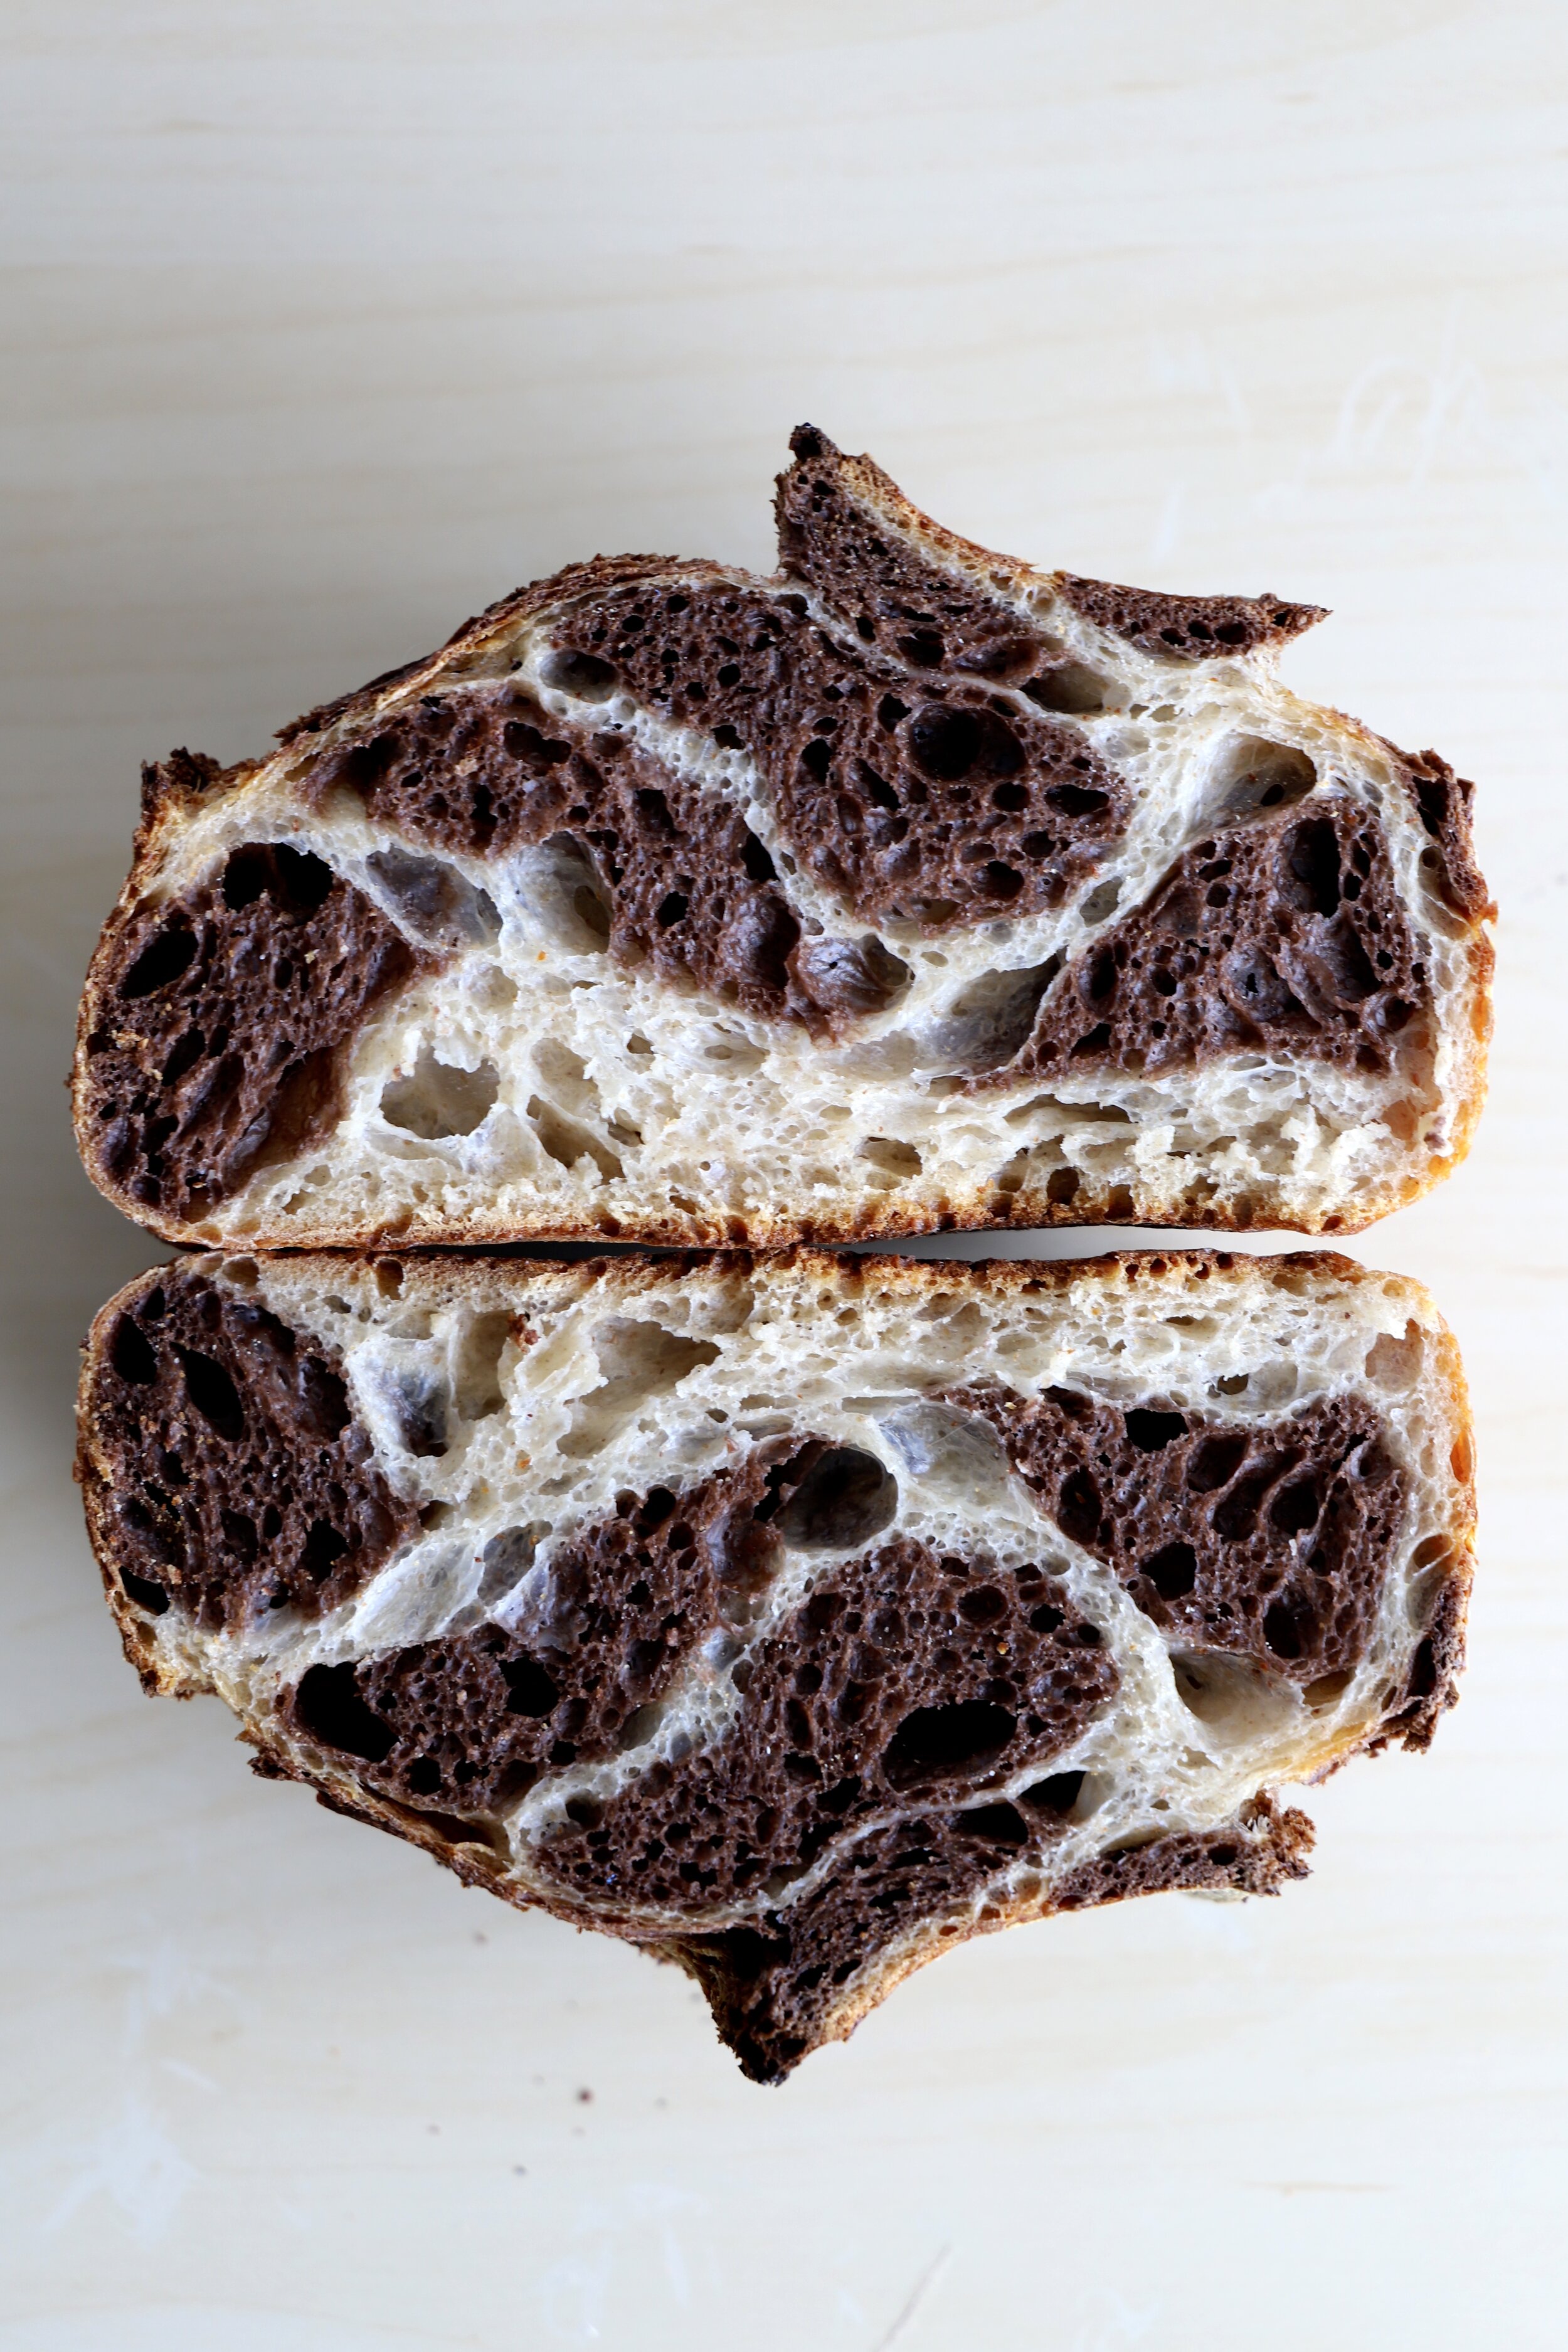
There are many ways to achieve a cocoa swirl, but I have been playing around with different shapes as I laminate cocoa dough into regular dough. Instead of just one sheet of dough stretched out onto another, I’ve been making more of a spotted or animal pattern by using “ropes” of cocoa dough laminated and rolled into a taut, stretched out regular dough. And here’s the thing: it looks different every. single. time. I can never guarantee that your bake will look like mine (in any recipe) but for this one I REALLY can’t guarantee anything haha! But it’s fun to play around, and that’s what sourdough is all about.
For this dough, you’ll want to feed your sourdough starter so that it’s ripe for use either in the morning or midway through the day. In the winter, I put my fed starter into the oven with the oven light on & door cracked open. This creates an even 75 degrees, which is perfect for my starter. I highly recommend buying a small thermometer to be able to track your bulk ferment and starter rise more precisely. Every kitchen and starter is different, so you’ll have to experiment and see what works best for you and the environment around you!
Ingredients (Total)
360g bread flour (90%)
40g whole wheat (10%)
12g salt (3%)
10g cocoa powder (5% into half the flour)
300g water (75%)
80g ripe starter (20%)
Instructions
Mix the flours and salt together in a medium sized bowl and then divide evenly (206g flour into one bowl and 206g into another). Sift the cocoa powder into one of the bowls and whisk to combine.
For the plain dough: measure out 145g water and mix in 40g starter. Pour into the plain flour and combine.
For the cocoa dough: measure out 155g water and mix in 40g starter. Pour into the cocoa flour and combine.
Cover both bowls and leave to rest in a warm place for about 45 minutes.
Instructions continue below.
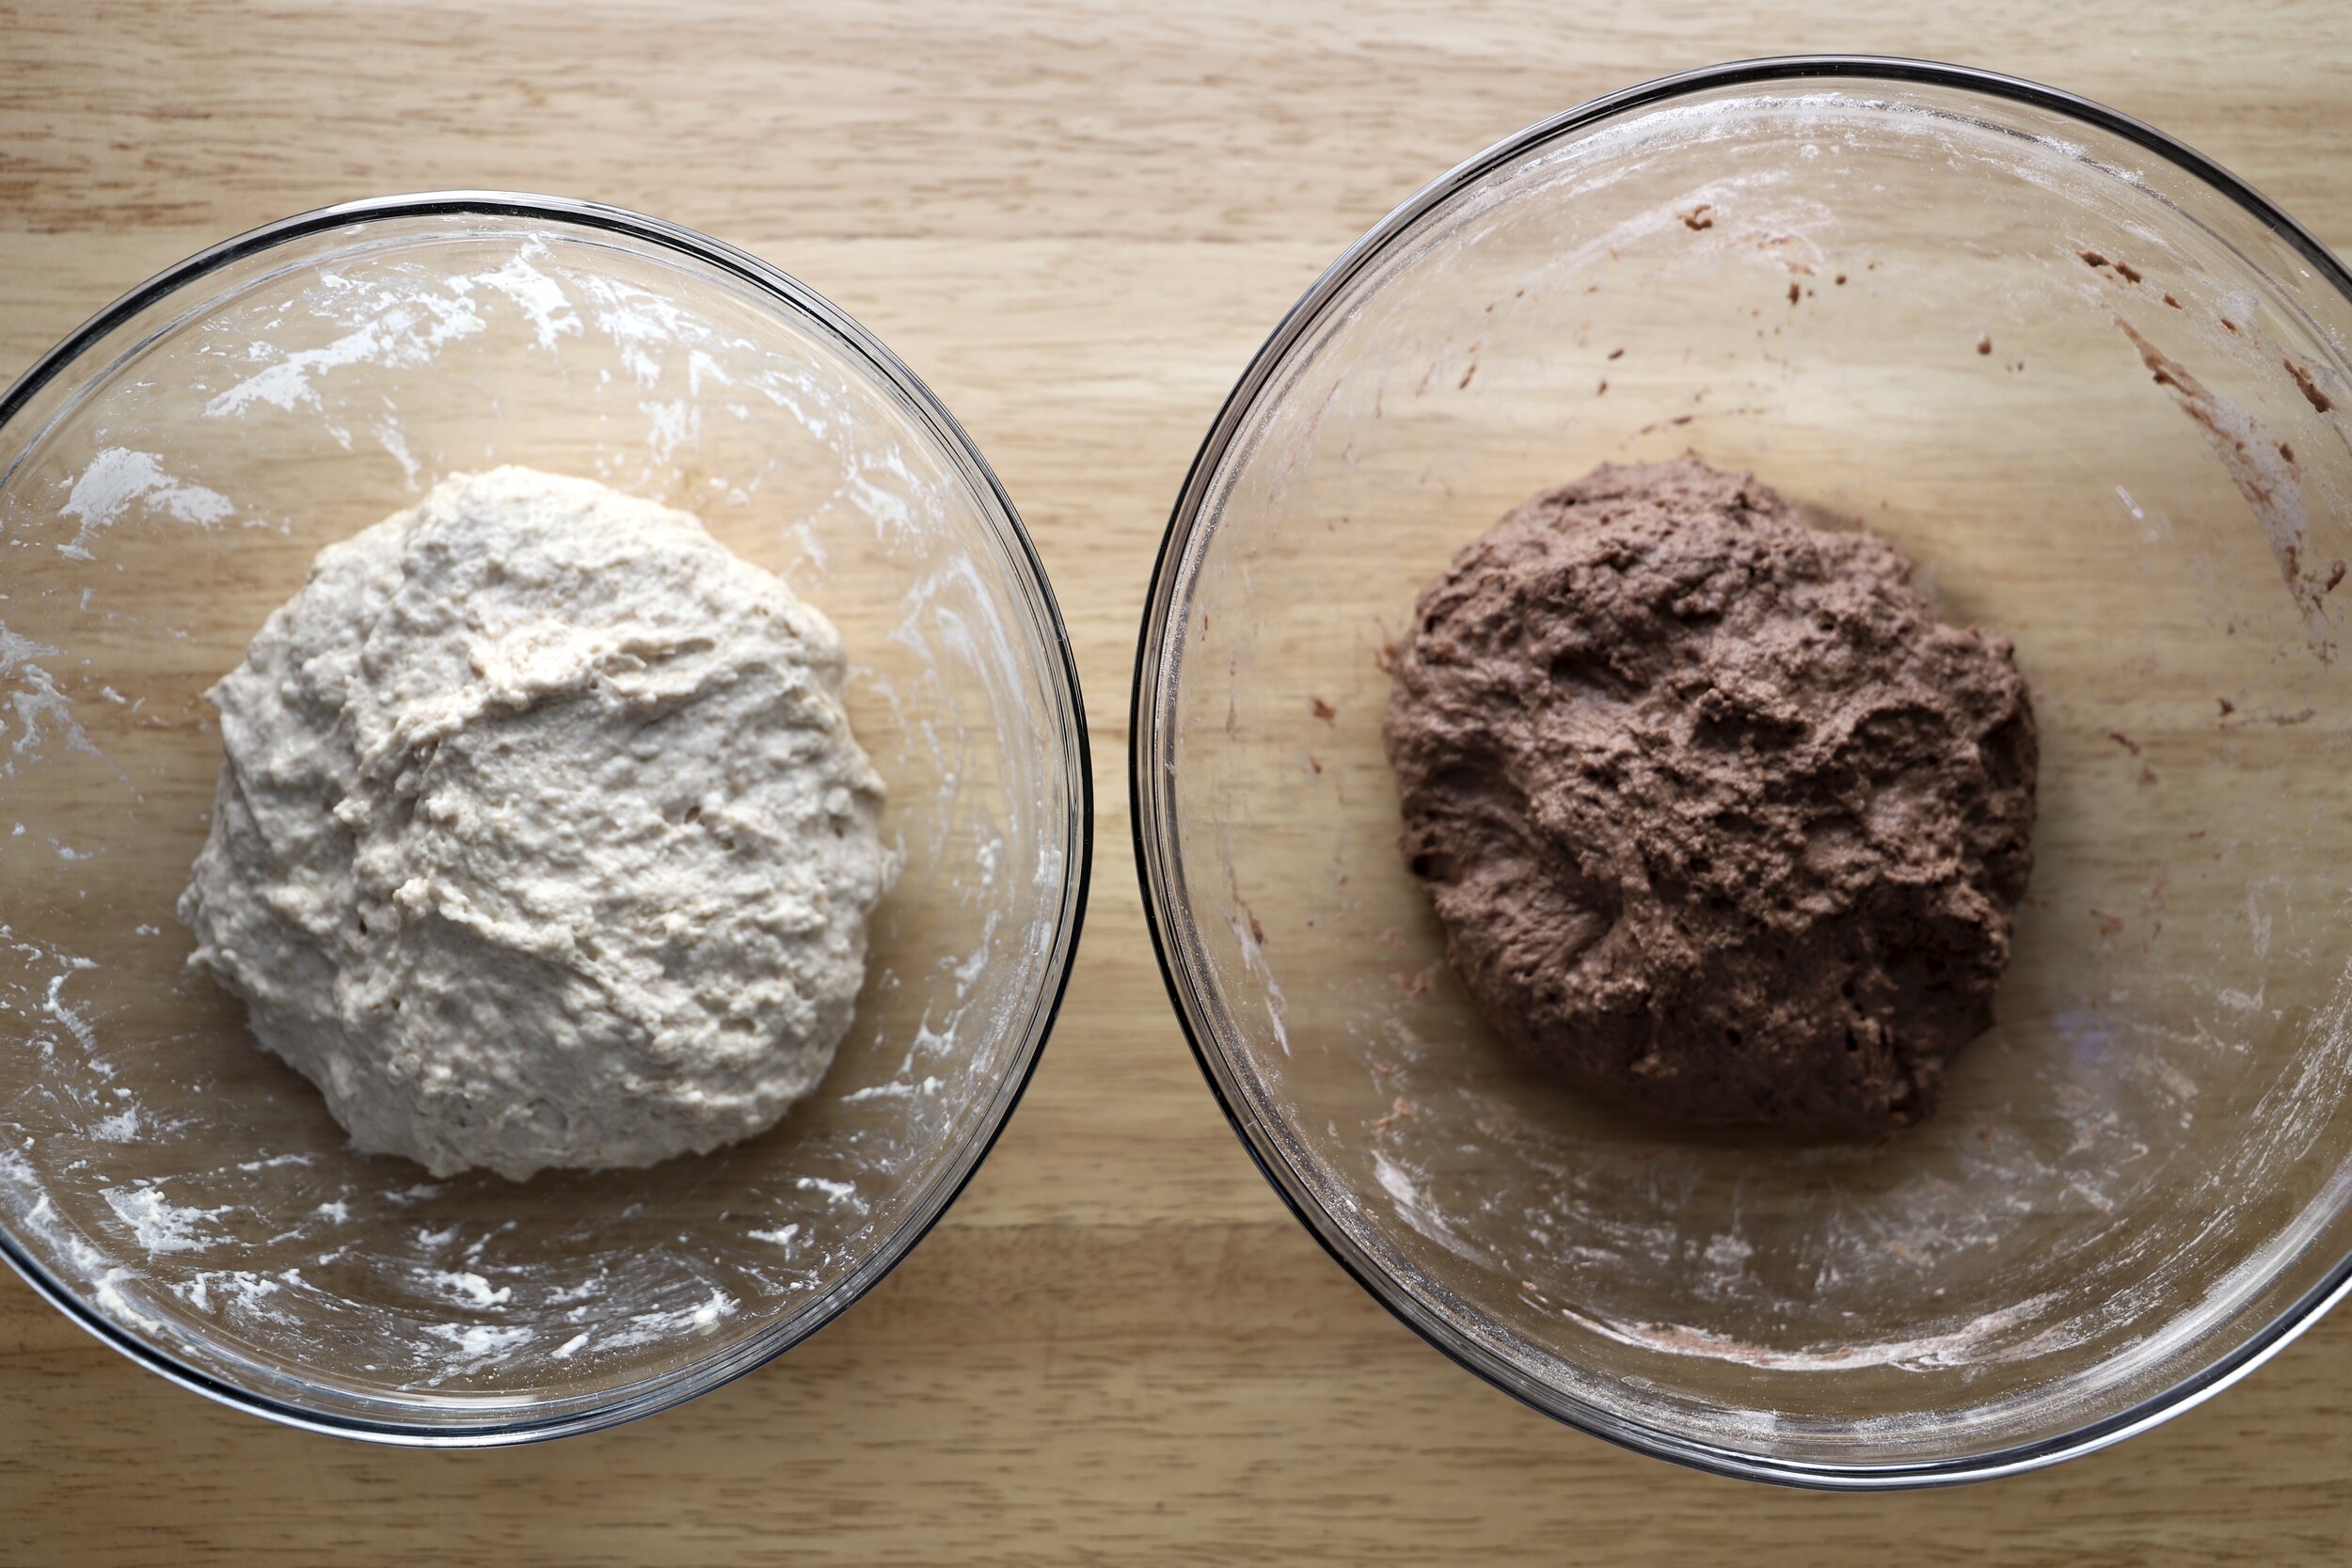
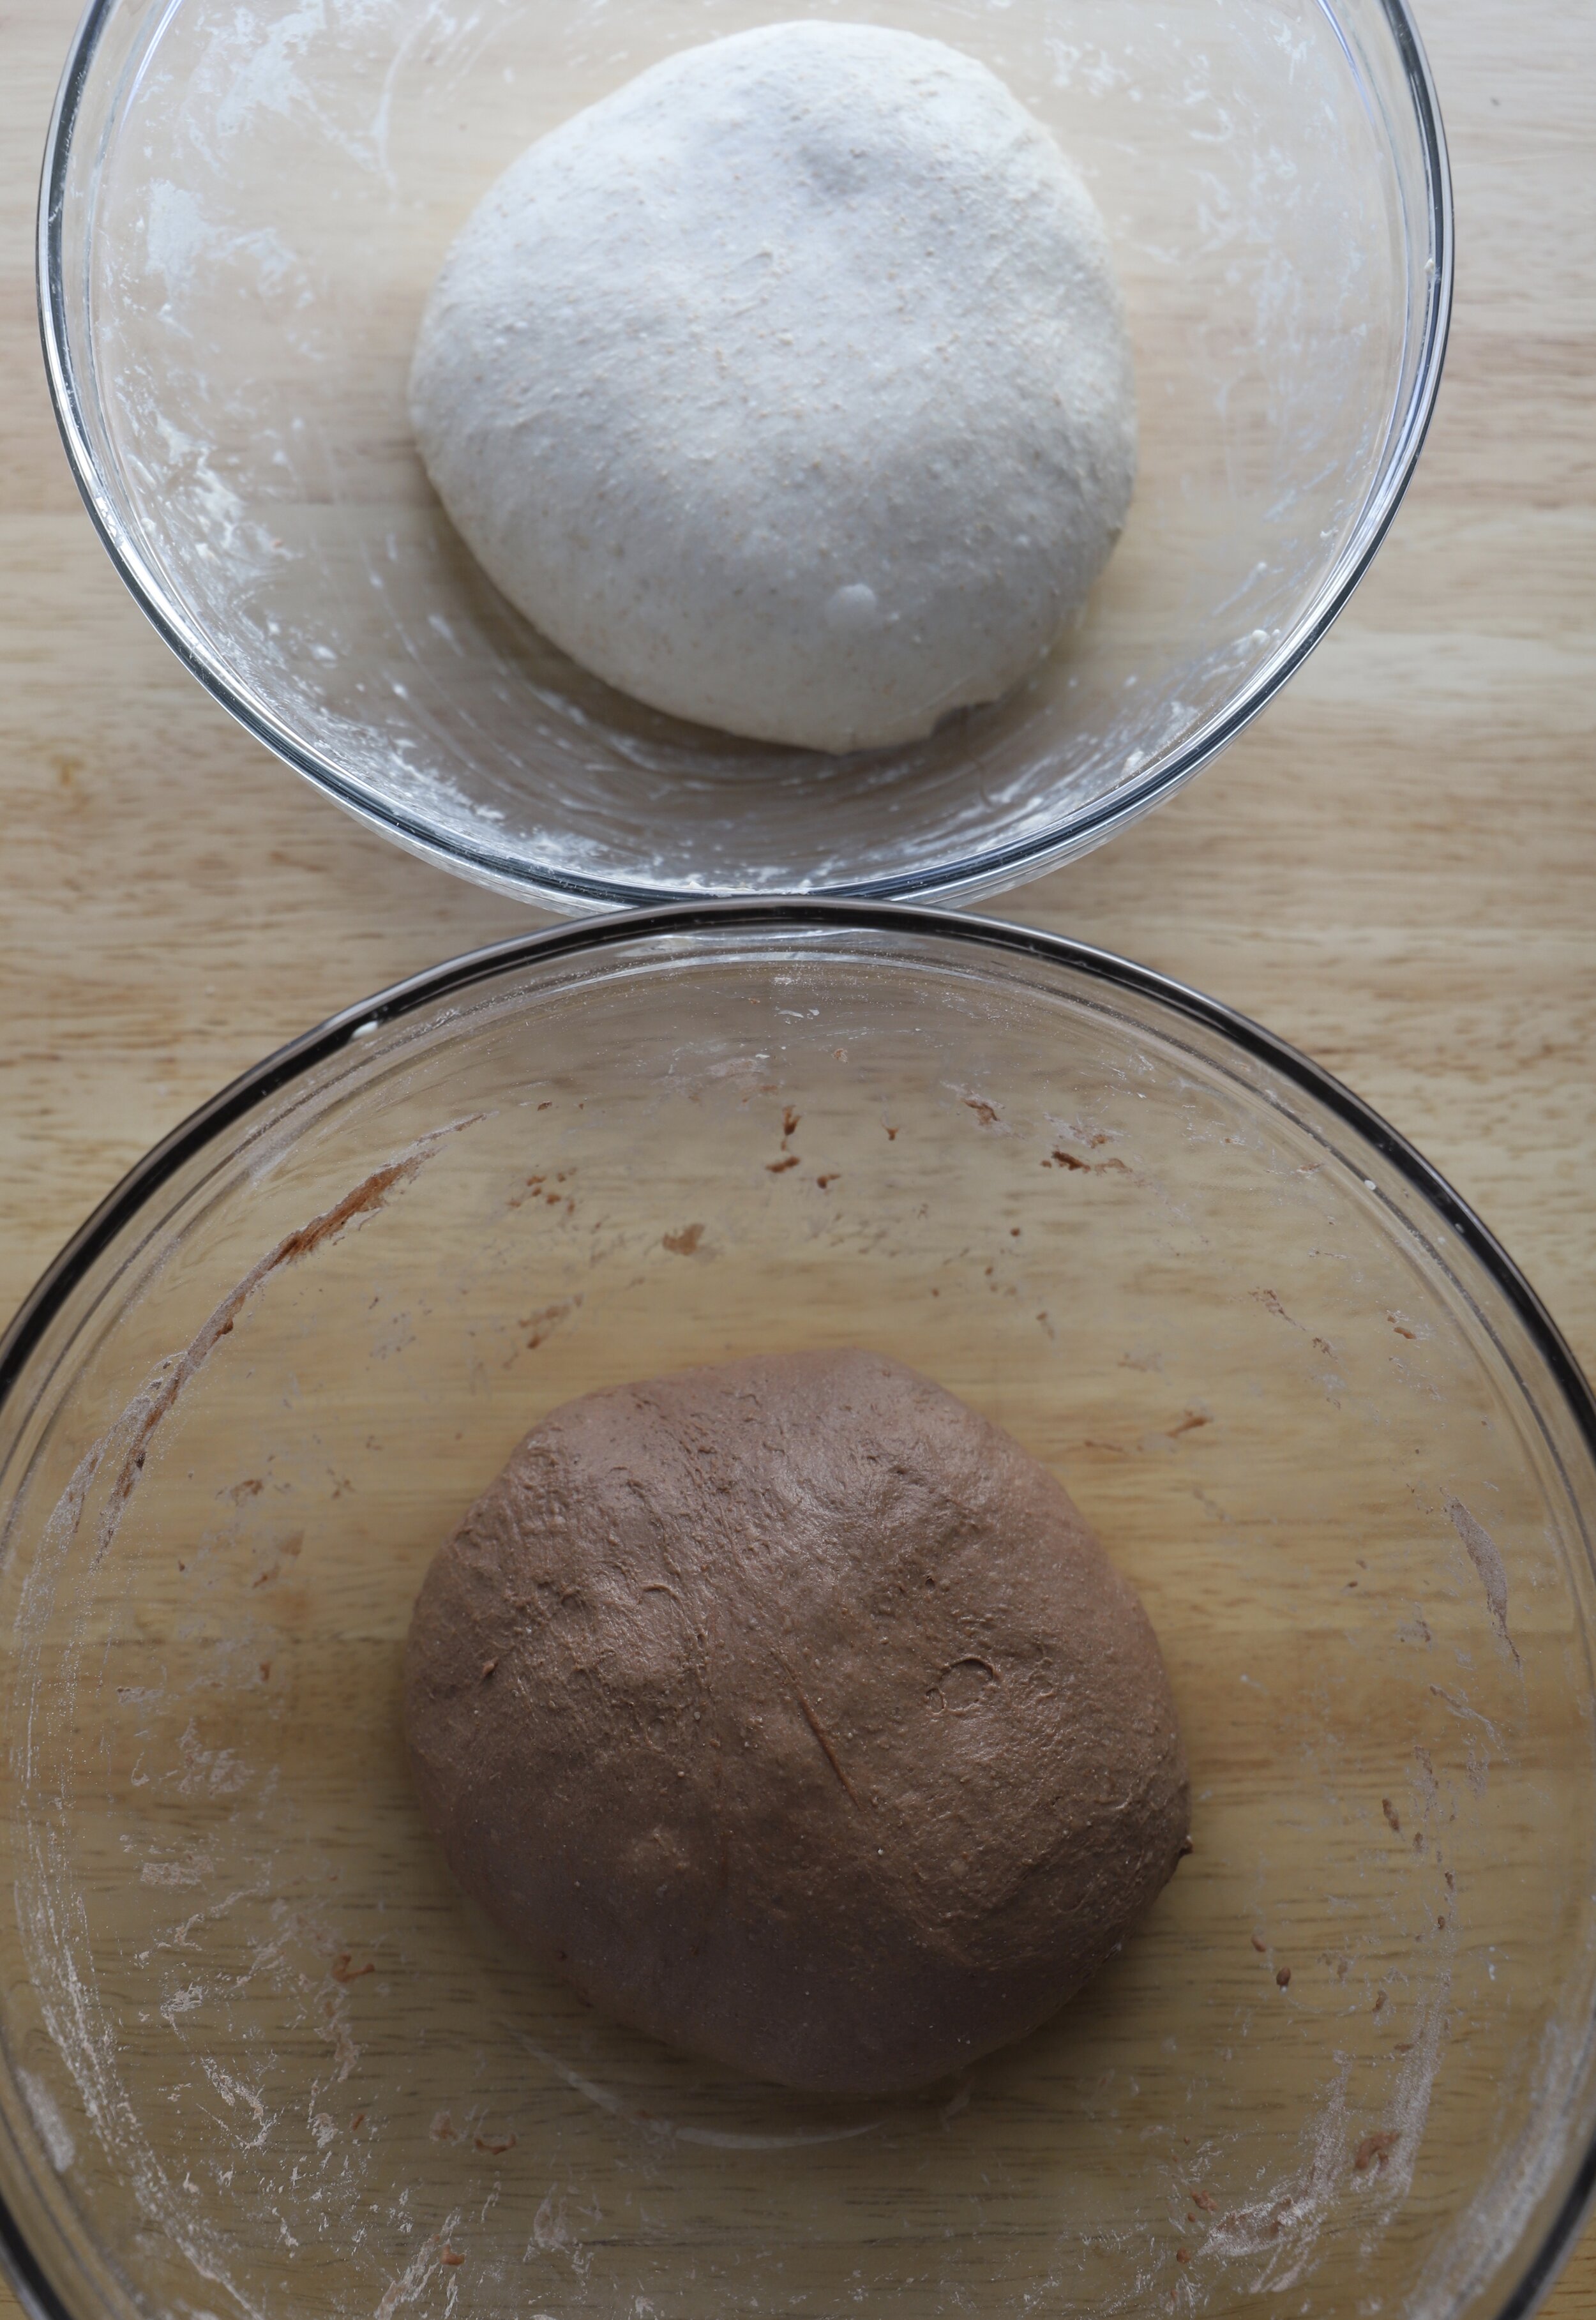
Above is a photo of the doughs after initial mixing, before covering them to rest. Below are photos of the doughs after their first 45 minute rest (left) and after the first round of stretch and folds (right).

5. After the doughs have rested for 45 minutes, perform a round of stretch and folds on both. See above photos (I turned the seam side down but it does not matter how you leave them to rest). Cover and let them rest again for 45 minutes.
6. Repeat step 5 twice or three more times. If you’re doughs feel strong (not soupy or spreading out too much), you can then just leave them (covered) for the rest of the bulk ferment. In total, I bulk fermented these doughs for about 6 hours at 72F.
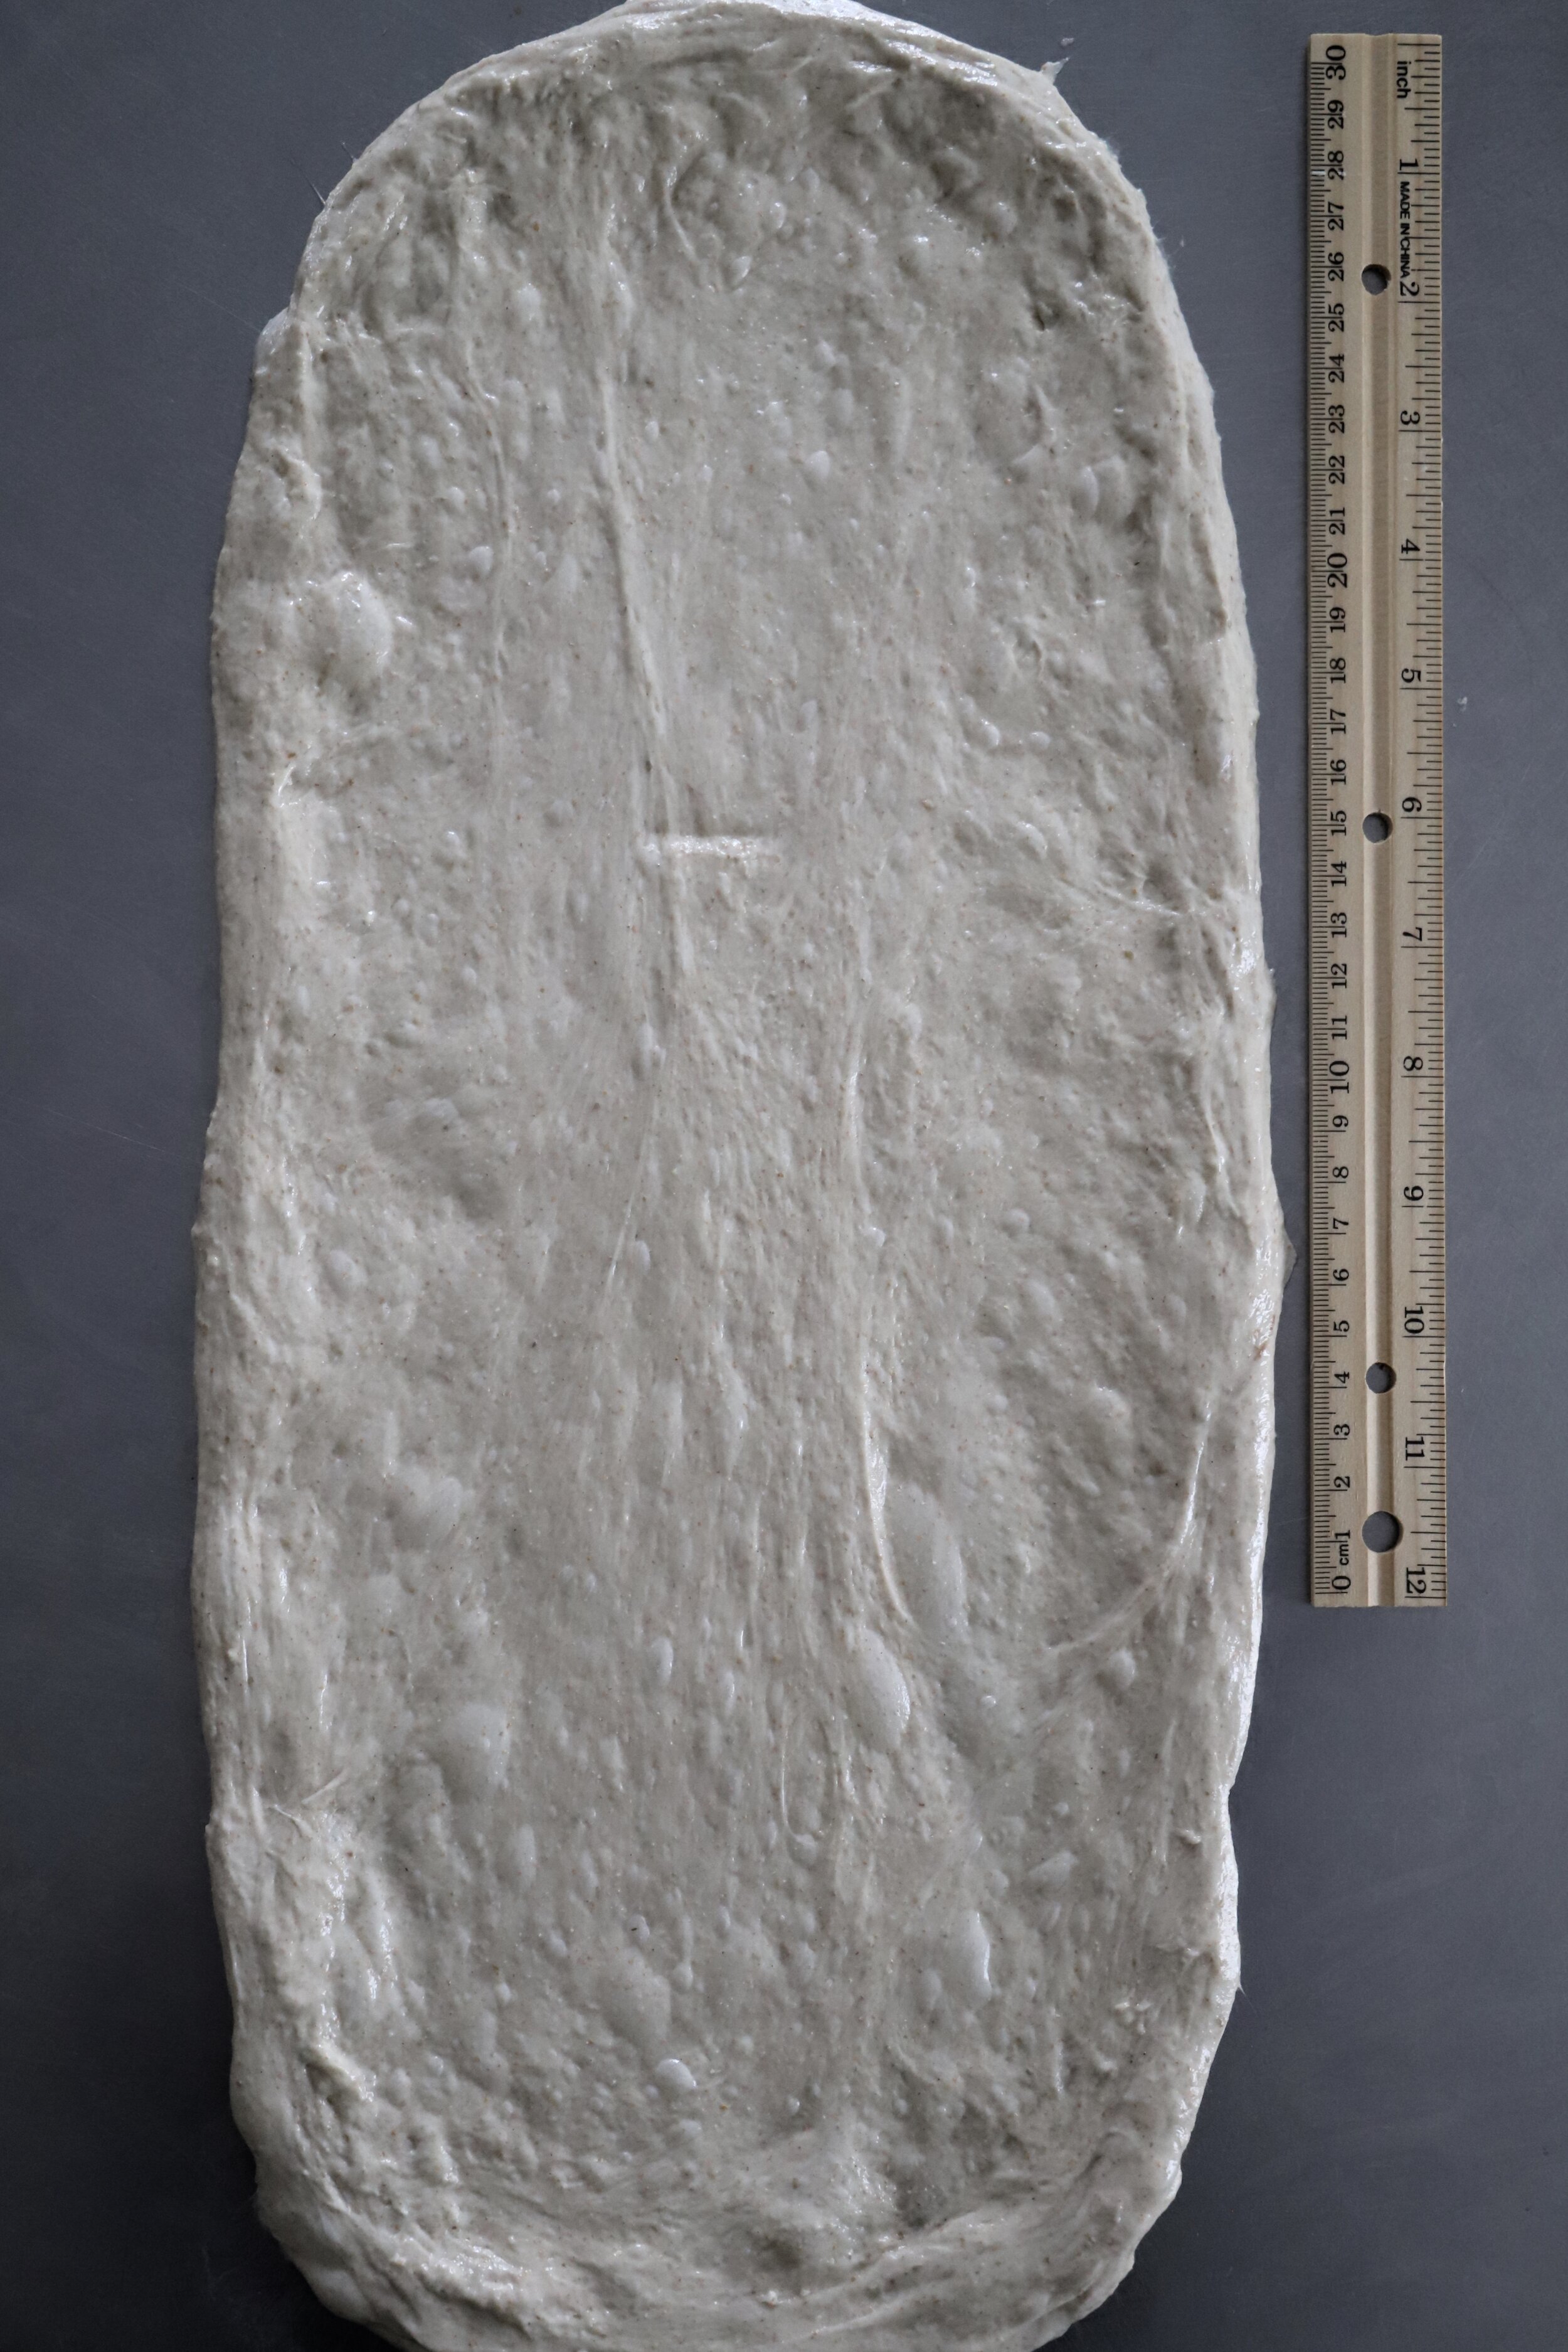
7. When you’re ready to shape, turn the plain dough out onto a lightly wet work surface. Stretch it out to form a very long rectangle, about 18-20 inches long and no more than 8-9 inches wide. This shape is intentional given the shape of my banneton (here’s the one I use for this). Keep in mind this is NOT a traditional shaping technique, but I’ve found it does the trick for this one.
8. Divide the cocoa dough into 5 or 6 “ropes” (see below and try to ignore the fact that it looks like absolute poo at this stage).
Instructions continue below.
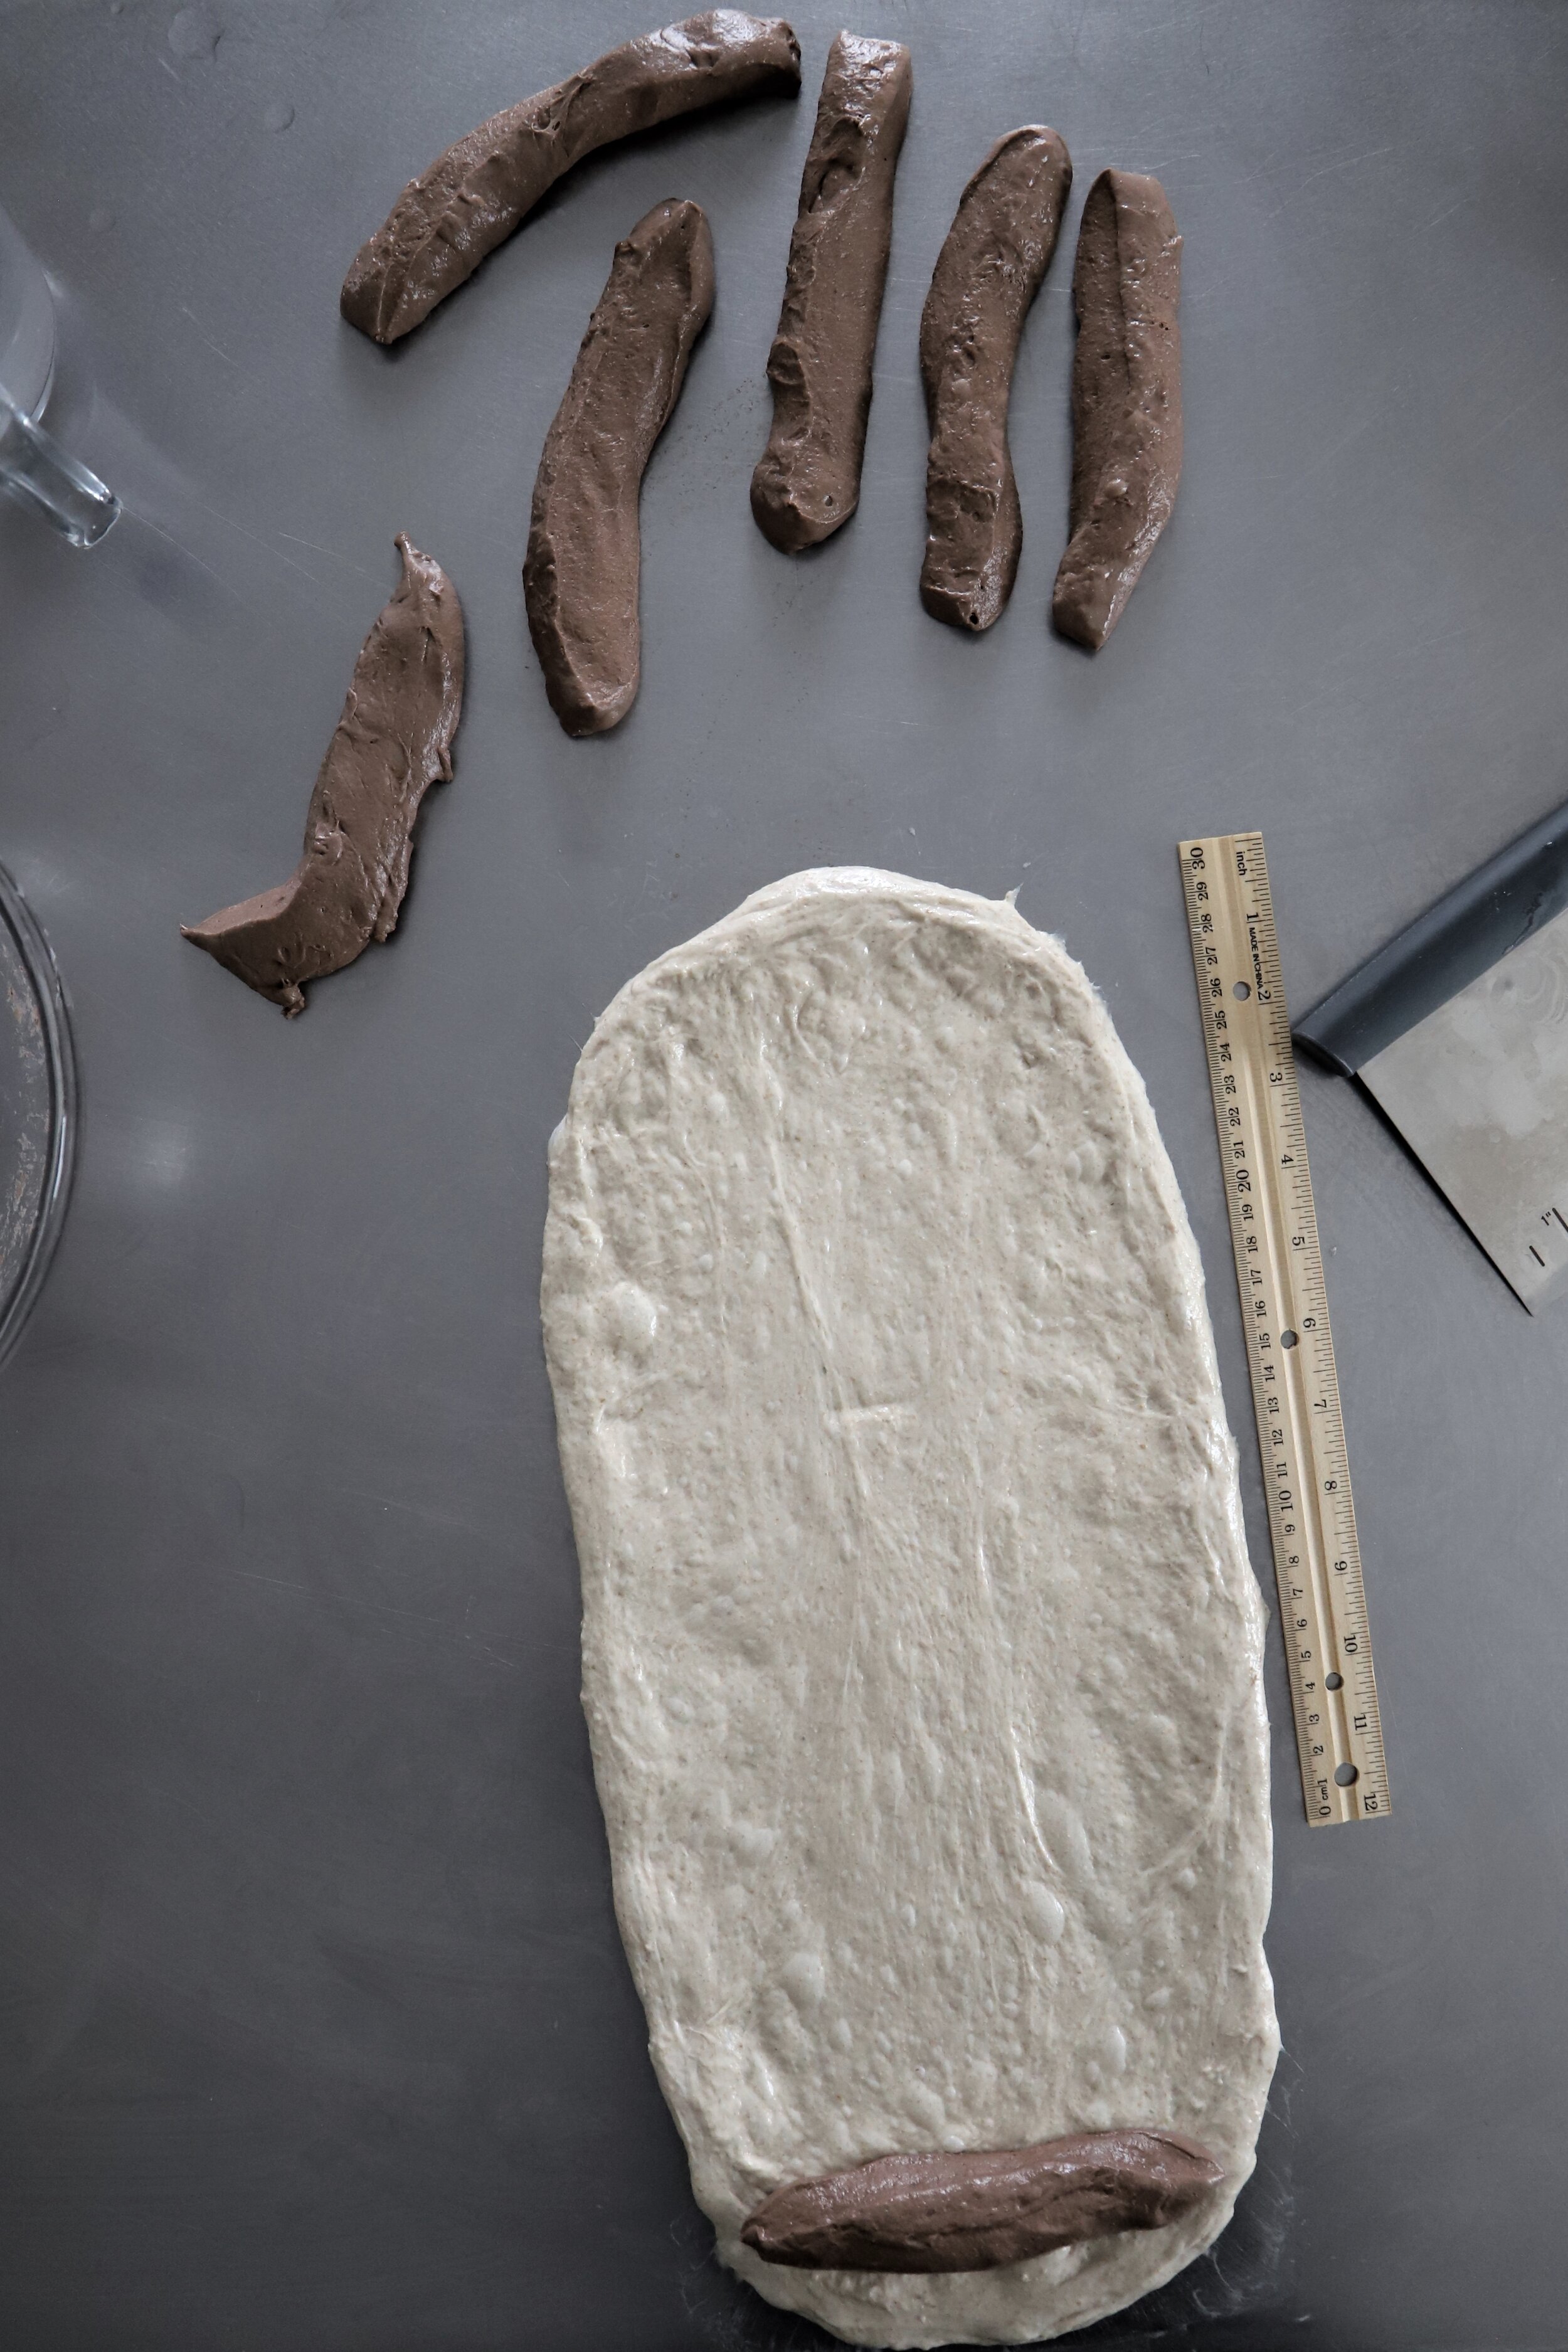
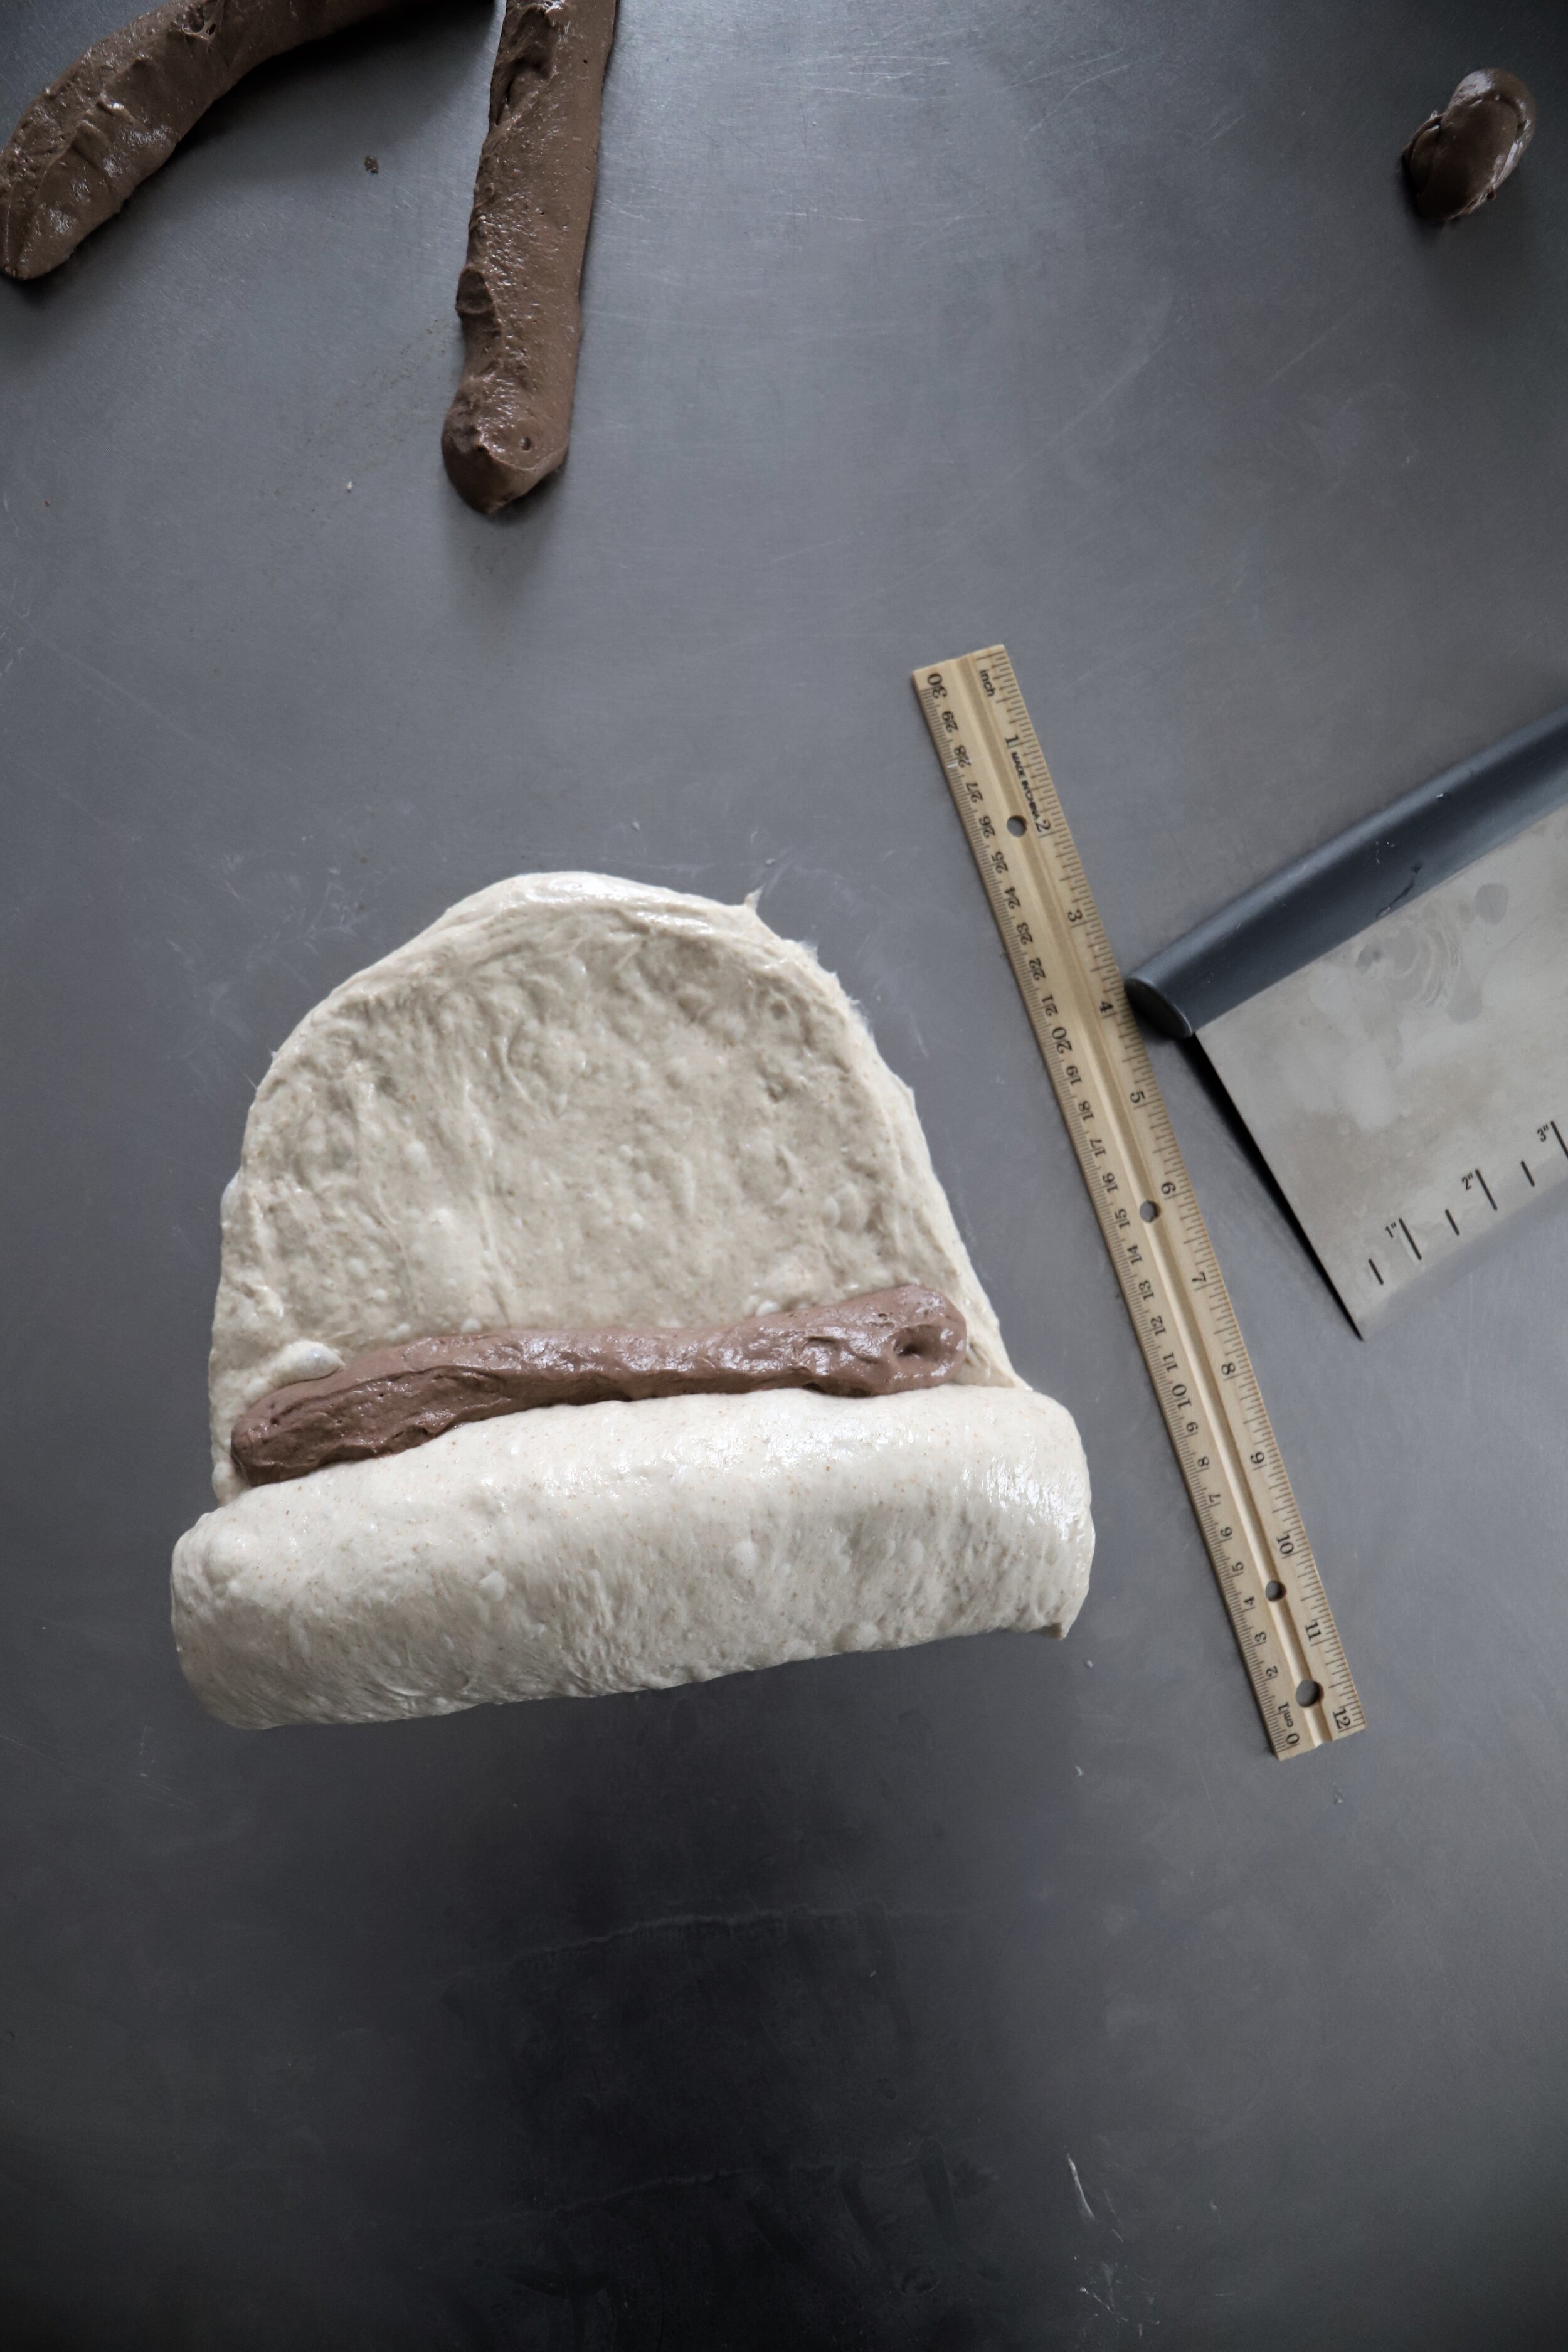
9. Place one cocoa dough rope across the bottom of the rectangle (see image above on the right). Roll the plain dough up and over/around the cocoa rope and gently seal it. Place a second cocoa dough across, roll again. Repeat until you’ve rolled all the cocoa ropes into the plain dough.
10. Seal the ends closed, and with the long seam on the bottom/facing down, build some surface tension by pushing the roll back and forth gently. It helps to use a rubber bench scraper dipped in water or lightly wet hands.


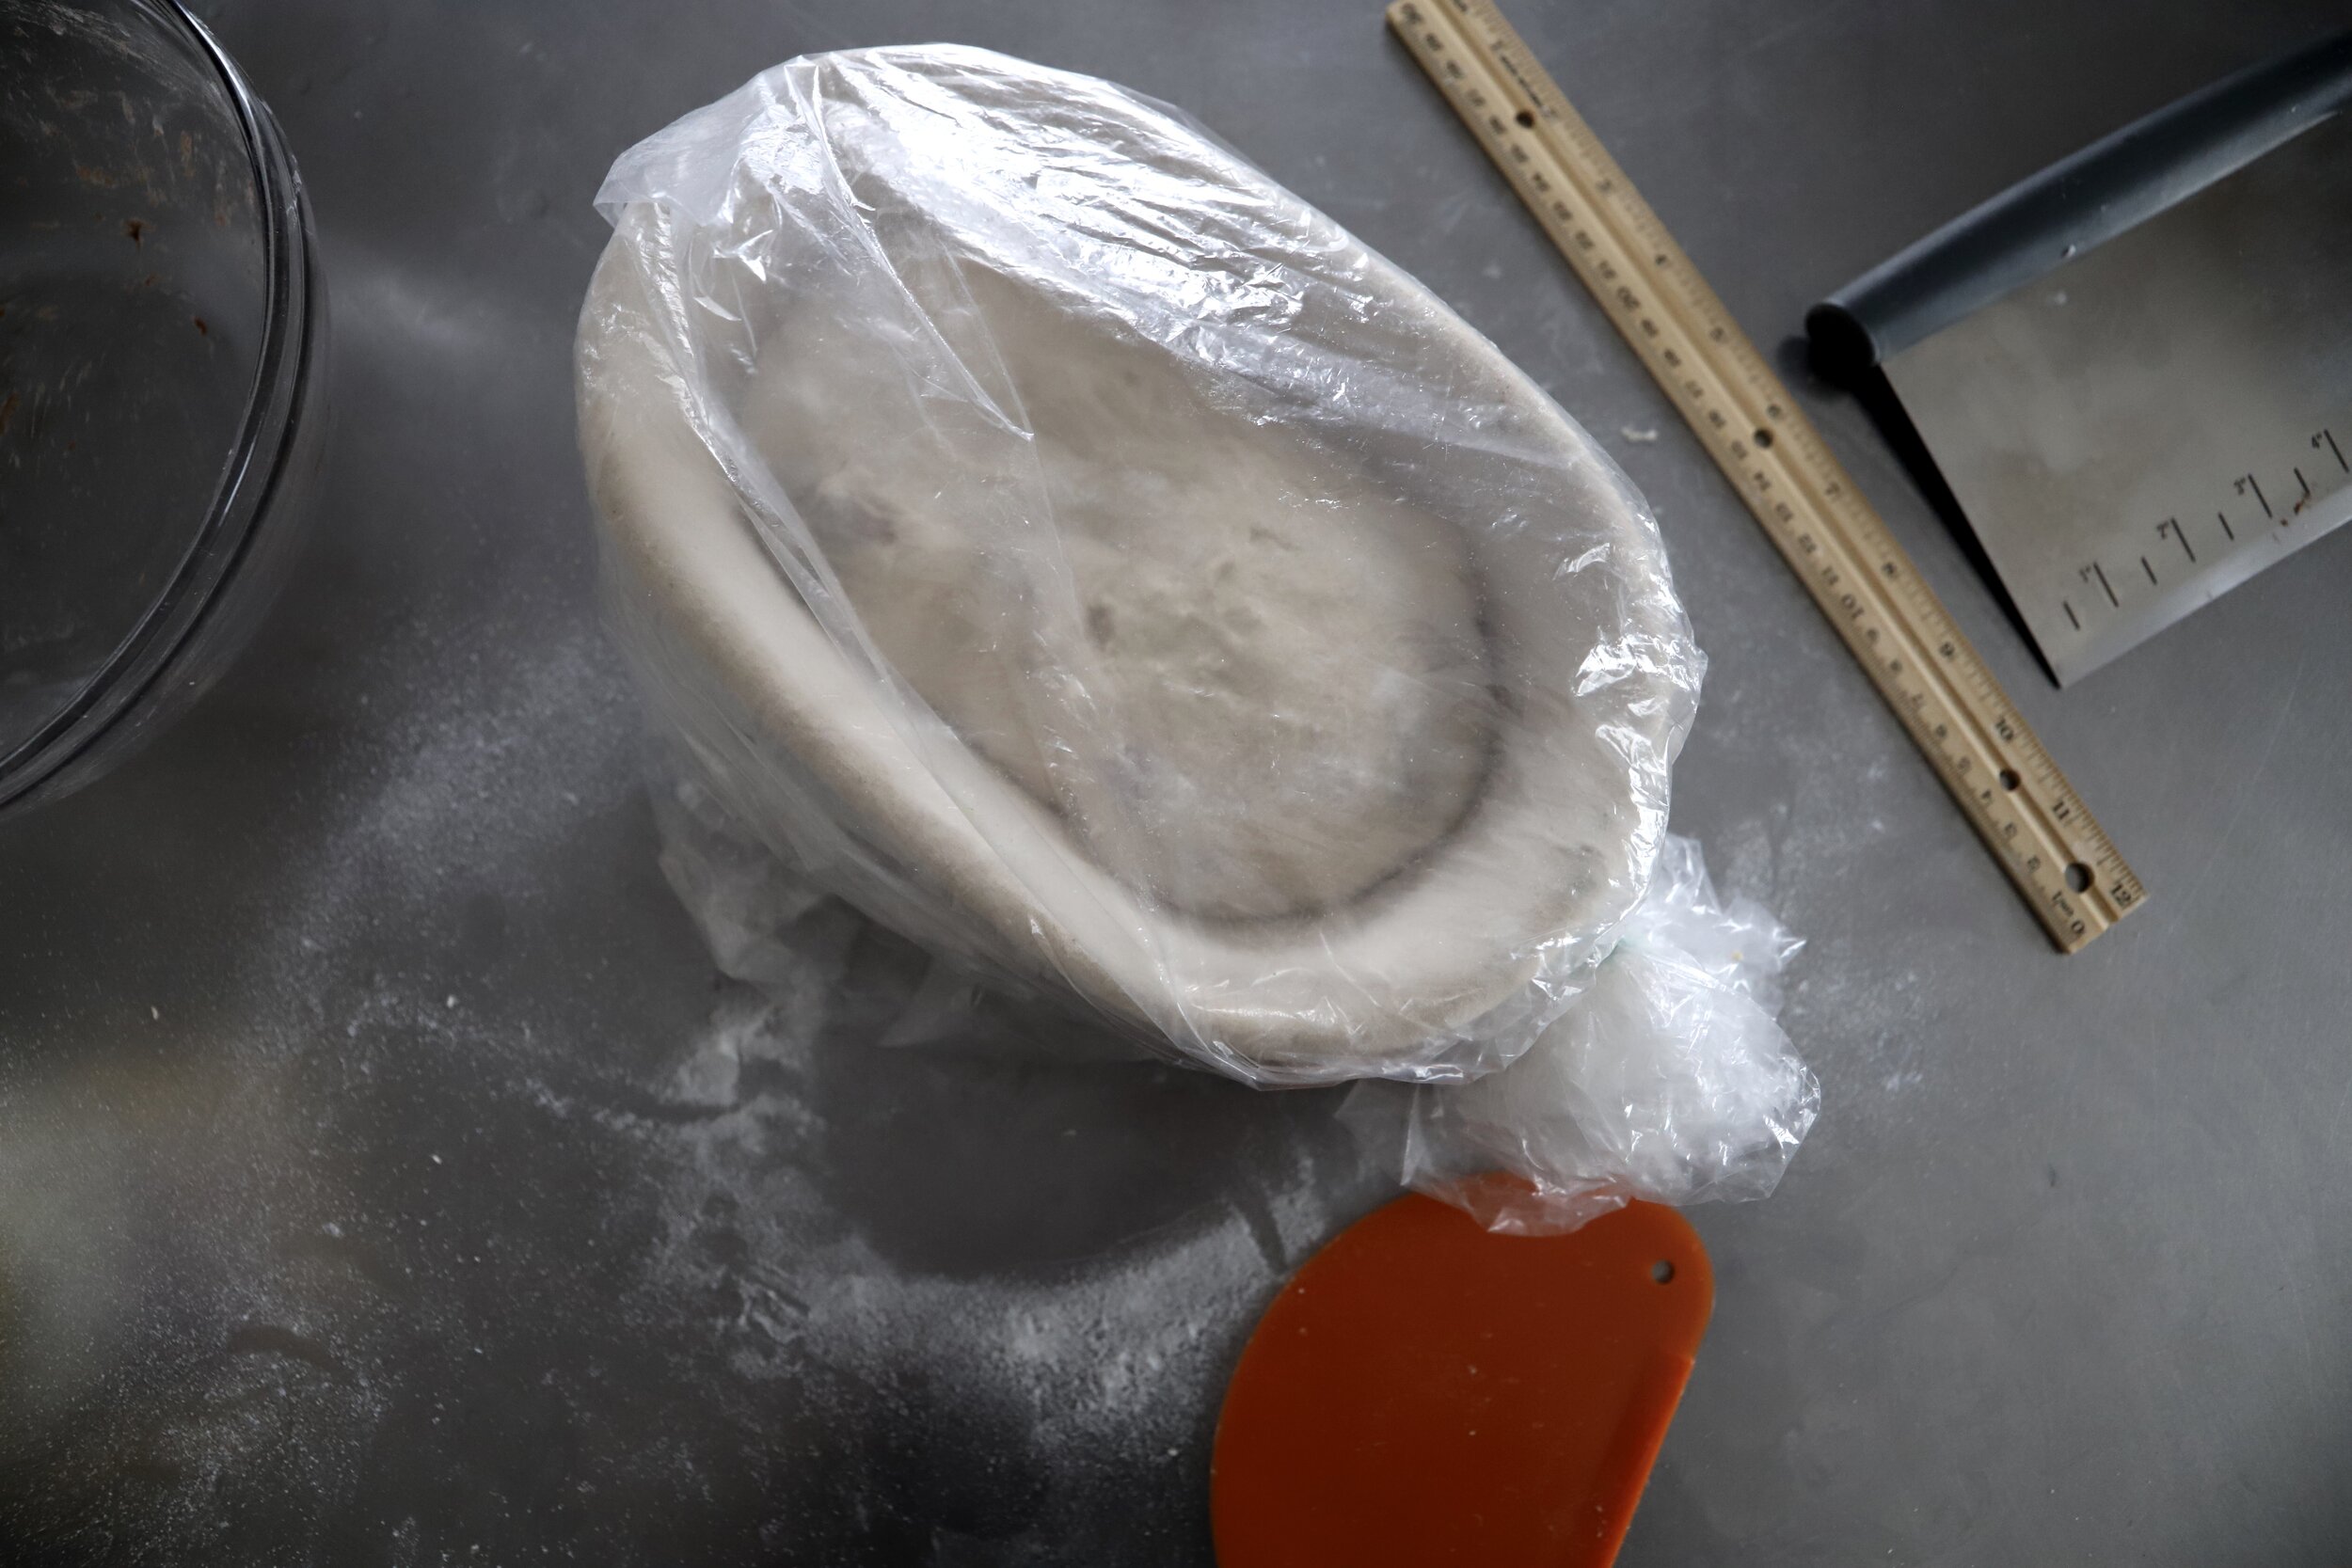
11. Dust the top of the dough with rice flour (ideally, but if you don’t have any use AP or bread flour). Flour your banneton and then flip the dough in so that the bottom seam is facing up. Cover the banneton and let it sit in a warm place for another hour (this is because the dough has just undergone trauma and you want it to relax a bit again).
12. Move the covered banneton into the fridge and leave it overnight.
13. In the morning, pre-heat the oven to 475F with a dutch oven or heavy-bottomed pan inside for about 20-30 minutes. When the oven and pan are ready, take the dough out of the fridge. Flip it out onto some parchment paper (seam side down), score it and transfer it to the pot.
13. Bake for 30 minutes lid on, and then reduce the oven temperature to 450F and bake for another 10-15 minutes lid off. Slice and enjoy!
If you make this, I’d love to see! Tag @nokneadtoworry on Instagram. This is not a traditional loaf (obviously) so try to shake off what you would “normally” do and just have fun with it! You never know what will happen!
Read next

My Sourdough Method

Sourdough Bagels