Spent Grain Sourdough
Allow me to introduce you to one of the most flavor and nutrient-packed loaves I’ve ever made: spent grain sourdough. Similar to the delicious and useful sourdough byproduct (discard), the beer brewing process results in spent grain. Some breweries save it and give it to local farms for pigs to eat, others compost it, and some end up tossing it. If you’re lucky enough to know anyone who is a home brewer, tell them that you’ll happily take their spent grains! In my case, we have neighbors who brew. But some smaller breweries will also give away their grains on brew day (note - grains are warm when they are first extracted from the brew, so can easily start to mold unless portioned off and frozen relatively quickly). You can find more information about spent grain and ways to use it here.


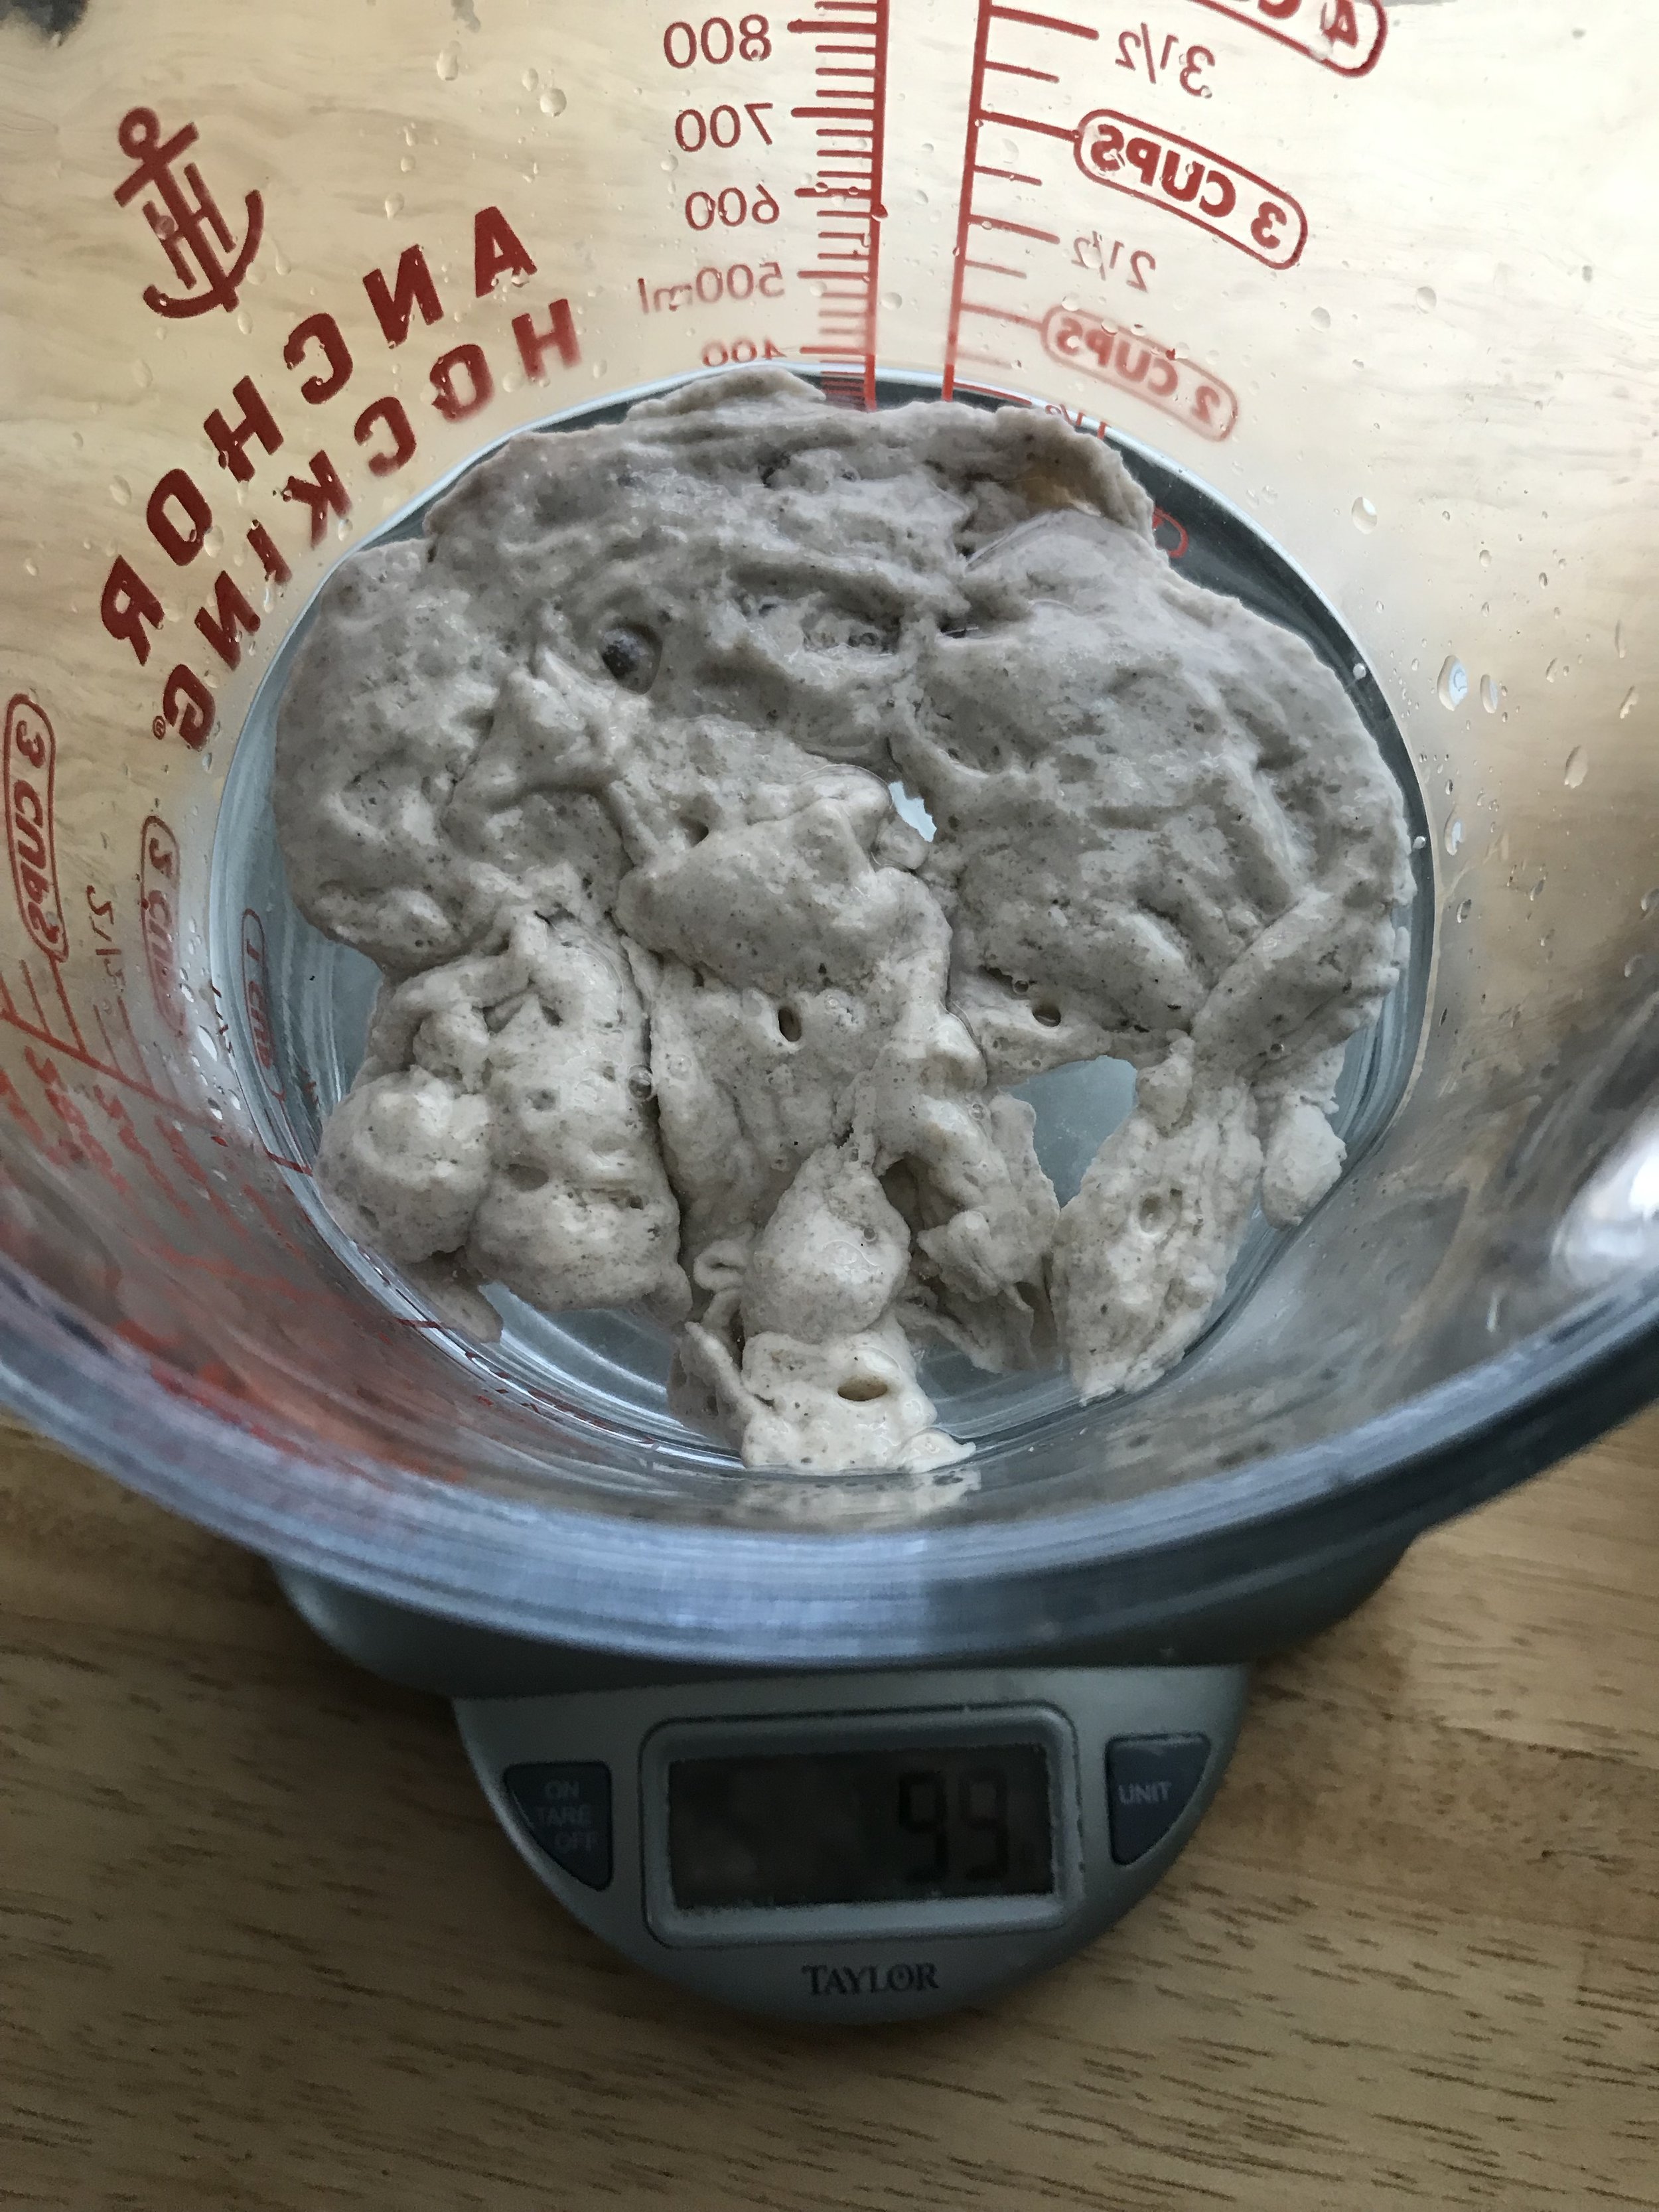
Spent grains will contain quite a bit of moisture unless you have a dehydrator or spend hours drying them in the oven. I prefer to just use them as they are, and adjust overall hydration of the dough accordingly. When I get a batch of spent grains, I portion them off into 1 cup (roughly 135g) measurements and wrap the little parcels of grains in plastic wrap. Then I freeze them, and when I am preparing to bake with them I just take one parcel out of the freezer 24 hours in advance. Usually I let the grains thaw in the fridge and then bring them to room temperature for a few hours before mixing up the dough. Note that this is still a relatively high hydration dough - so get excited to manage a wetter dough if you haven’t in the past! Hope you enjoy this delicious, healthy loaf.
Ingredients:
300g bread flour
70g spelt flour
30g AP whole grain
135g spent grains
12g salt (2.5%)
325g water
100g starter
In this recipe I’ve used King Arthur bread flour, One Mighty Mill all purpose whole grain, and Arrowhead Mills spelt. Feel free to use just bread flour, or a combo of bread flour and some whole wheat.
Instructions
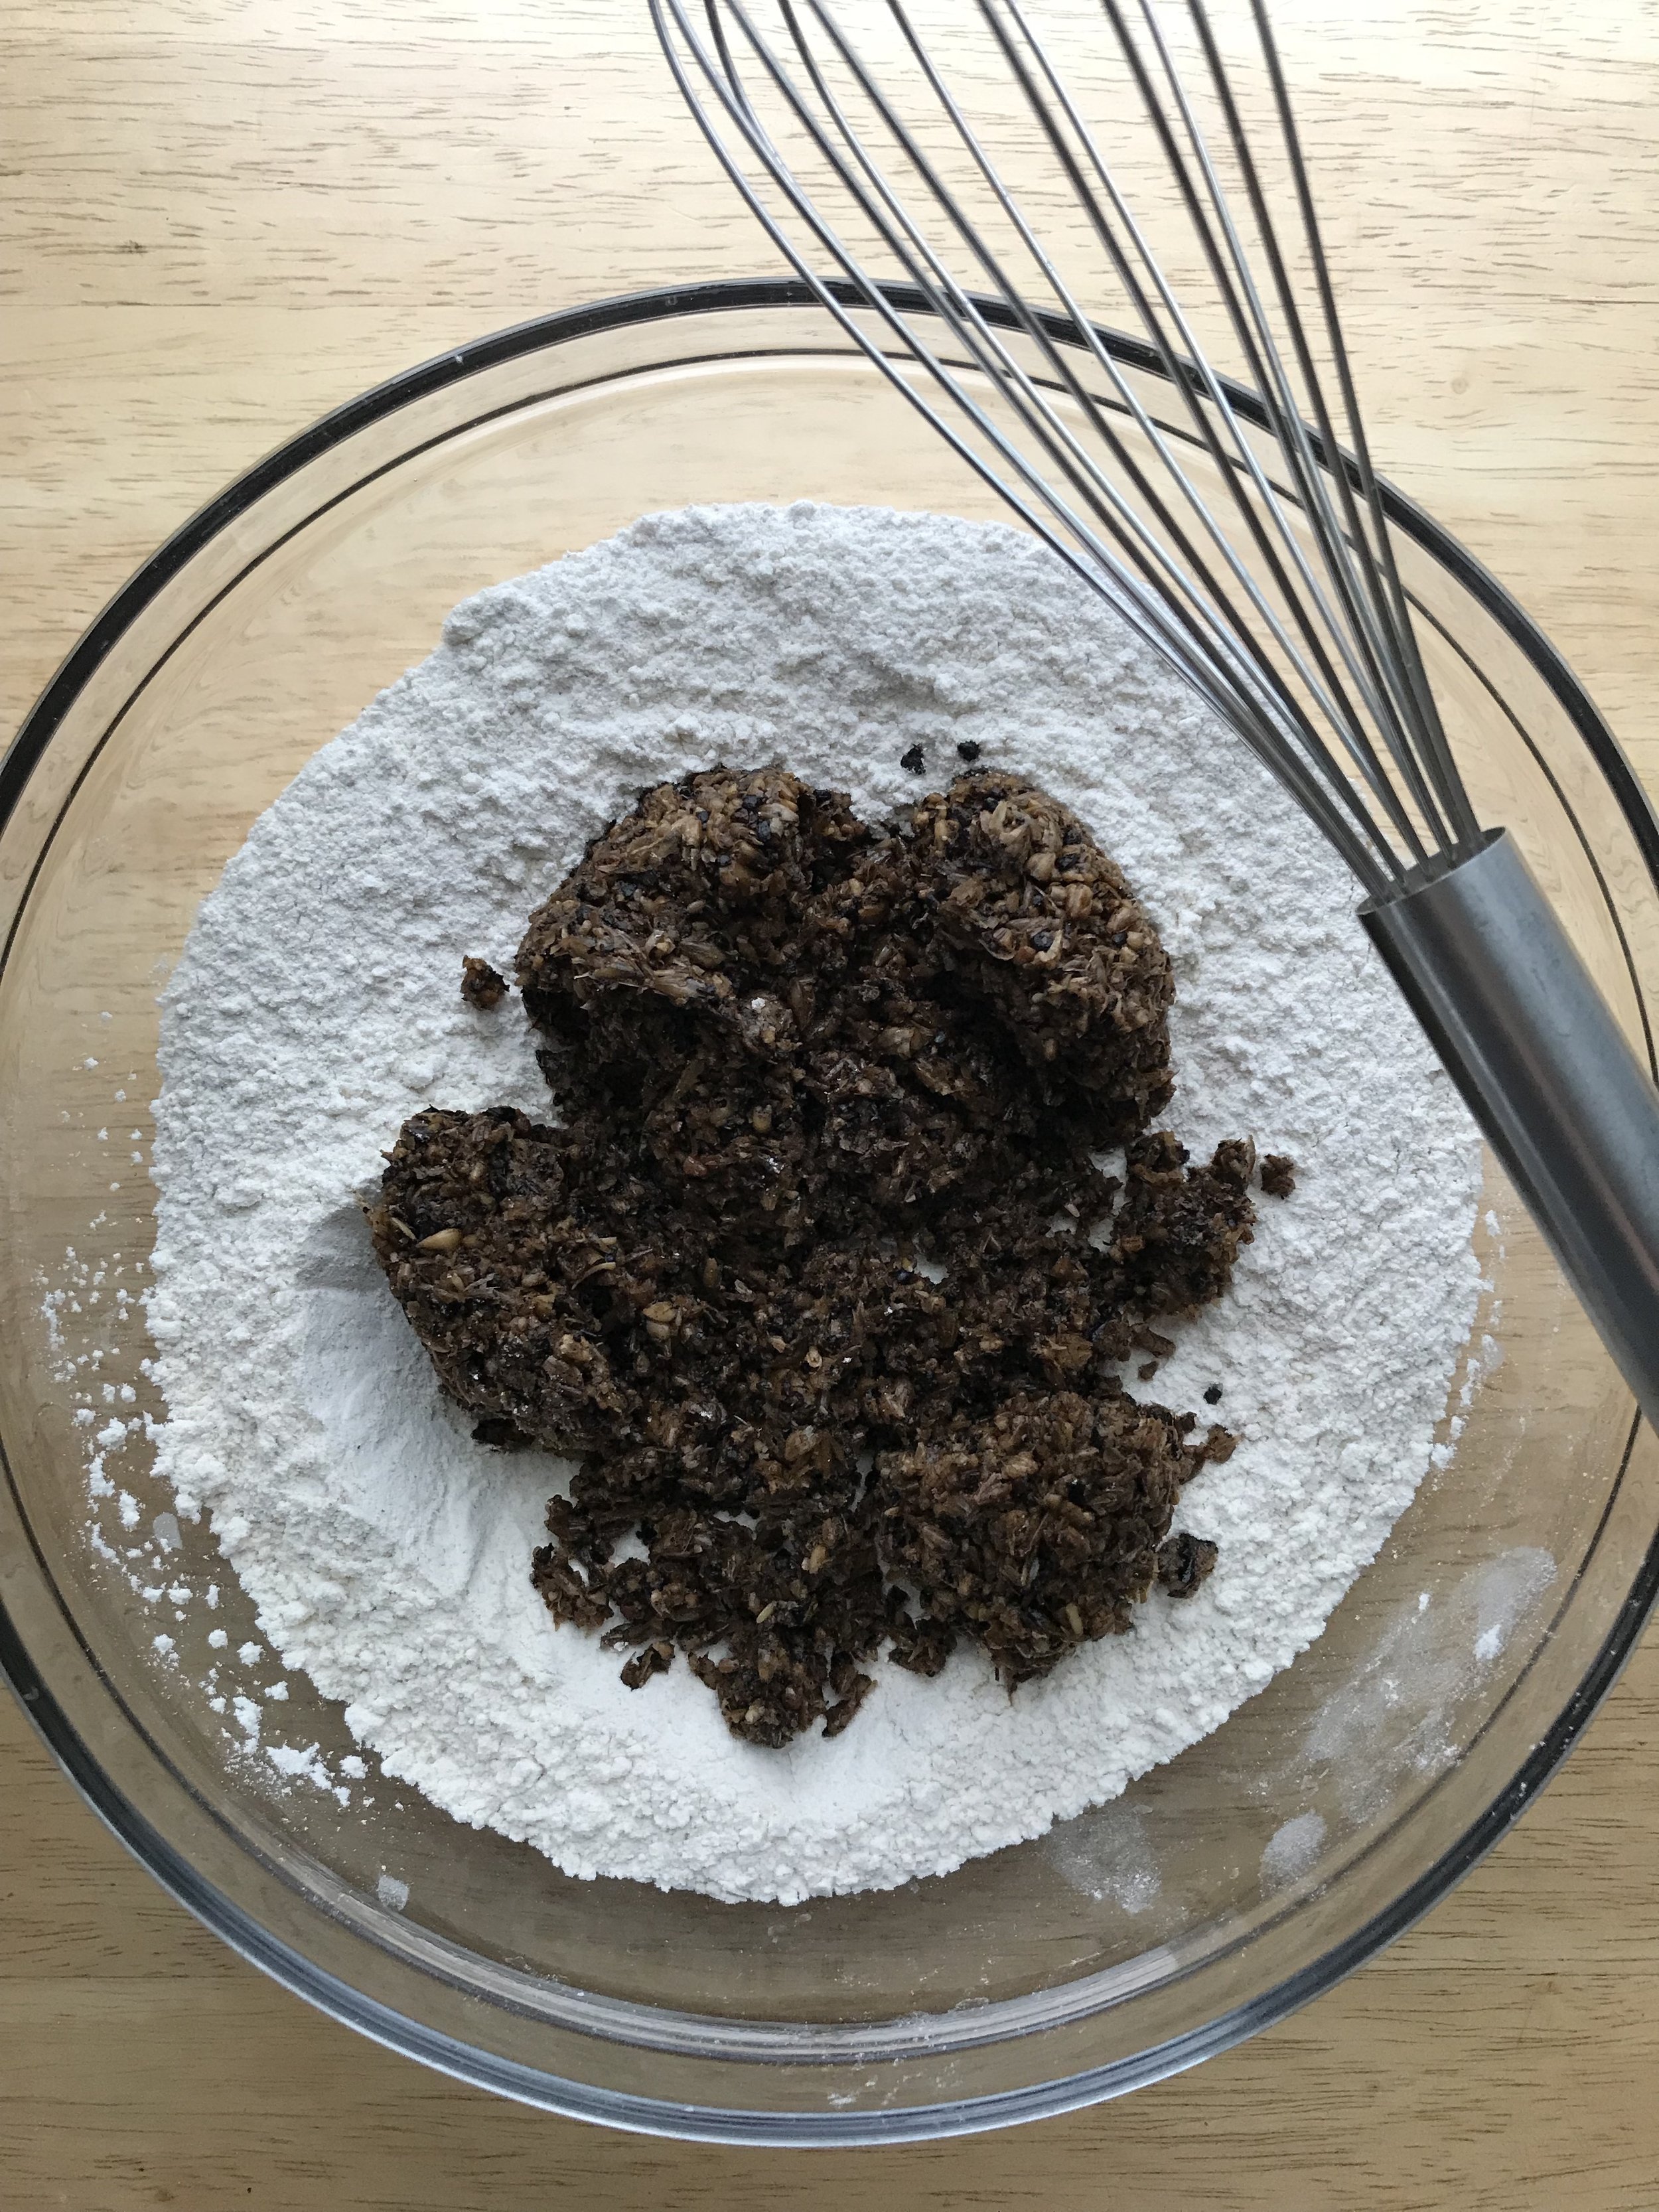
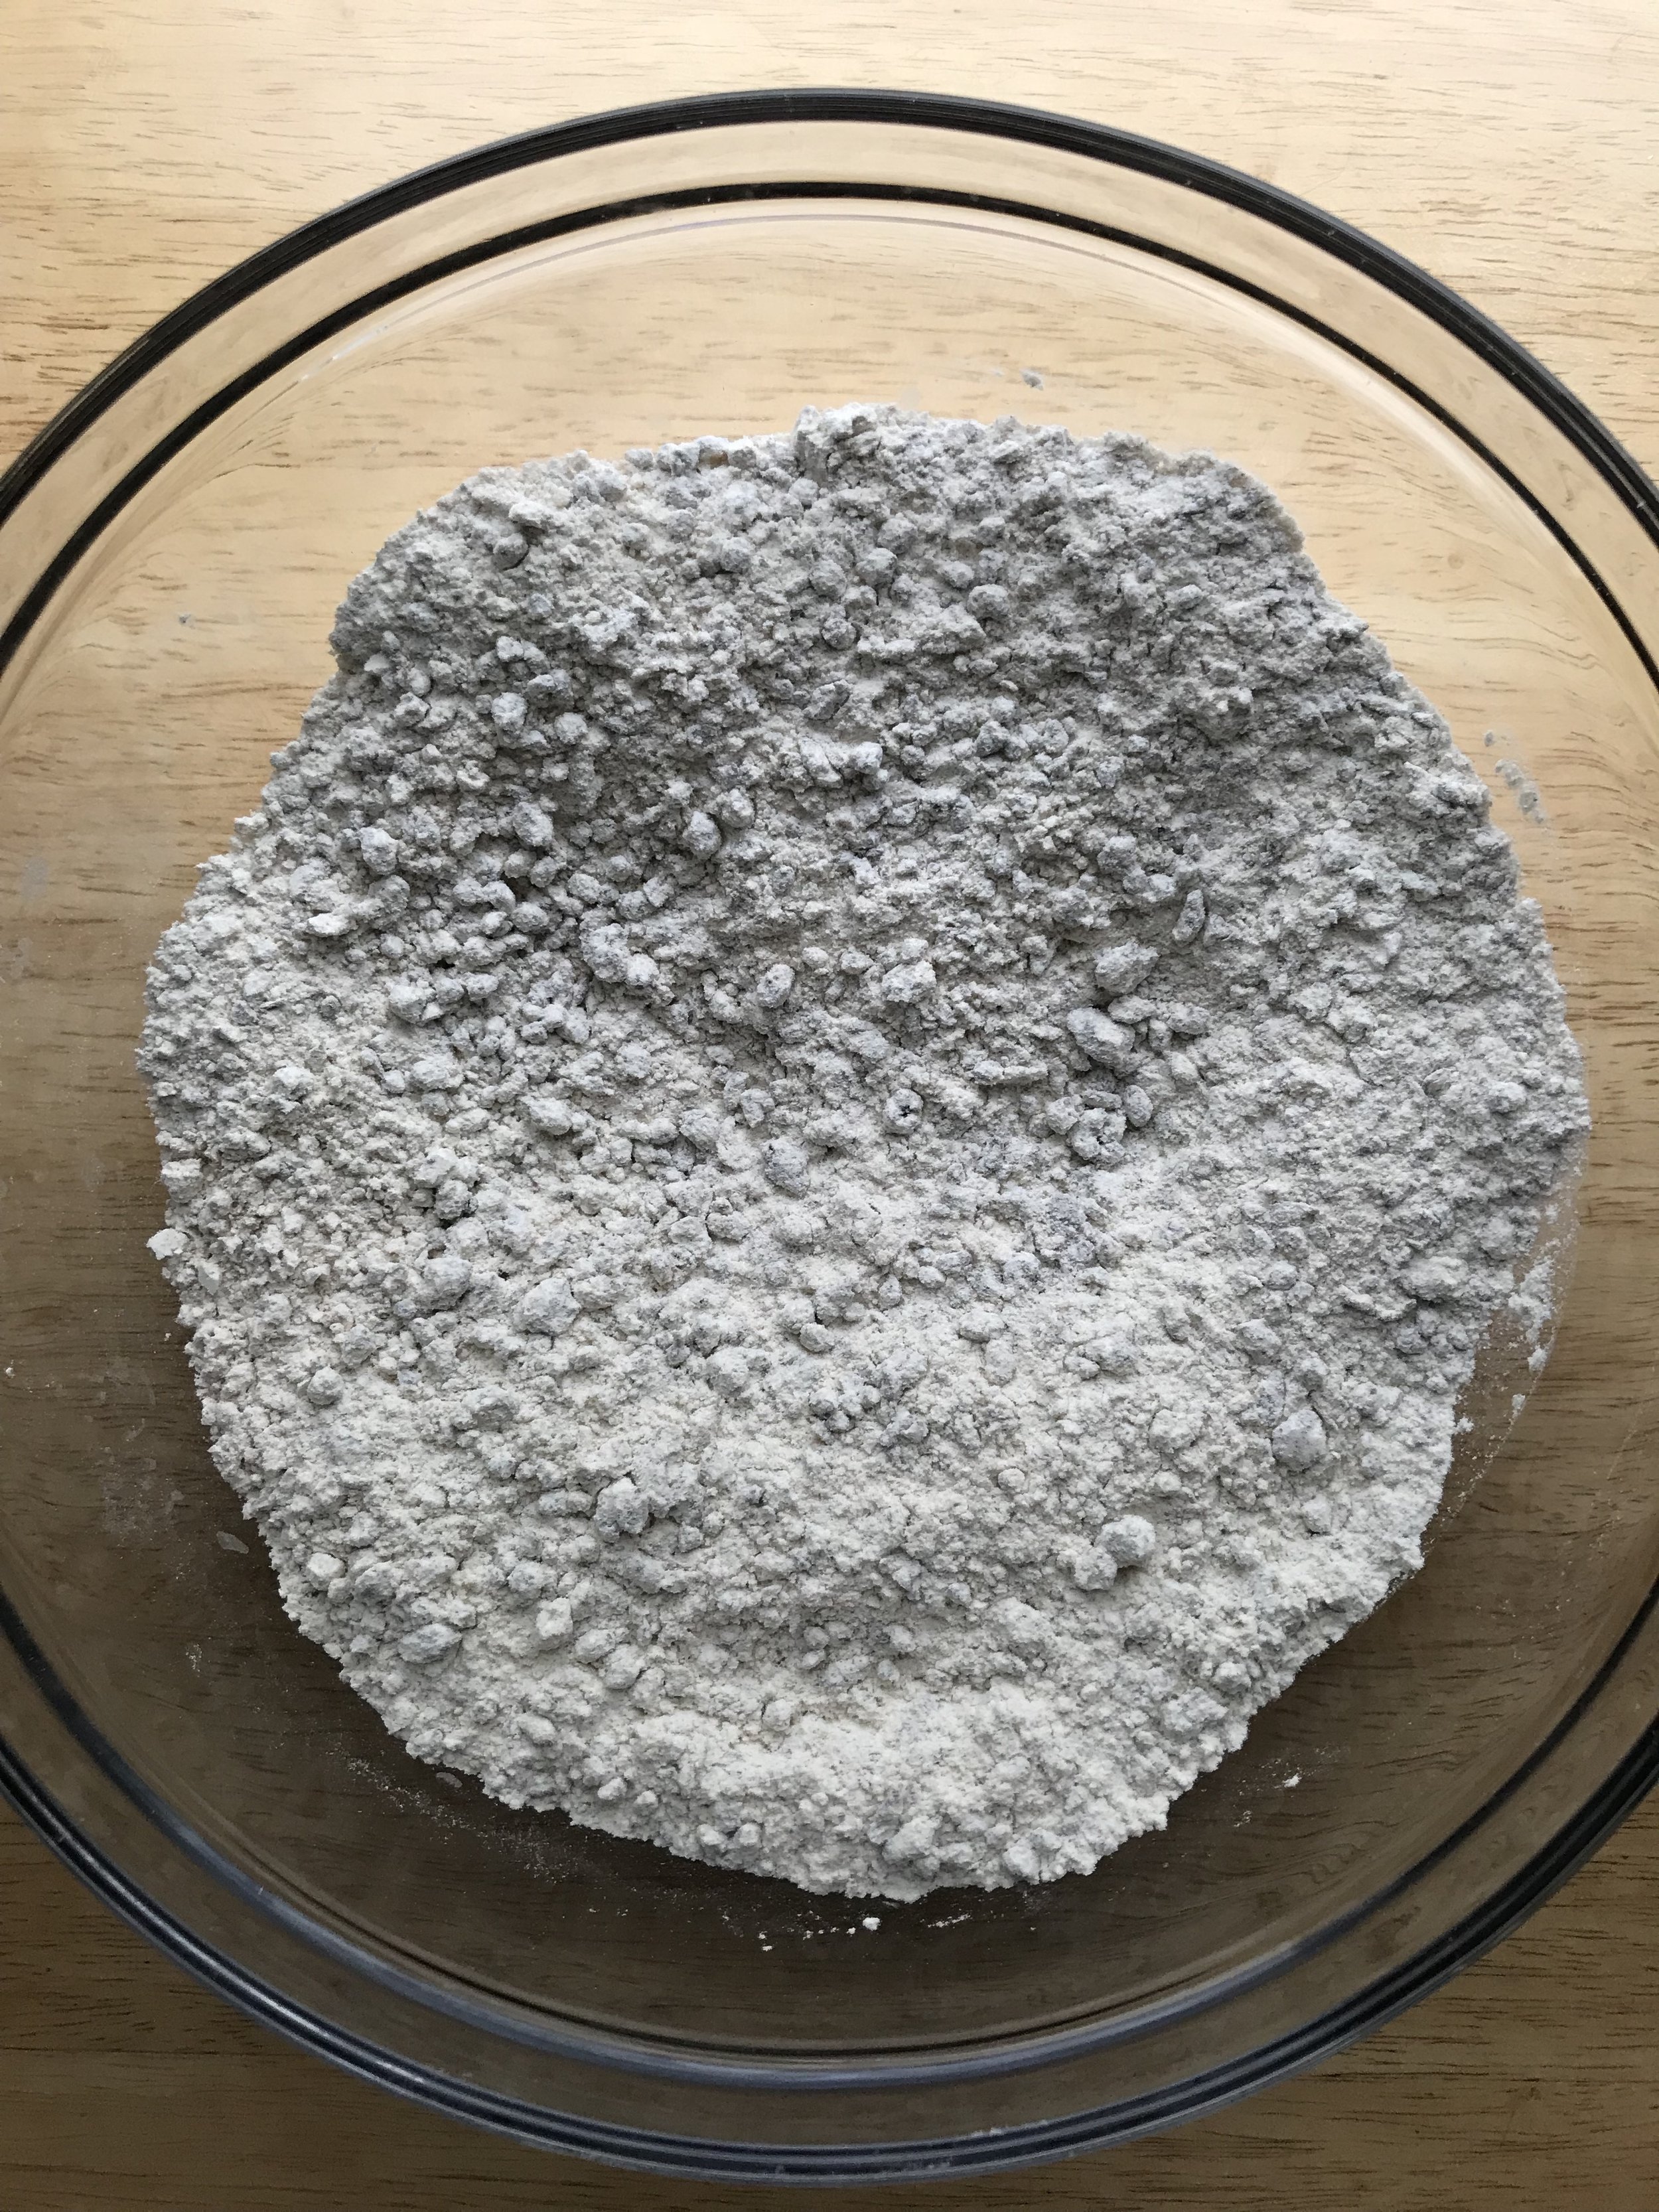
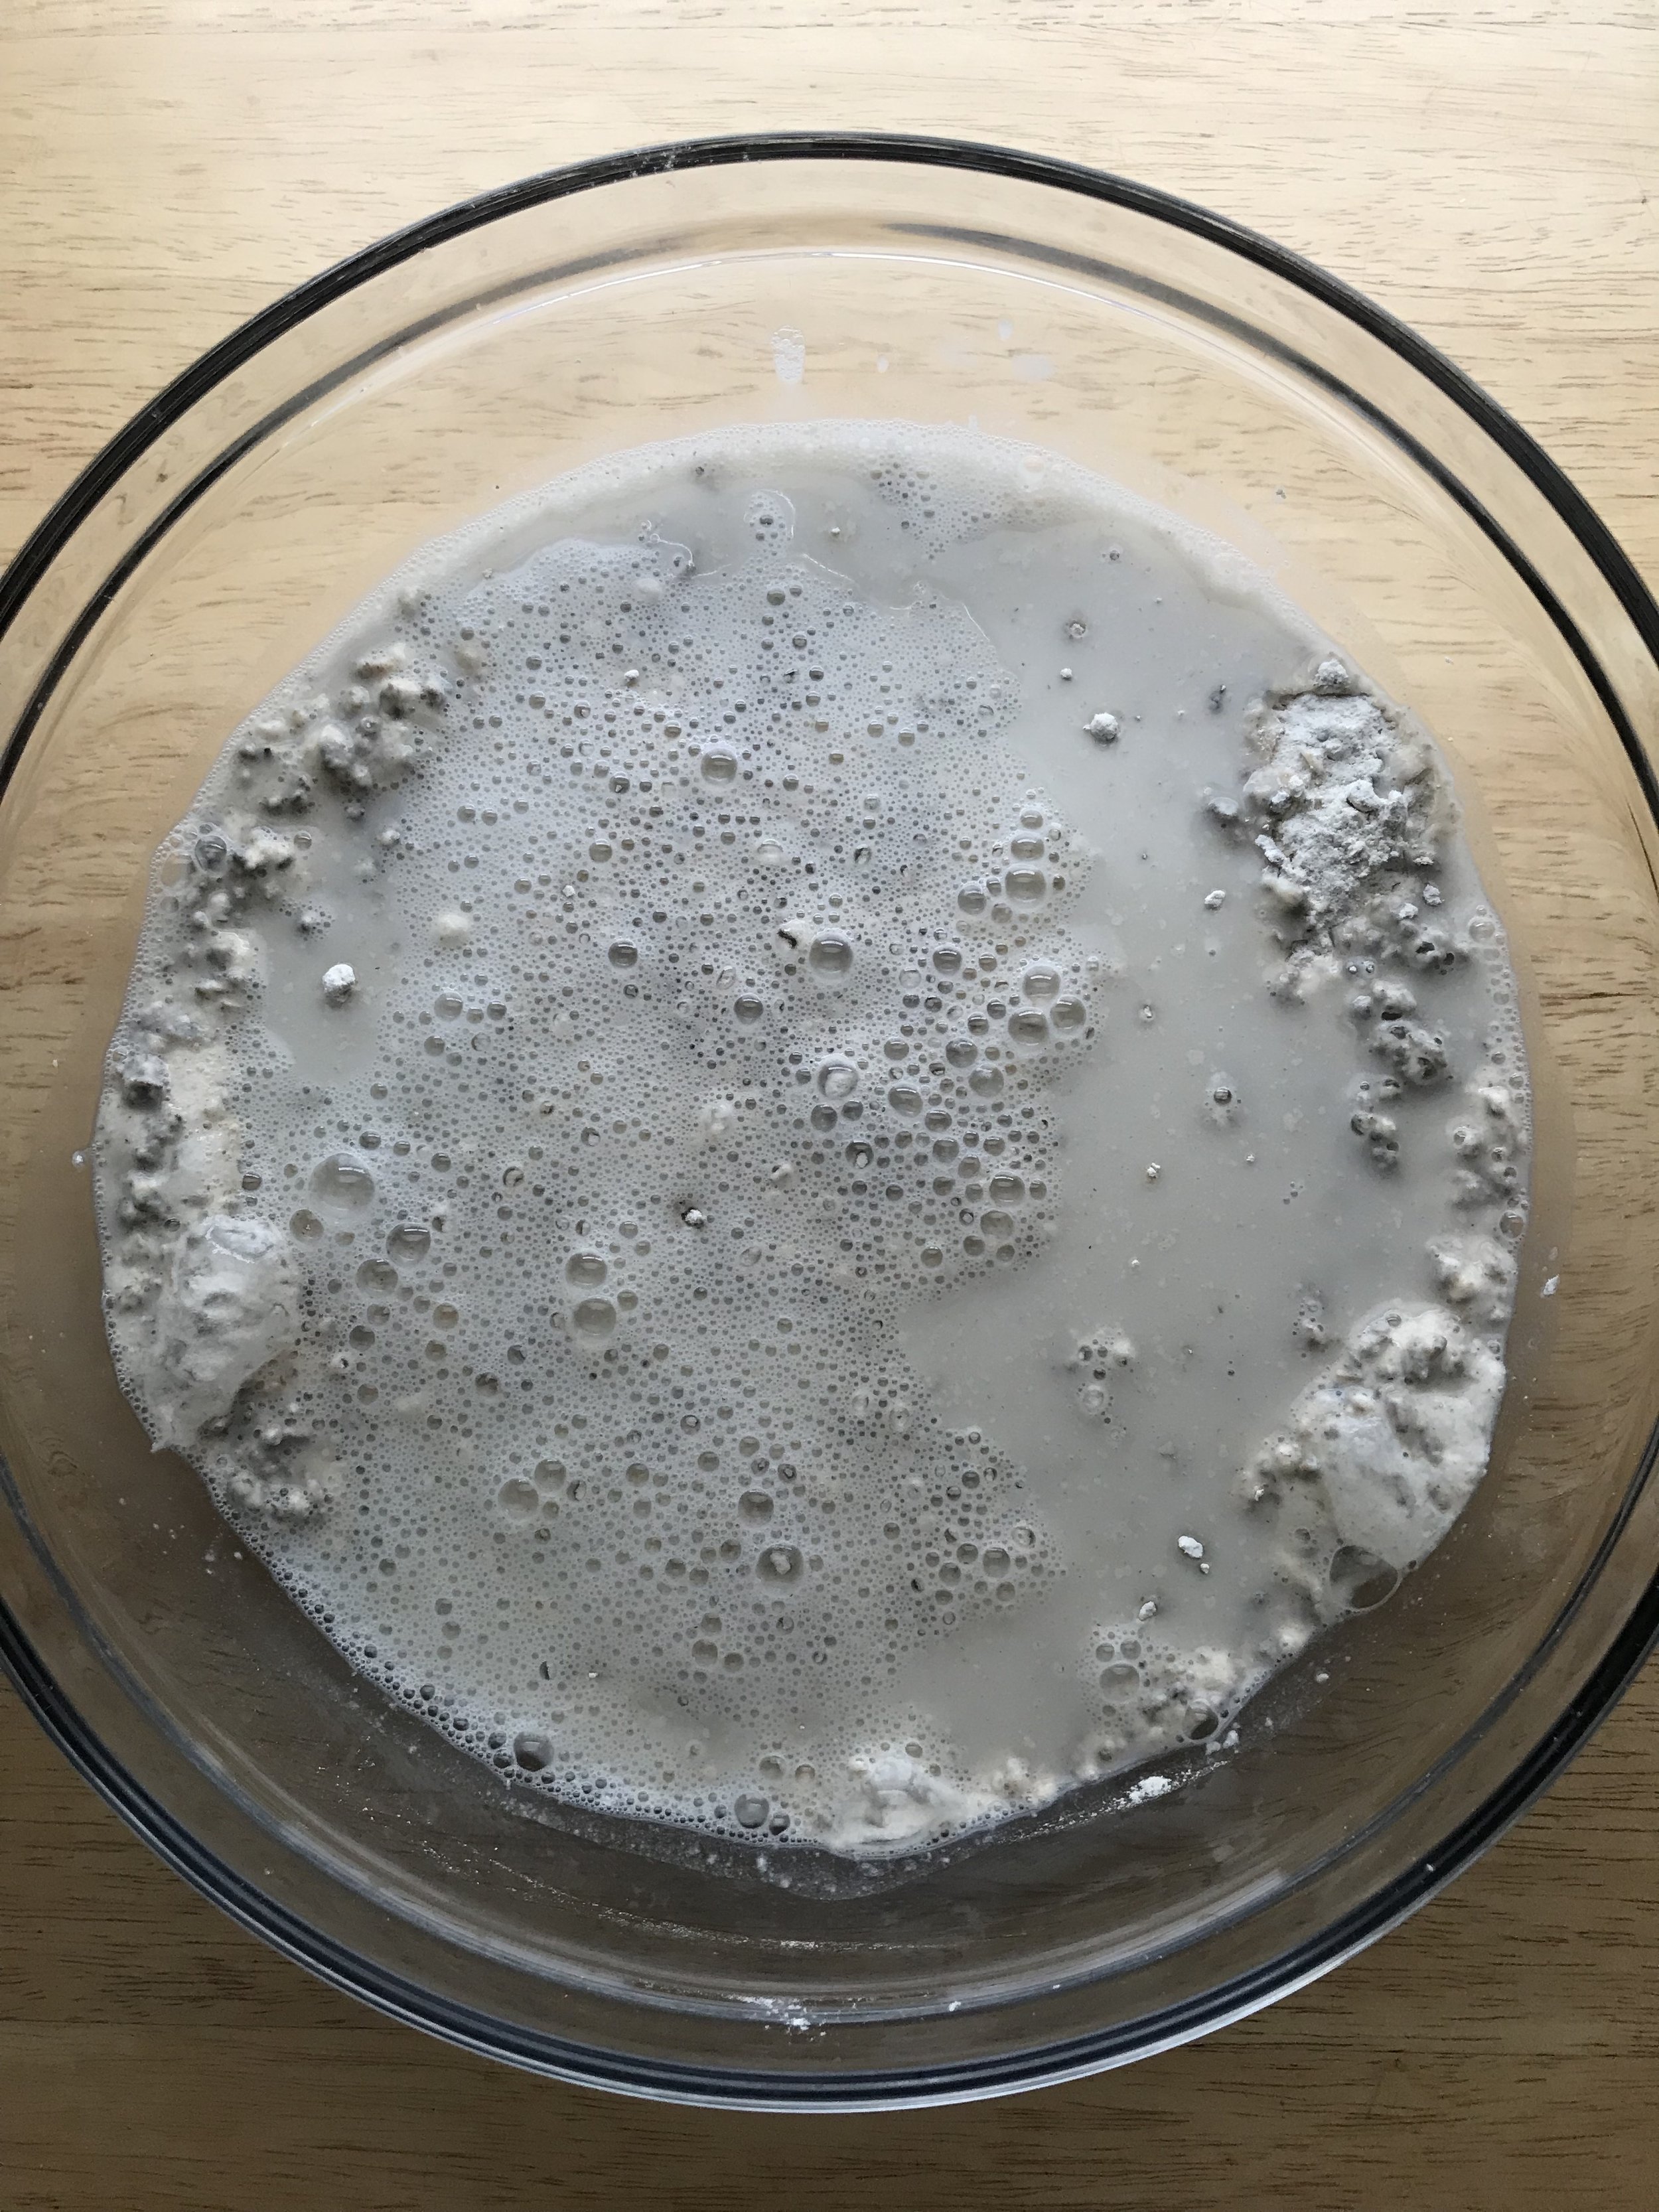
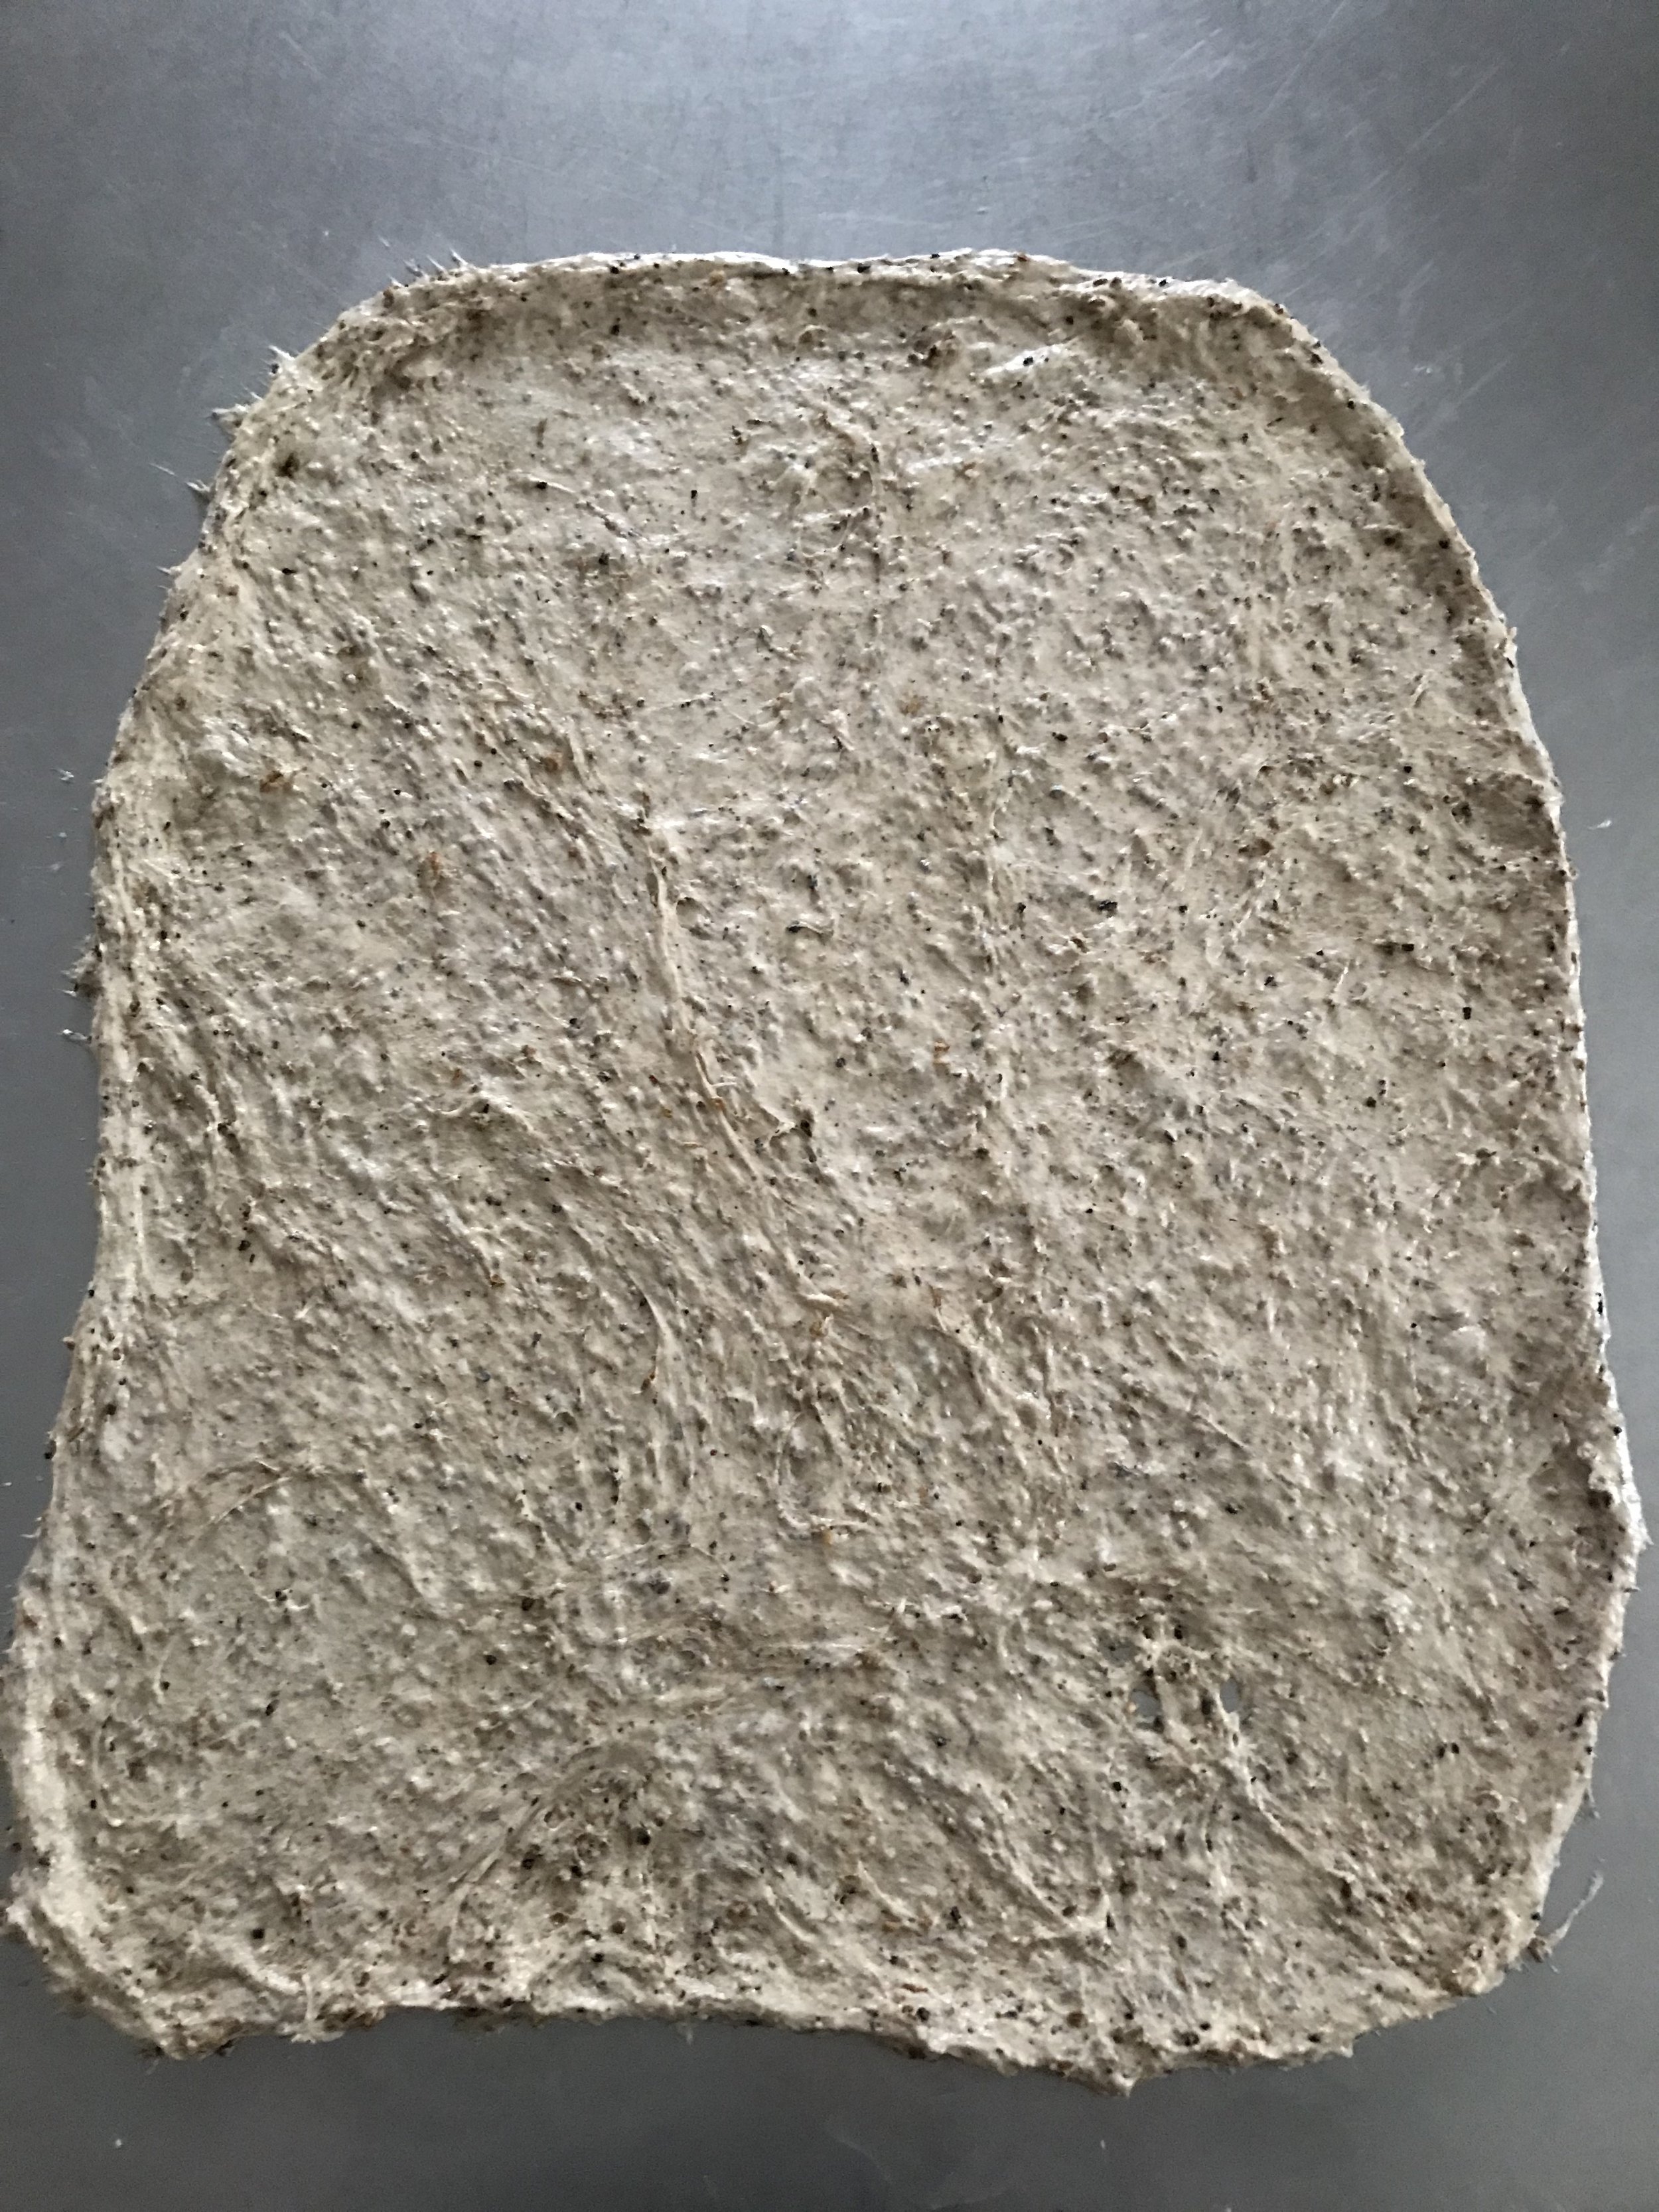
In a large bowl, whisk the flours and spent grains to combine. In a separate bowl measure the water, and then add starter. Whisk until you have a milky/frothy substance.
Pour the starter/water into the flour/grains bowl and mix the dough until there are no dry bits. Cover and let rest at room temperature (75F) for 30 minutes.
After 30 minutes have passed, sprinkle the salt over the dough and pinch it in. Perform a round of stretch and folds. Cover, let rest again for about 30 minutes.
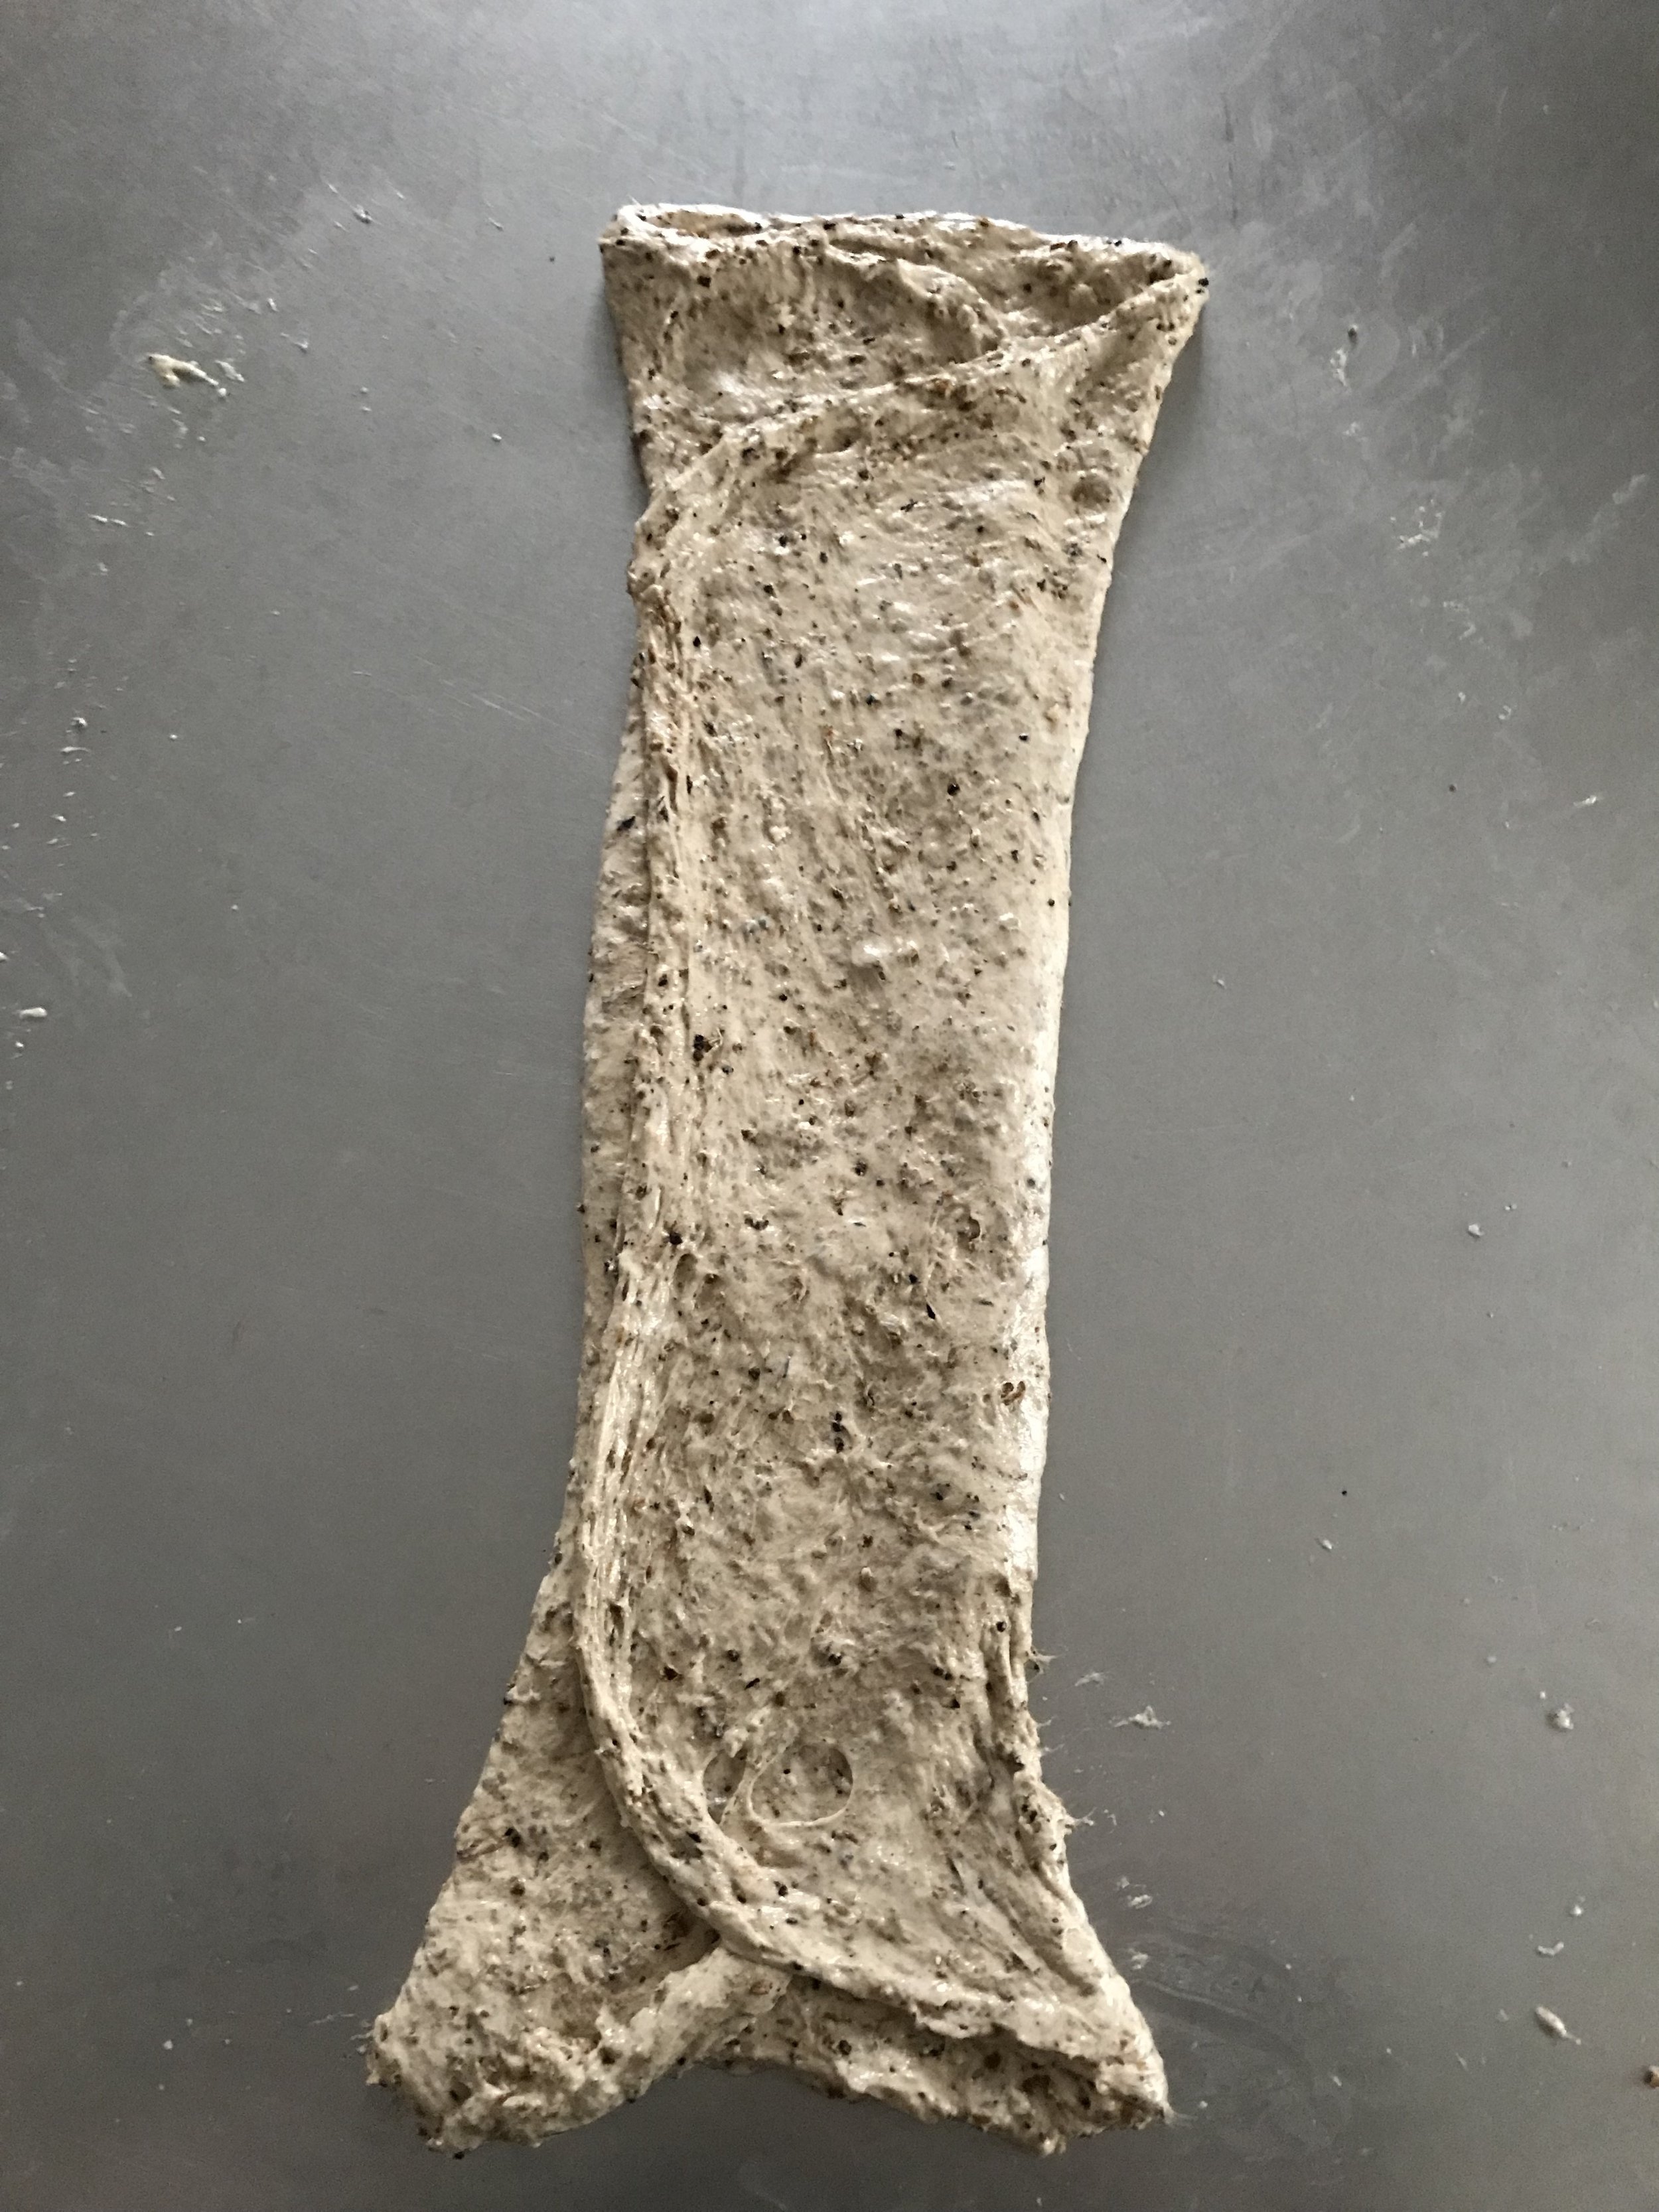
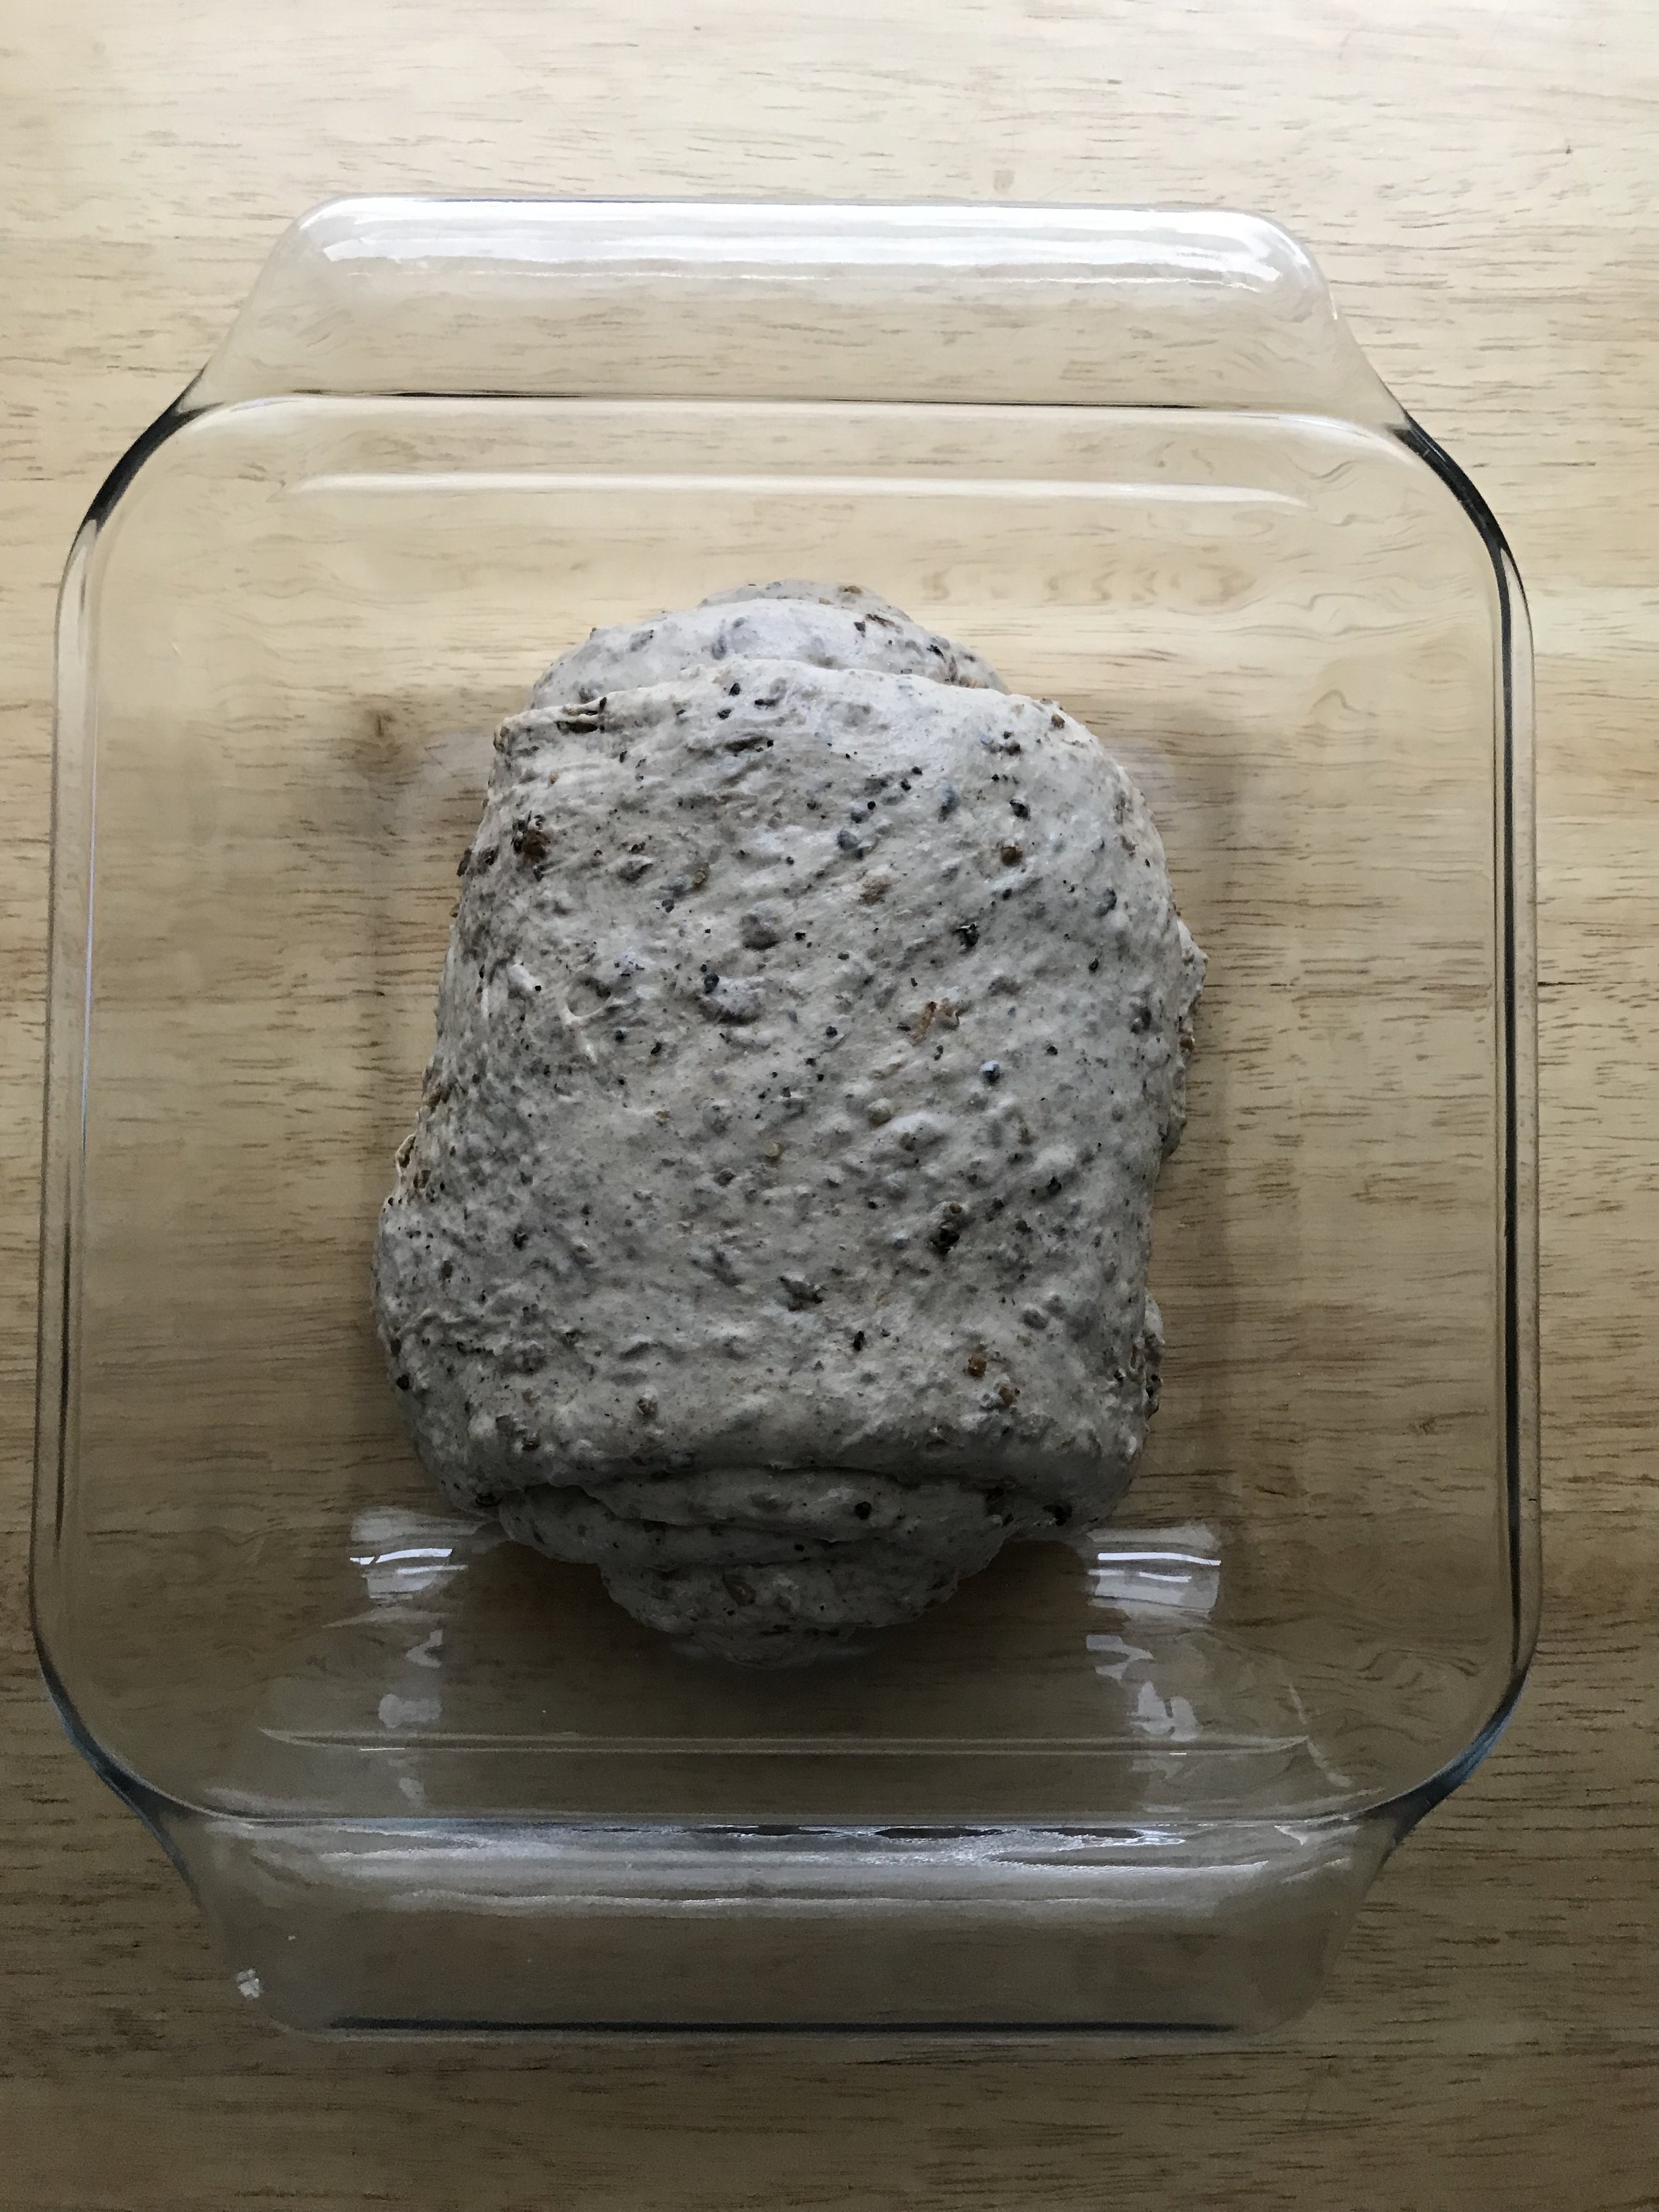
Laminate the dough by stretching it out onto a lightly wet surface, then fold the sides in and roll it up. Place the dough back into a bowl and cover.
Instructions continue below. Pictured below: the lamination process.

5. After about 45 minutes to 1 hour, perform another round of stretch and folds. Cover and let rest again. Repeat this 2 more times, each with about 30-40 minutes separating the stretch and folds. Sample schedule below.
1:30pm mix dough
2:00pm add salt, do stretch + fold
2:45pm laminate
3:40pm stretch + fold (or coil fold)
4:10pm stretch + fold (or coil fold)
4:50pm stretch + fold (or coil fold)
Let dough sit another 2-3 hours undisturbed
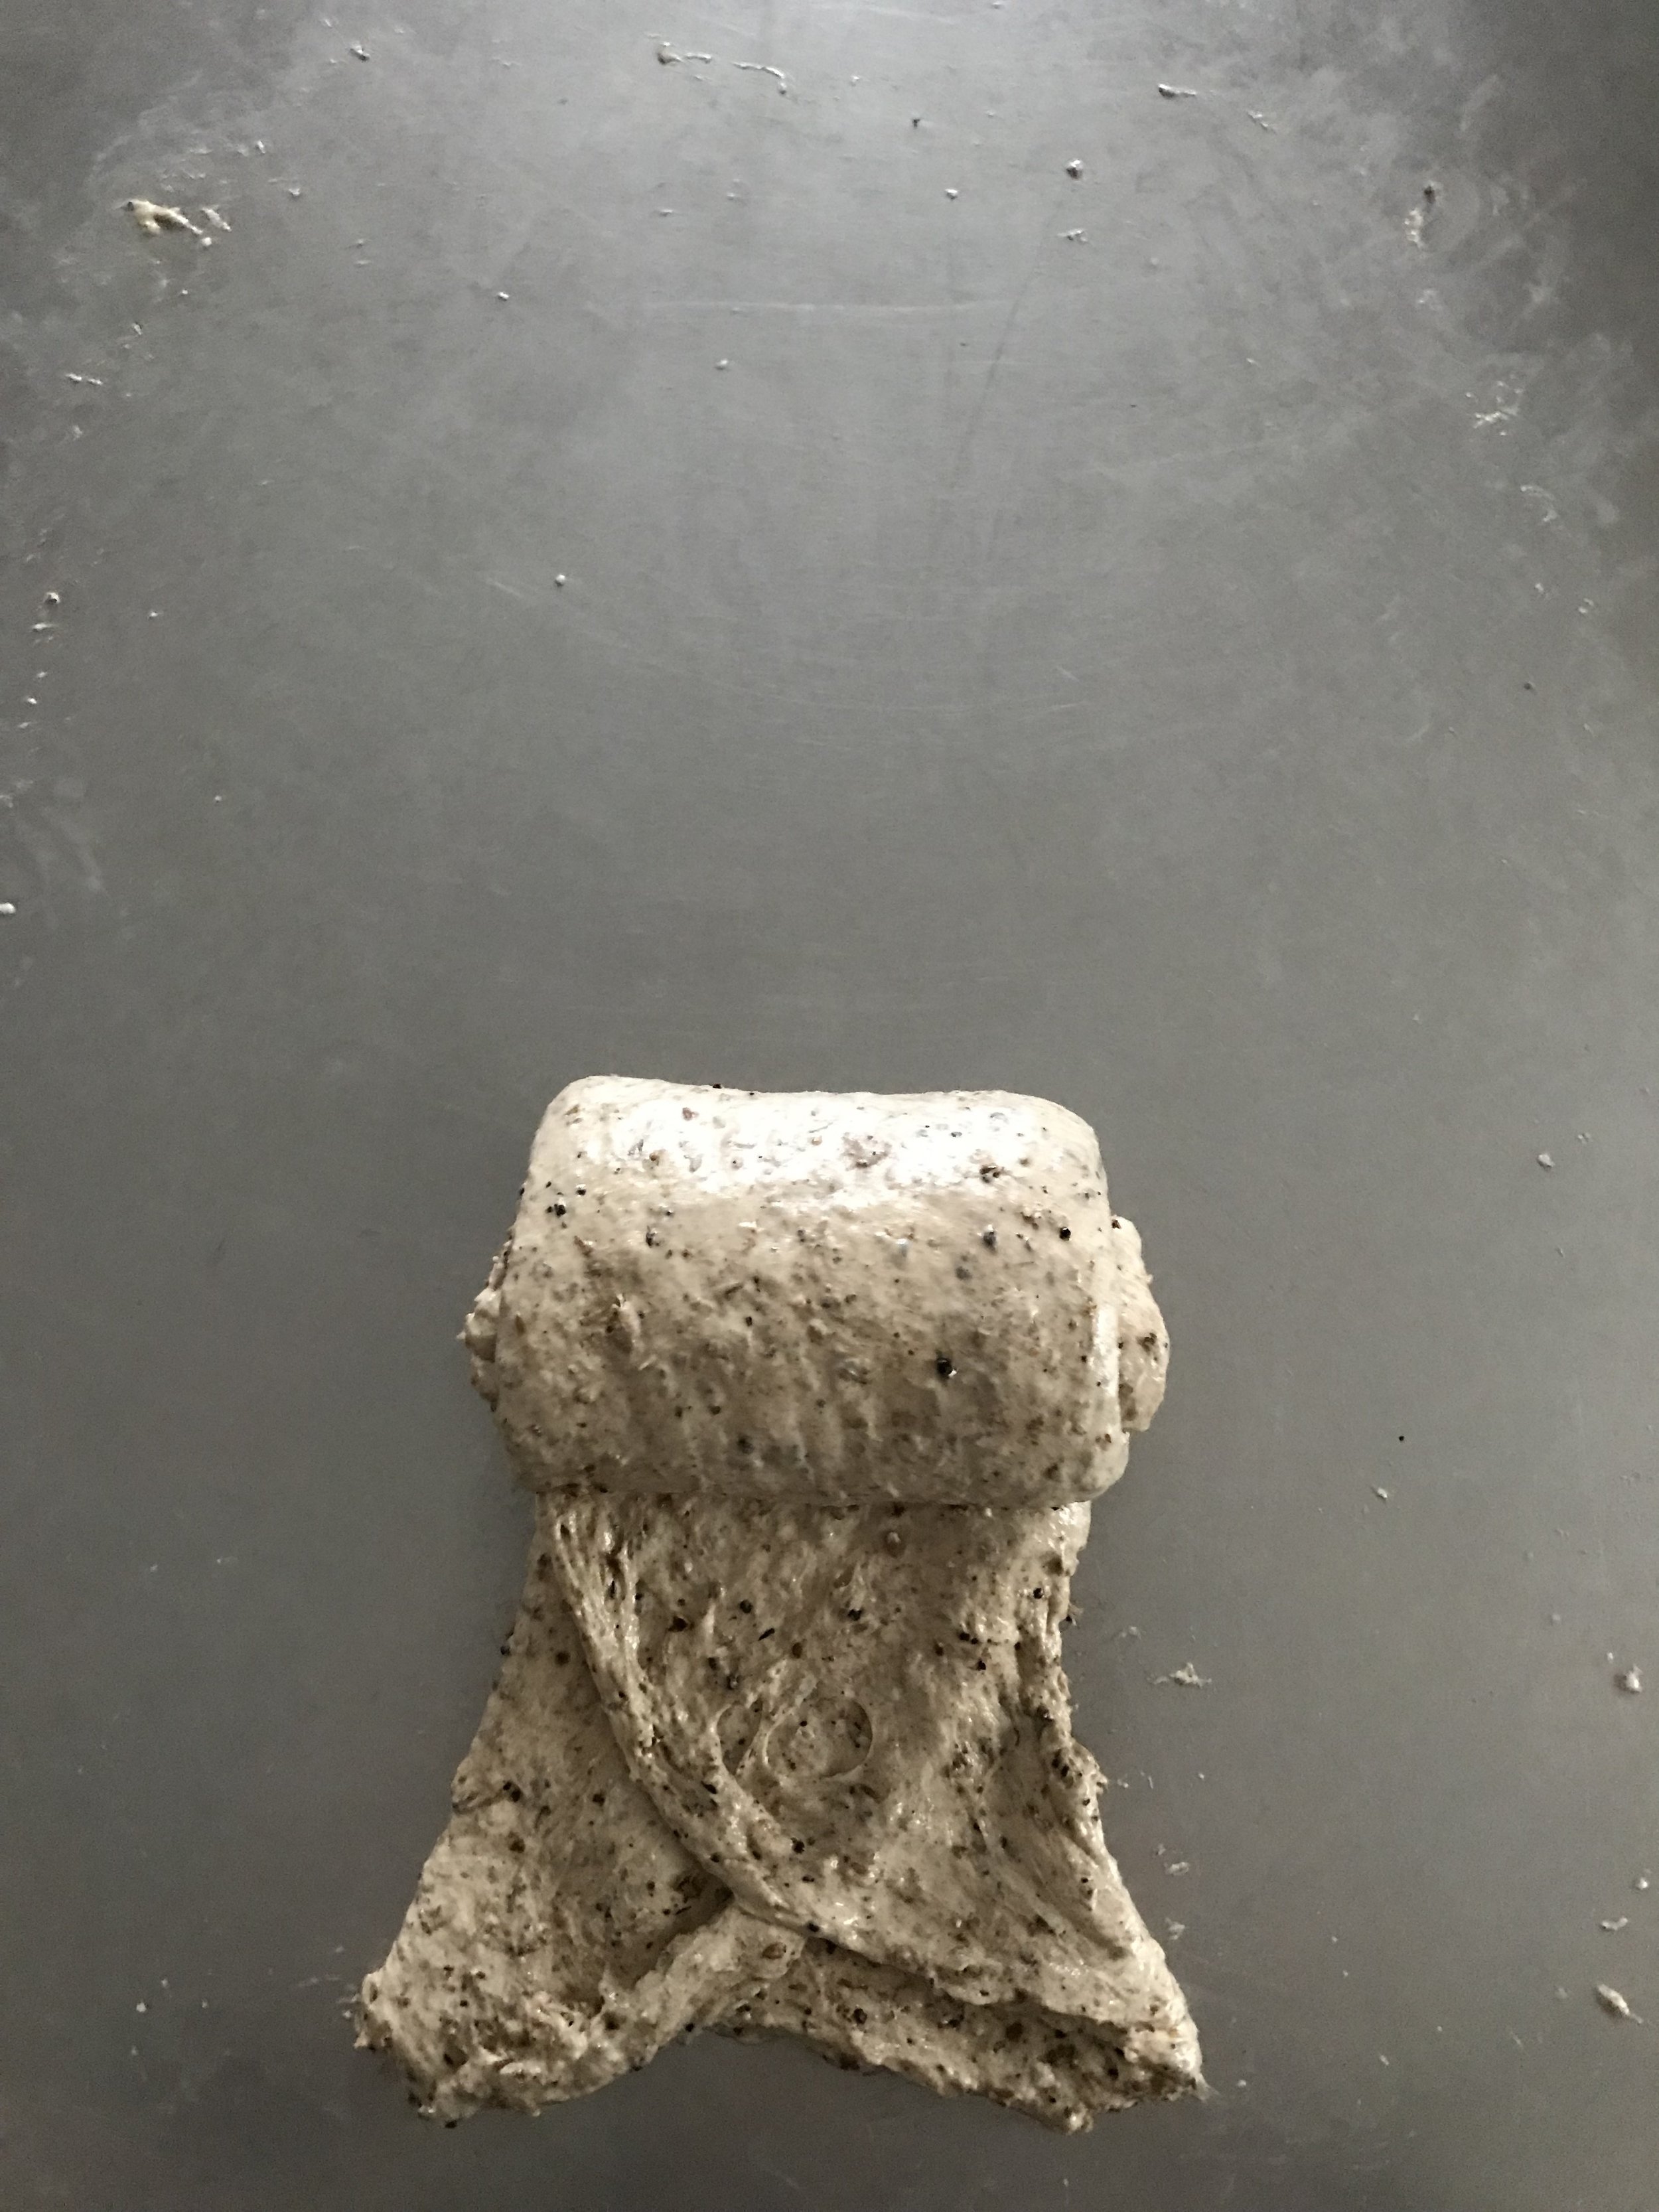
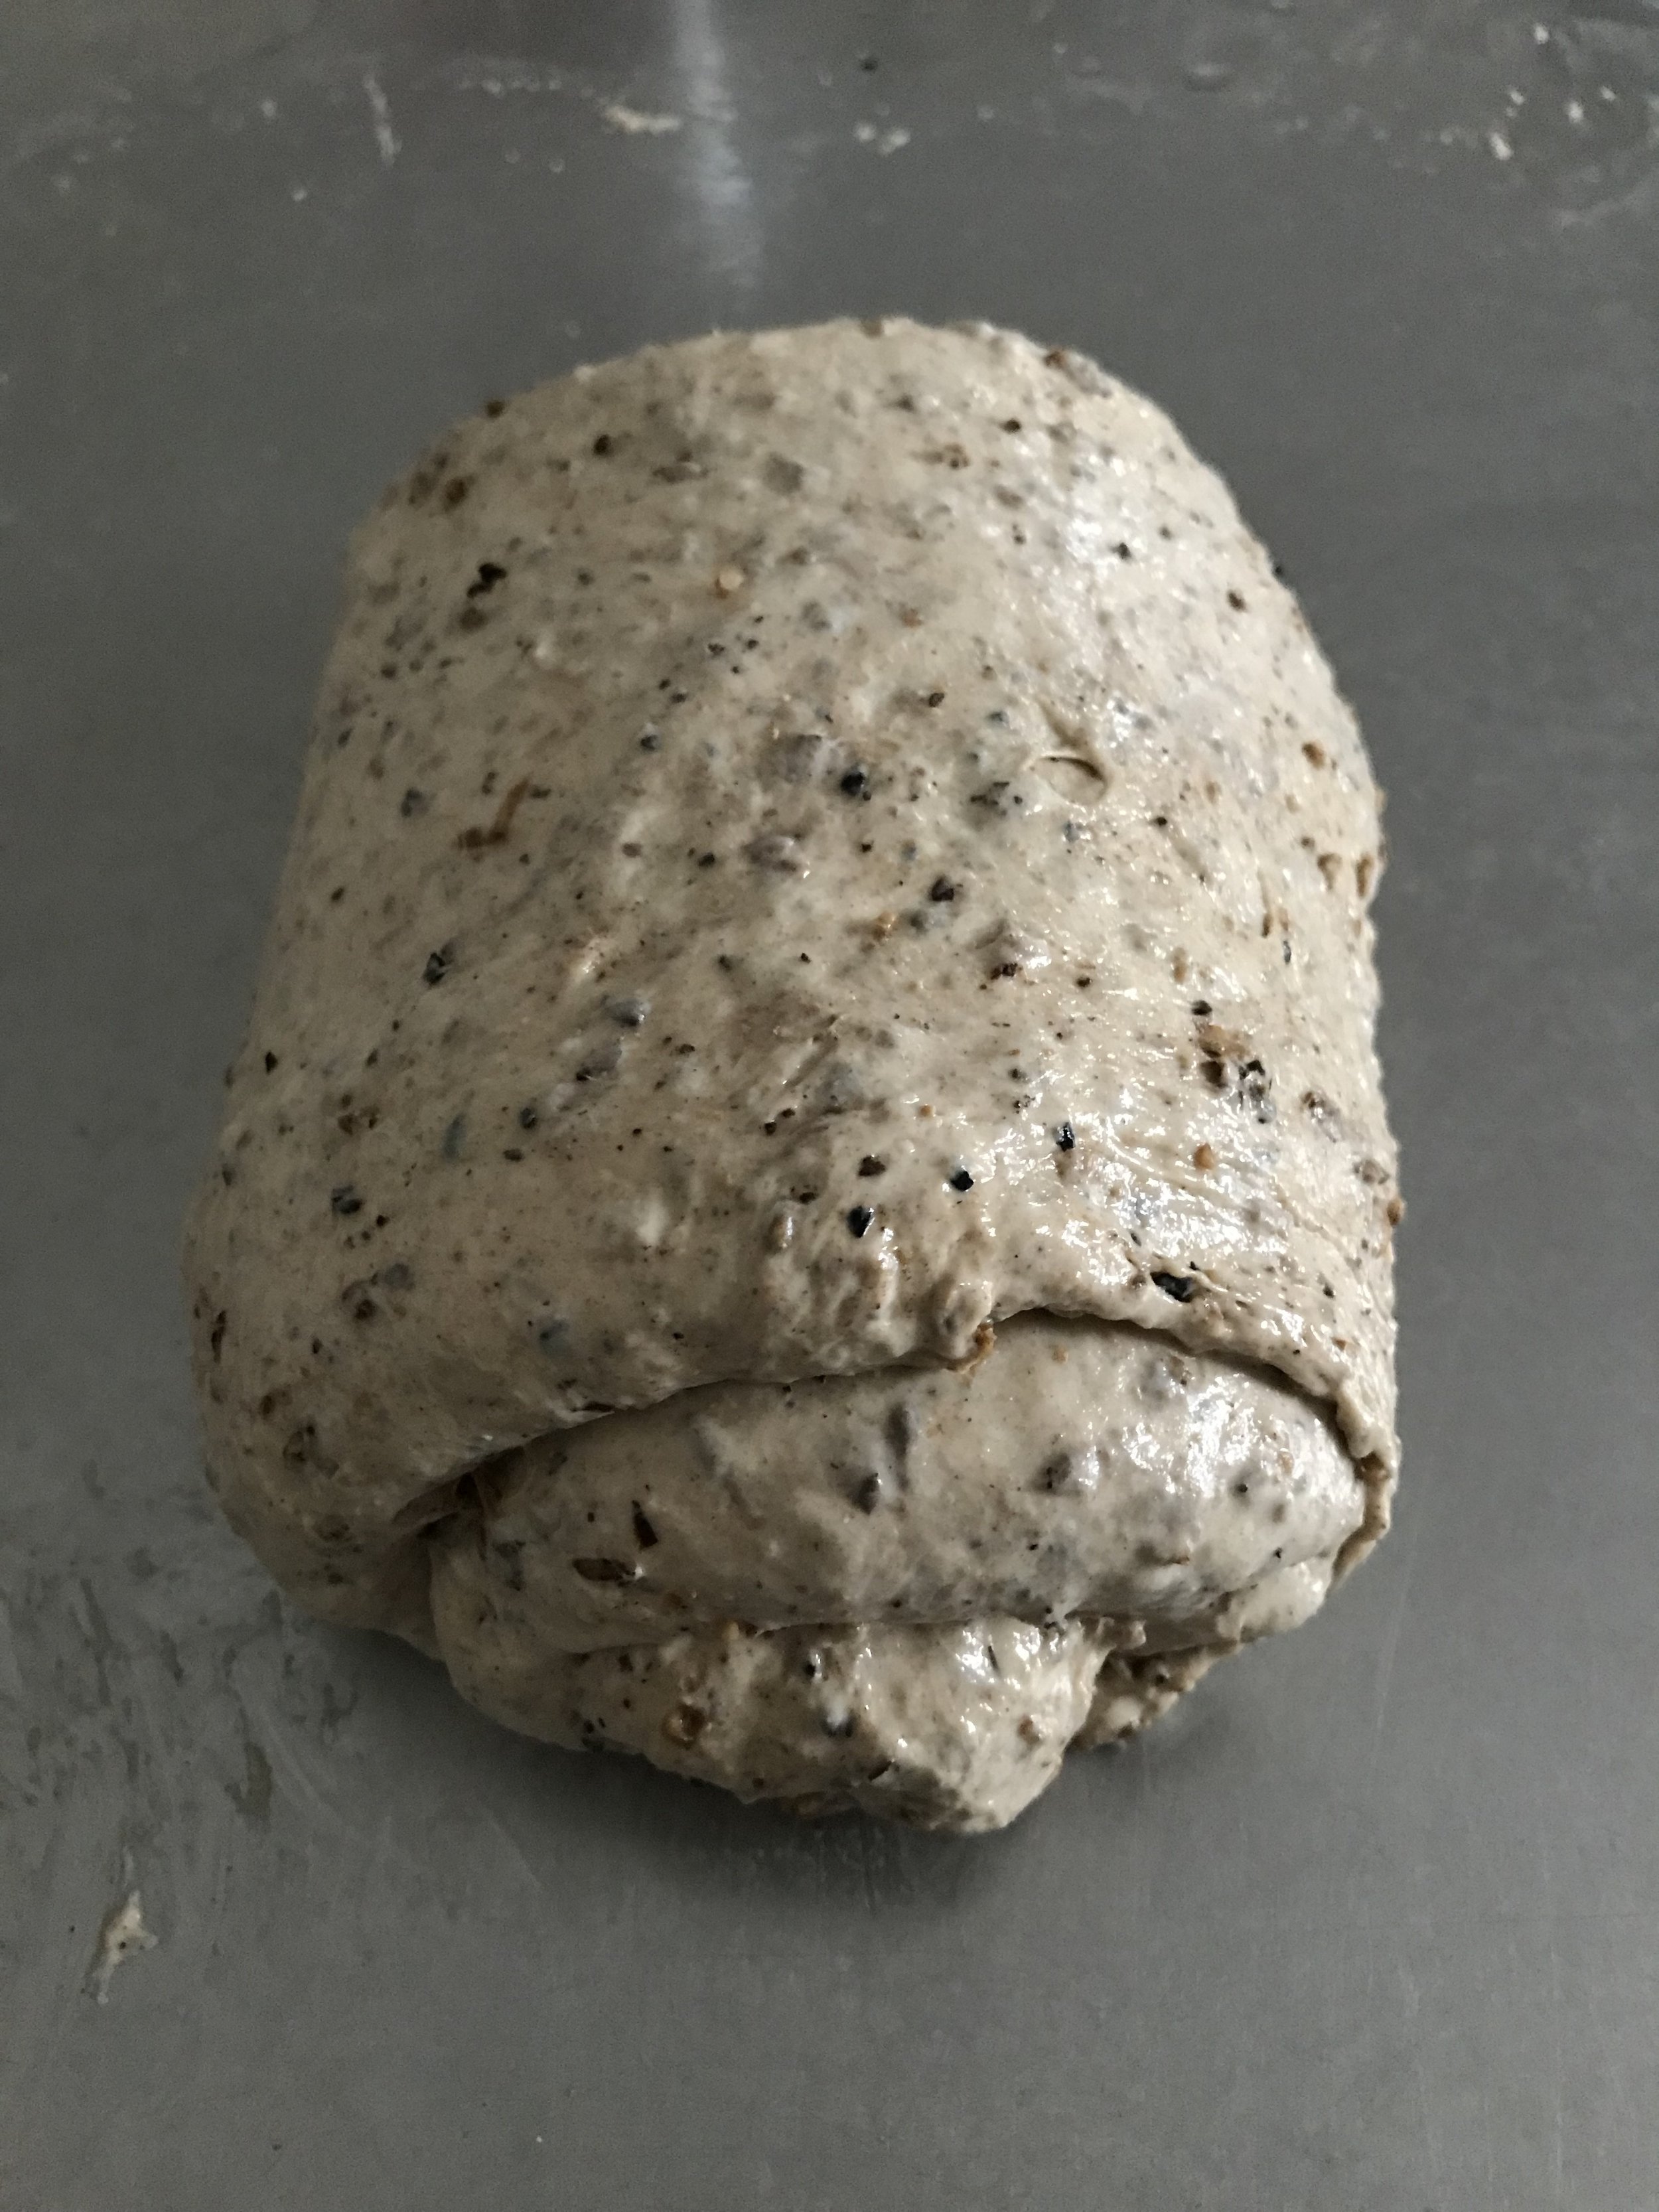
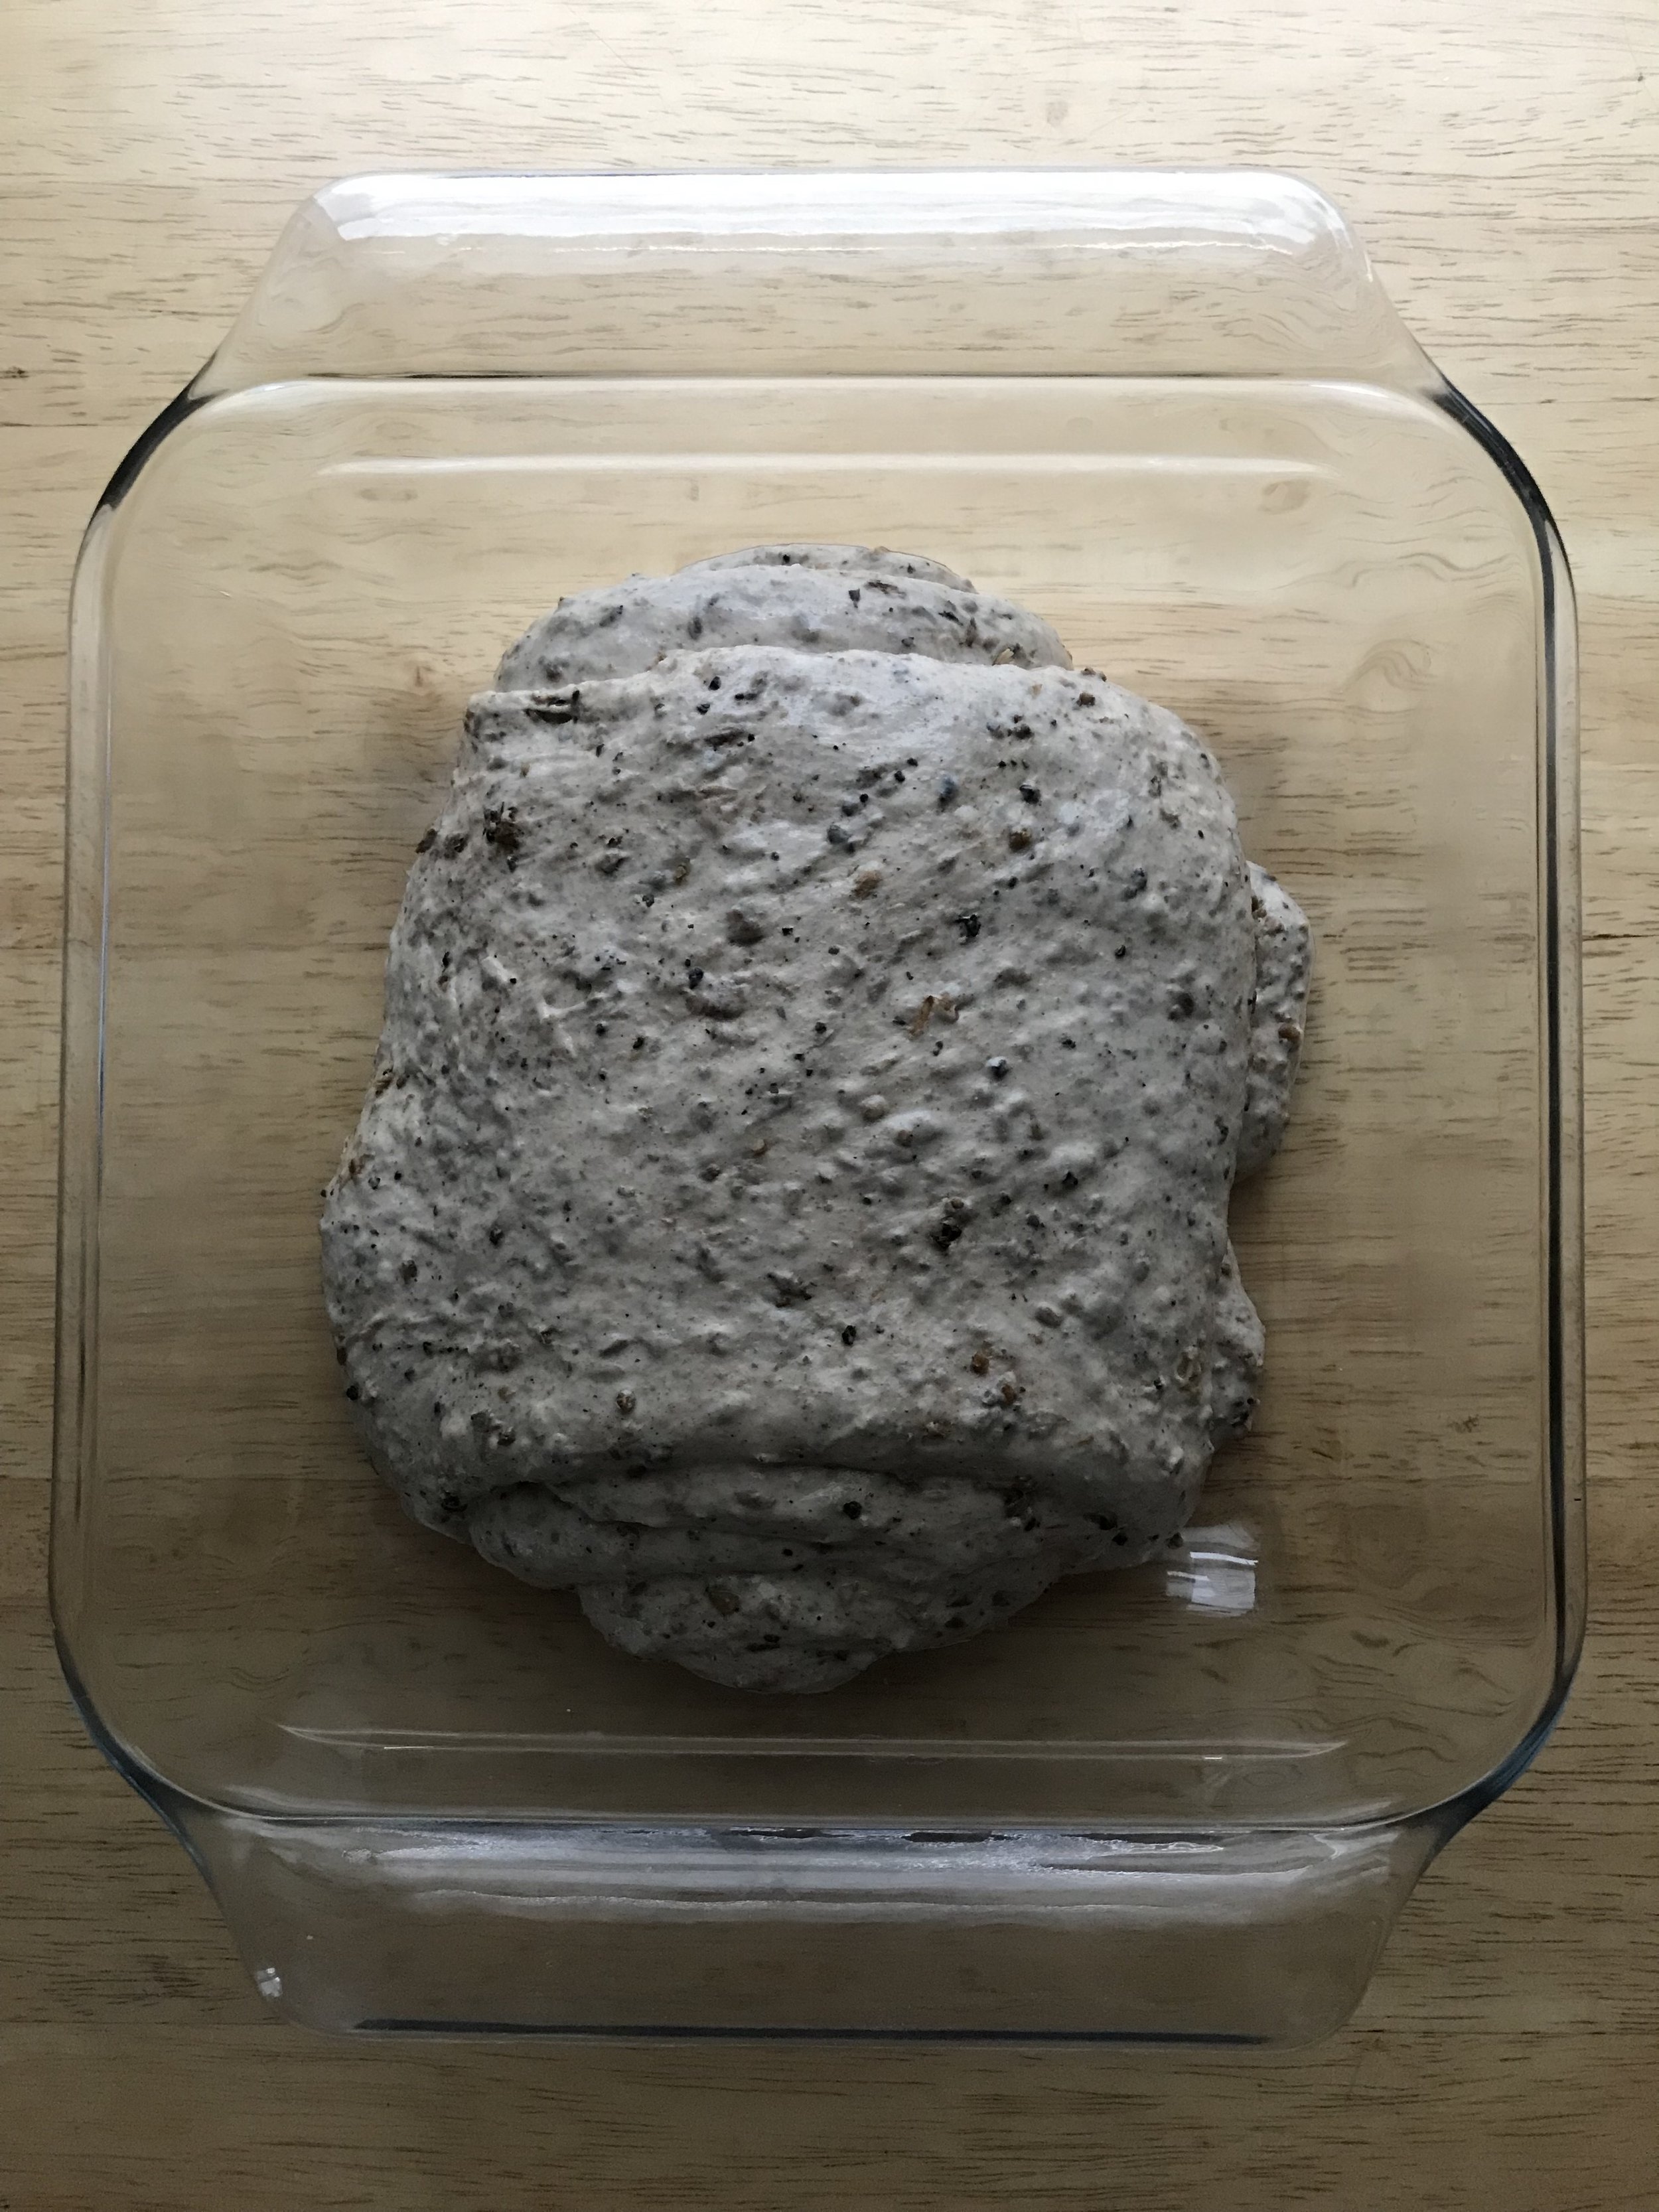
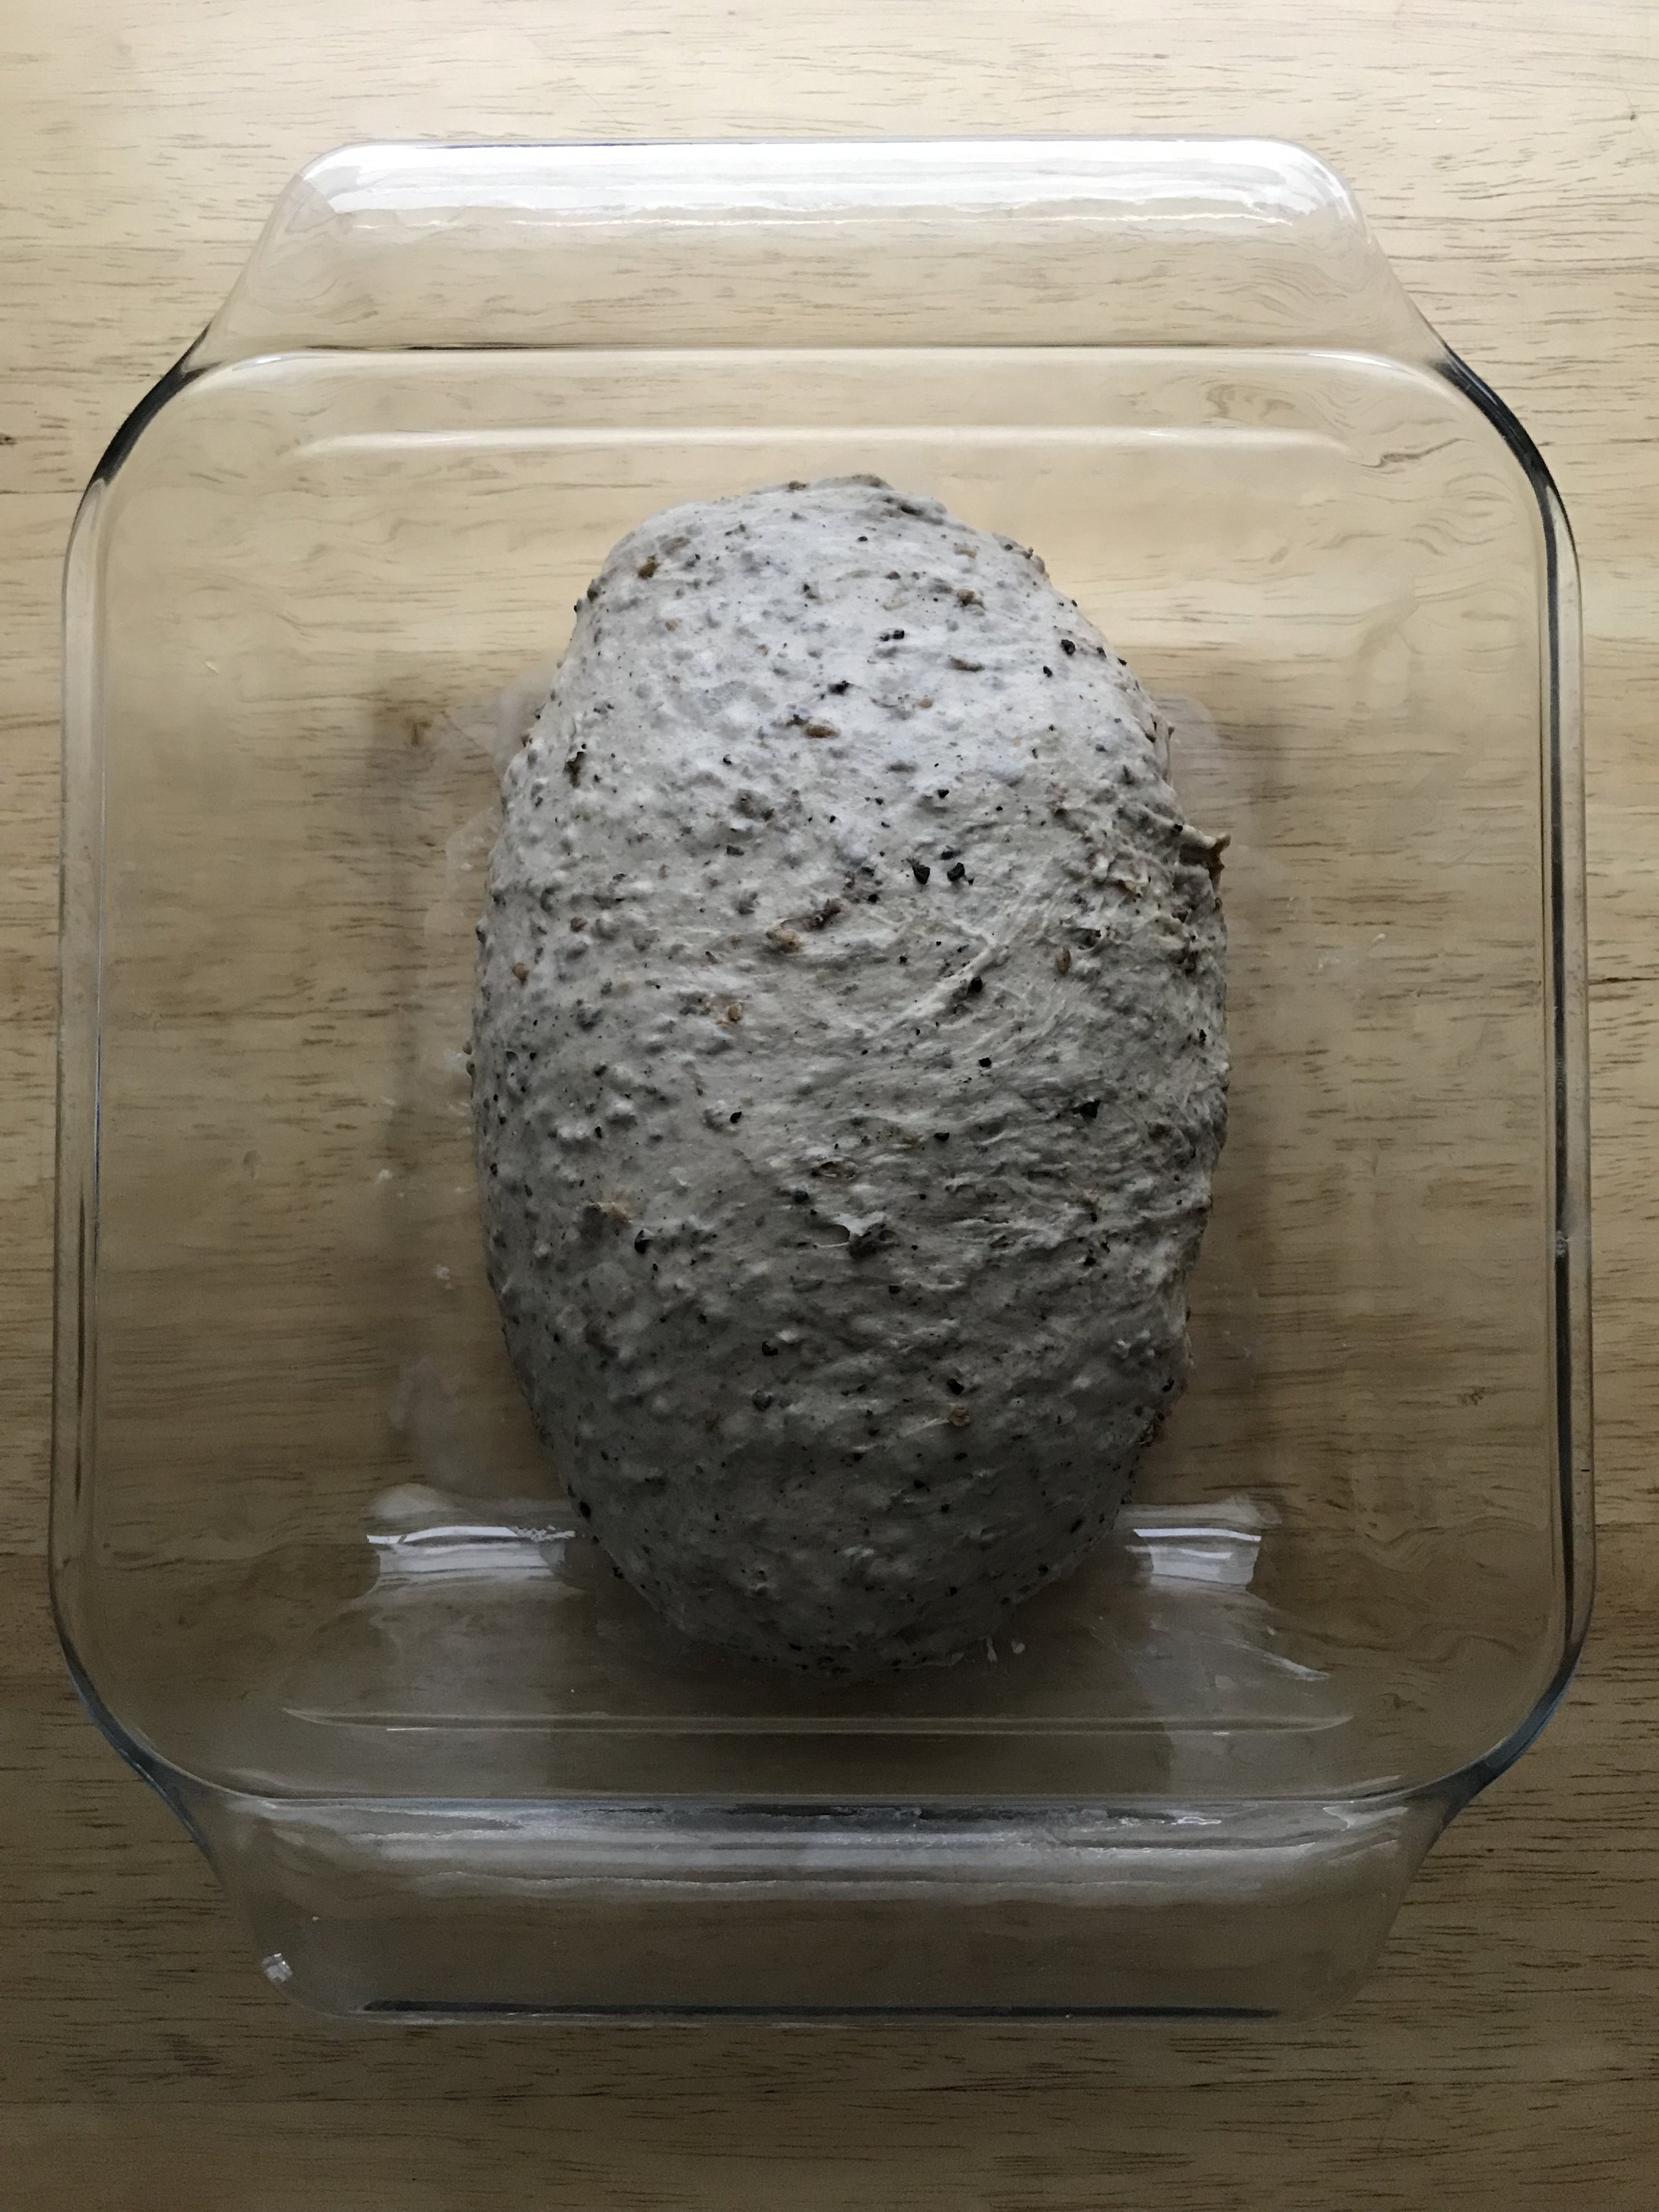
Below on the left: the dough before the final stretch and fold. On the right, after the final stretch and fold.
6. The total bulk fermentation time should be about 6-8 hours depending on the time of year, conditions in your kitchen, etc.
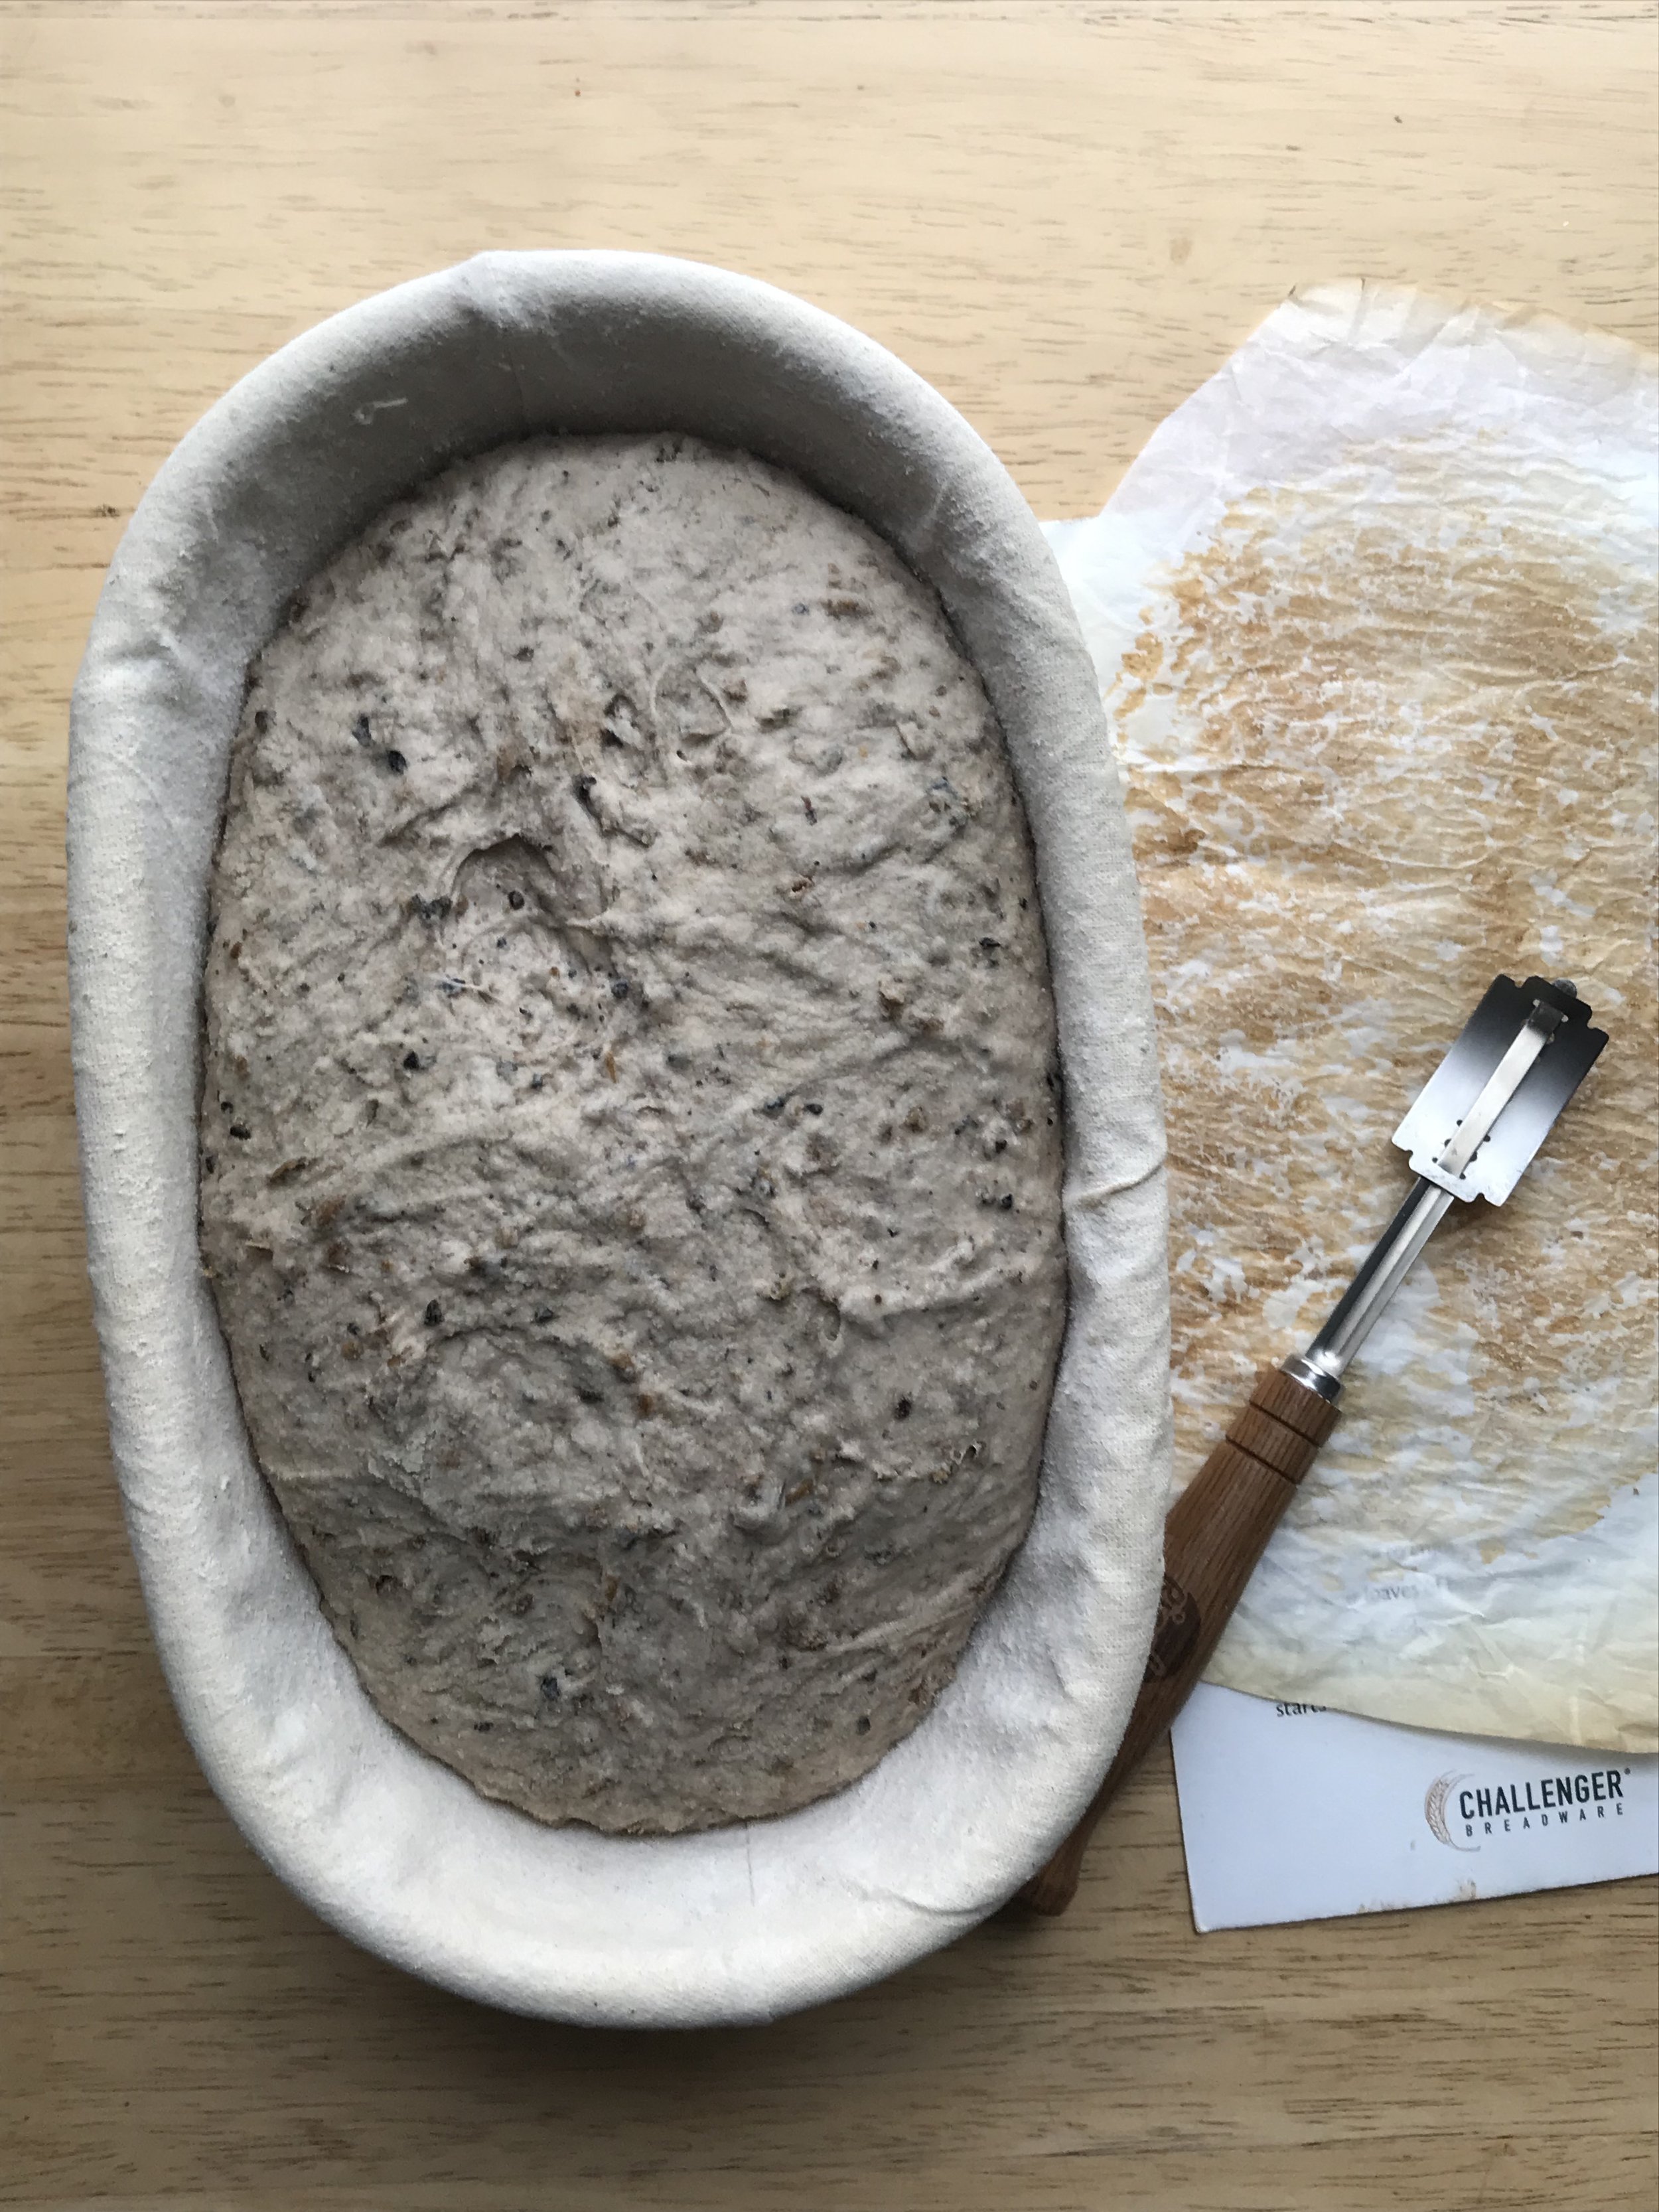
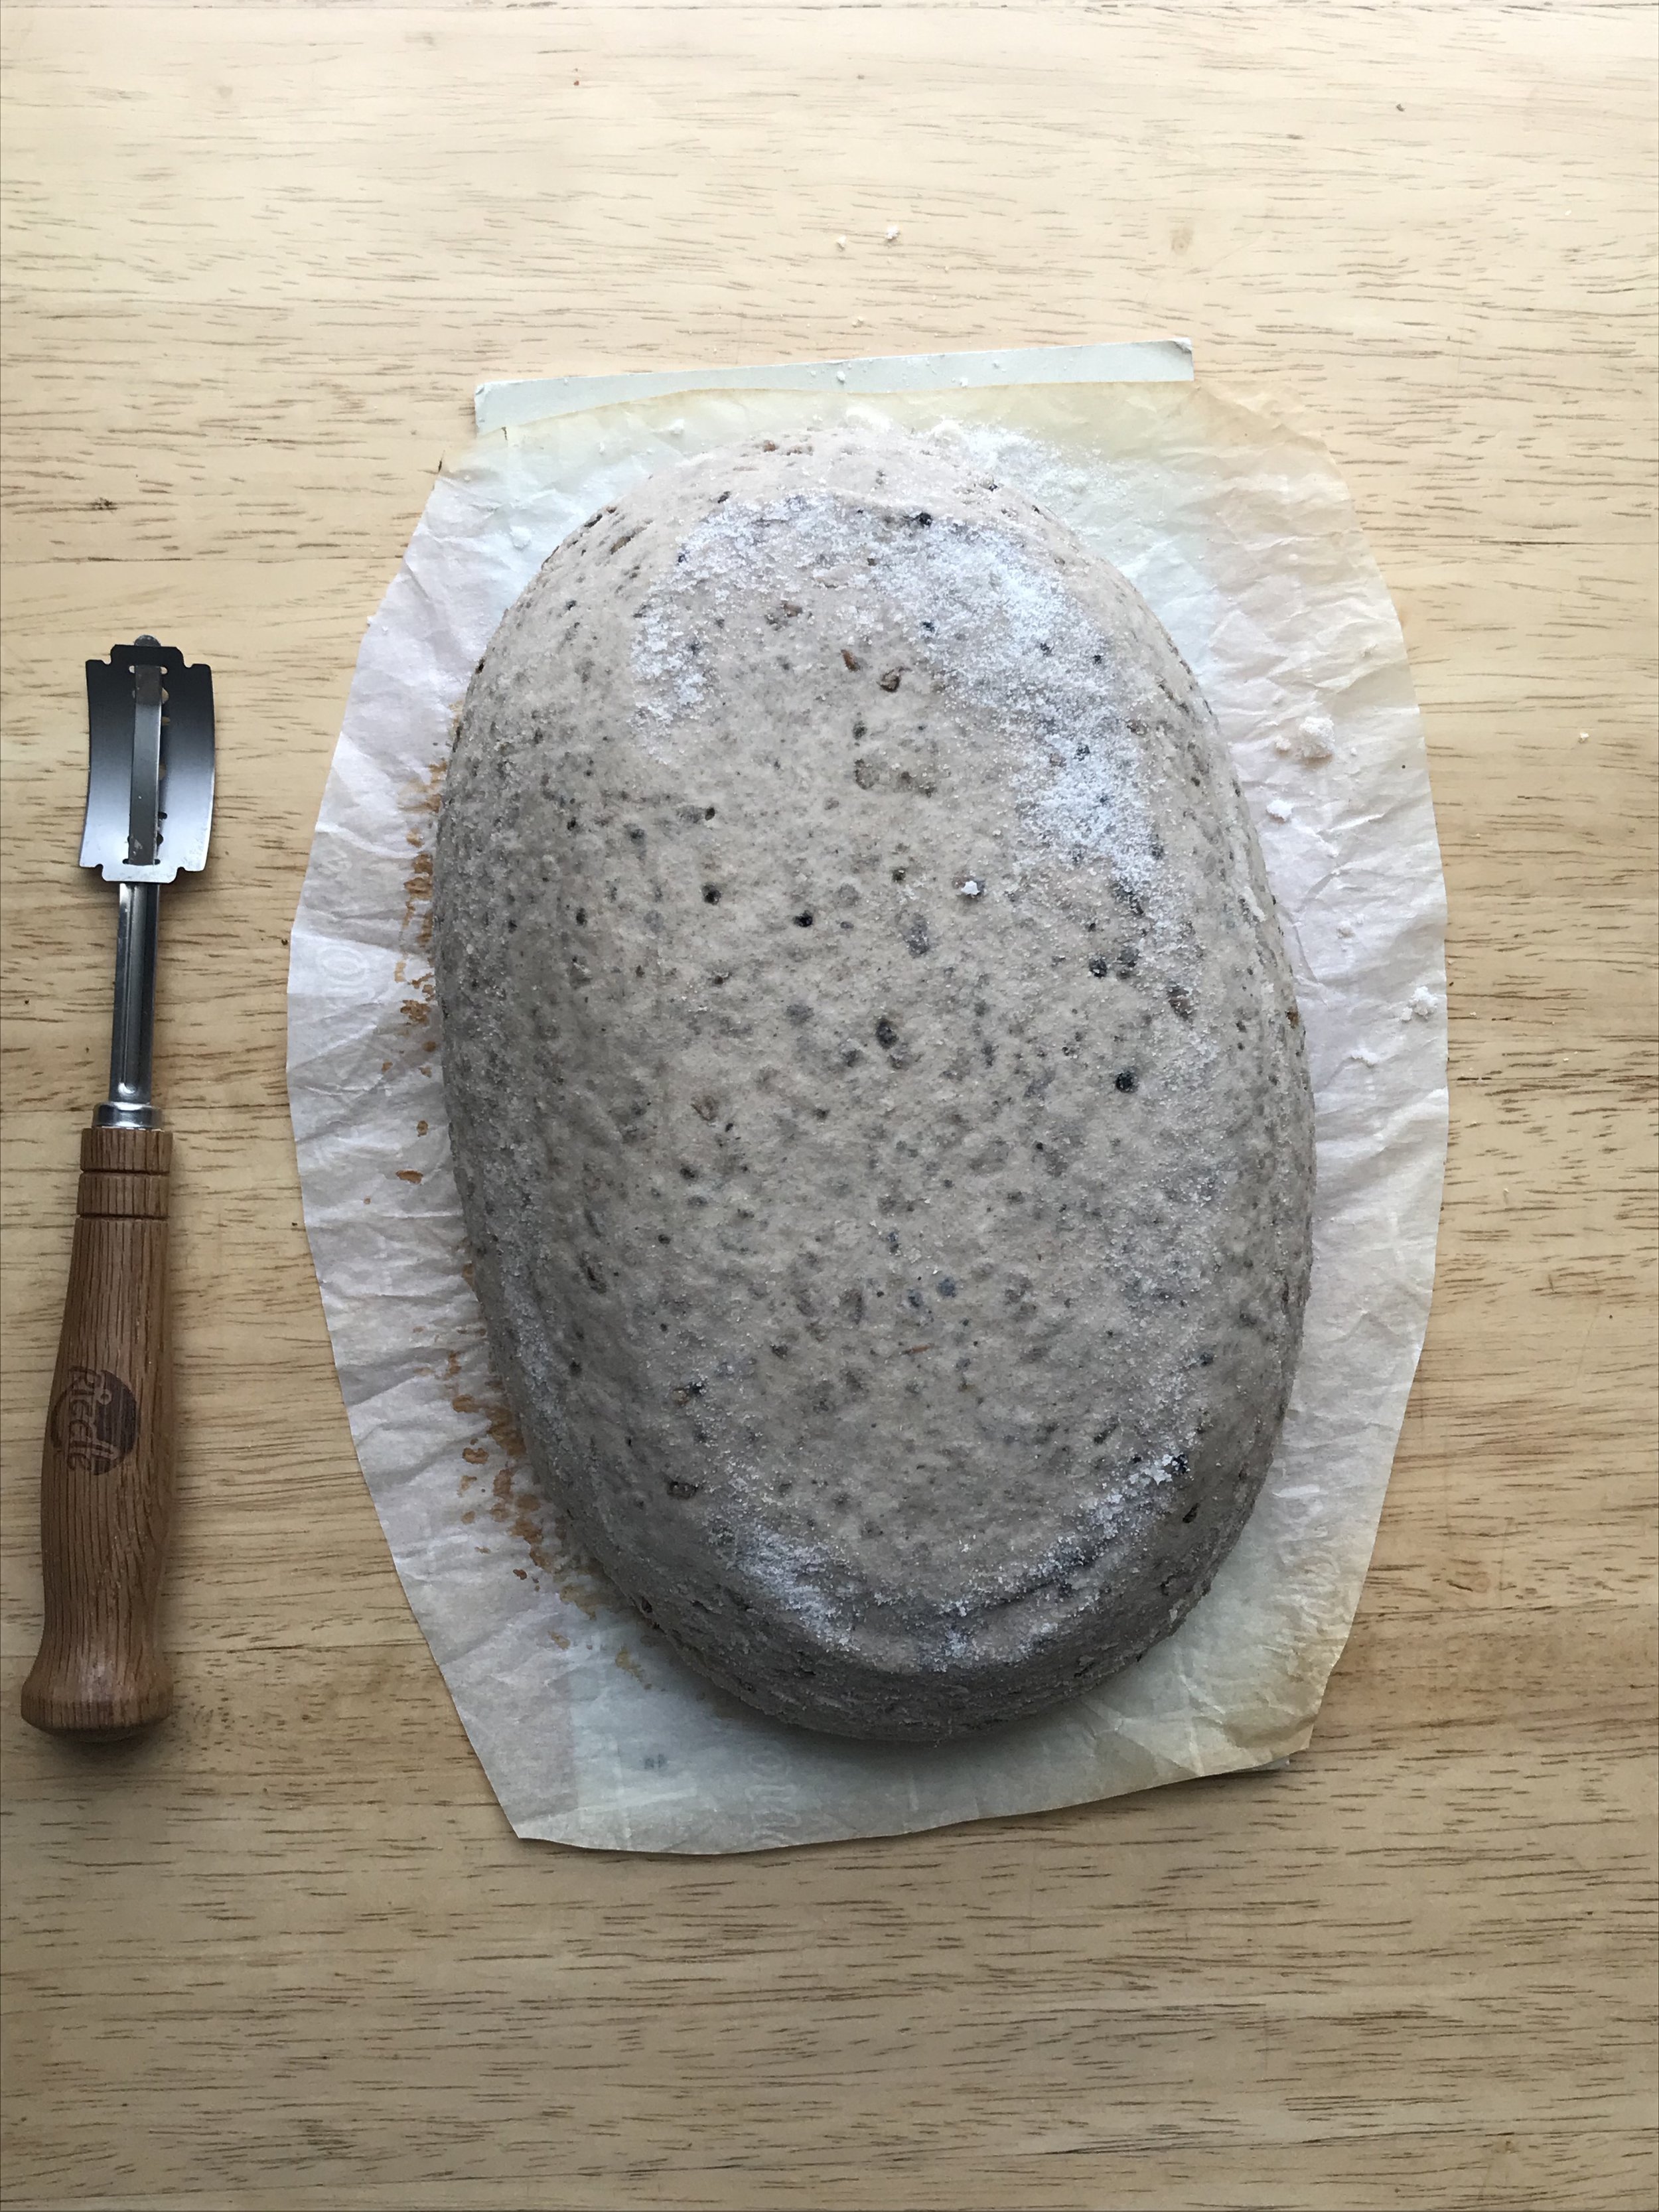
7. Proceed with shaping your final loaf either as a boule or batard. Make sure to generously dust the banneton with a combination of all purpose and rice flours (this loaf made my banneton liner VERY wet the first time). Place the shaped loaf into the banneton seam side UP. Tighten the seam as needed, and dust with more flour.
8. Cover the dough in the banneton and then move into the fridge overnight, or up to 48 hours.
9. When you’re ready to bake the bread, preheat a baking vessel (ideally a cast iron with a lid, such as a Dutch Oven or Challenger Bread Pan) in the oven at 475F.
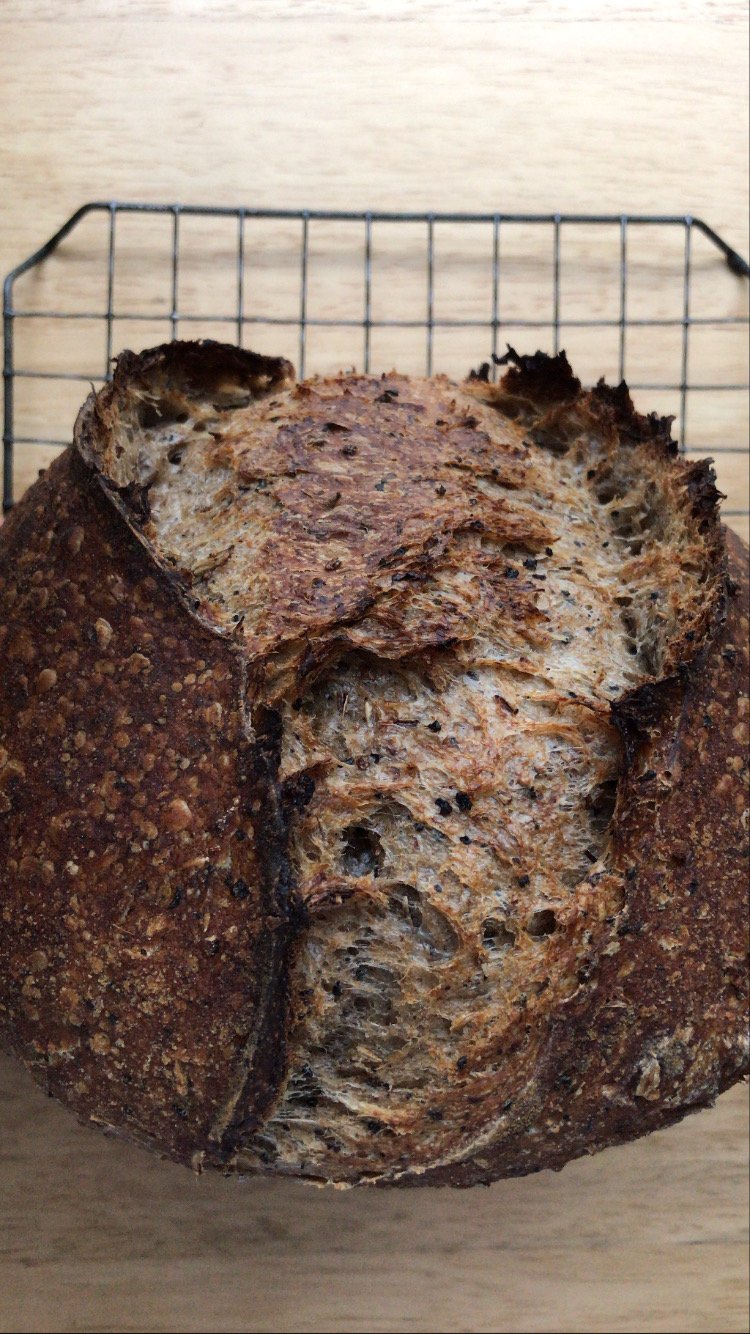
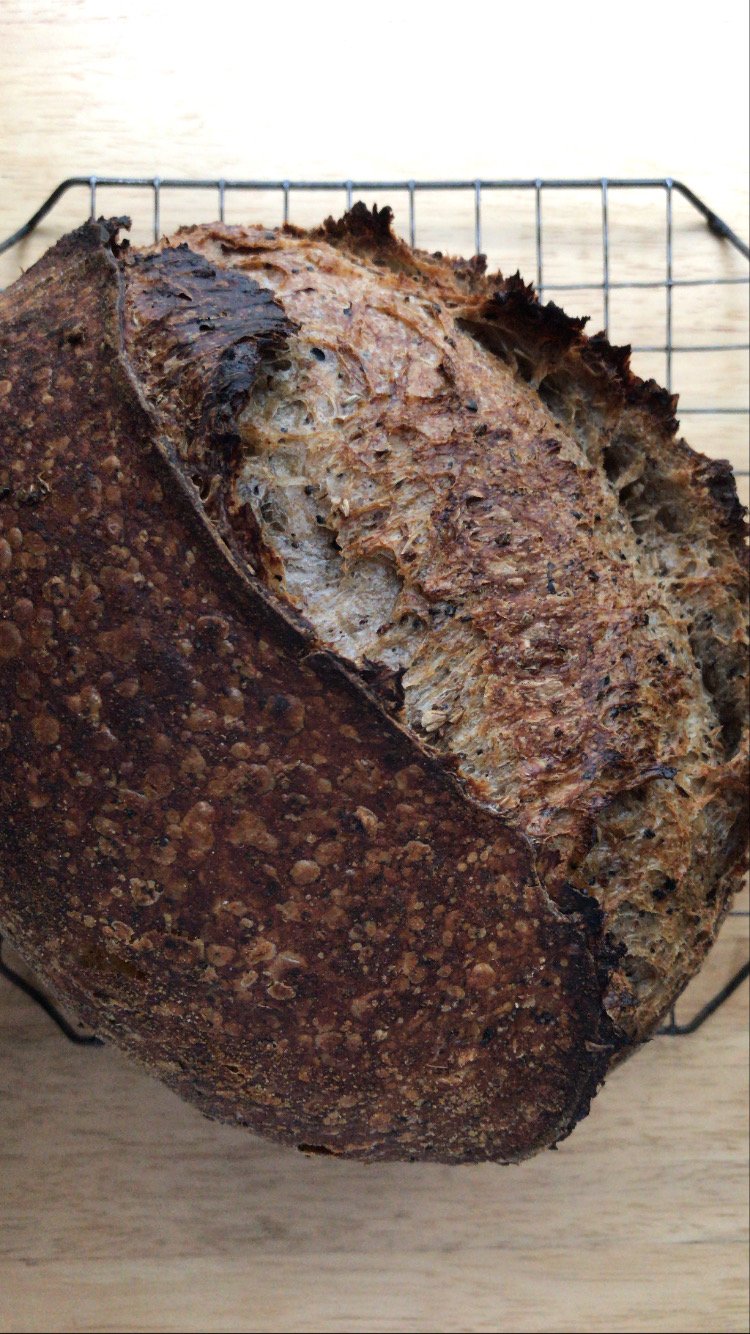
10. Cut parchment paper that will serve as the buffer underneath your loaf, and then flip the bread out so that it’s sitting on the parchment, seam side down. Cut an X or a simple slash on the top (not too deep!). Carefully load into the hot baking vessel and bake for 30 minutes lid on, 10-15 minutes lid off.
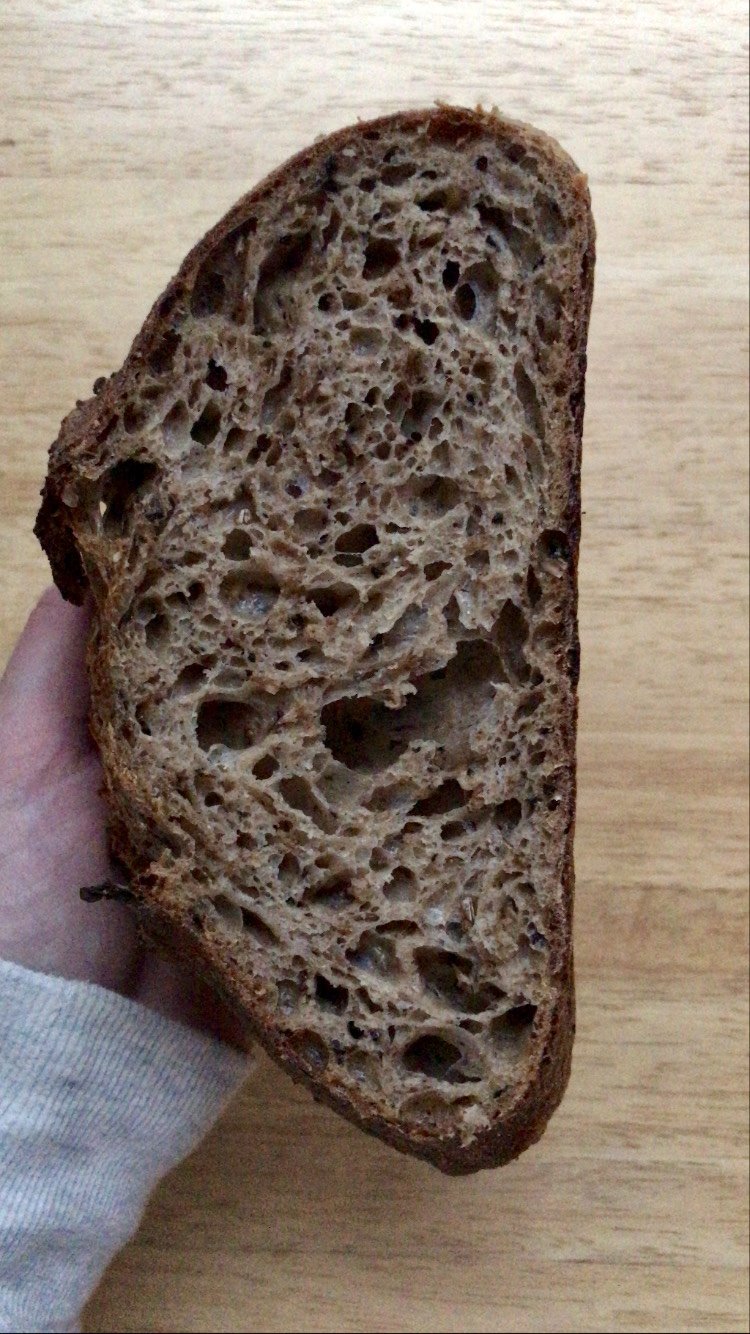
11. Let the bread fully cool, about 1-2 hours. The deep interior will continue to cook and solidify during this time. Make the soup for your bread while you wait!
12. Once the bowls is cool, slice and enjoy.
This bread will keep at room temperature for about 5 days in a bag or sealed container. After that, I recommend moving it to the fridge or freeze. Slice before freezing. Please let me know if you make this delicious bread and tag @nokneadtoworry on Instagram!

Read next

My Sourdough Method

Sourdough Bagels