“Croissant” Sourdough
When I saw the viral ‘croissant’ sourdough floating around the internet, I knew I had to try it. Traditionalists may be unwilling to accept the name, but no matter what you call it, it’s delicious as heck! I used an entire stick of Cabot Creamery unsalted butter for this one, and let me tell you… it did not disappoint. I brought this loaf to a potluck and I am not sure one of my loaves has ever been devoured so quickly! Don’t worry if the loaf leaks a little butter while baking. There should still be plenty left inside for that ultimate, creamy, buttery crumb.


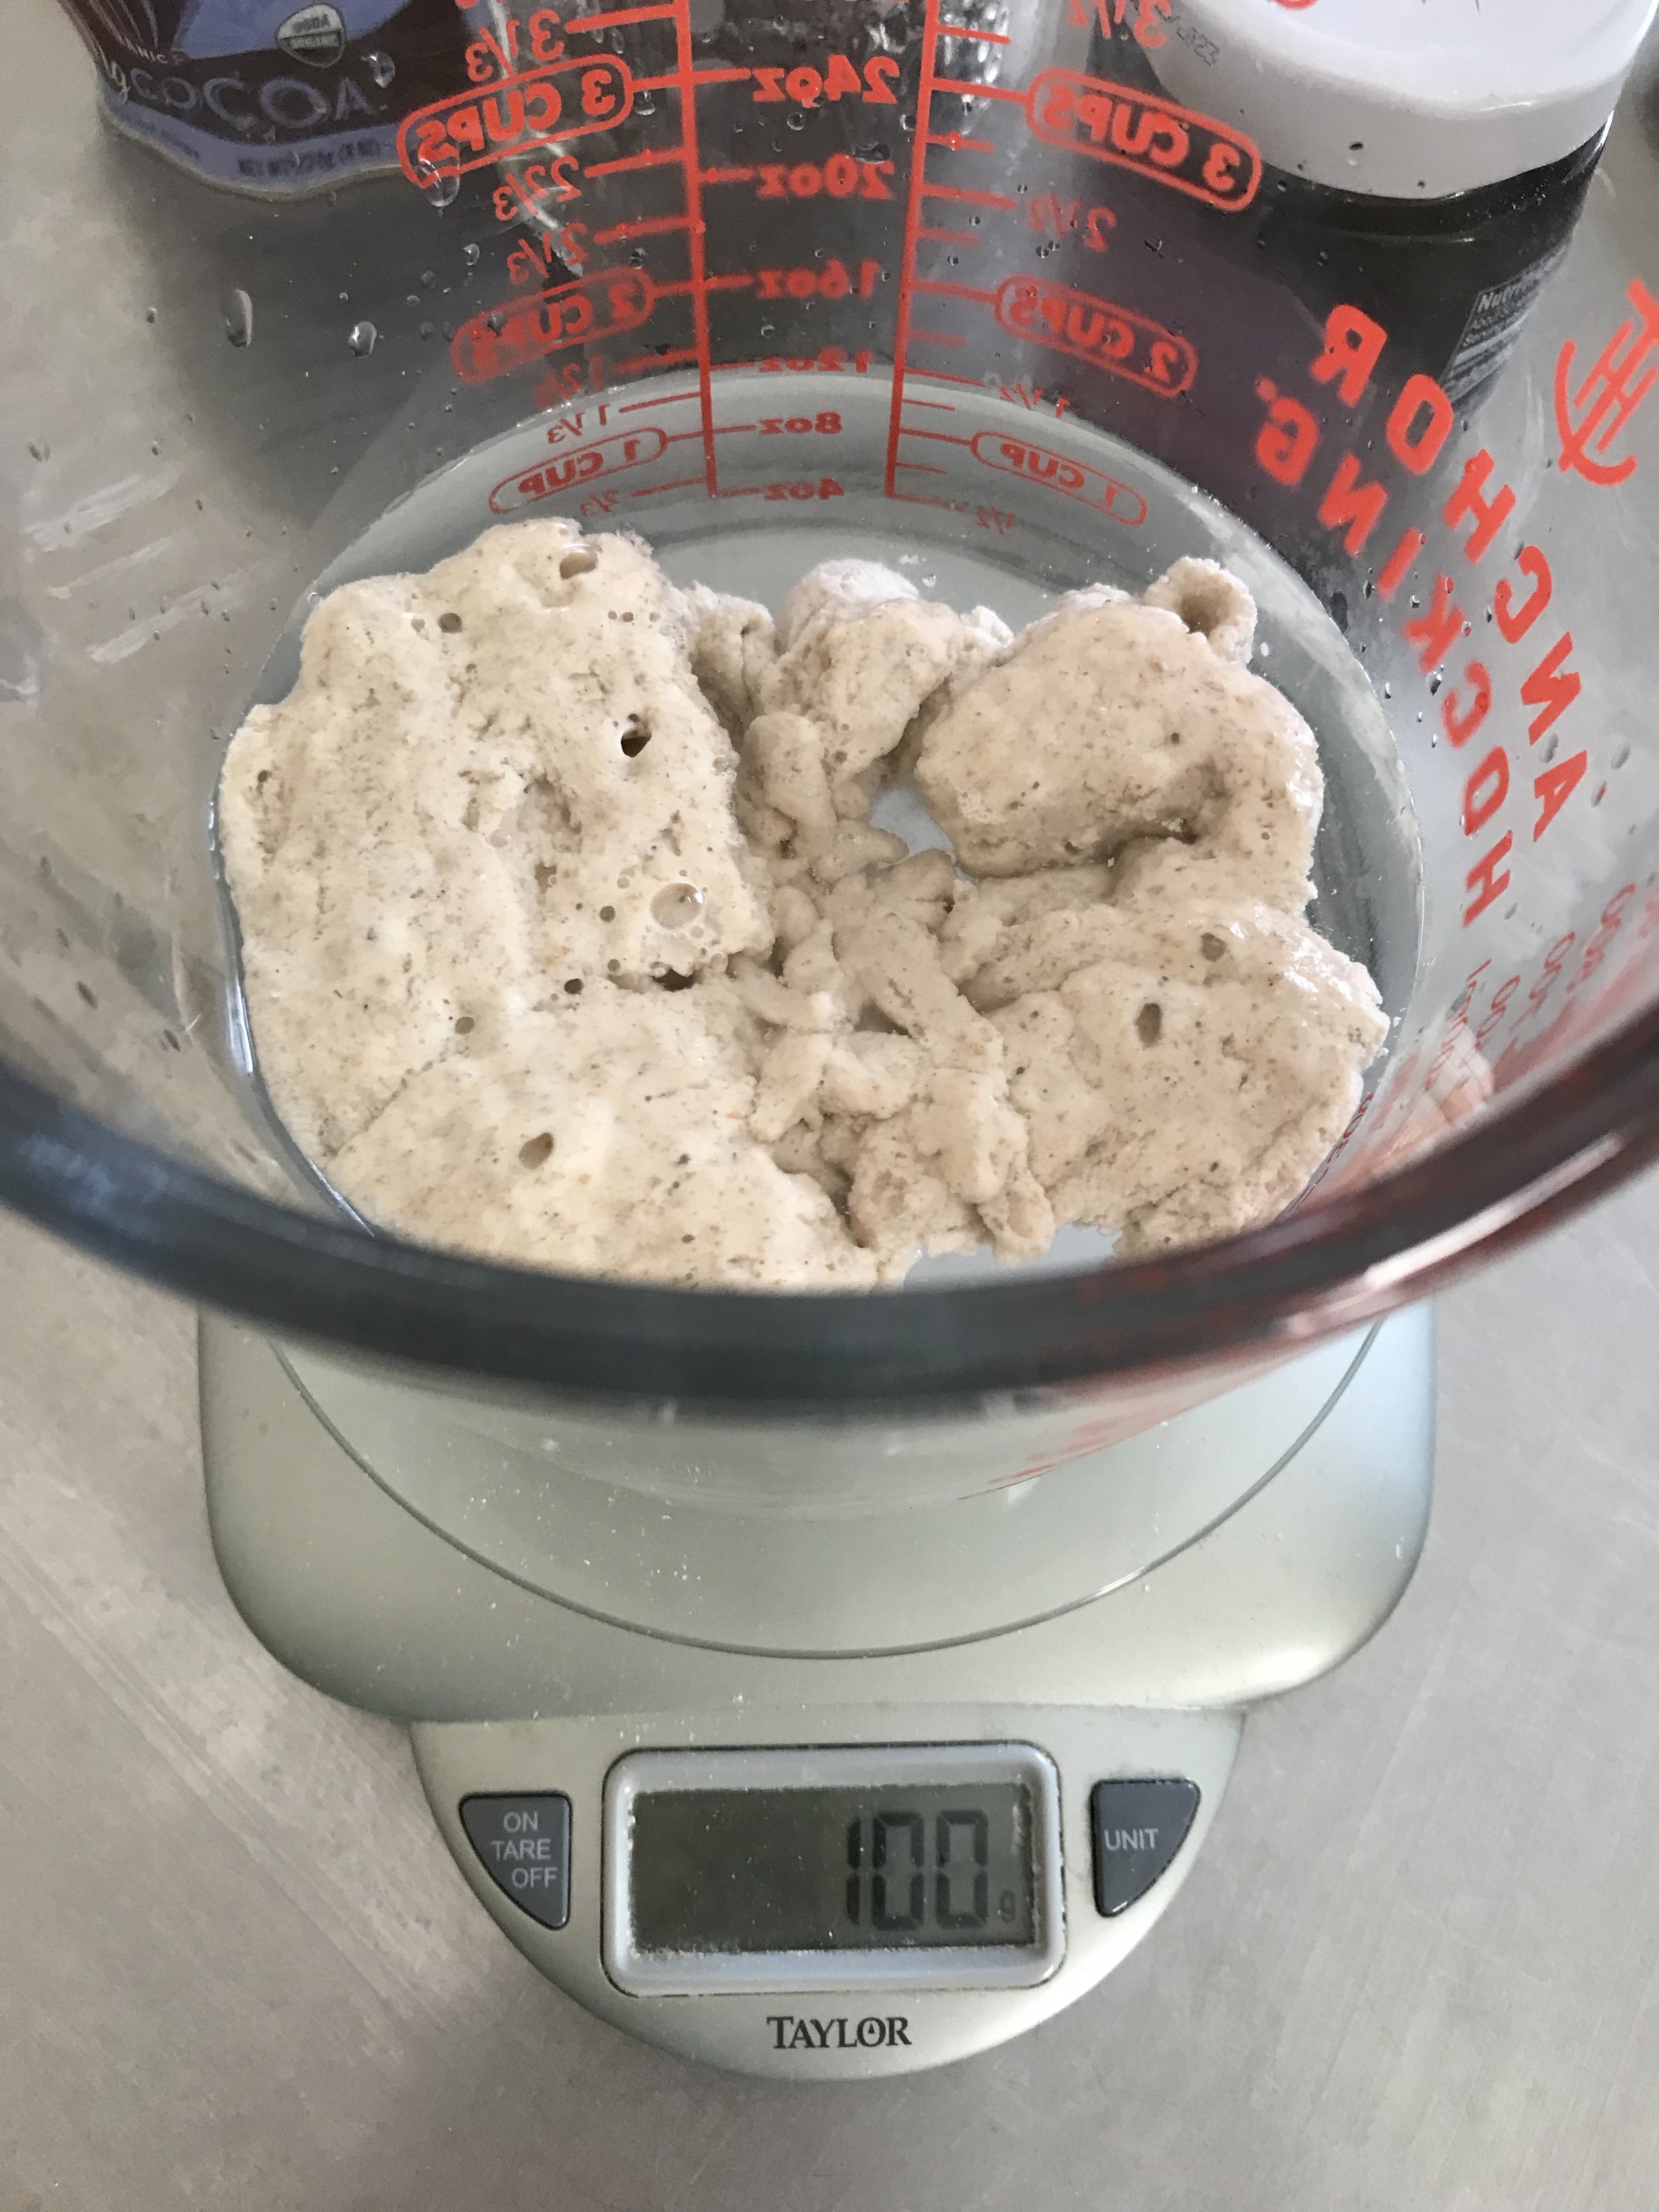
If you’re making this dough on the weekend, you’ll want to start feeding your sourdough starter on Wednesday or Thursday so that it’s ripe for use Saturday. I use 100g of active/ripe starter in this recipe, but if you prefer less feel free to go ahead with 50-75g. The most important part is paying close attention to the dough as it’s rising to make sure it has increased in volume by about 1/3 and is visibly puffy/bubbly.
For the dough:
500g bread flour
365g water
100g sourdough starter
12g salt
For filling:
1 cold stick of unsalted Cabot butter, grated
Instructions:
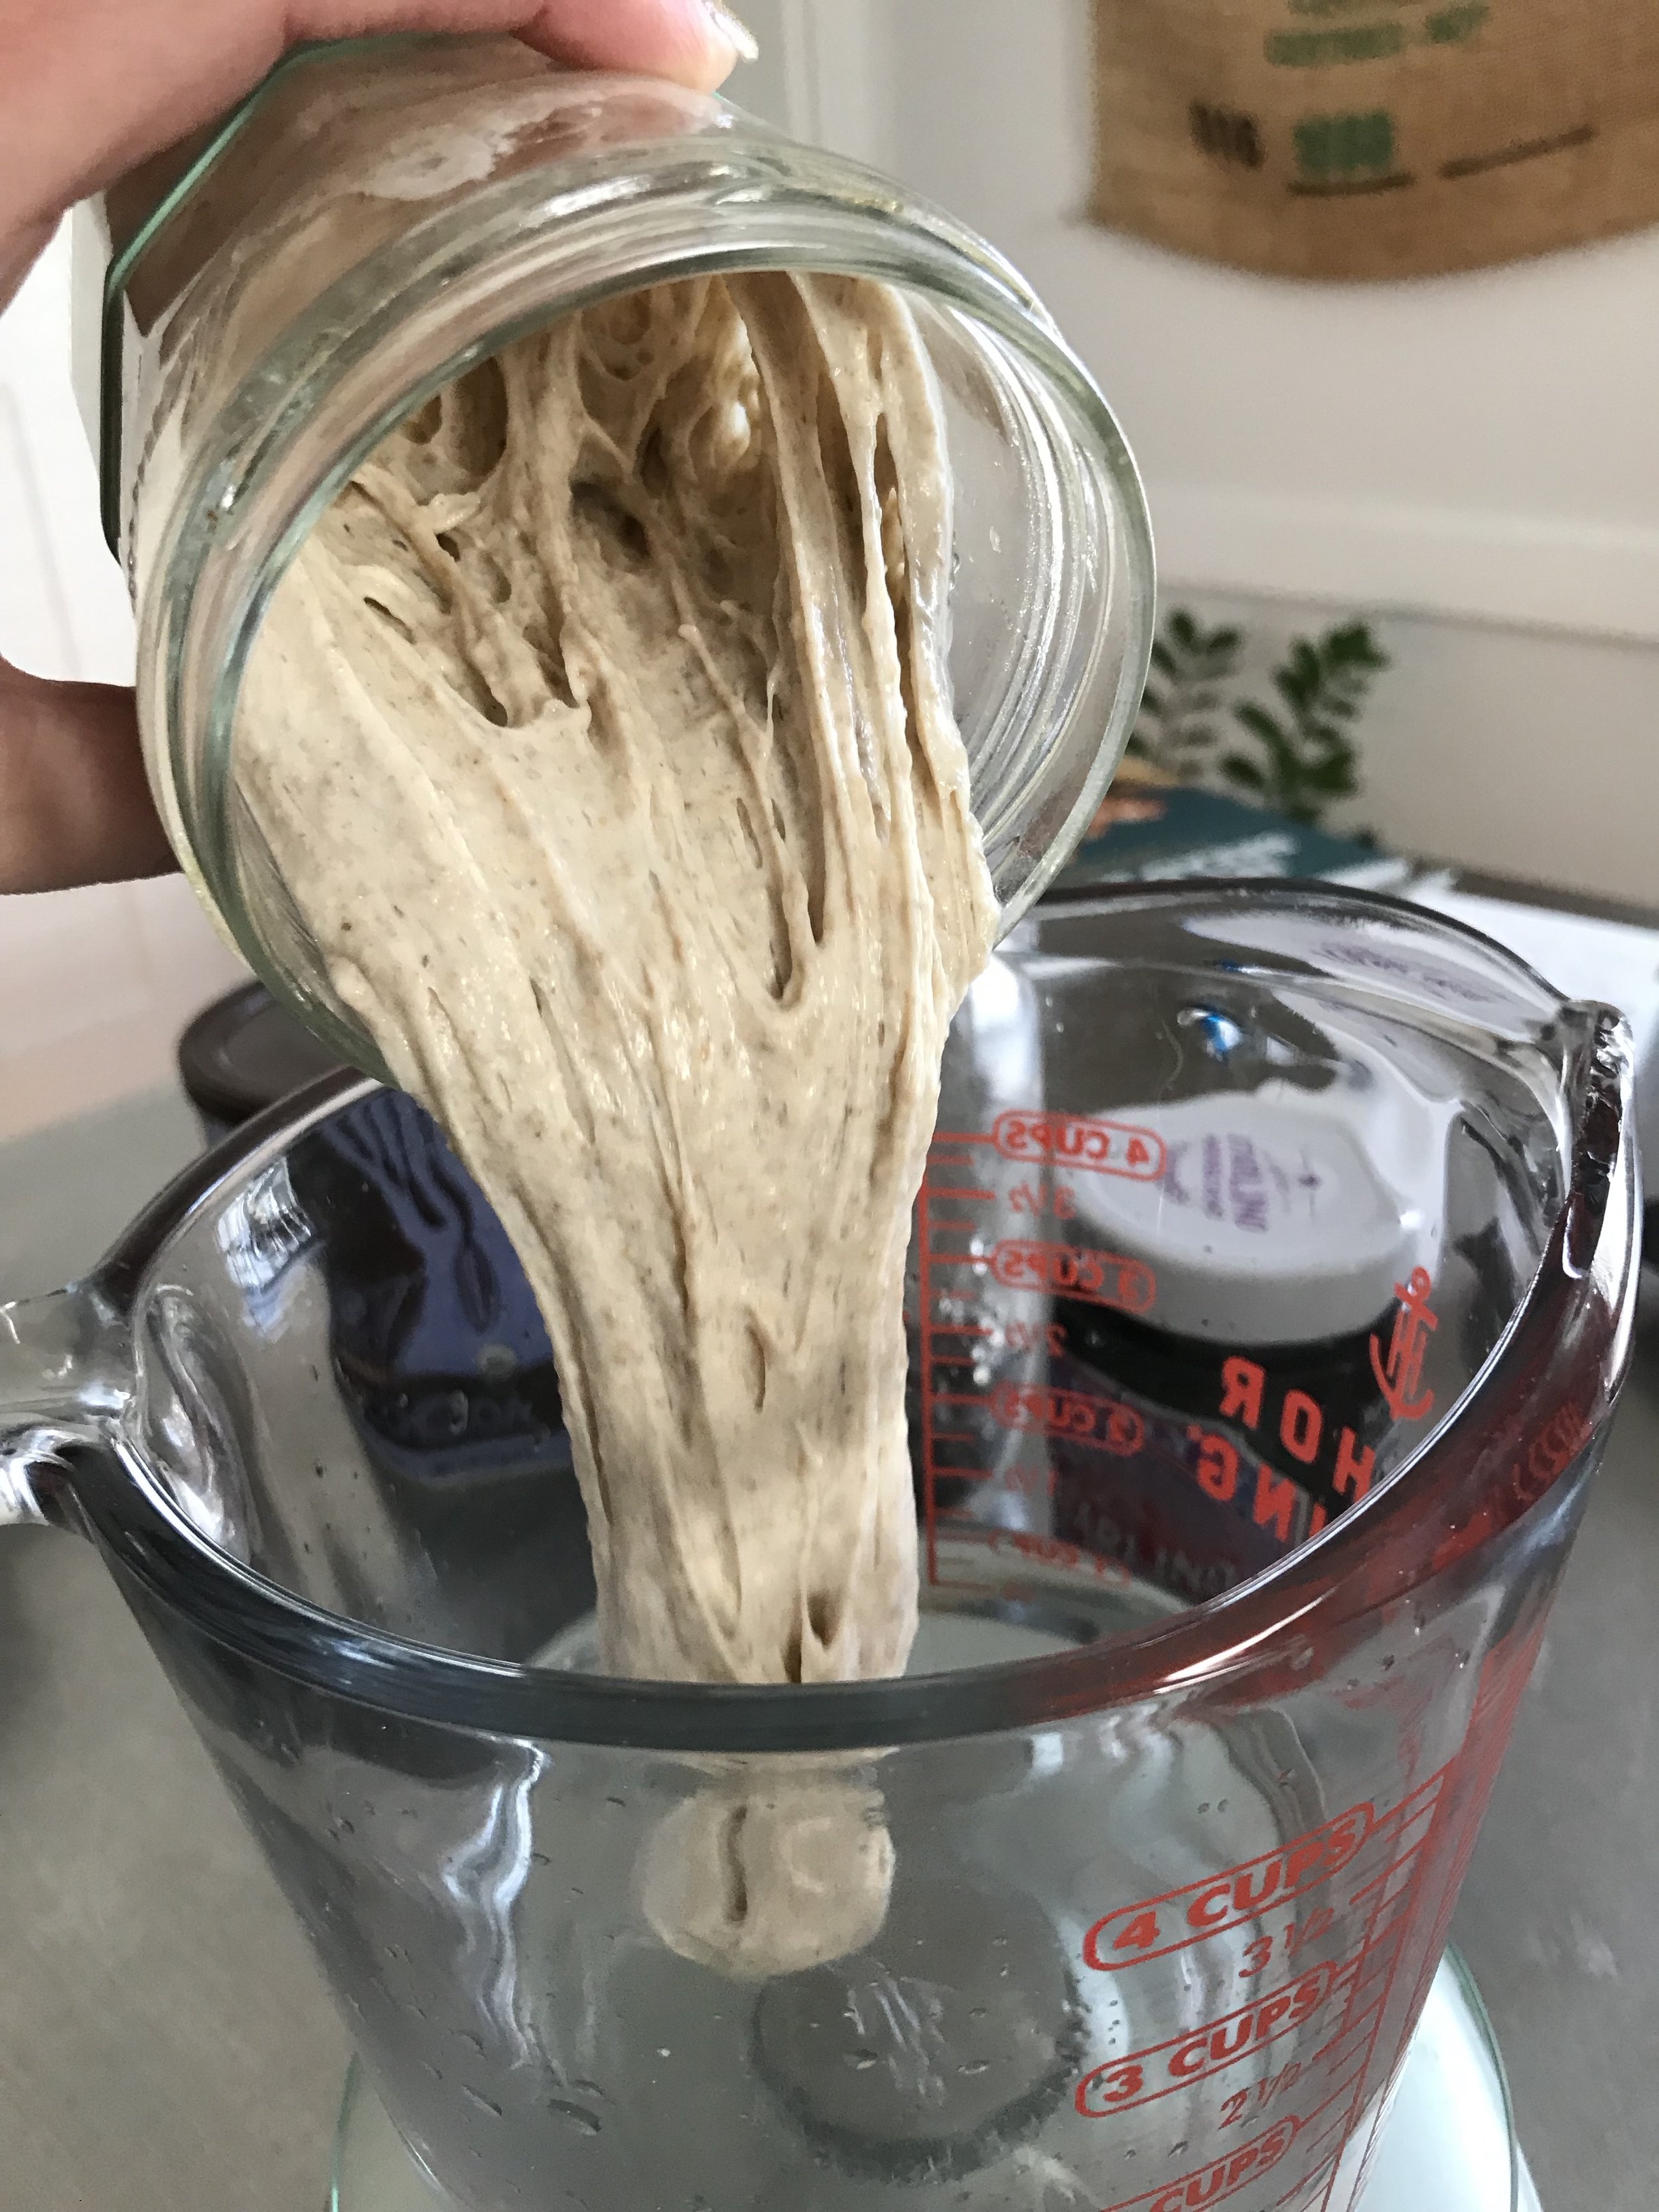
Measure 100g sourdough starter into the remaining 365g water and whisk to combine.
Add the water-stater to the flour and mix until no dry bits remain. Cover and let the dough rest for about 30 minutes.
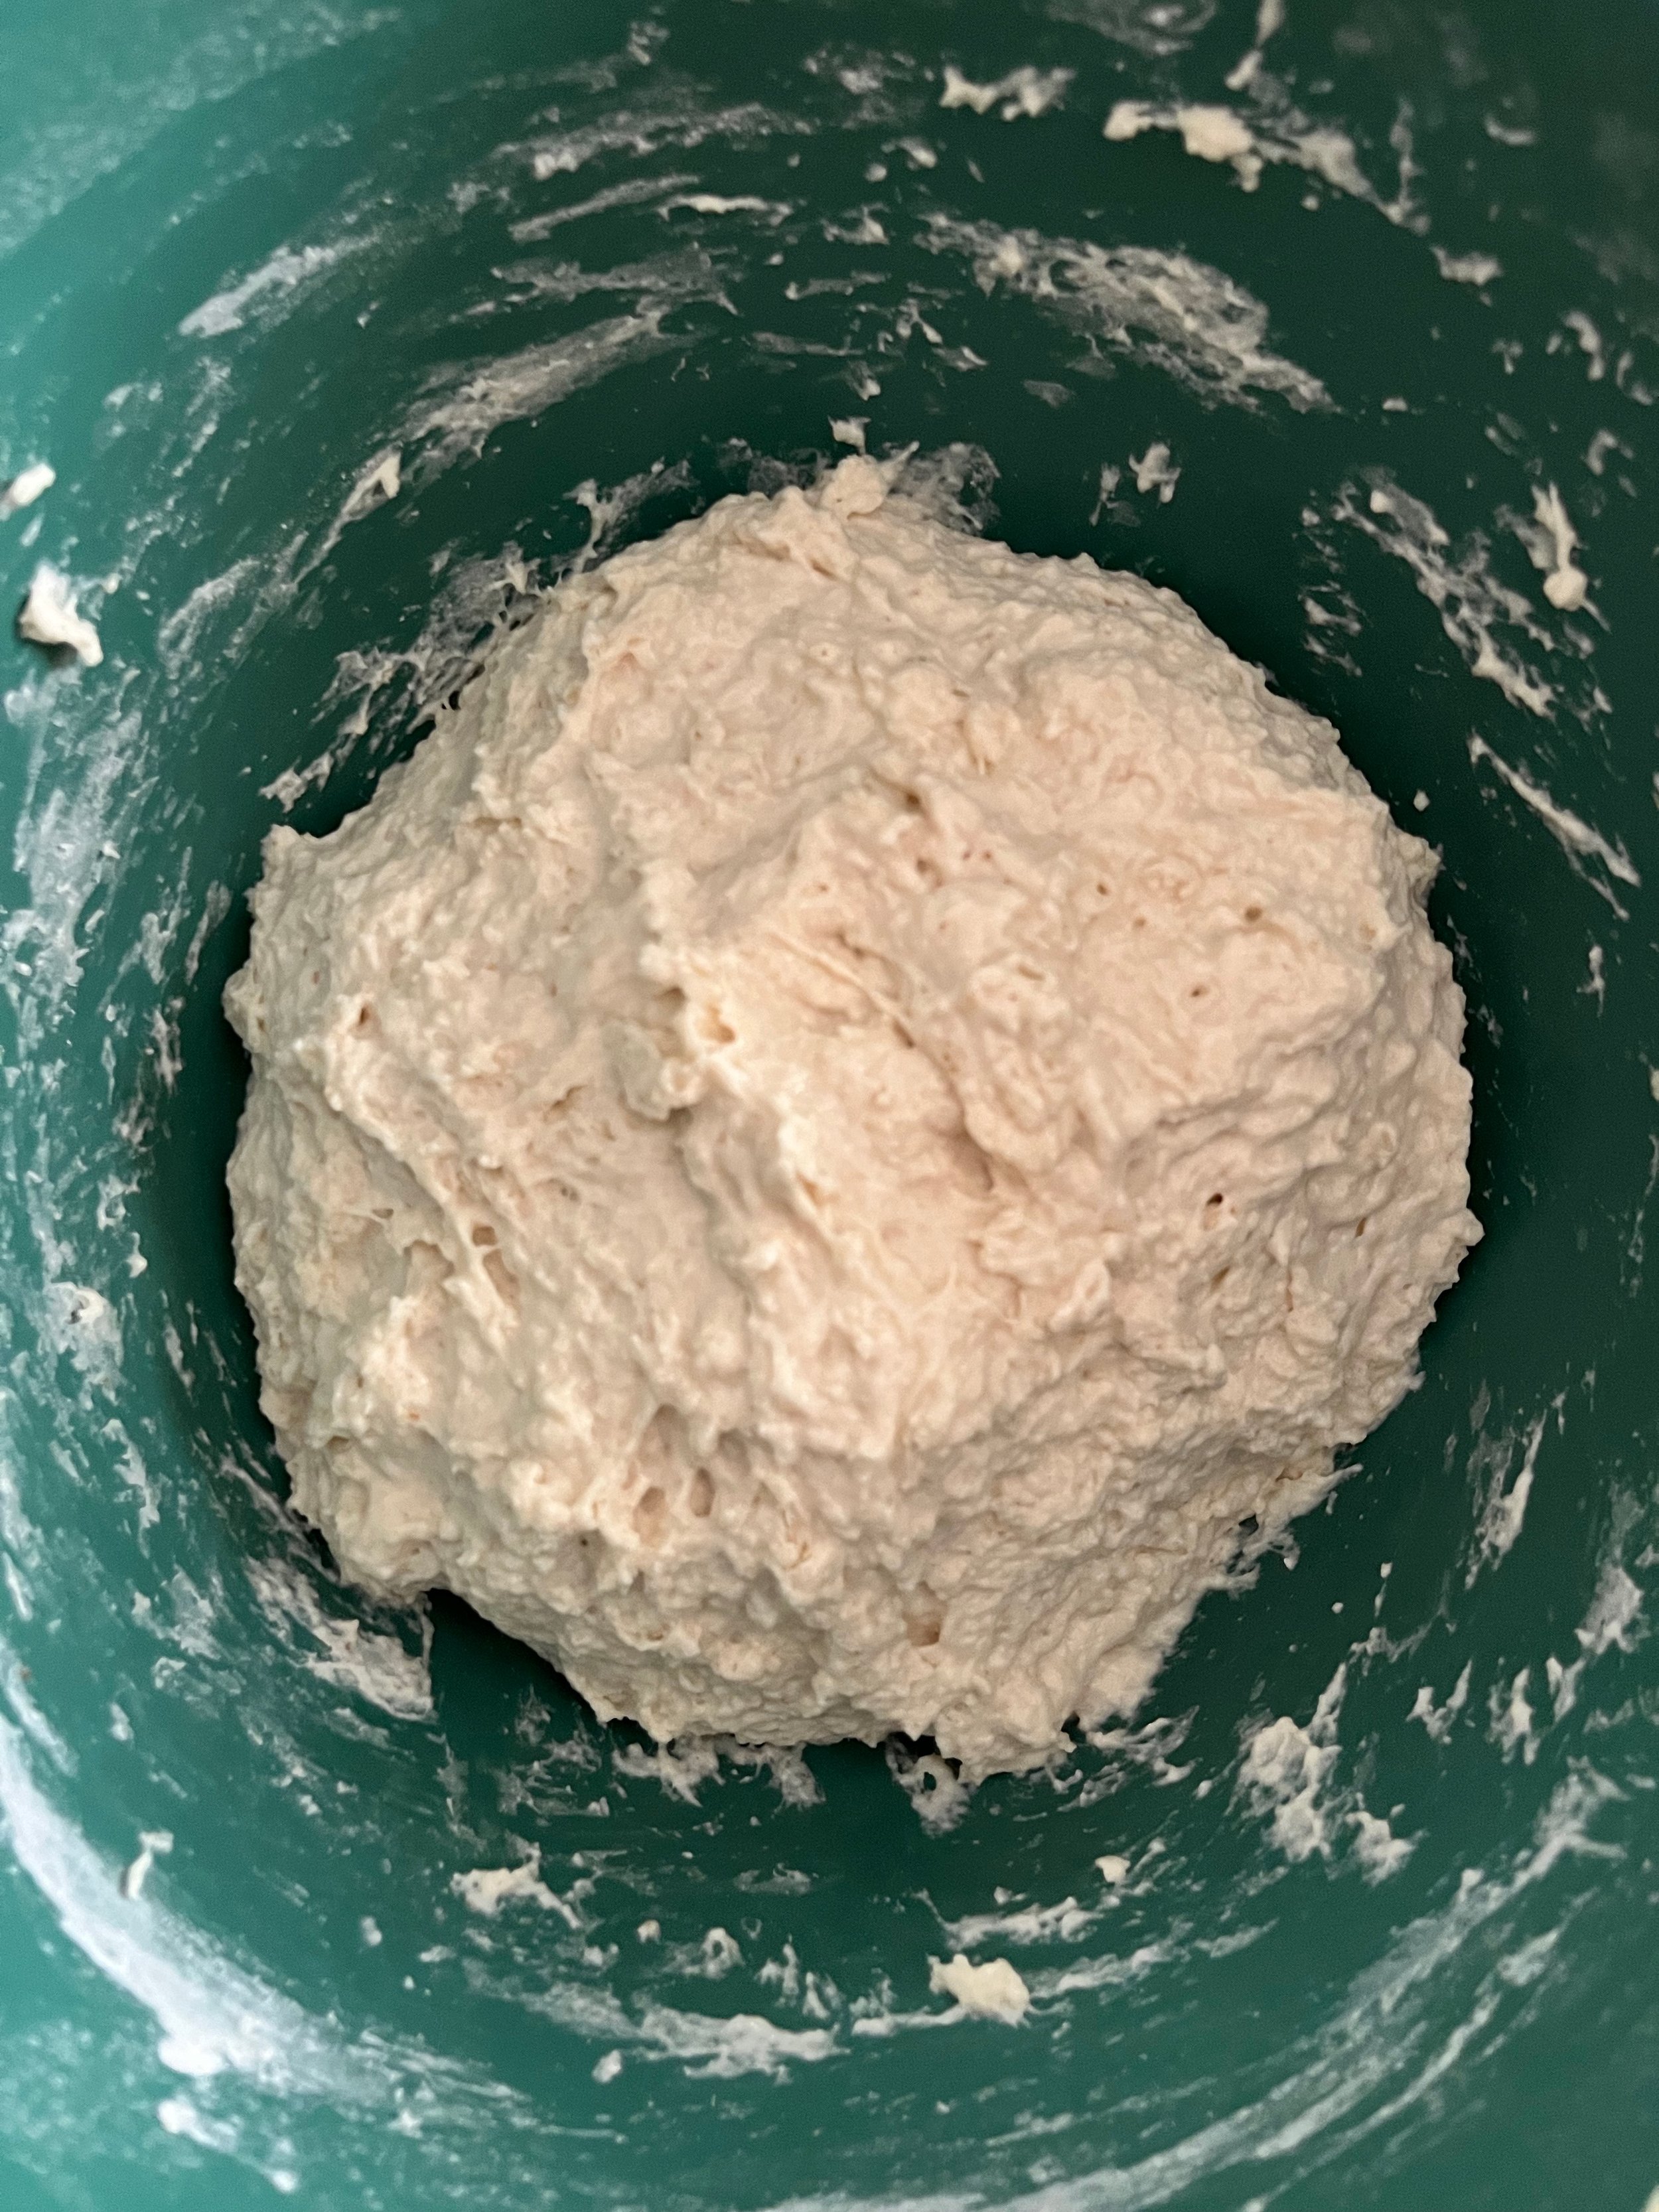
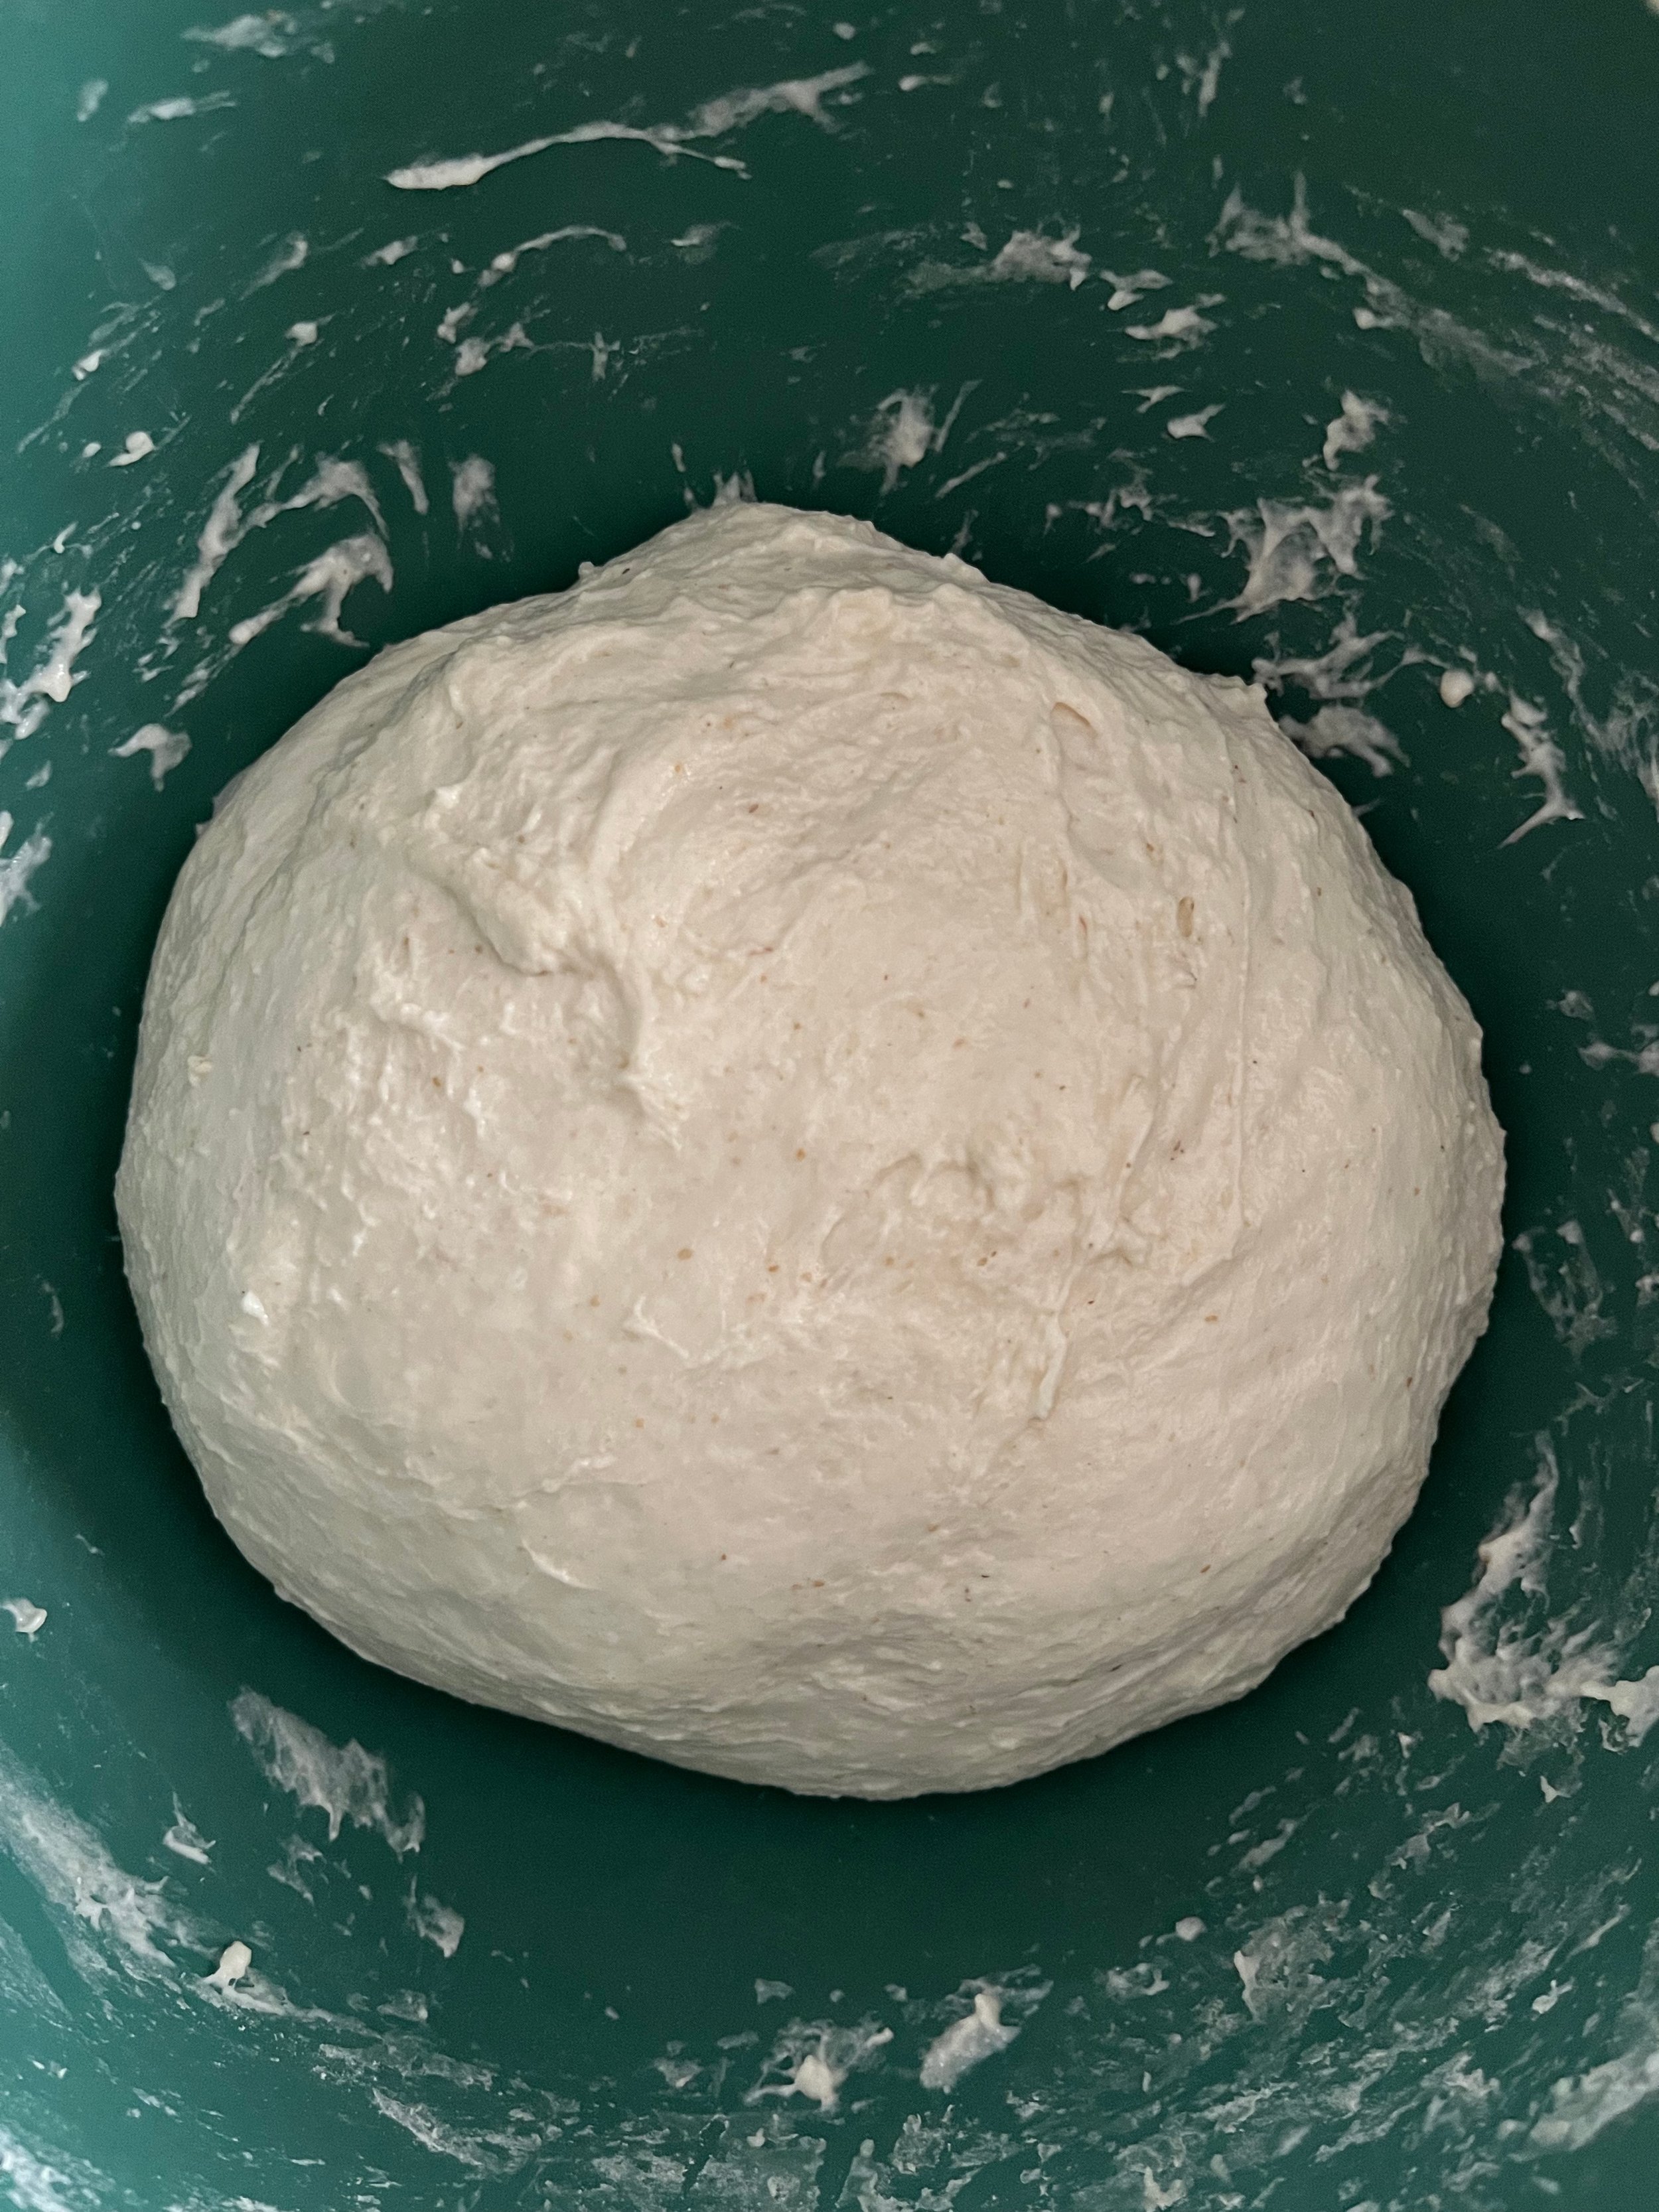
Pictured below: on the left, the dough right after the initial mixing; on the right, the dough after the first stretch and folds.
3. After the initial 30 minute rest, sprinkle the salt on top and (using wet hands/fingers) pinch the salt into the dough. Then, do some rounds of stretch and folds until the dough forms a smooth ball and the salt has been incorporated. Cover and let rest for another 30 min.
4. Over the next 2-4 hours, do several rounds of stretch and folds every 45-60 minutes. This is to help build up the structure of the gluten and dough.
5. After about 4 hours and the dough has visibly started to puff a bit, it’s time to laminate the butter in! This is my preferred way to add strength to the dough while simultaneously incorporating fillings completely evenly. If you don’t want to laminate, you can put the grated butter on top of the dough and incorporate them over several rounds of stretch and folds. Lamination is pictured below.
Instructions continue below. See here for more lamination instructions.


6. After laminating the dough with the grated stick of butter, return the dough to the bowl. Cover and let rest for the remainder of the bulk fermentation. Depending on the weather and time of year, this could be anywhere from another hour to two hours. Keep an eye on the dough for signs of fermentation.


7. When your dough is ready to shape, line a banneton with rice flour (or generously with AP or bread flour) and lightly wet (or flour) a work surface. Shape your dough into a taut ball or oval (depending on what shape you’re going for). Cover, and place it into the fridge overnight.
8. In the morning, pre-heat the oven to 475F with your baking vessel inside (dutch oven or heavy cast iron pot with a lid).
9. Remove the dough from the fridge, uncover, place a piece of cut parchment paper on top and flip the dough out. Score your dough and then carefully lower it into the hot baking vessel. Cover and bake for 25 minutes.
10. Then remove the lid and bake for an additional 15 minutes. This dough is dense and may take longer to bake than usual. If the bottom is burning or soggy from butter leakage, feel free to reduce the oven temperature or let it finish cooking outside of the baking vessel. Don’t be alarmed by the lost butter - there will still be plenty in there!
11. Let the bread cool for about an hour before slicing (if you can wait…). Feel free to brush the top of the loaf with any extra butter sitting in the baking vessel and it might incorporate back in. Enjoy!
If you make this, I’d love to see! Tag @nokneadtoworry on Instagram. Thank you to Cabot Creamery for sponsoring this post.


Read next

My Sourdough Method

Sourdough Bagels