Chocolate Cherry Sourdough
In honor of Valentine’s Day coming up, I present to you a special sweet-ish sourdough. I was gifted some delicious Starlino Maraschino cherries and instantly knew they’d be amazing combined with a chocolate dough. But use whatever you have on hand!
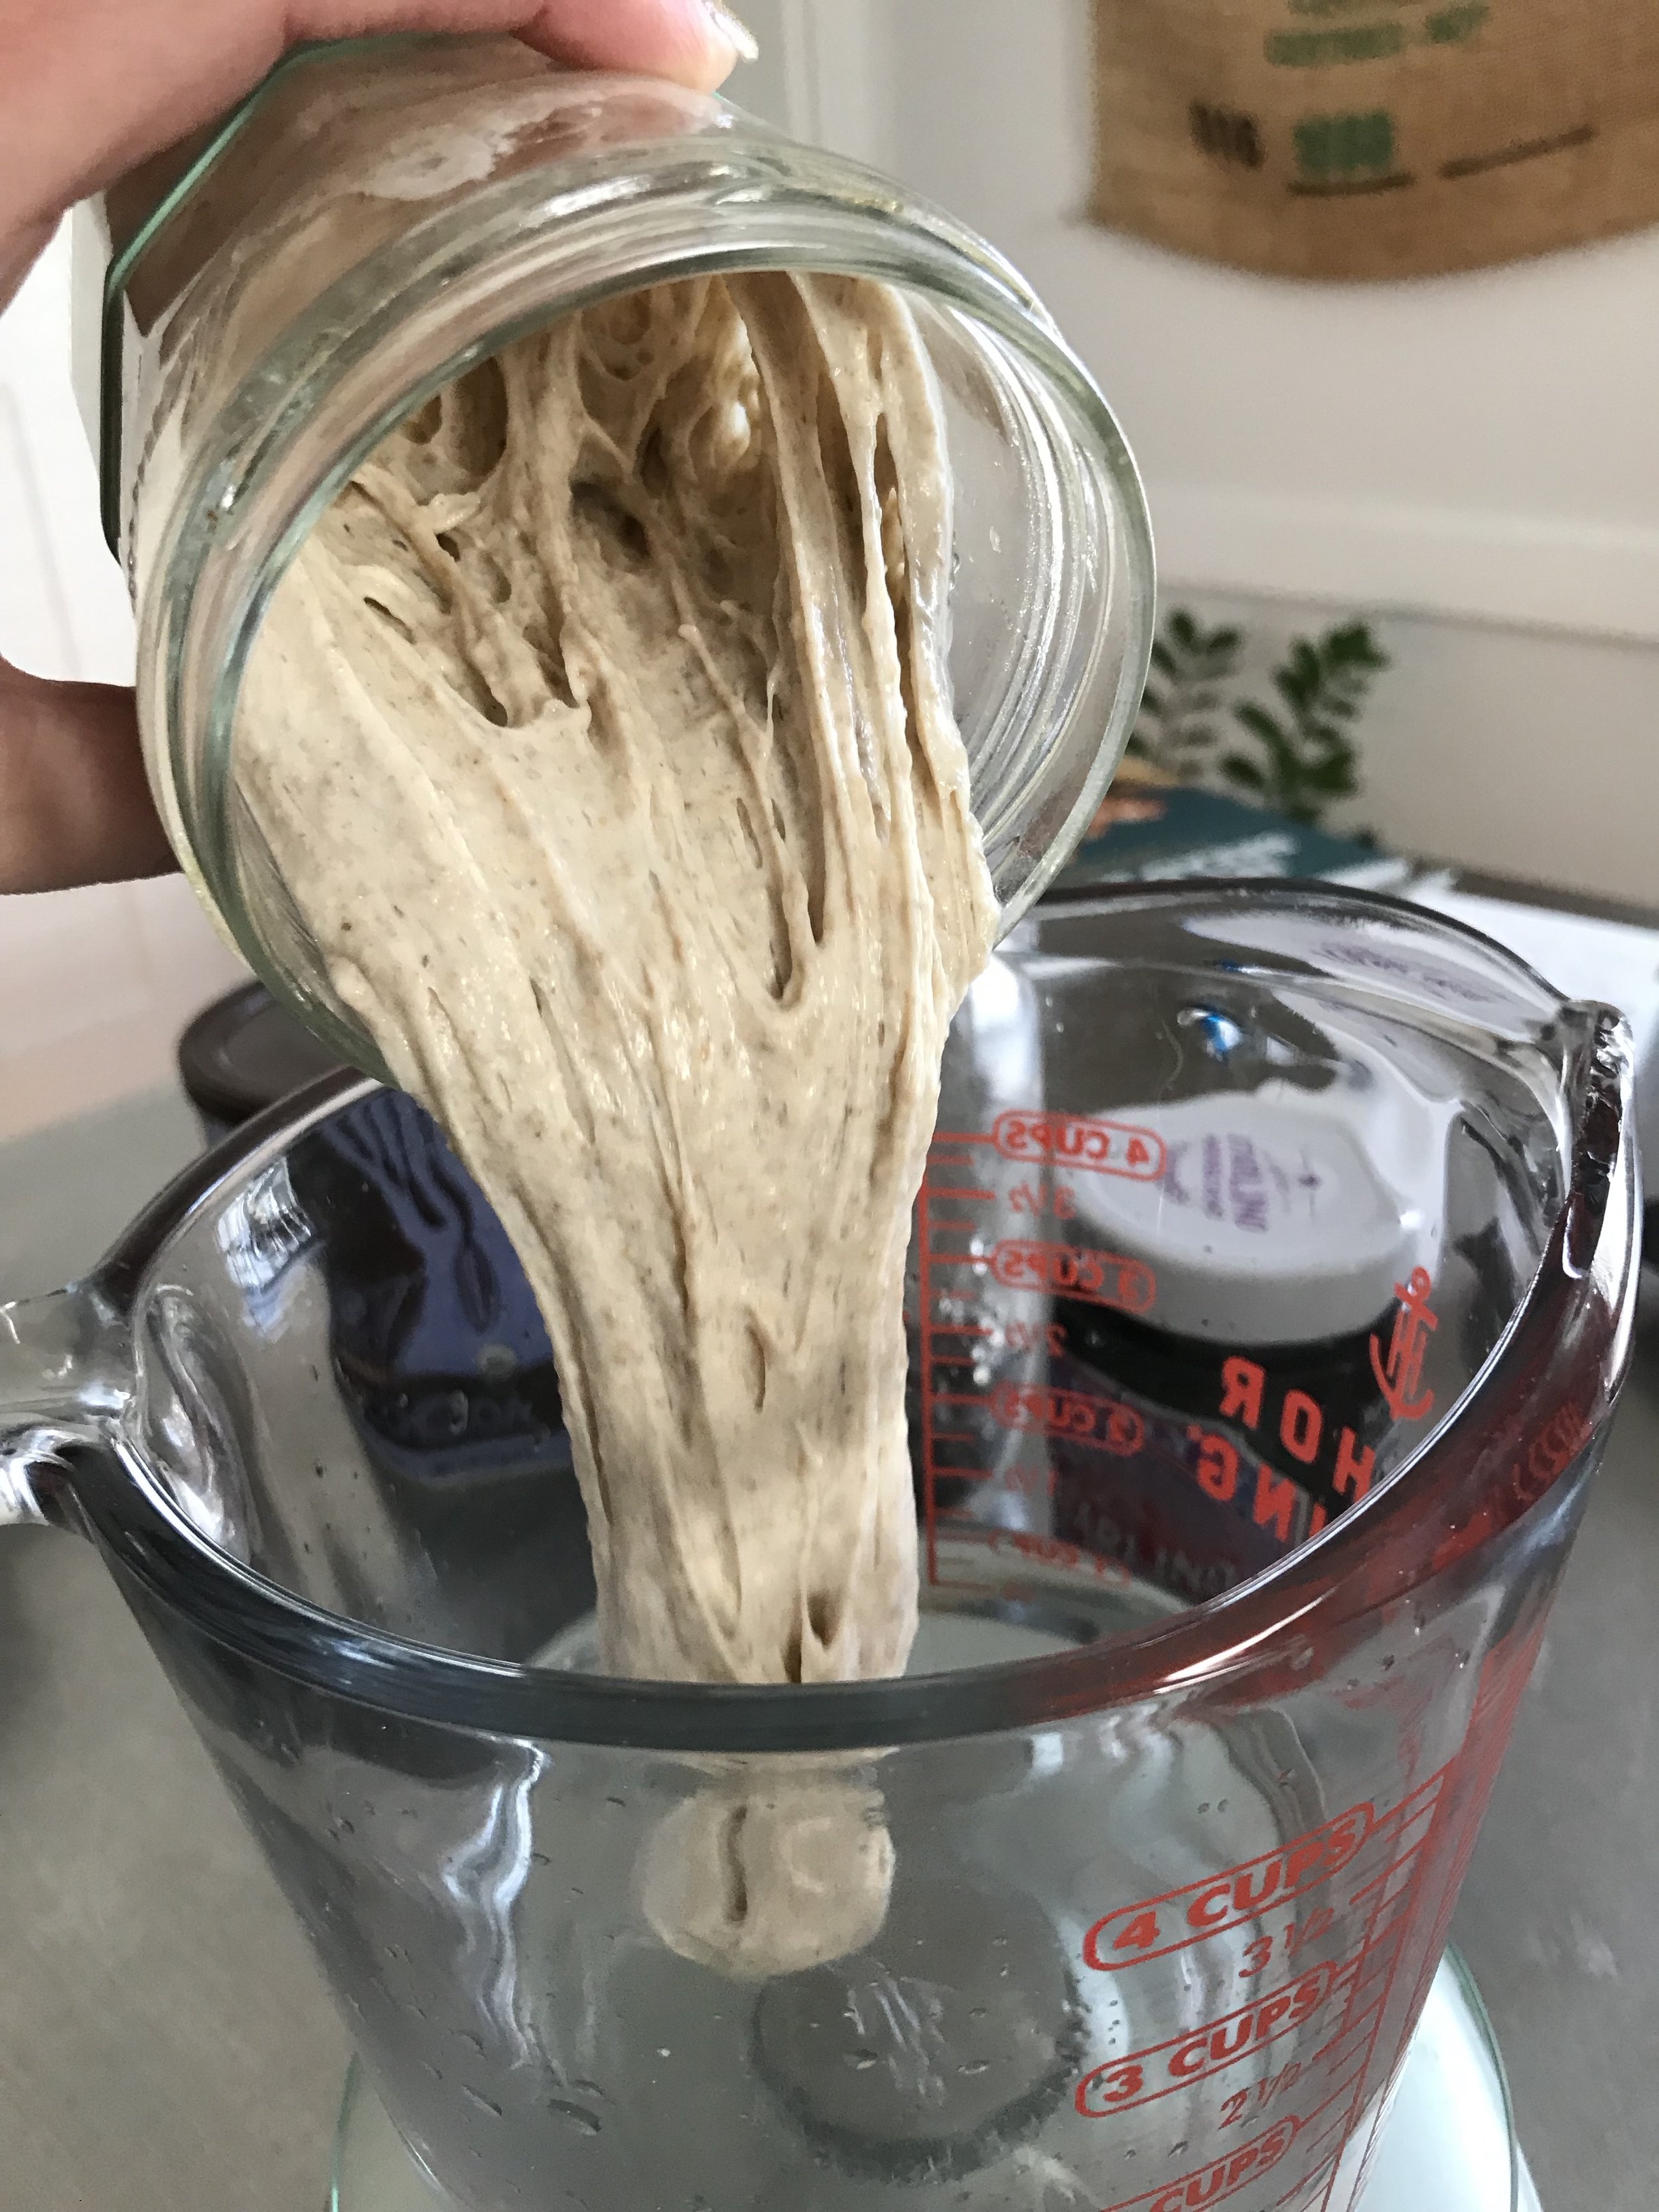
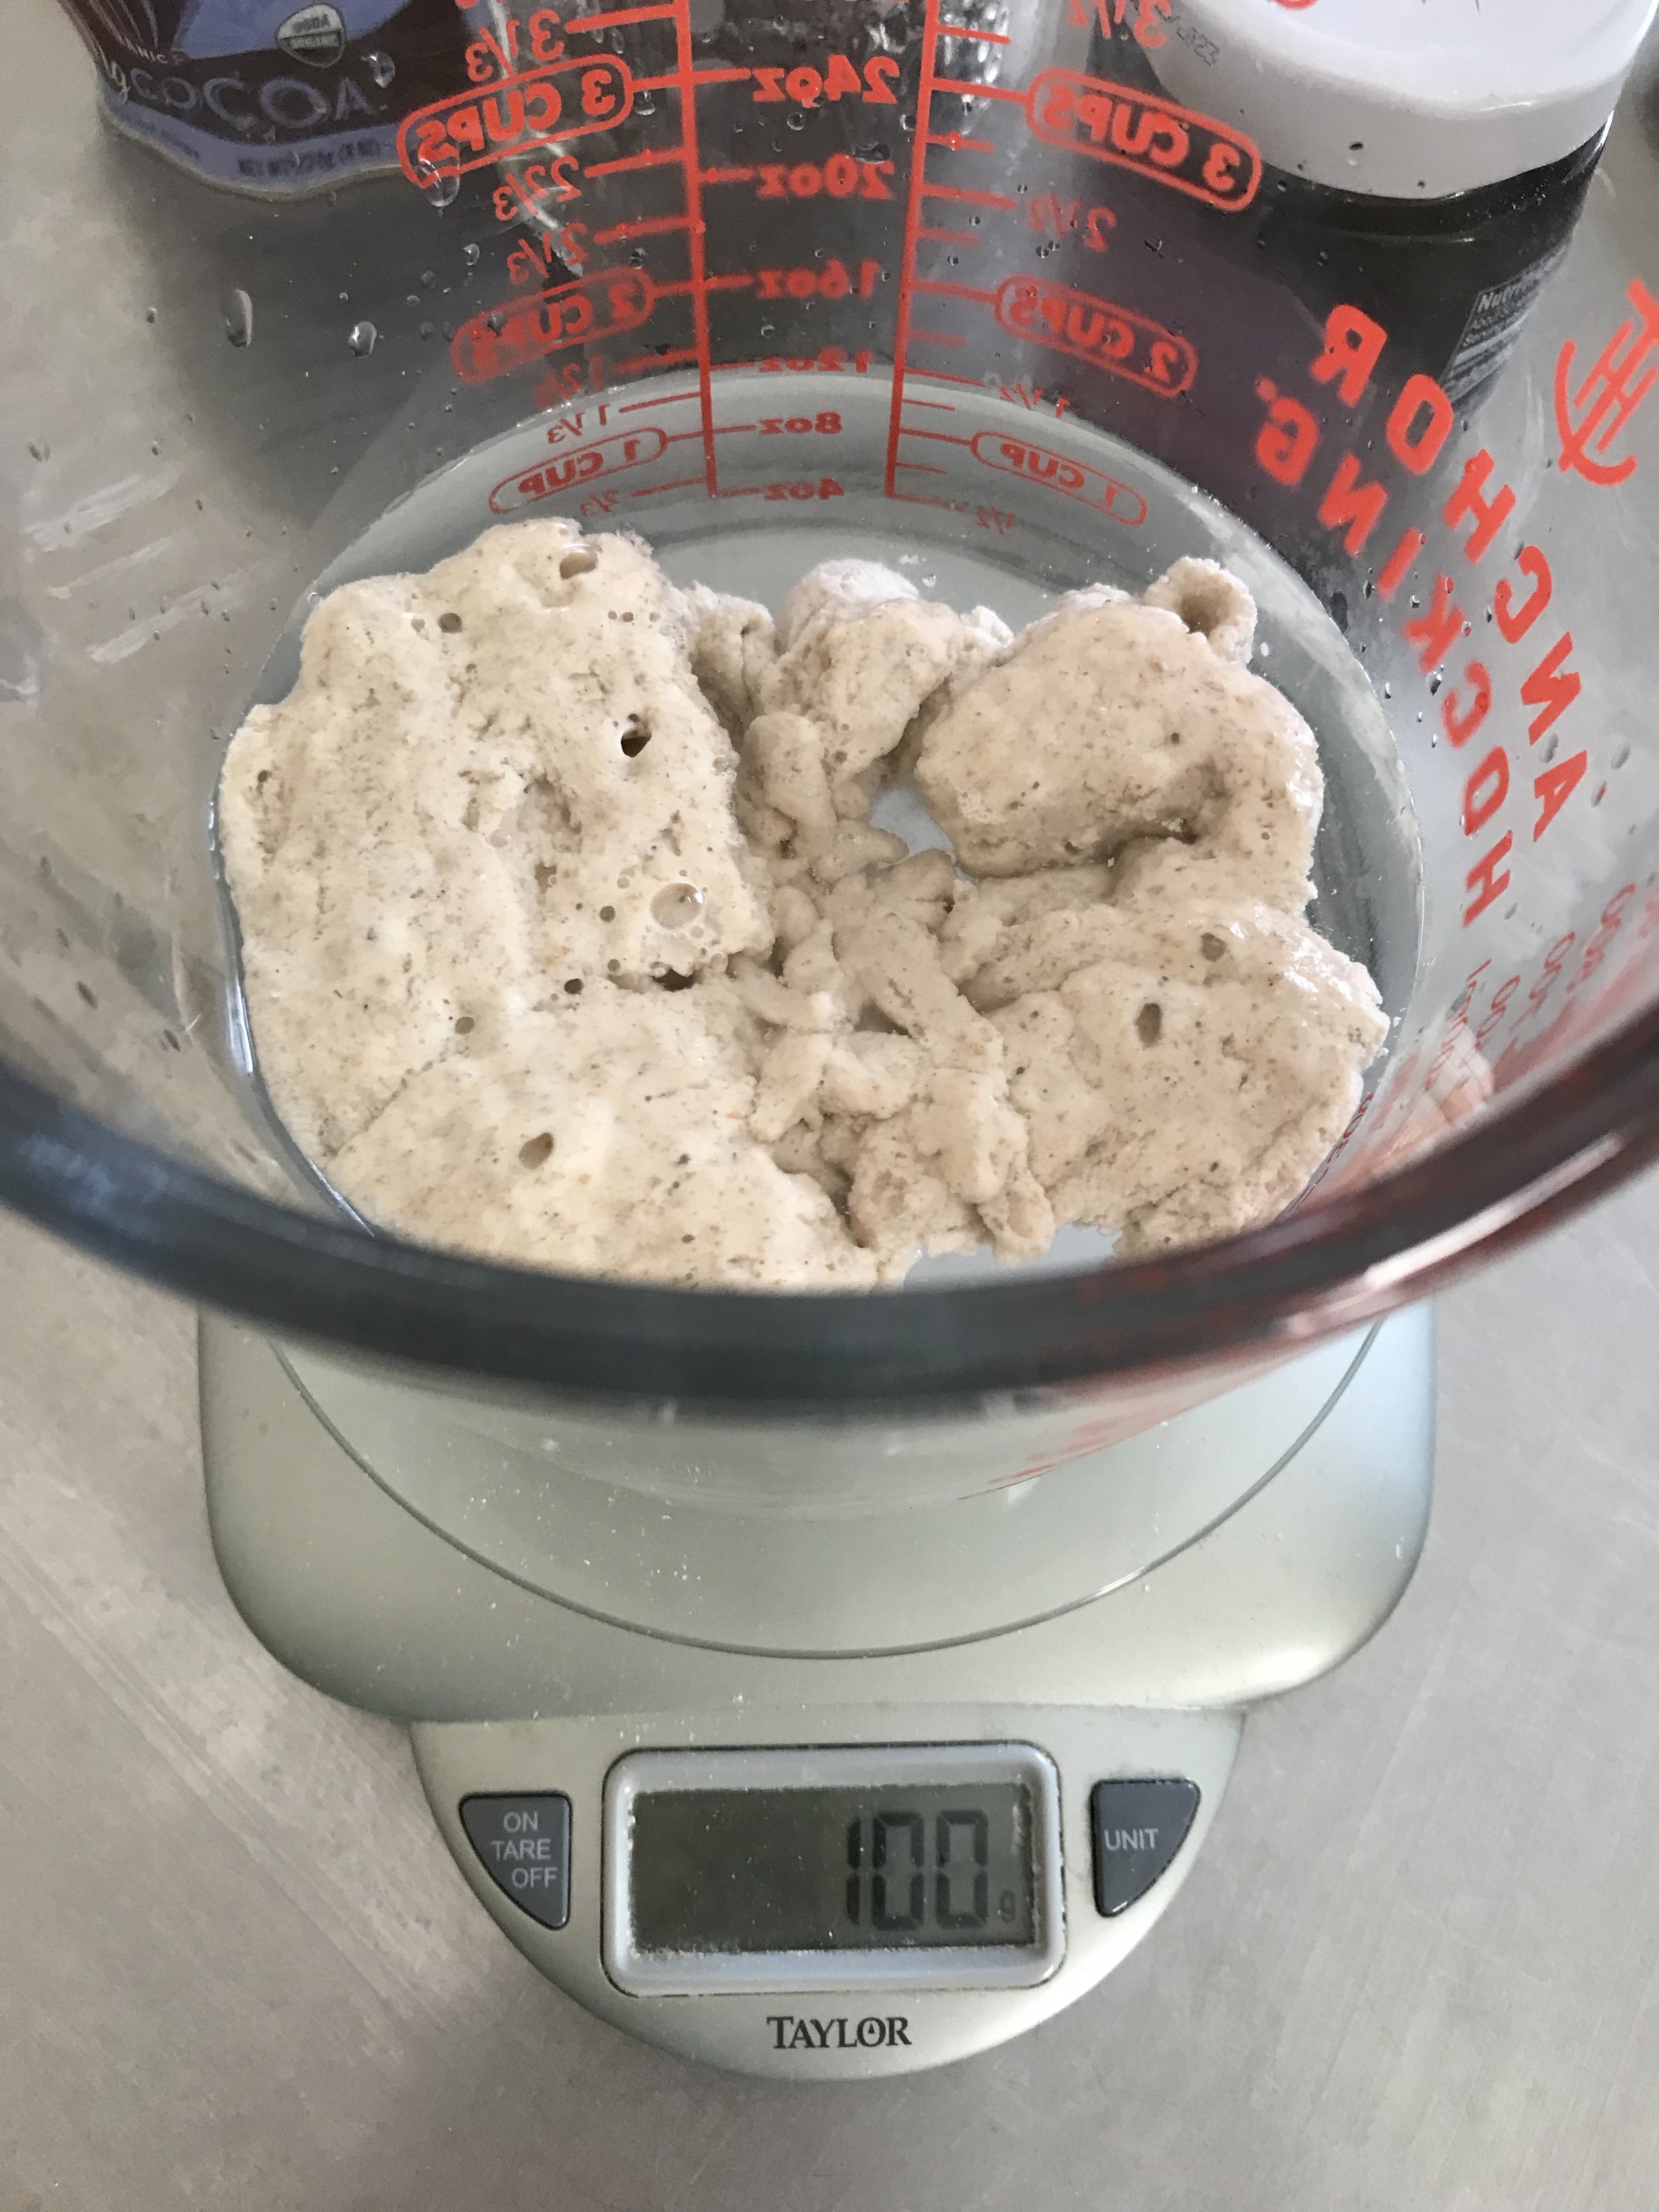
If you’re making this dough in a cold winter climate (like I did), you’ll want to feed your sourdough starter so that it’s ripe for use in the morning. My process for this involves pulling my starter out of the fridge a couple days in advance (feeding regularly). The night before I plan to make the dough, I pull 20g of starter out into a clean container and feed it with a 1:3:3 ration (meaning 20g starter, 60g flour and 60g water). For me this works really well to have a perfectly ripe starter in the morning.
For the dough:
500g bread flour
25g cocoa (5%)
375g water (75%)
100g sourdough starter
12g salt
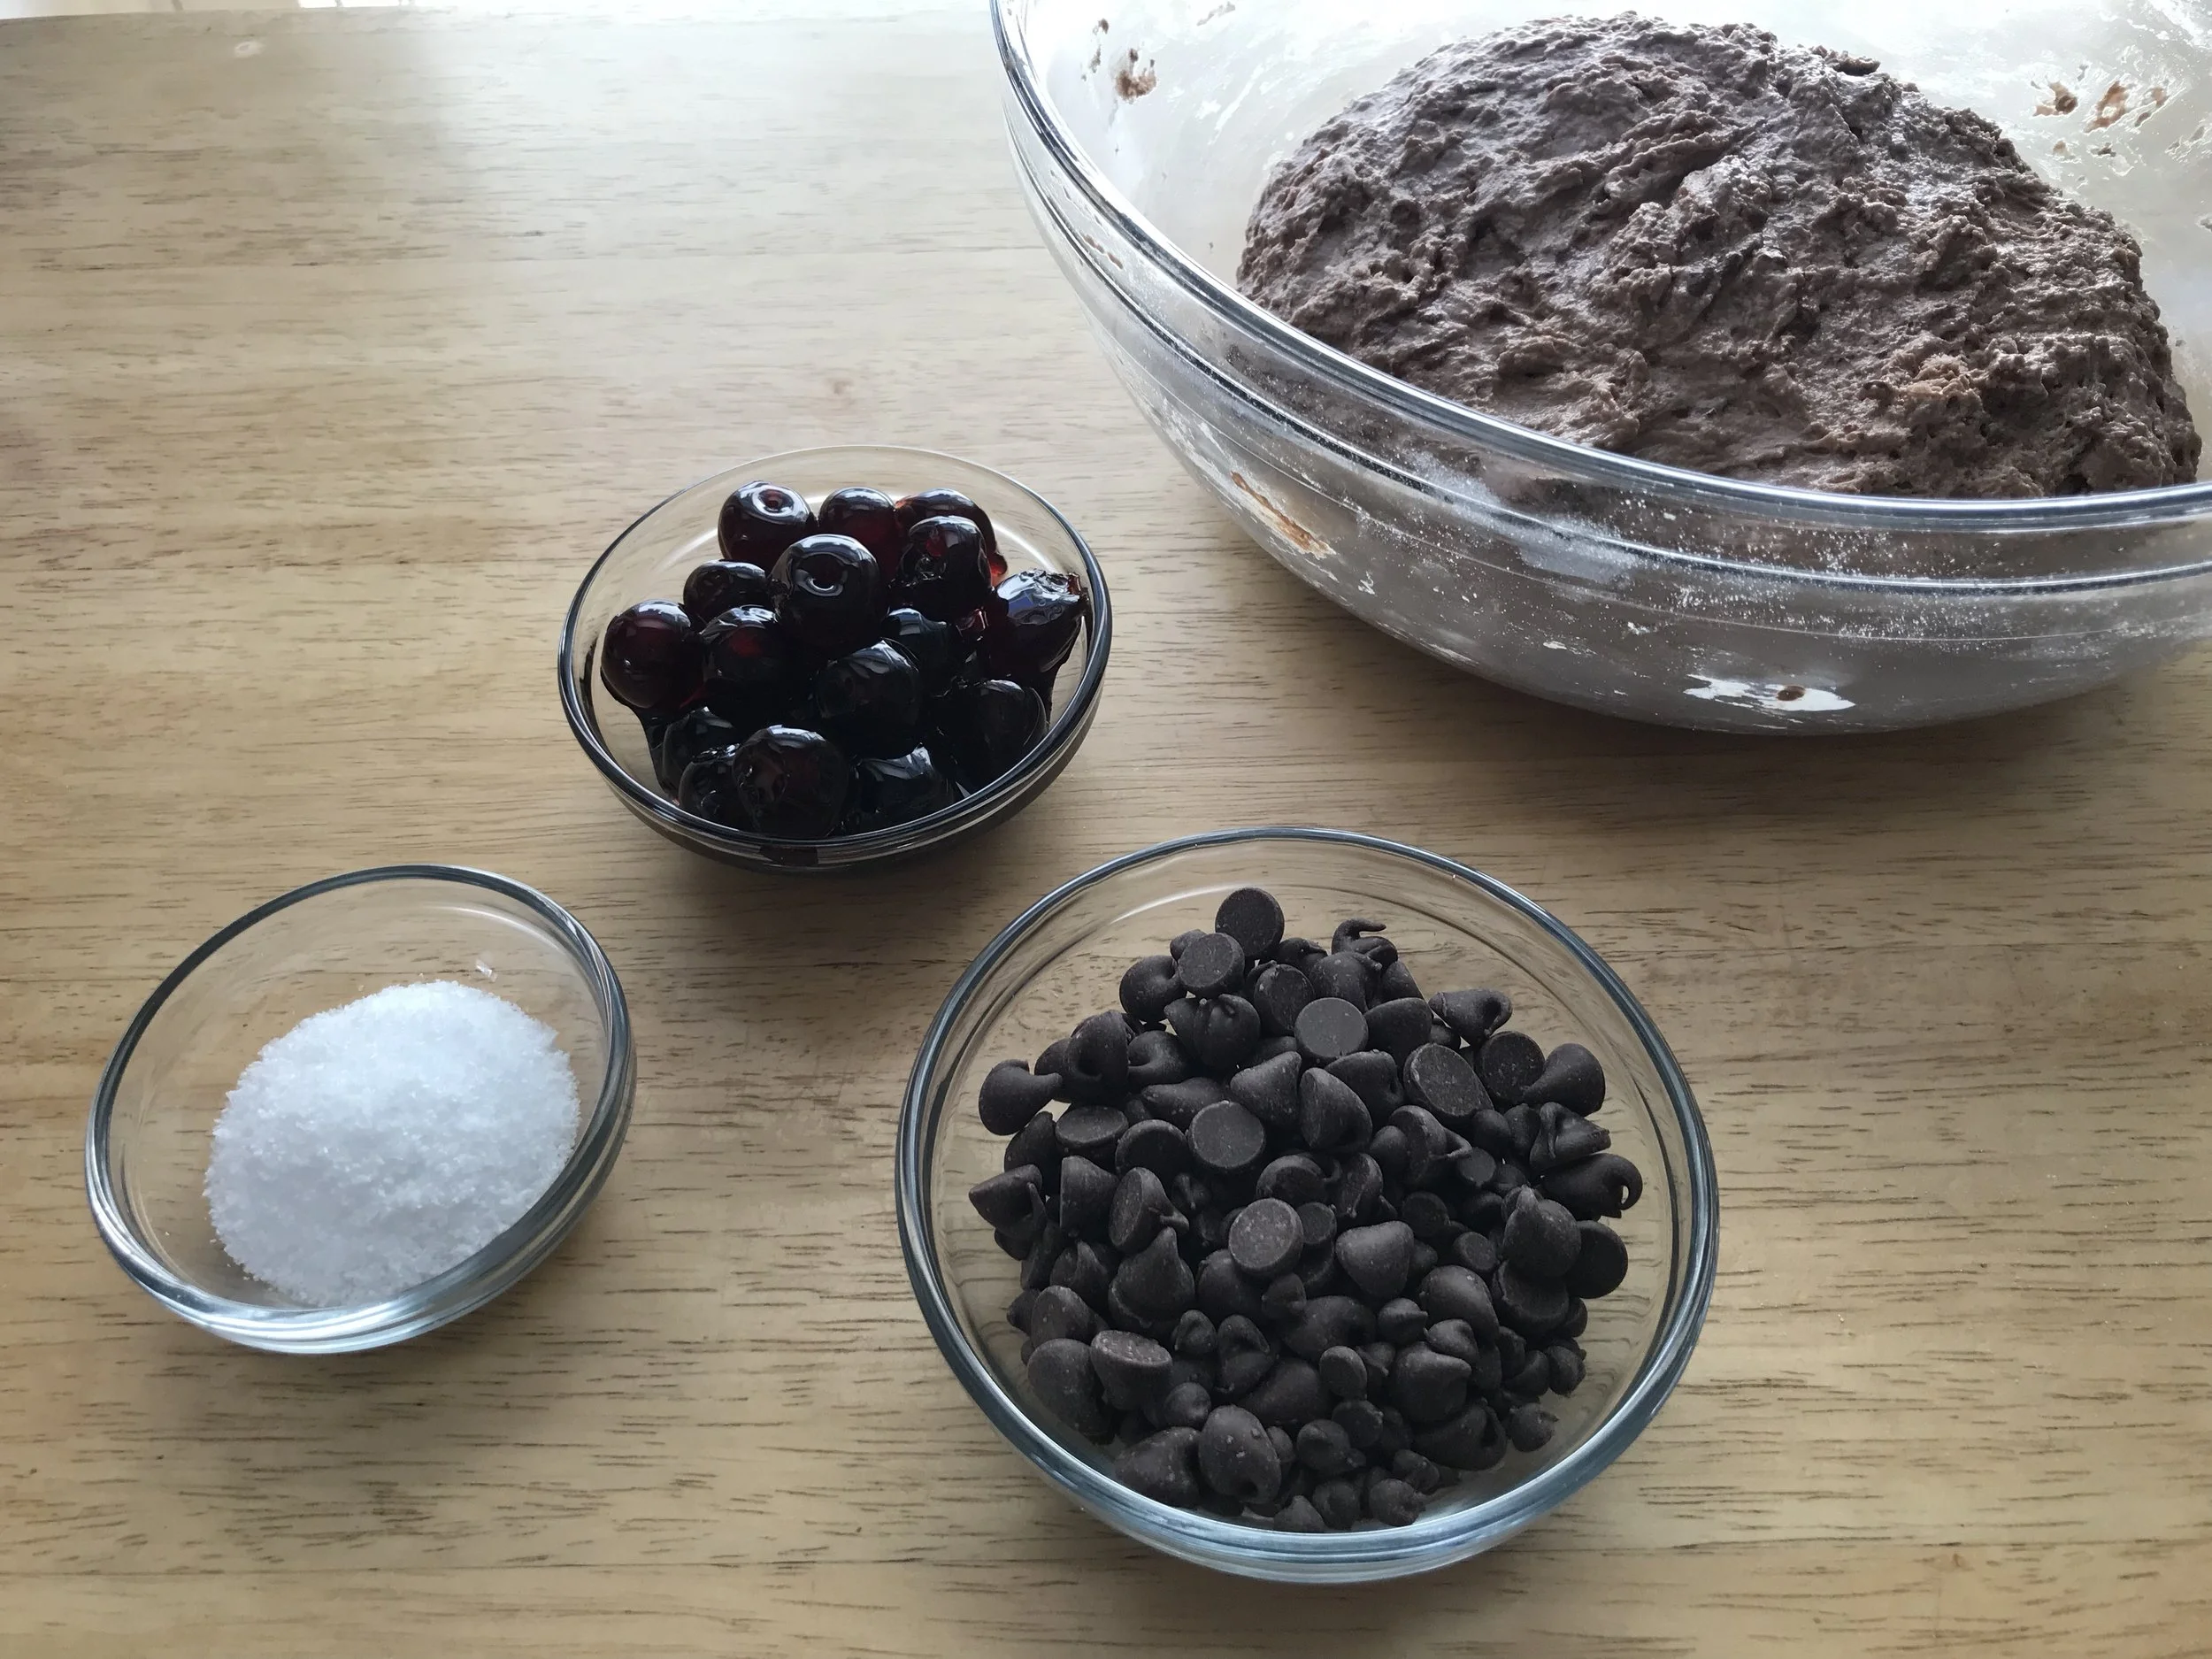
For filling:
1/4 cup chocolate chips or chopped chocolate
1/4 cup rough chopped fancy marinated cherries
Instructions
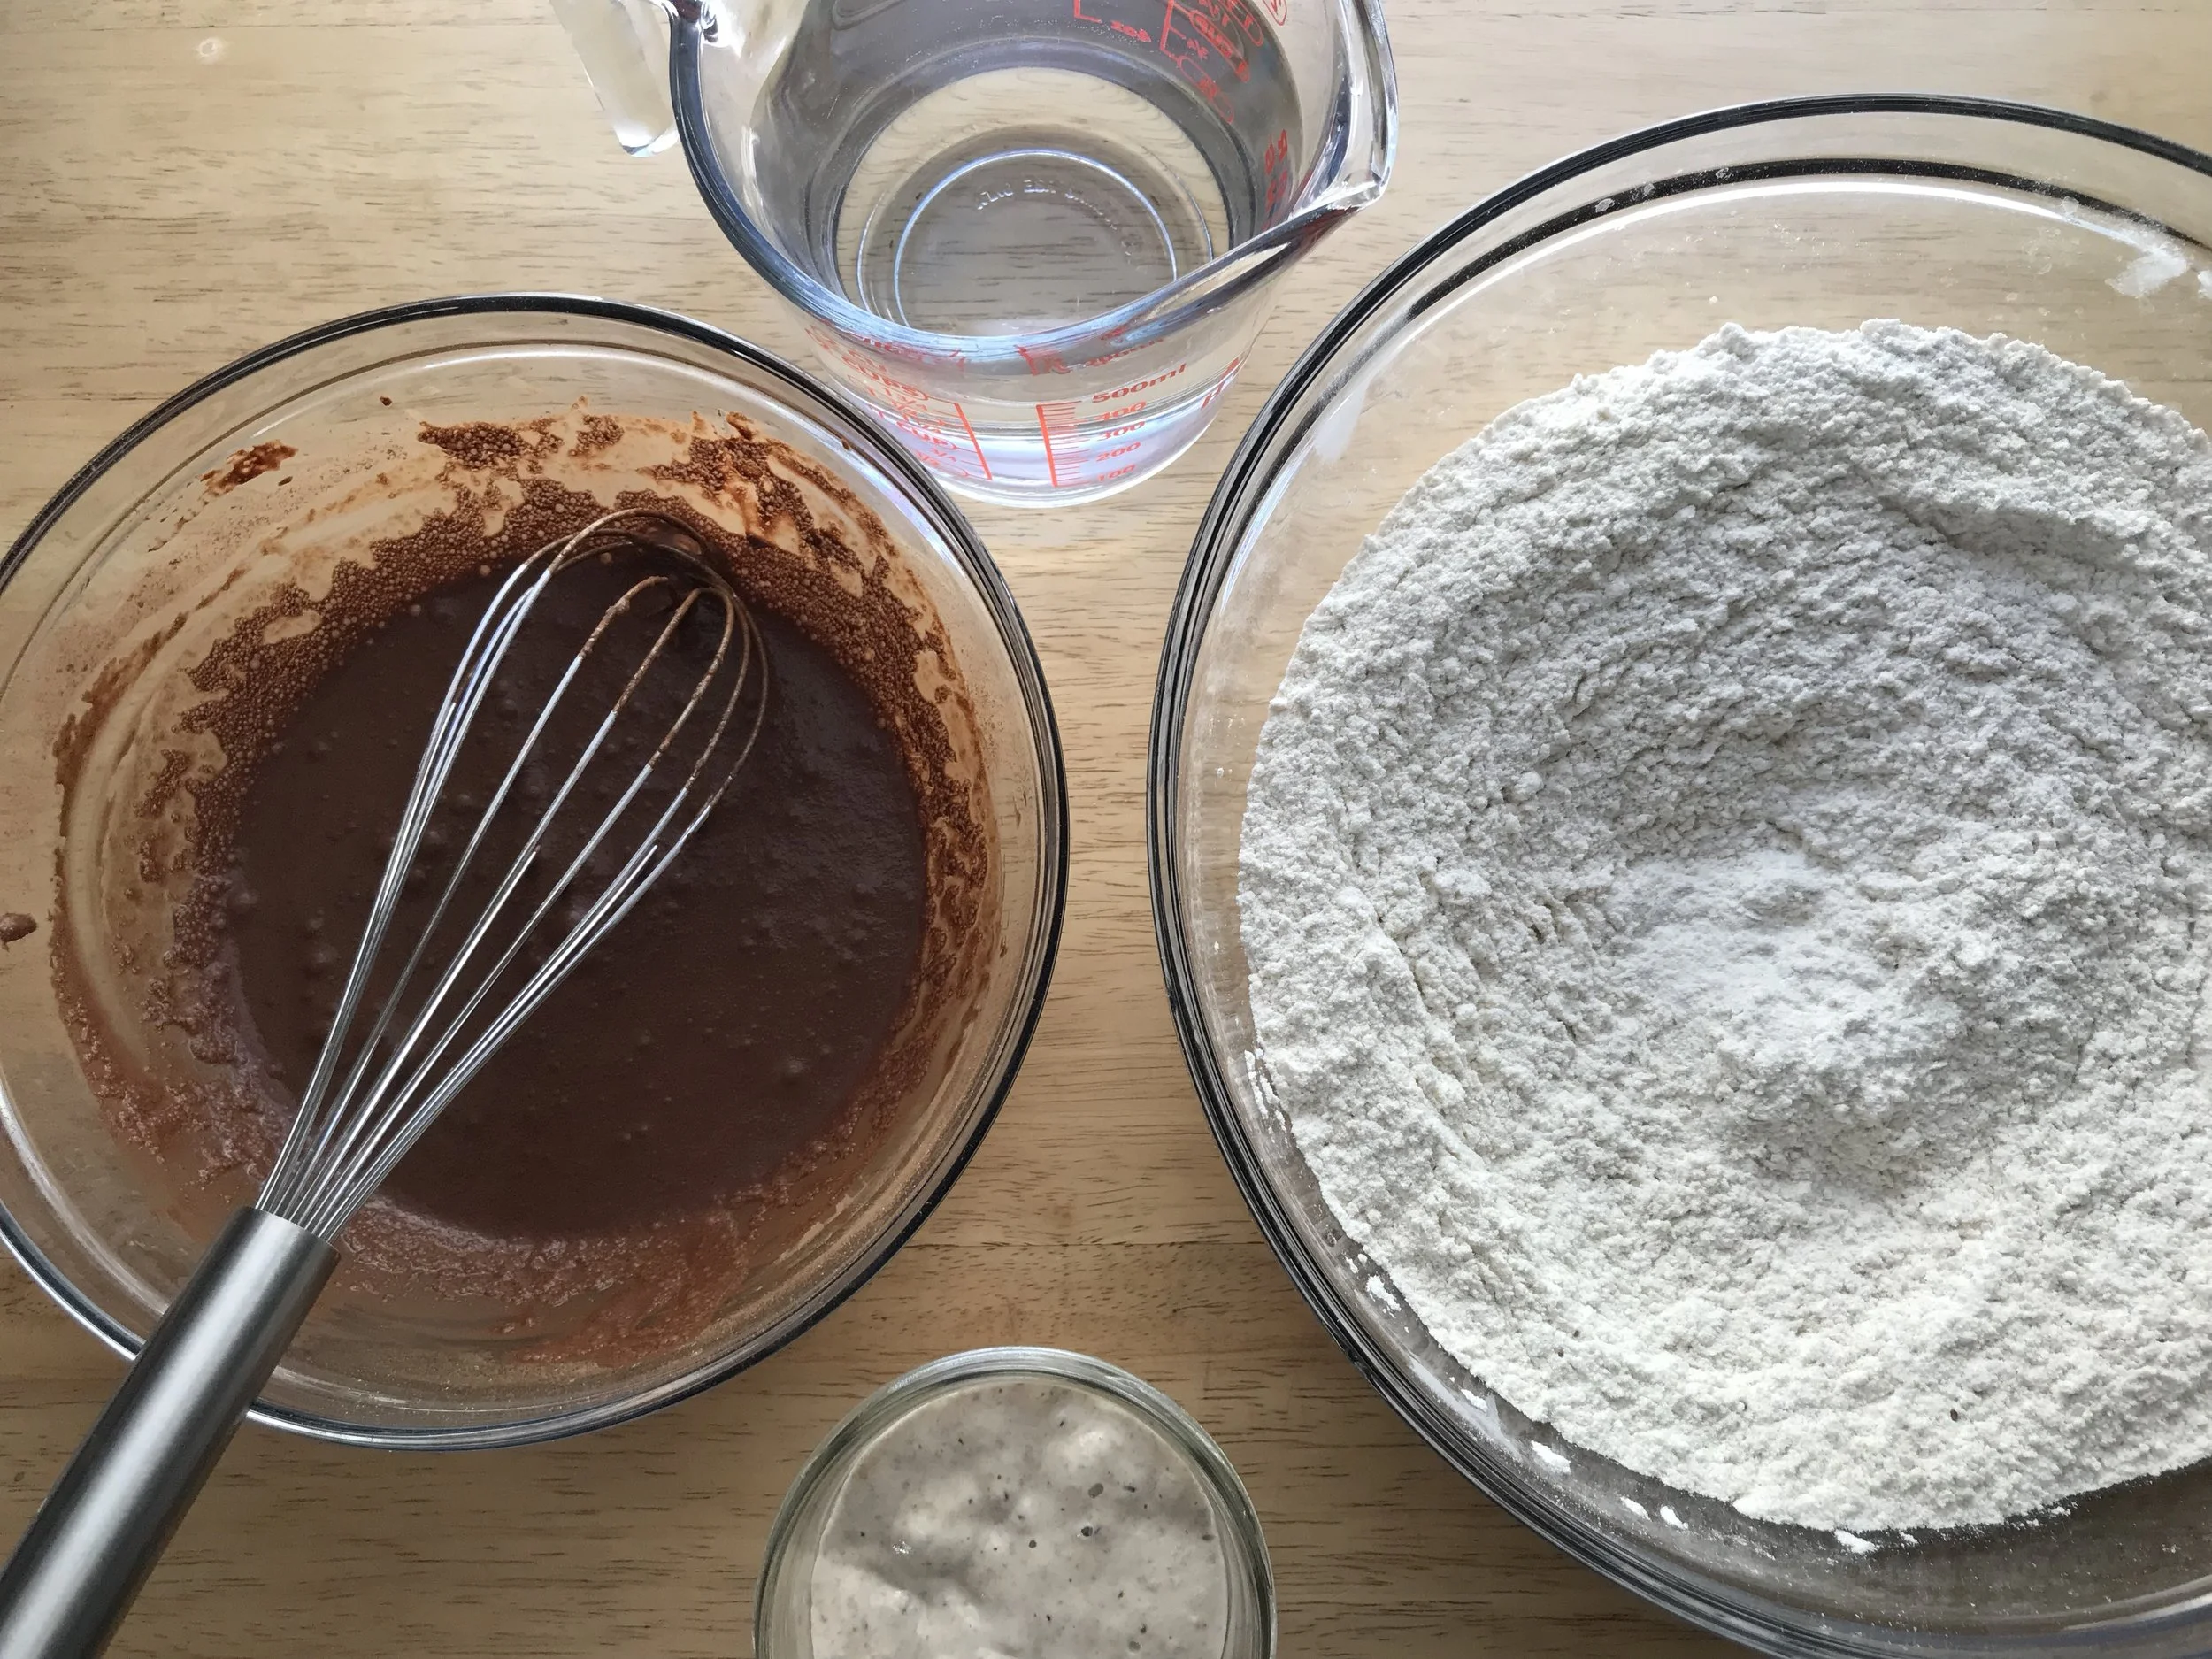
Measure 100g of the total water into a separate bowl. Sift the cocoa powder in and then whisk to “bloom” or dissolve the cocoa powder in the water (75-80 degree water ideally).
Measure 100g sourdough starter into the remaining 275g water and whisk to combine.
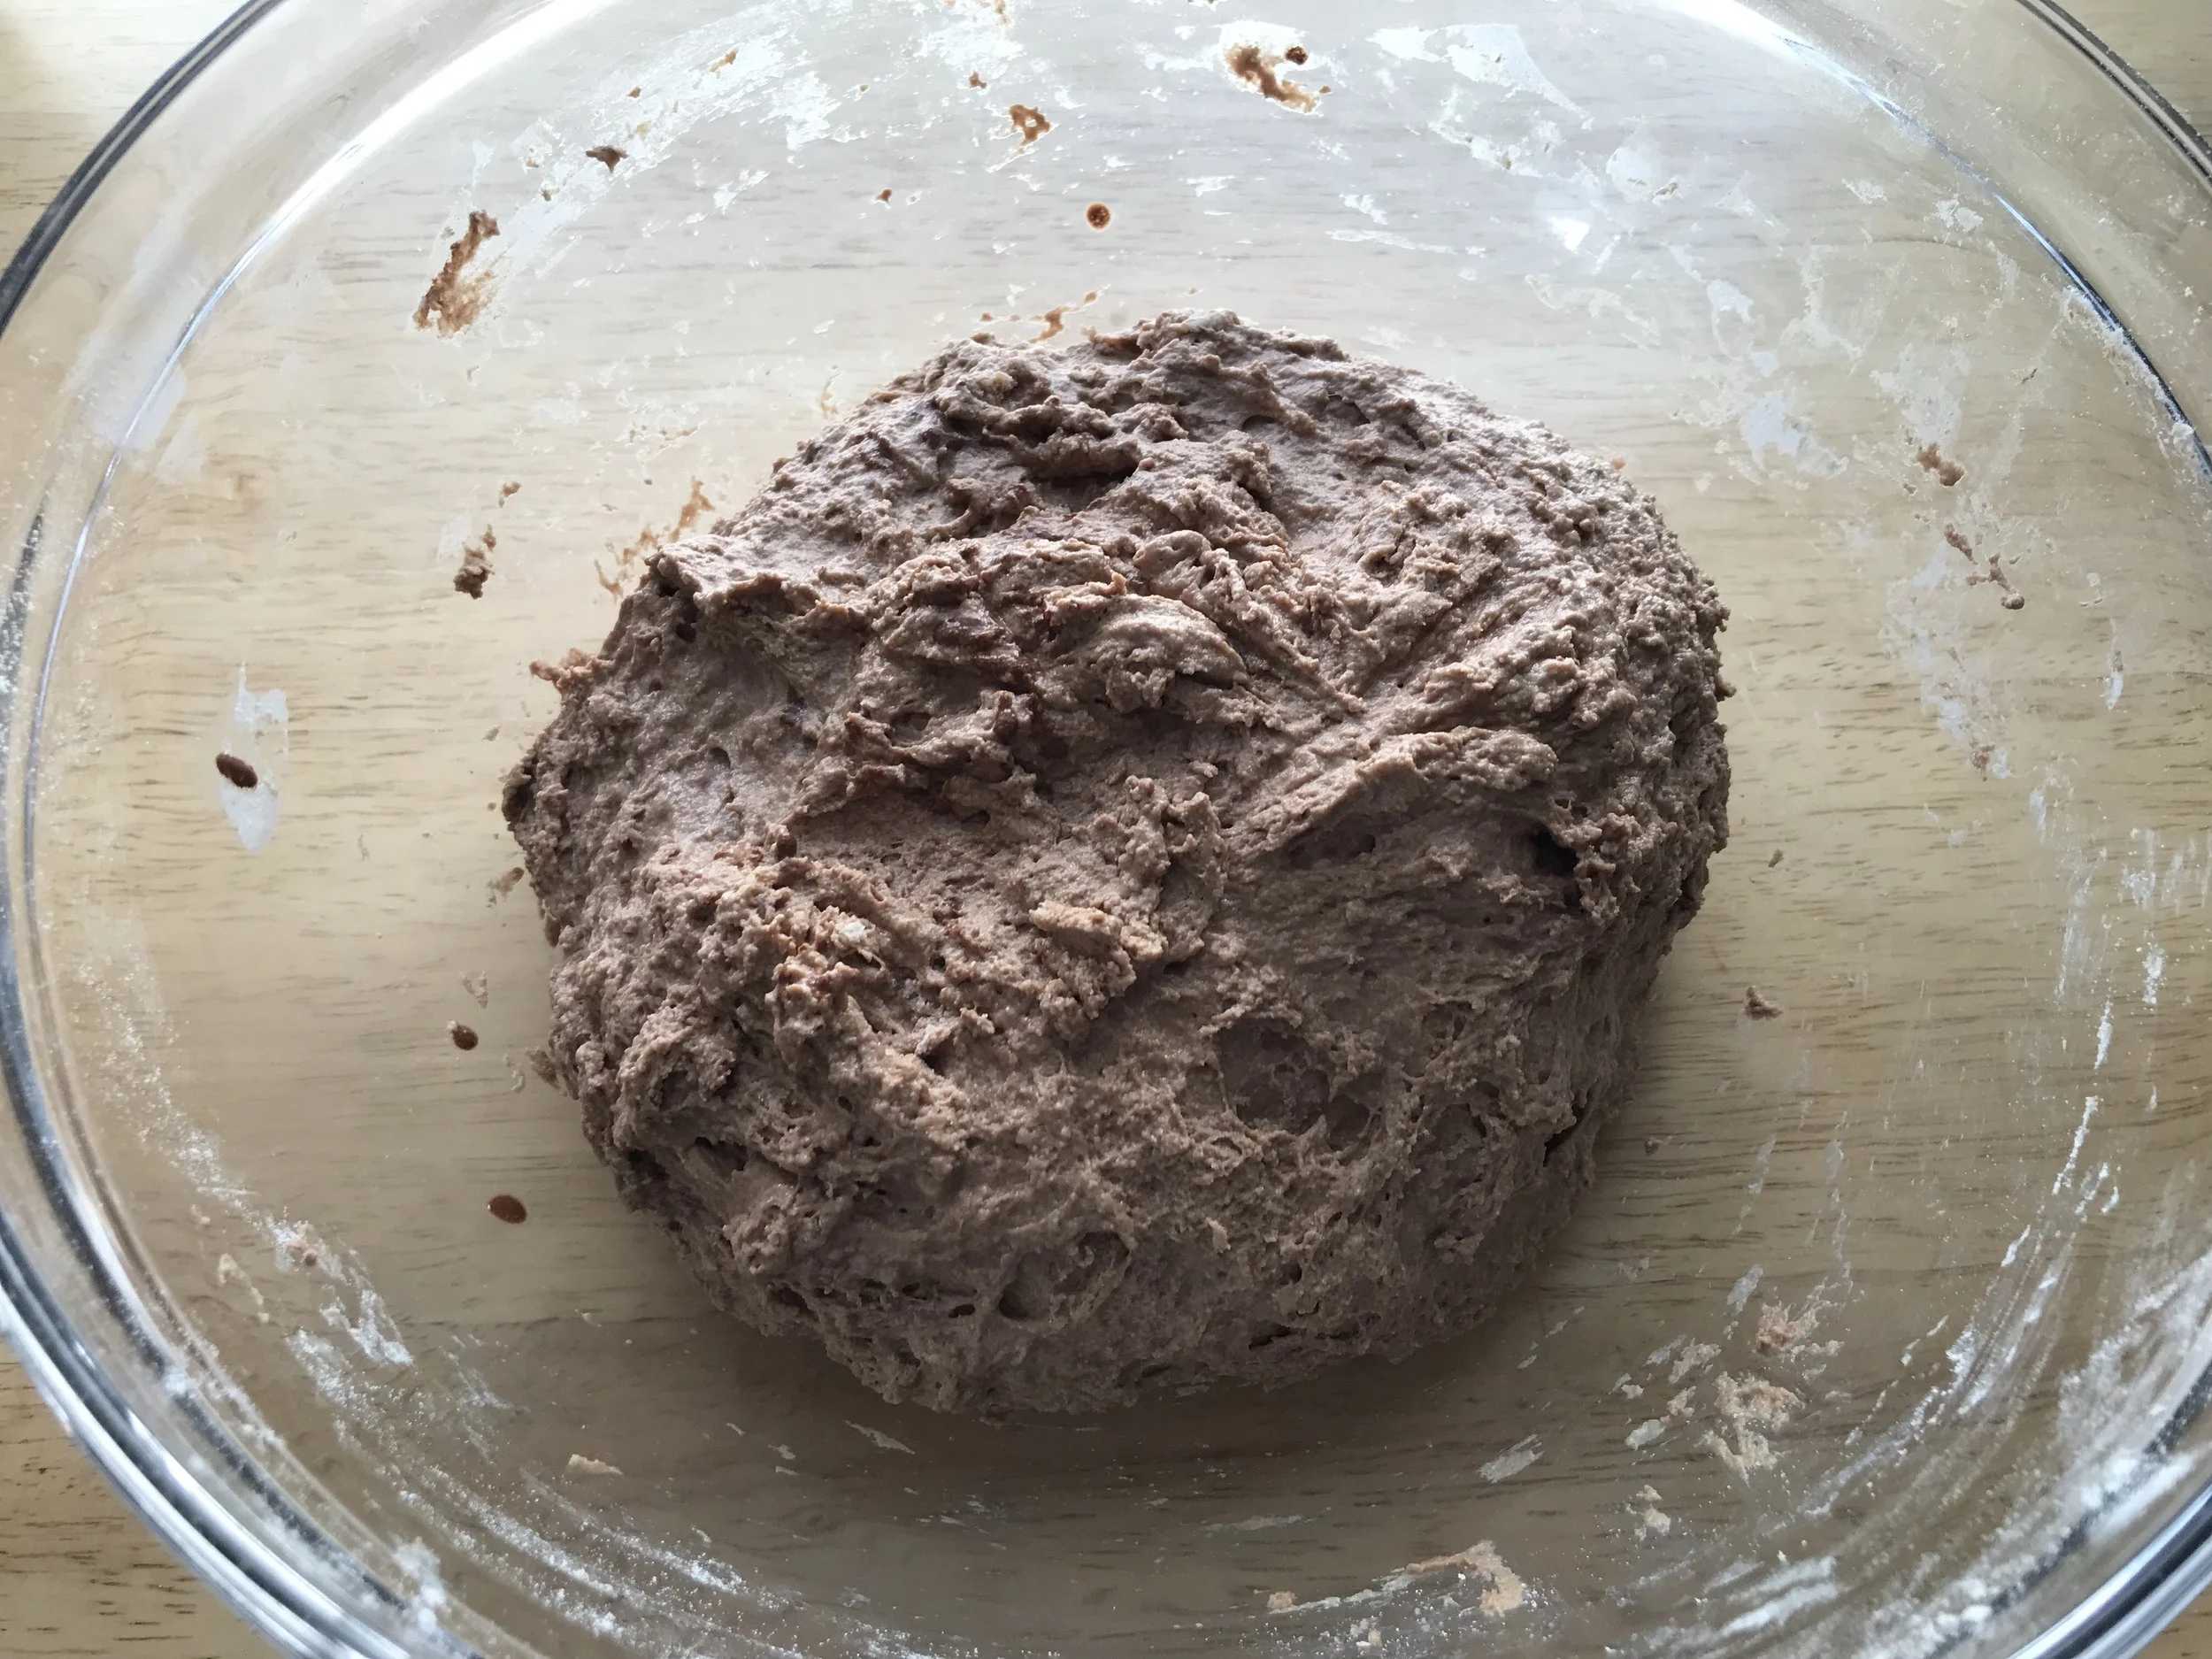
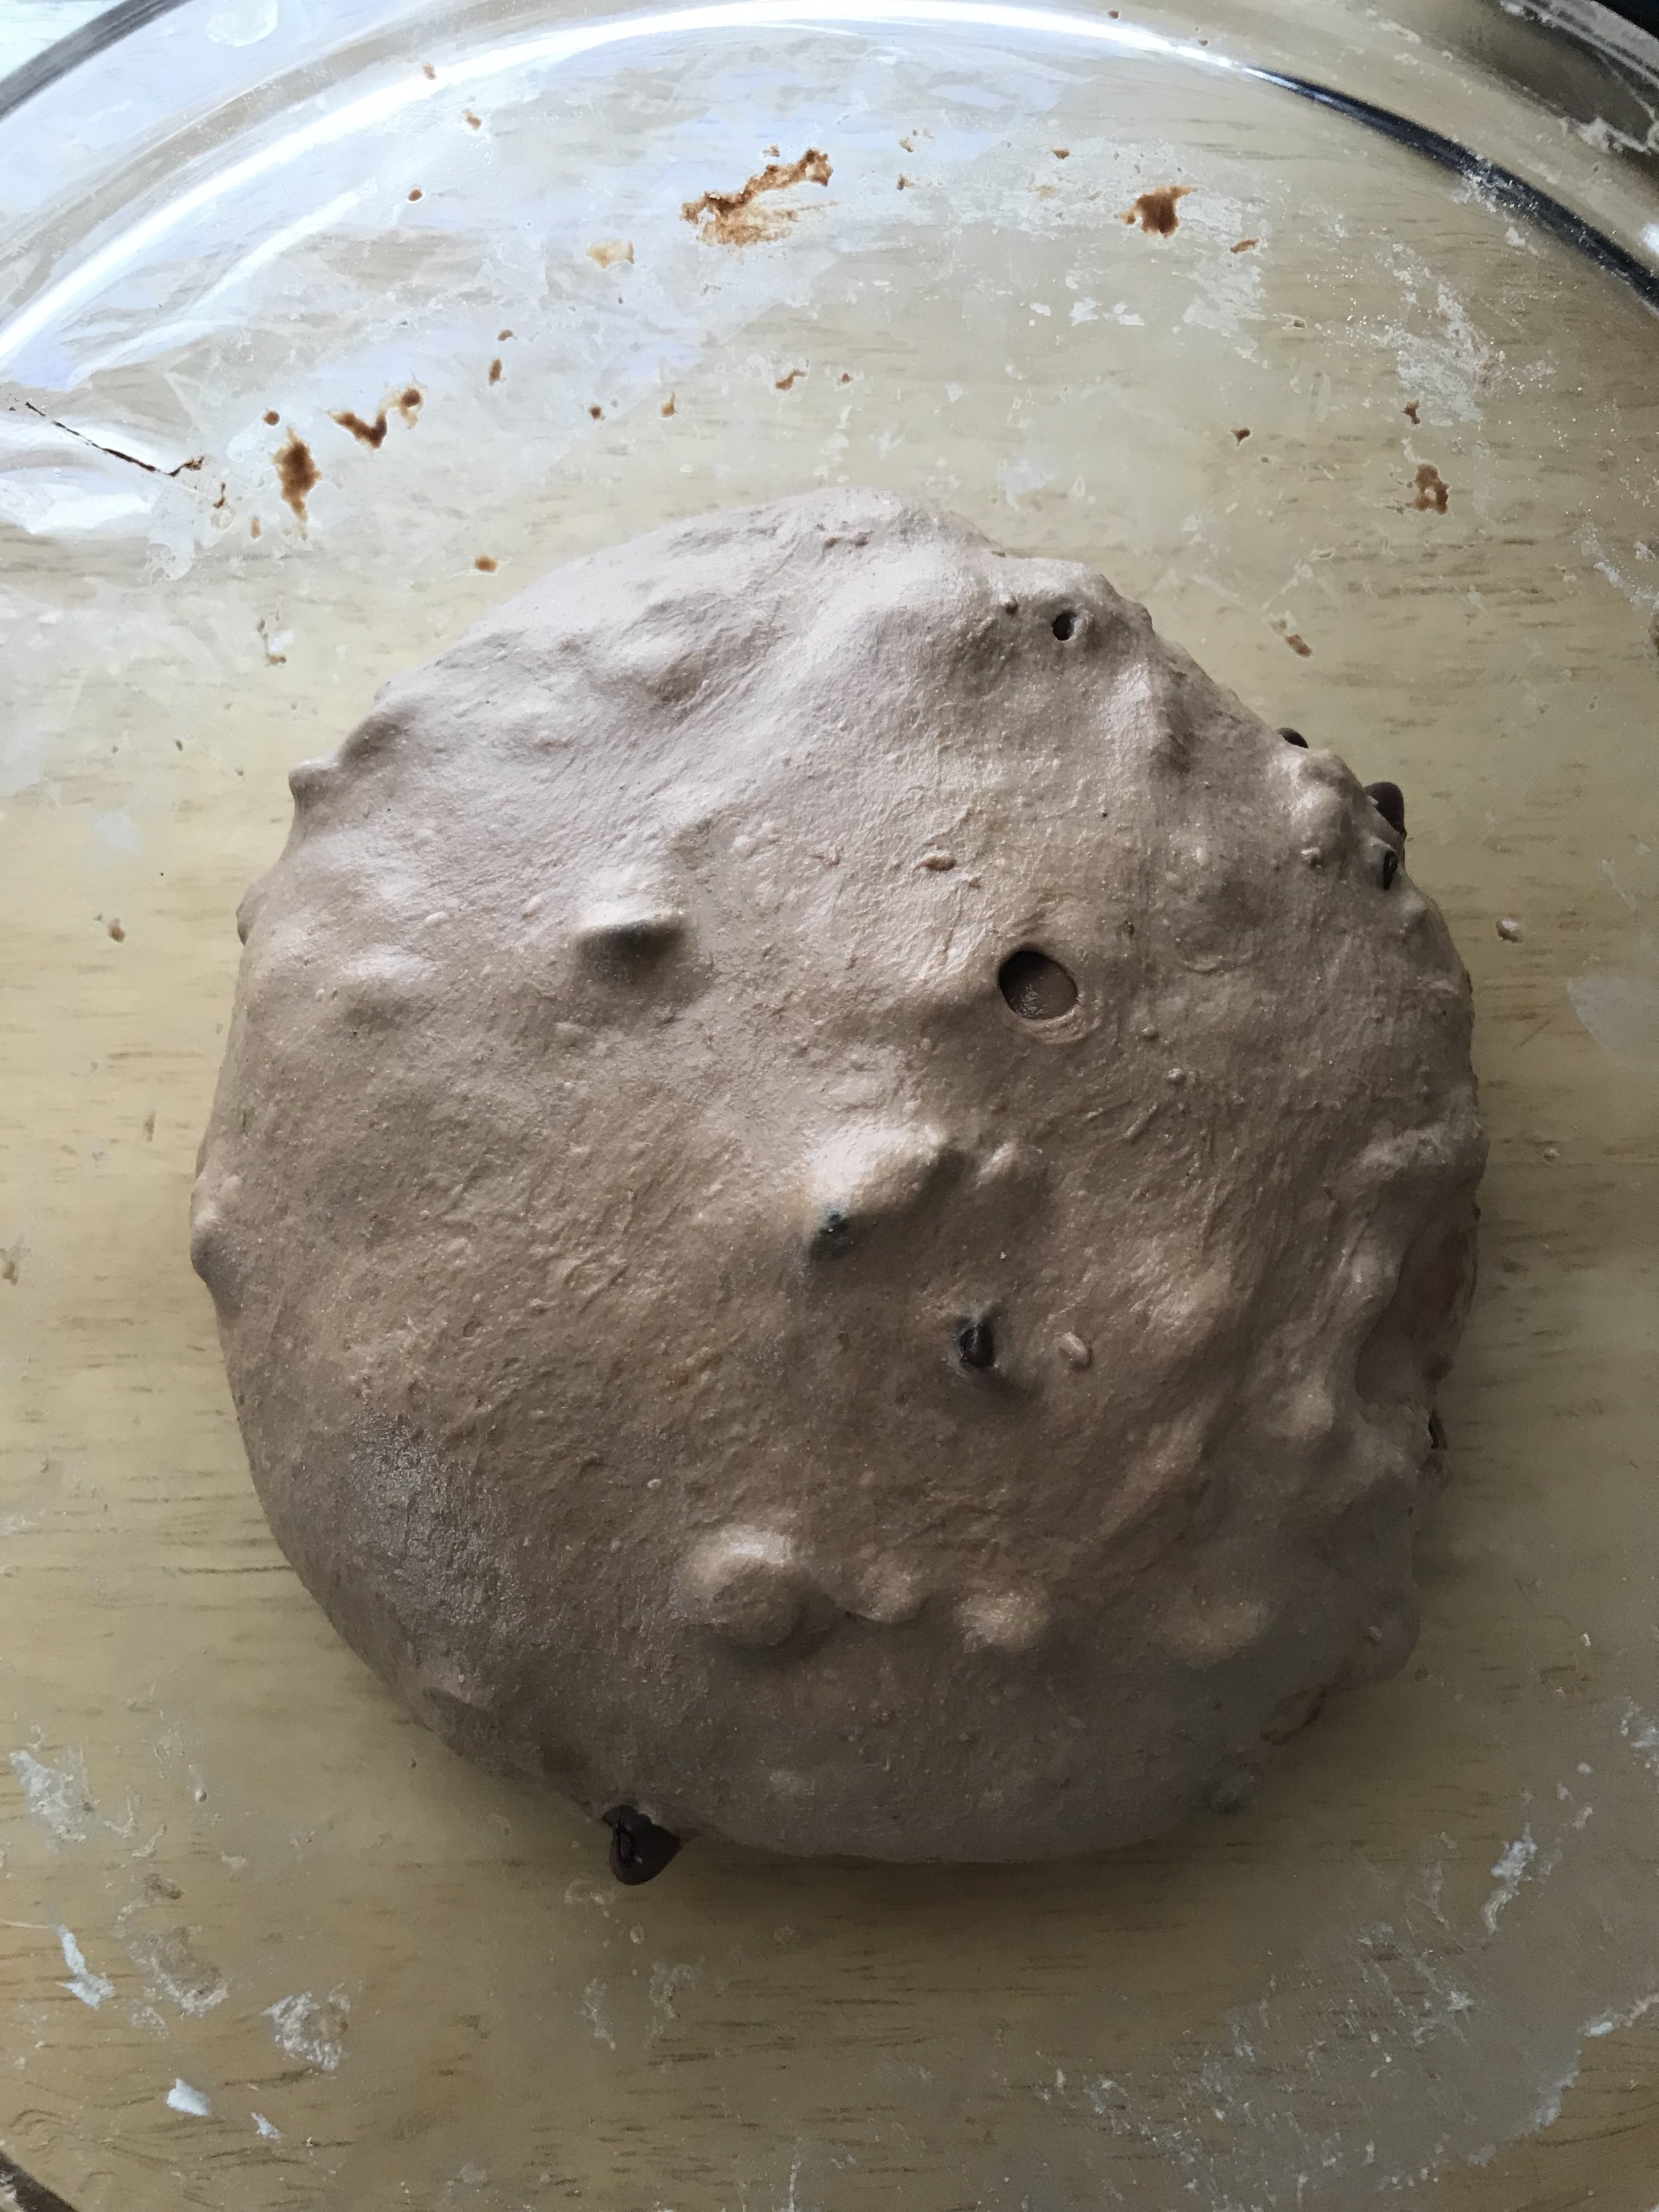
Add the wet ingredients to the flour and mix until no dry bits remain. Cover and let the dough rest for about 30 minutes.
Pictured below: the dough after the initial mix.
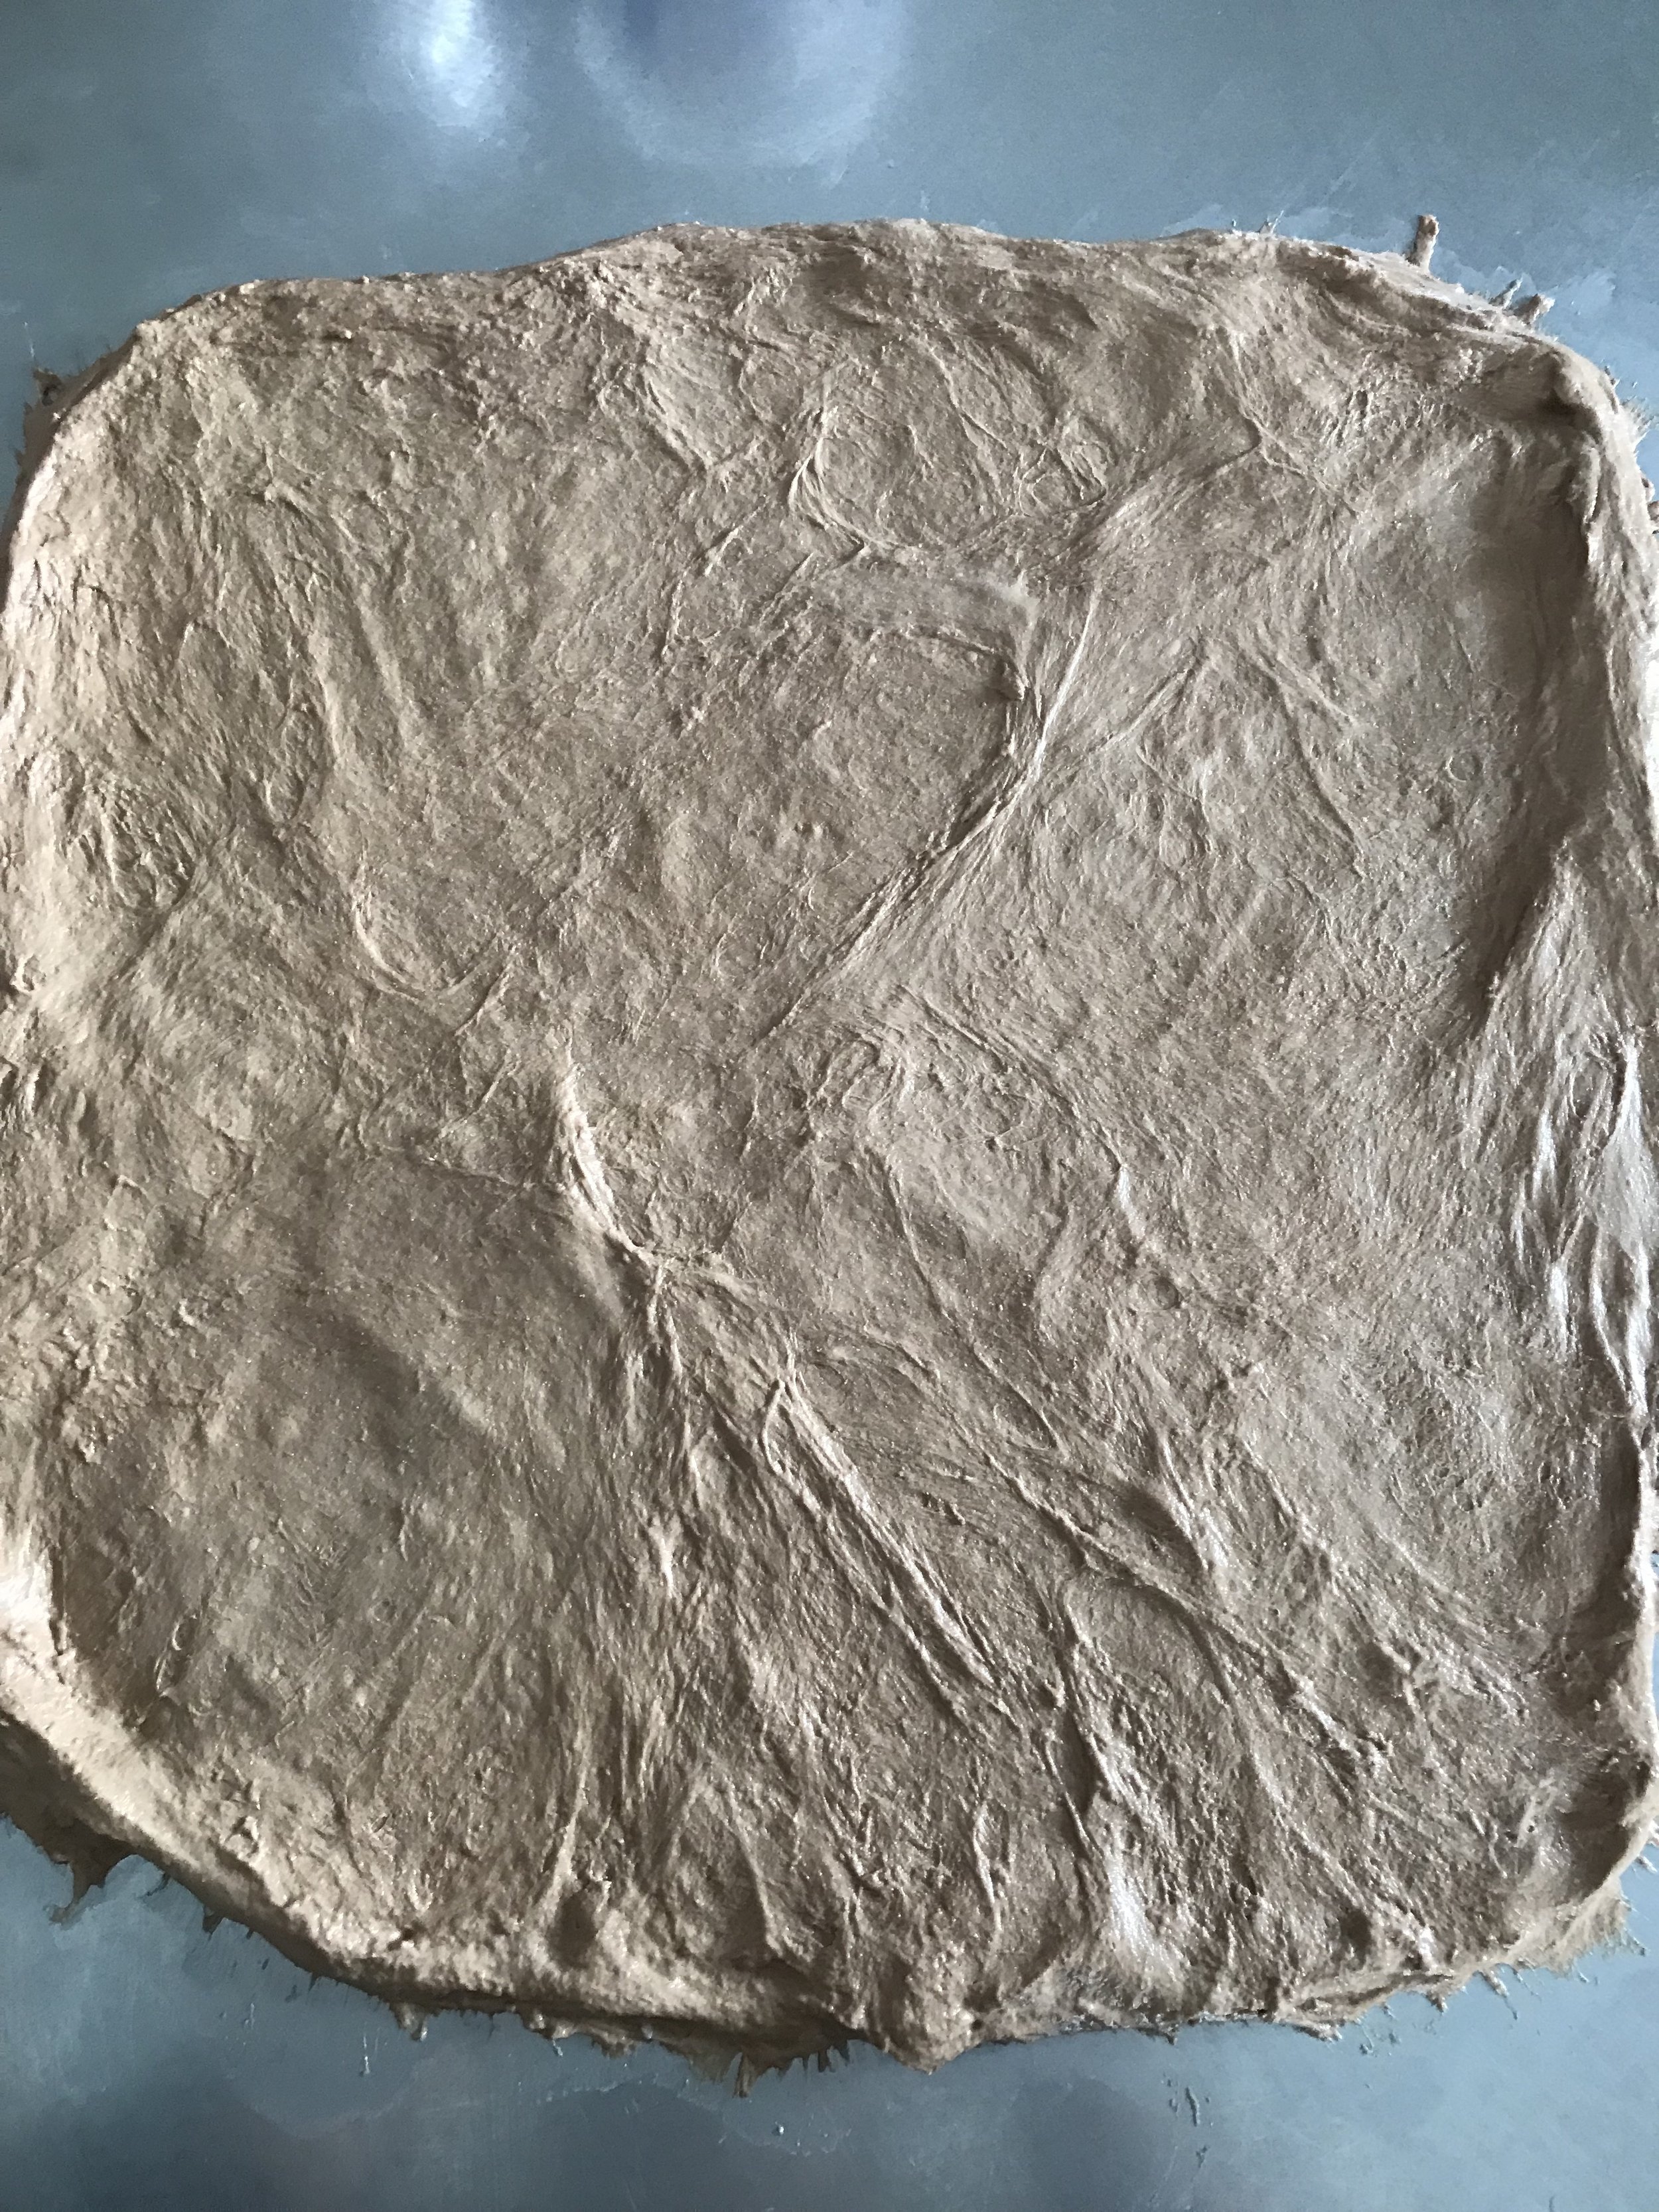
4. After the initial 30 minute rest, sprinkle the salt on top and (using wet hands/fingers) pinch the salt into the dough. Then, do some rounds of stretch and folds until the dough forms a smooth ball and the salt has been incorporated. Cover and let rest for another 30 min.
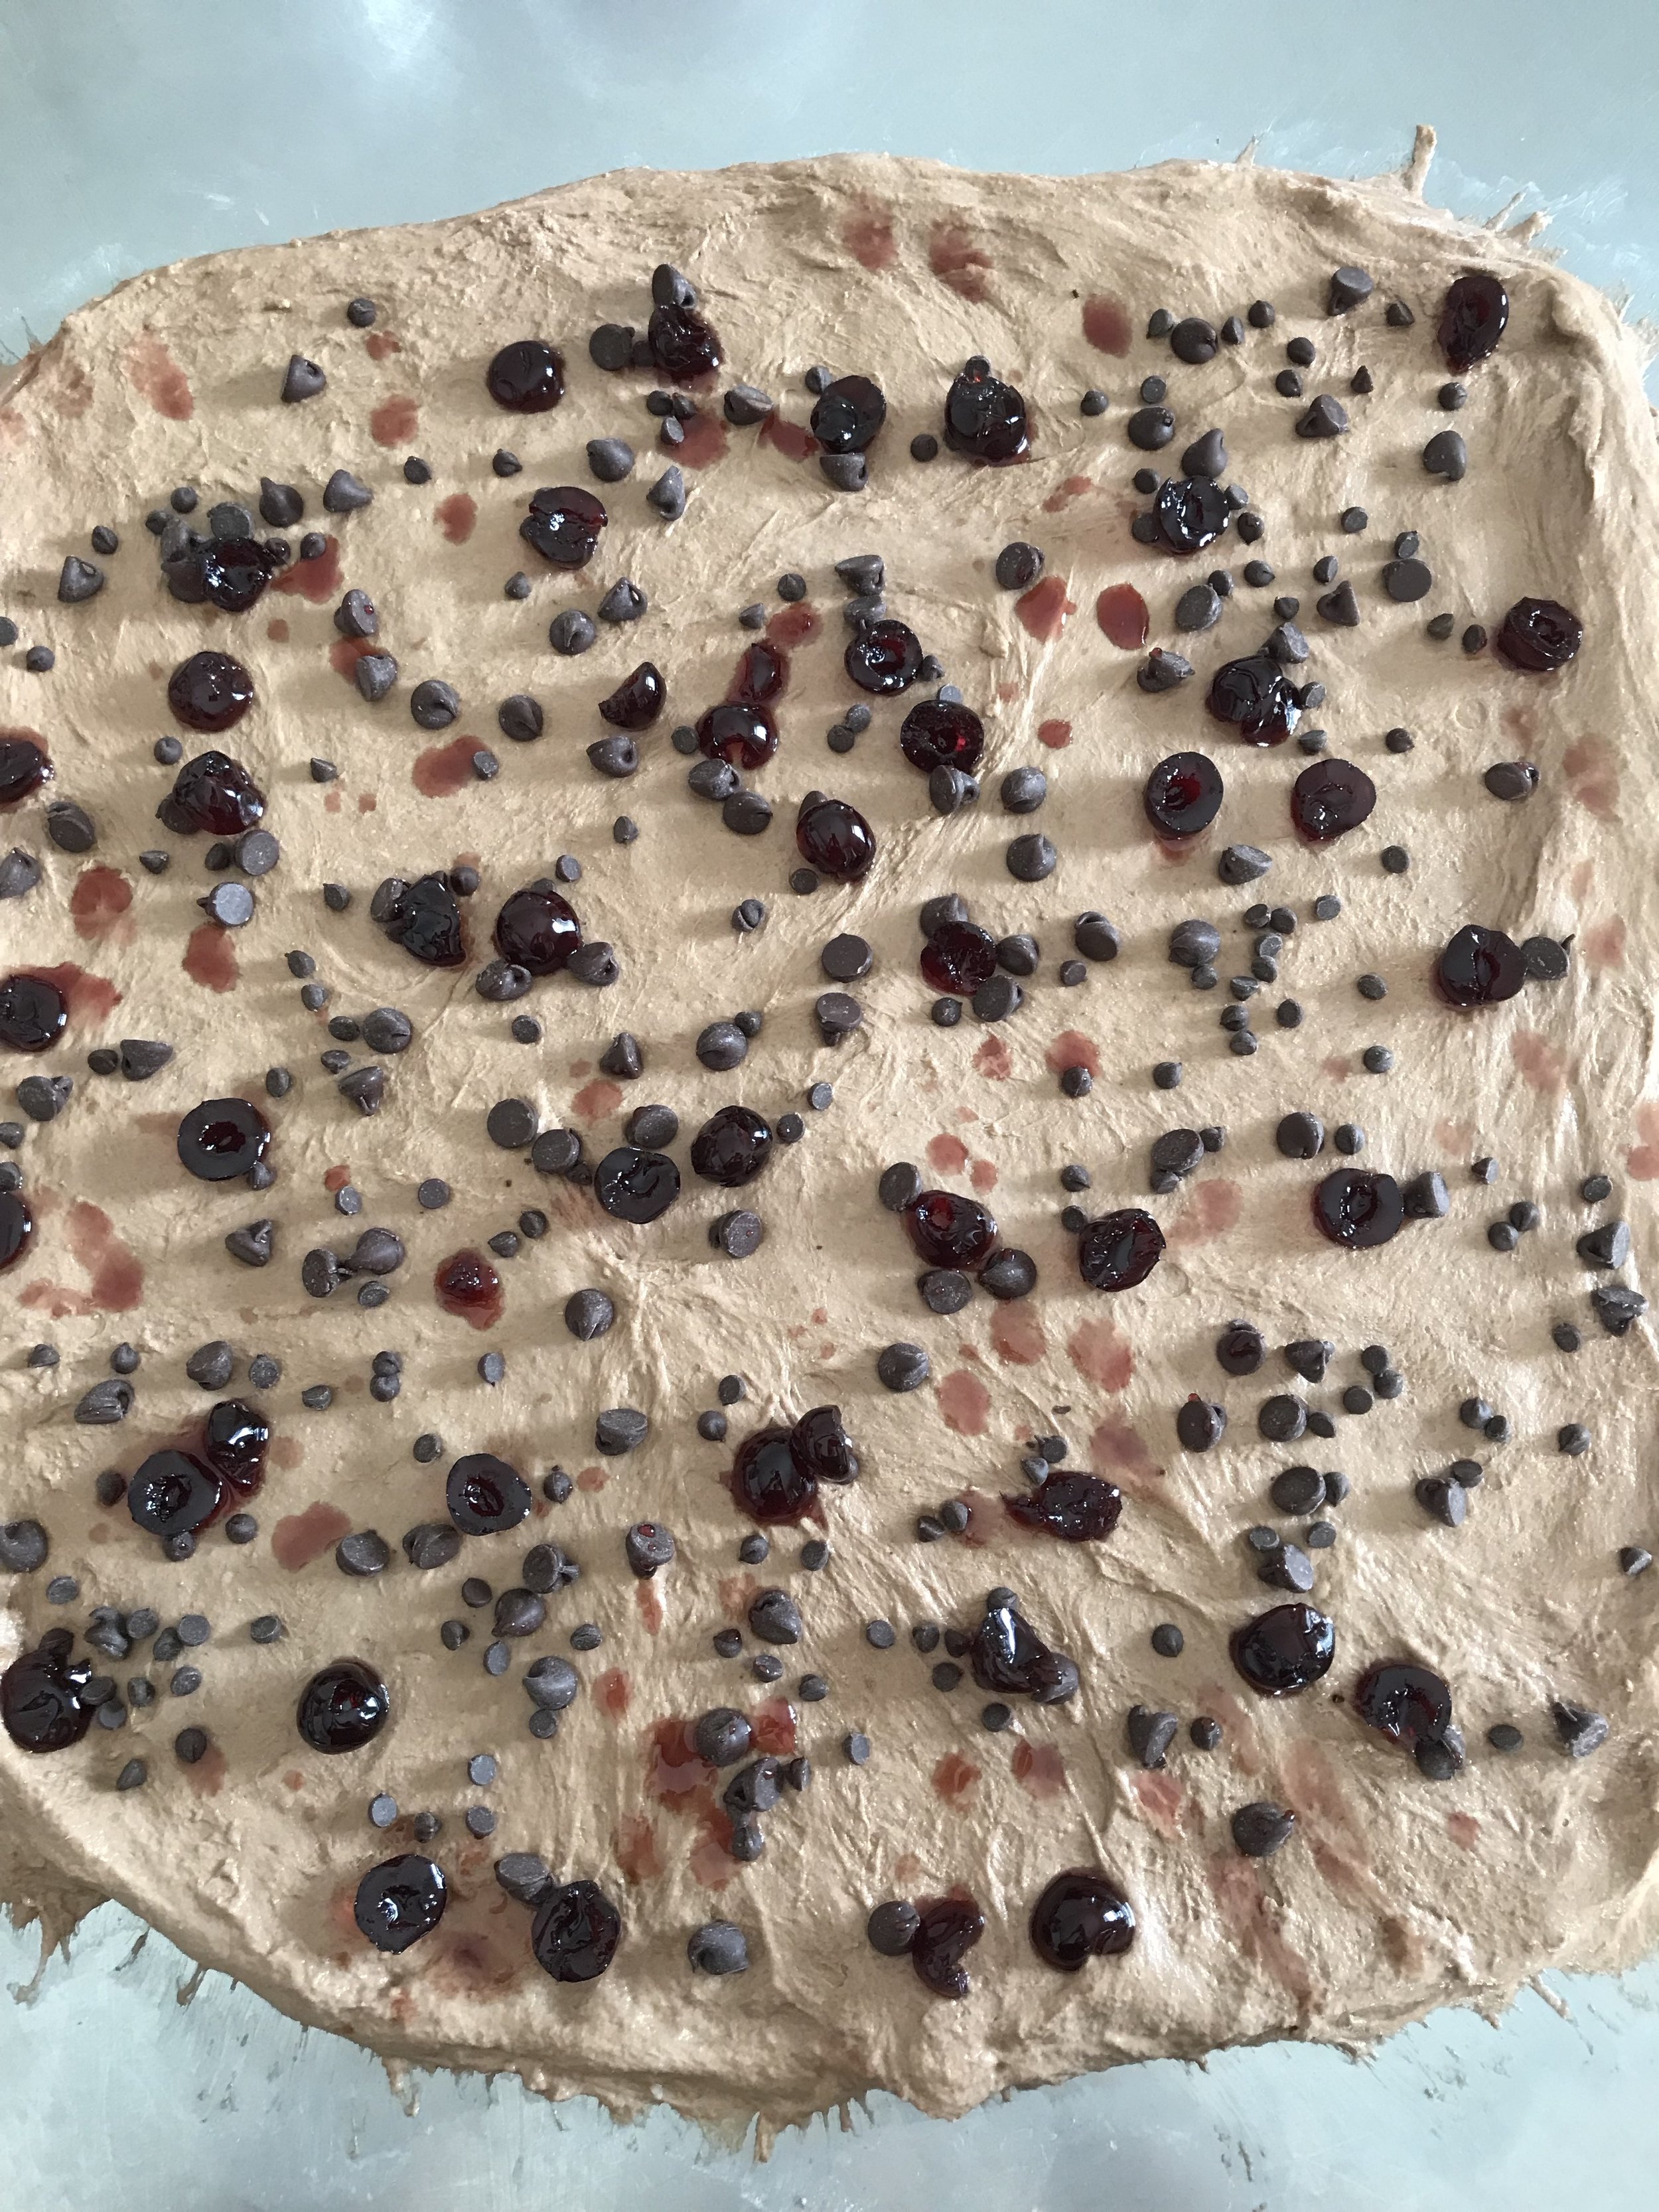
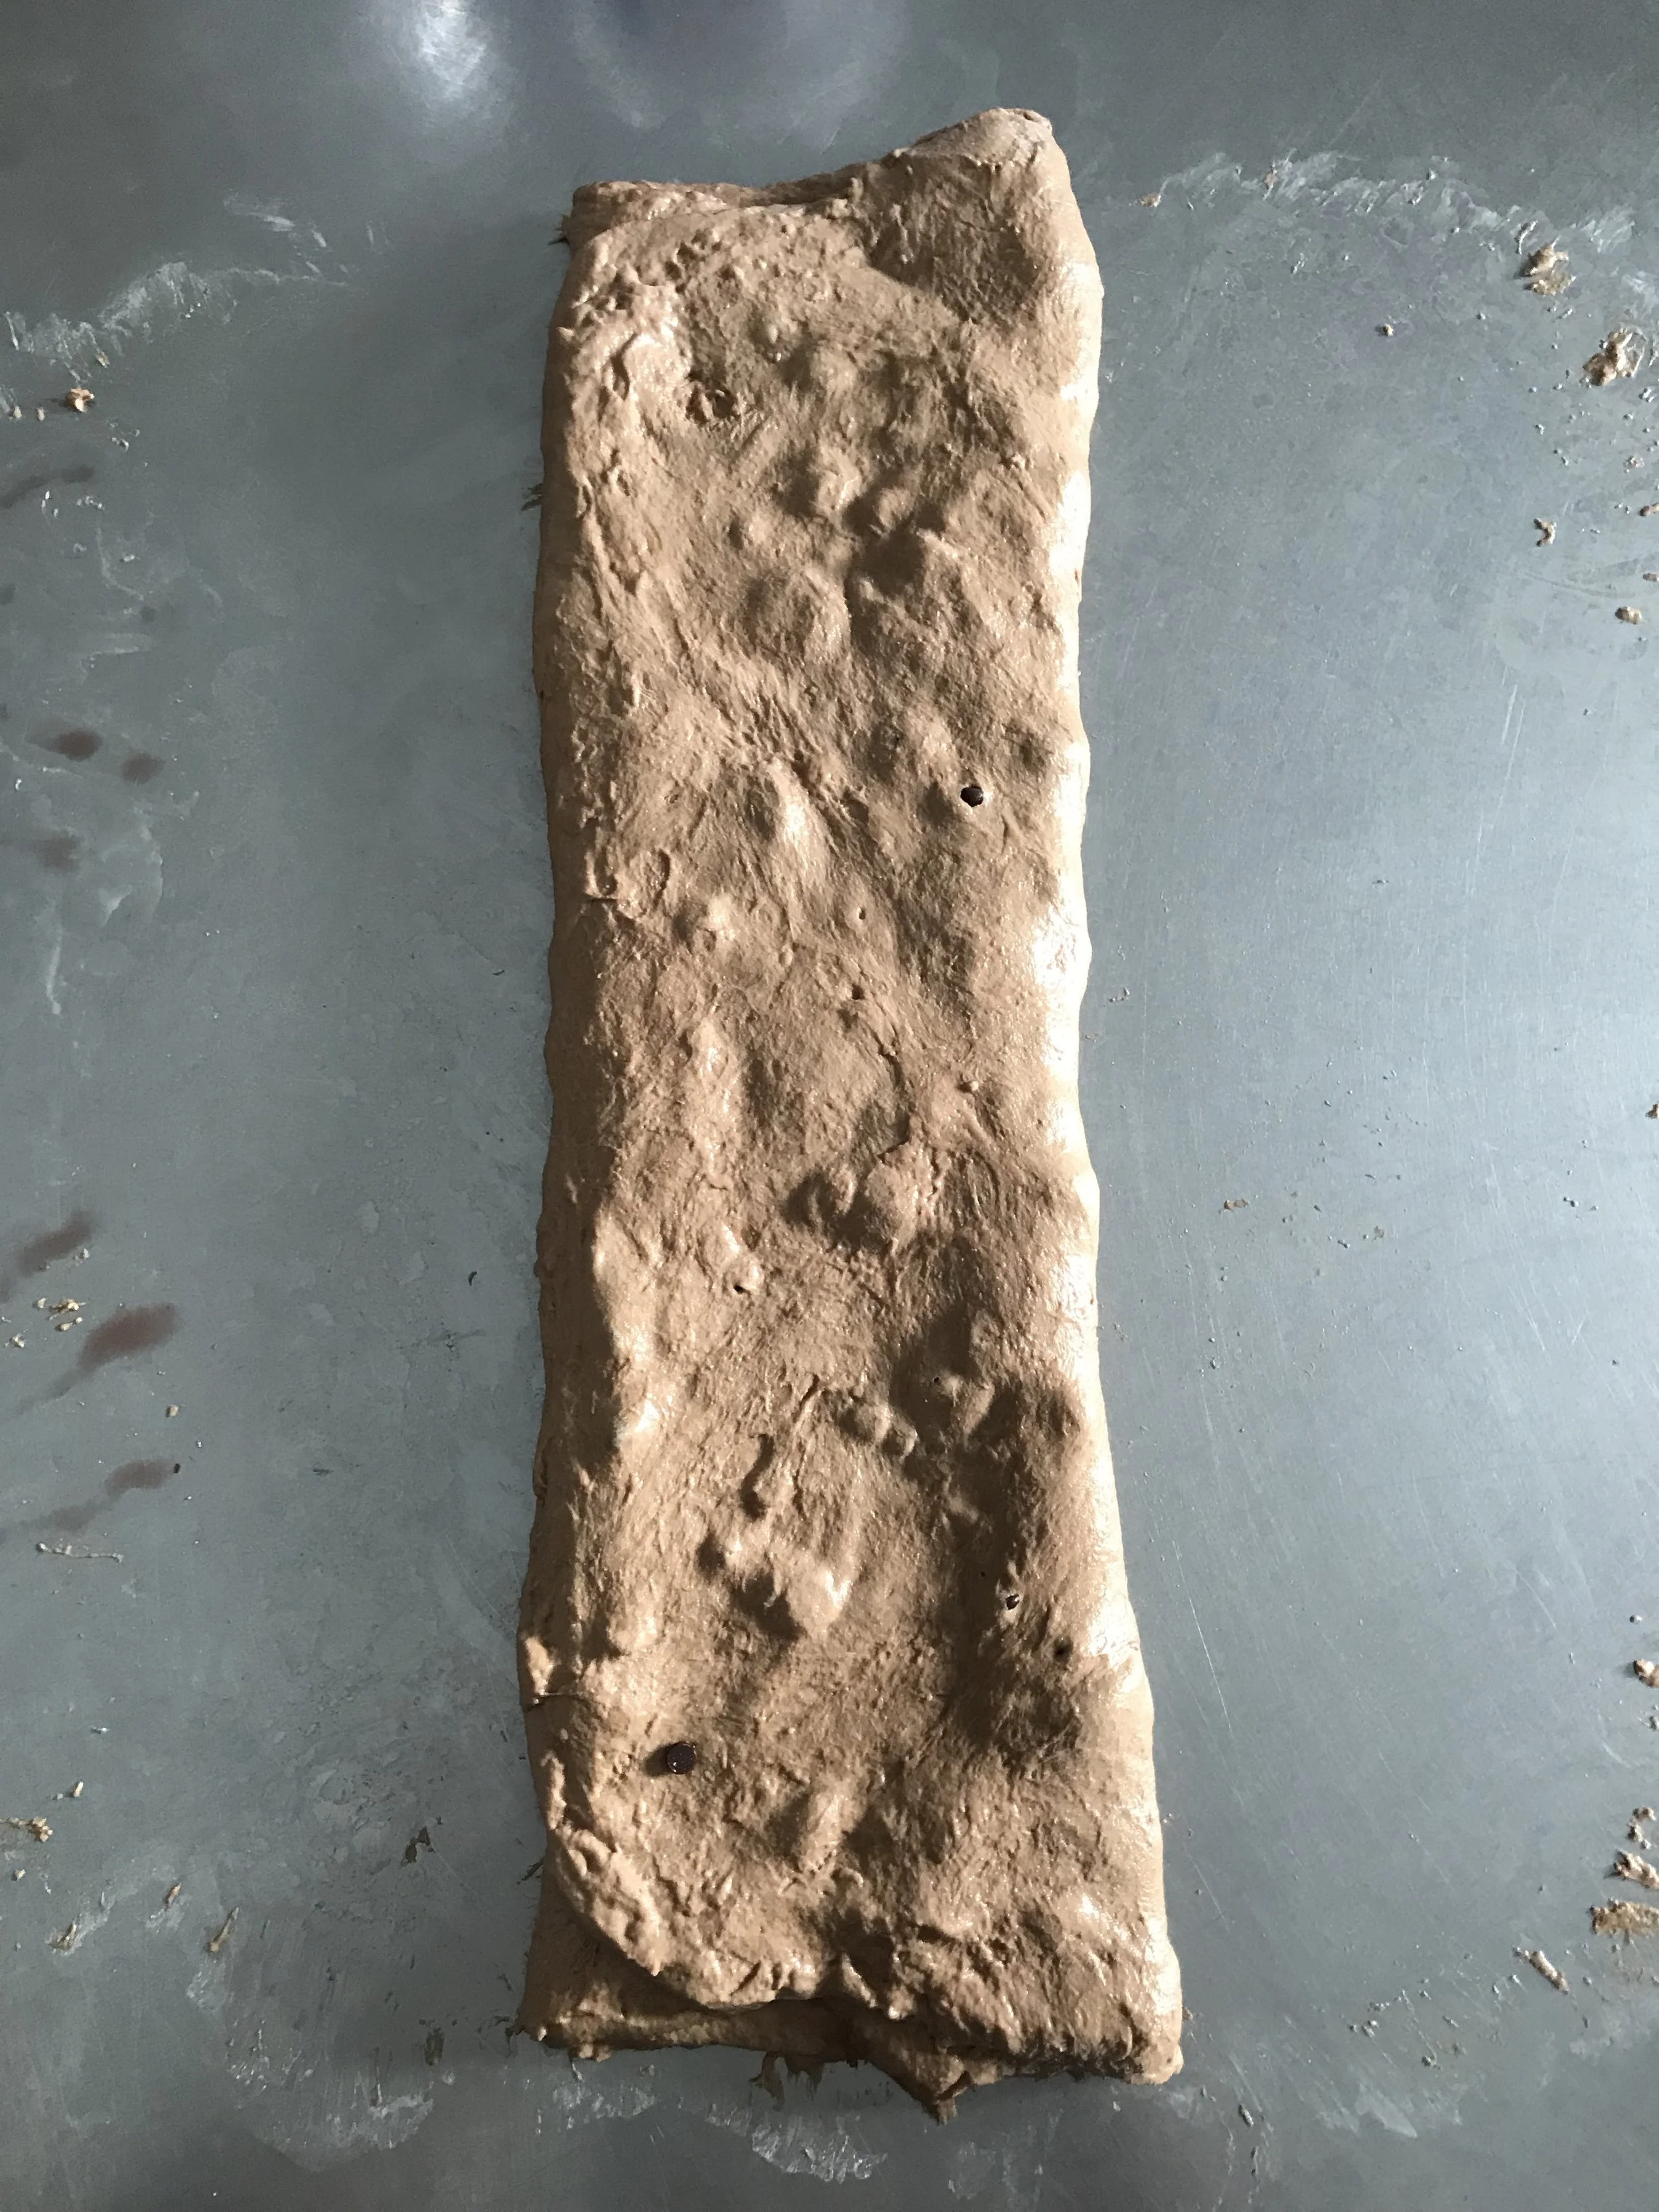
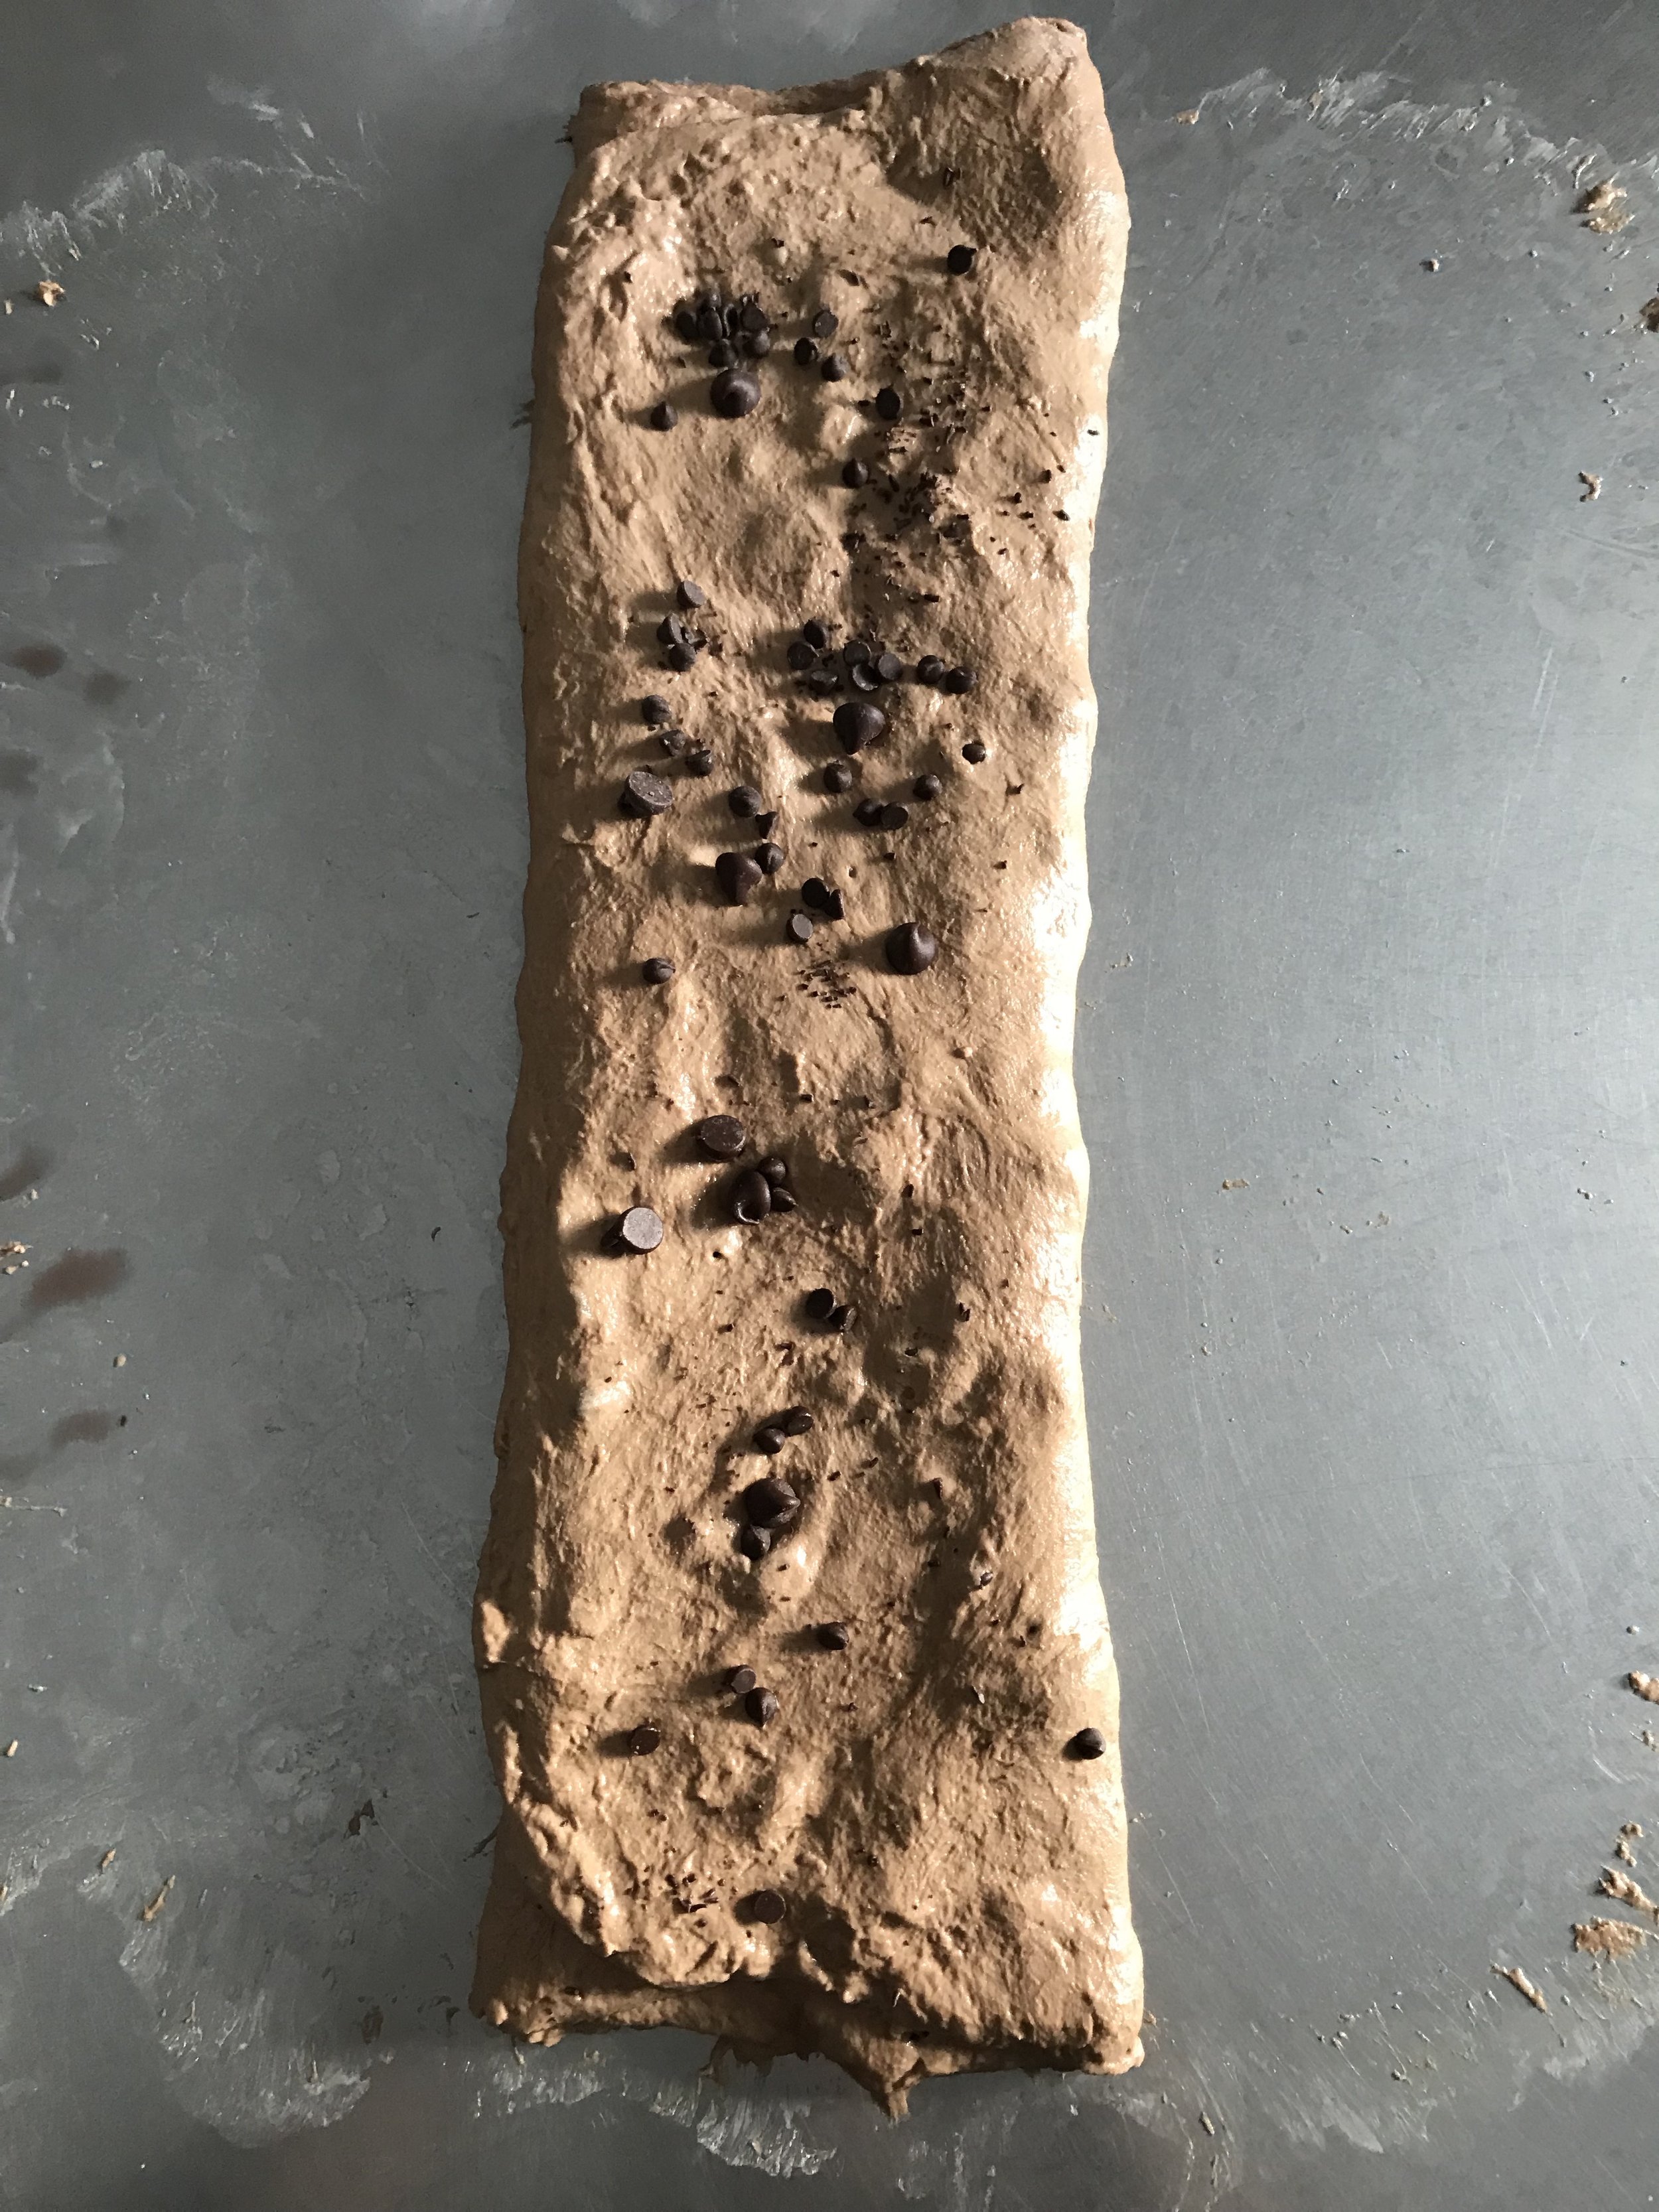
5. 30 minutes after adding the salt, it’s time to laminate the dough and add fillings! This is my preferred way to add strength to the dough while simultaneously incorporating fillings completely evenly. If you don’t want to laminate, you can put the fillings on top of the dough and incorporate them over several rounds of stretch and folds. Lamination is pictured below.
Instructions continue below.
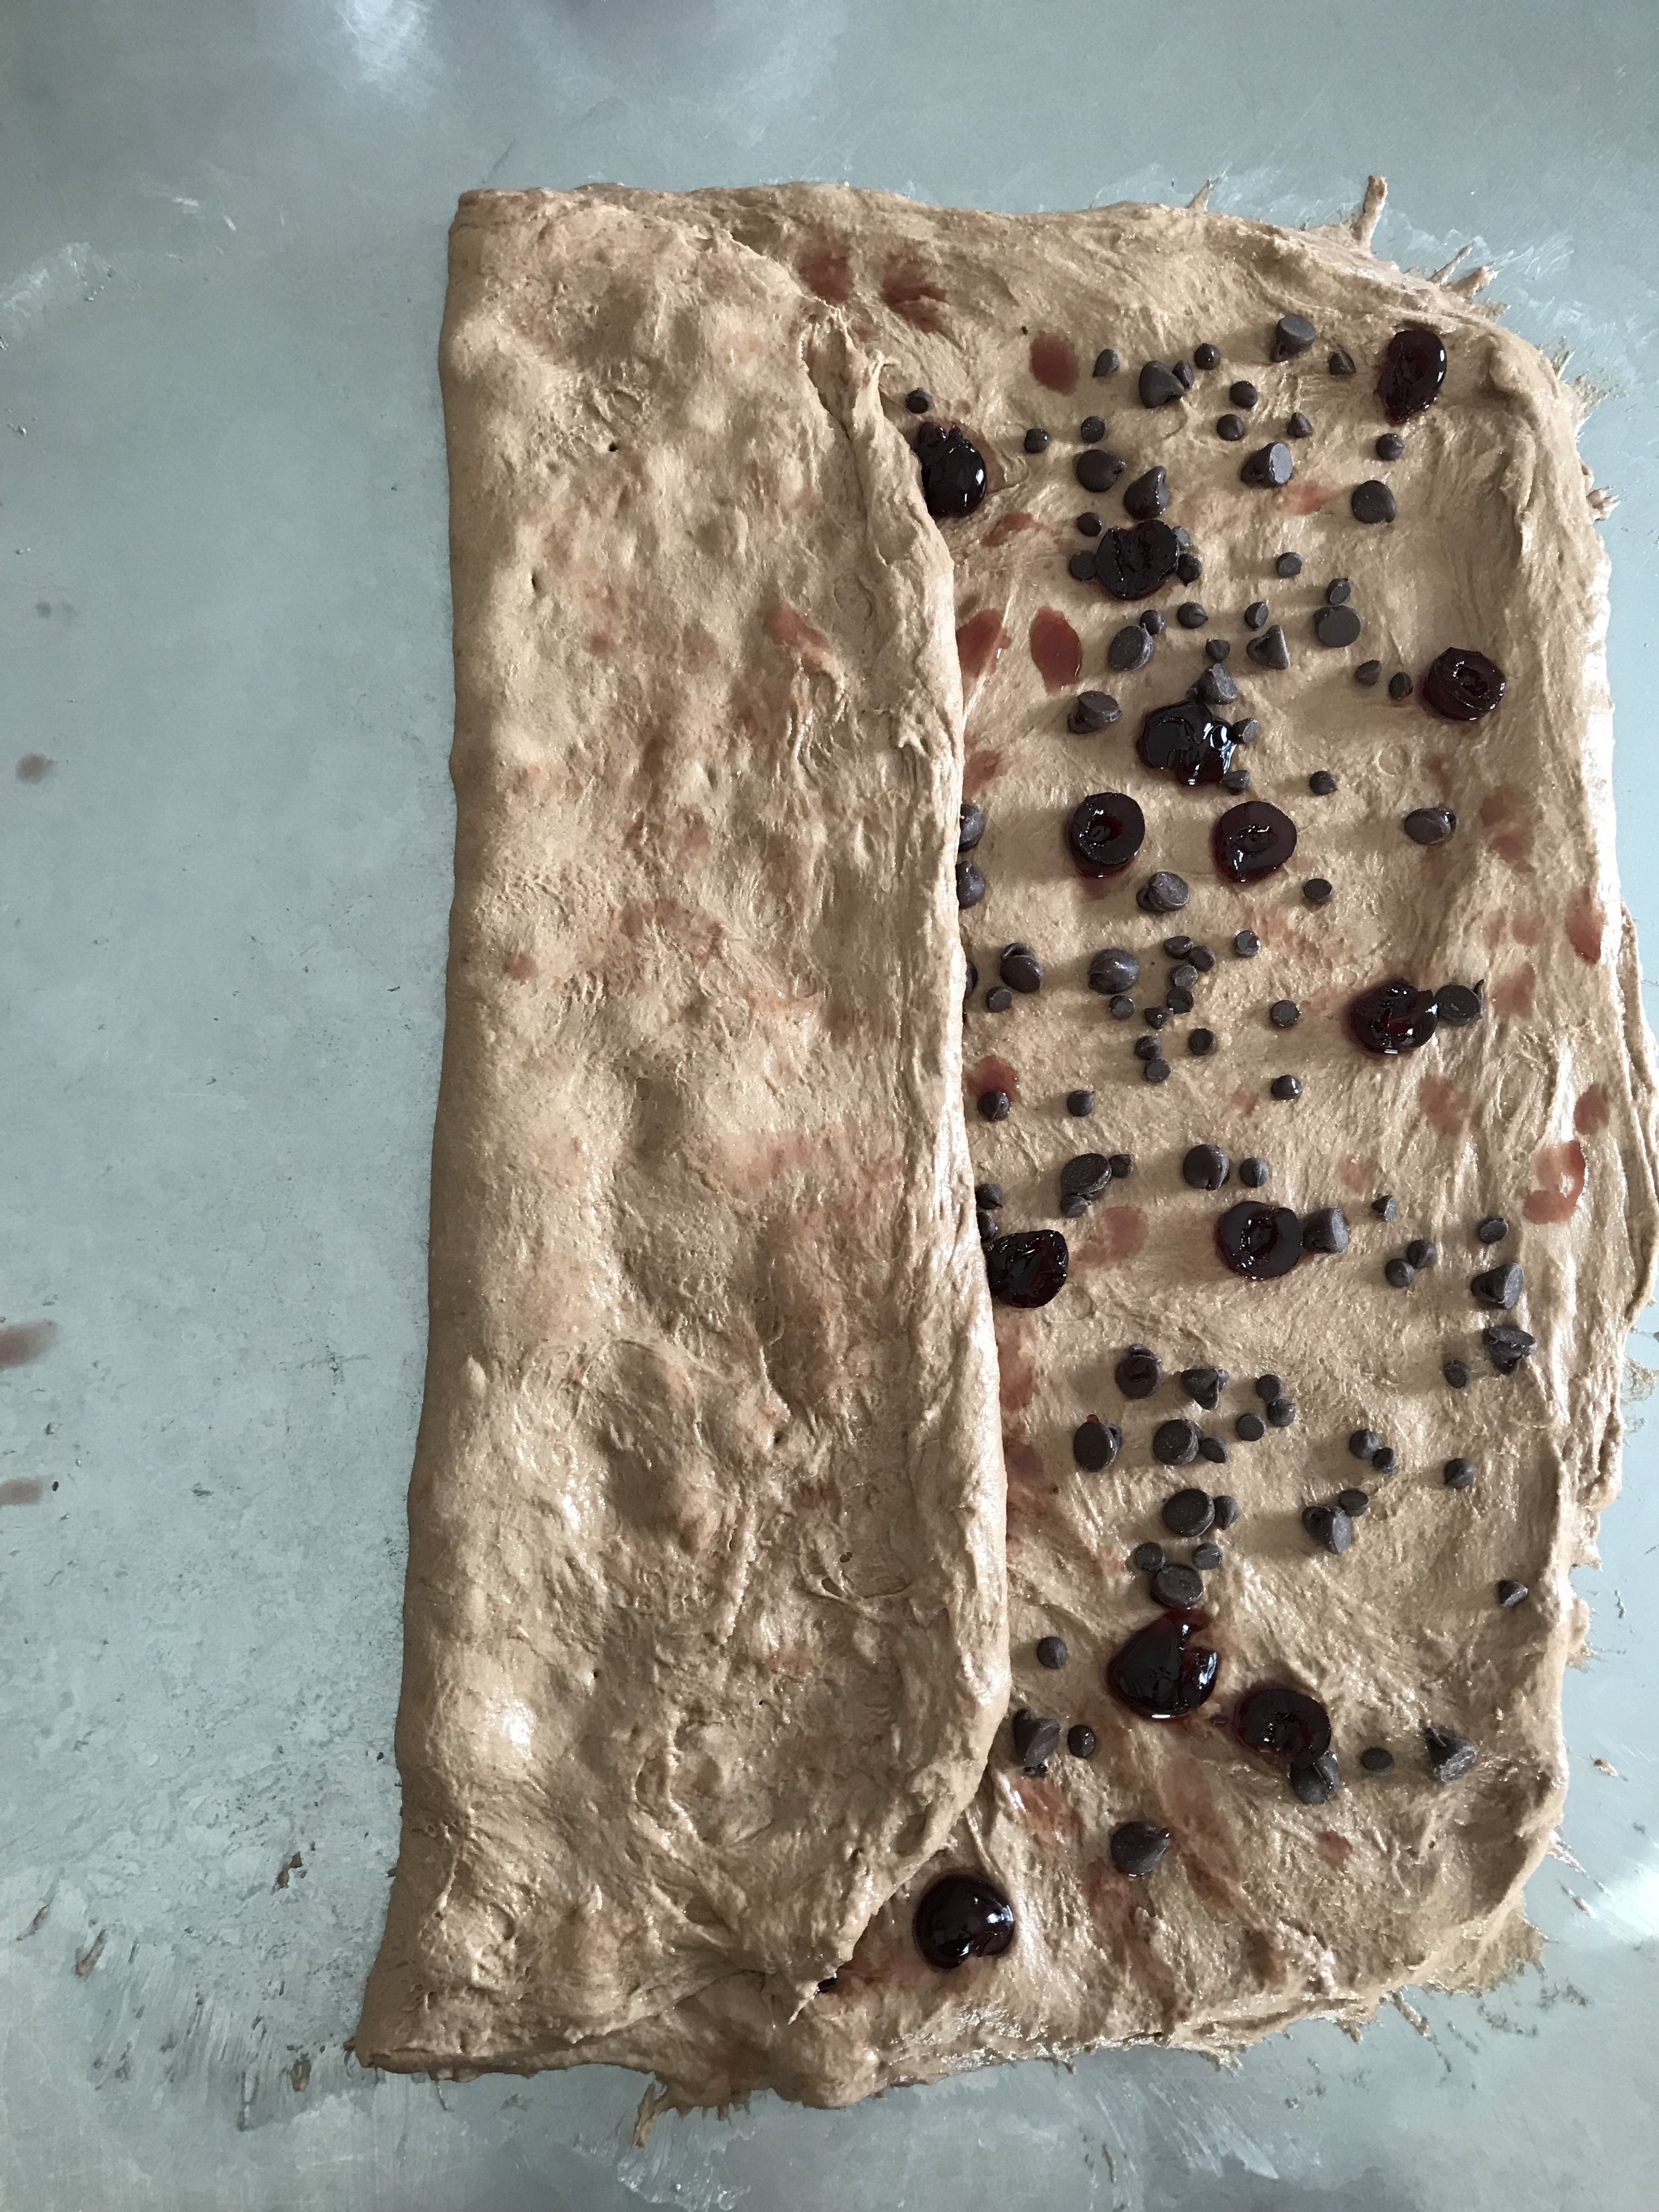
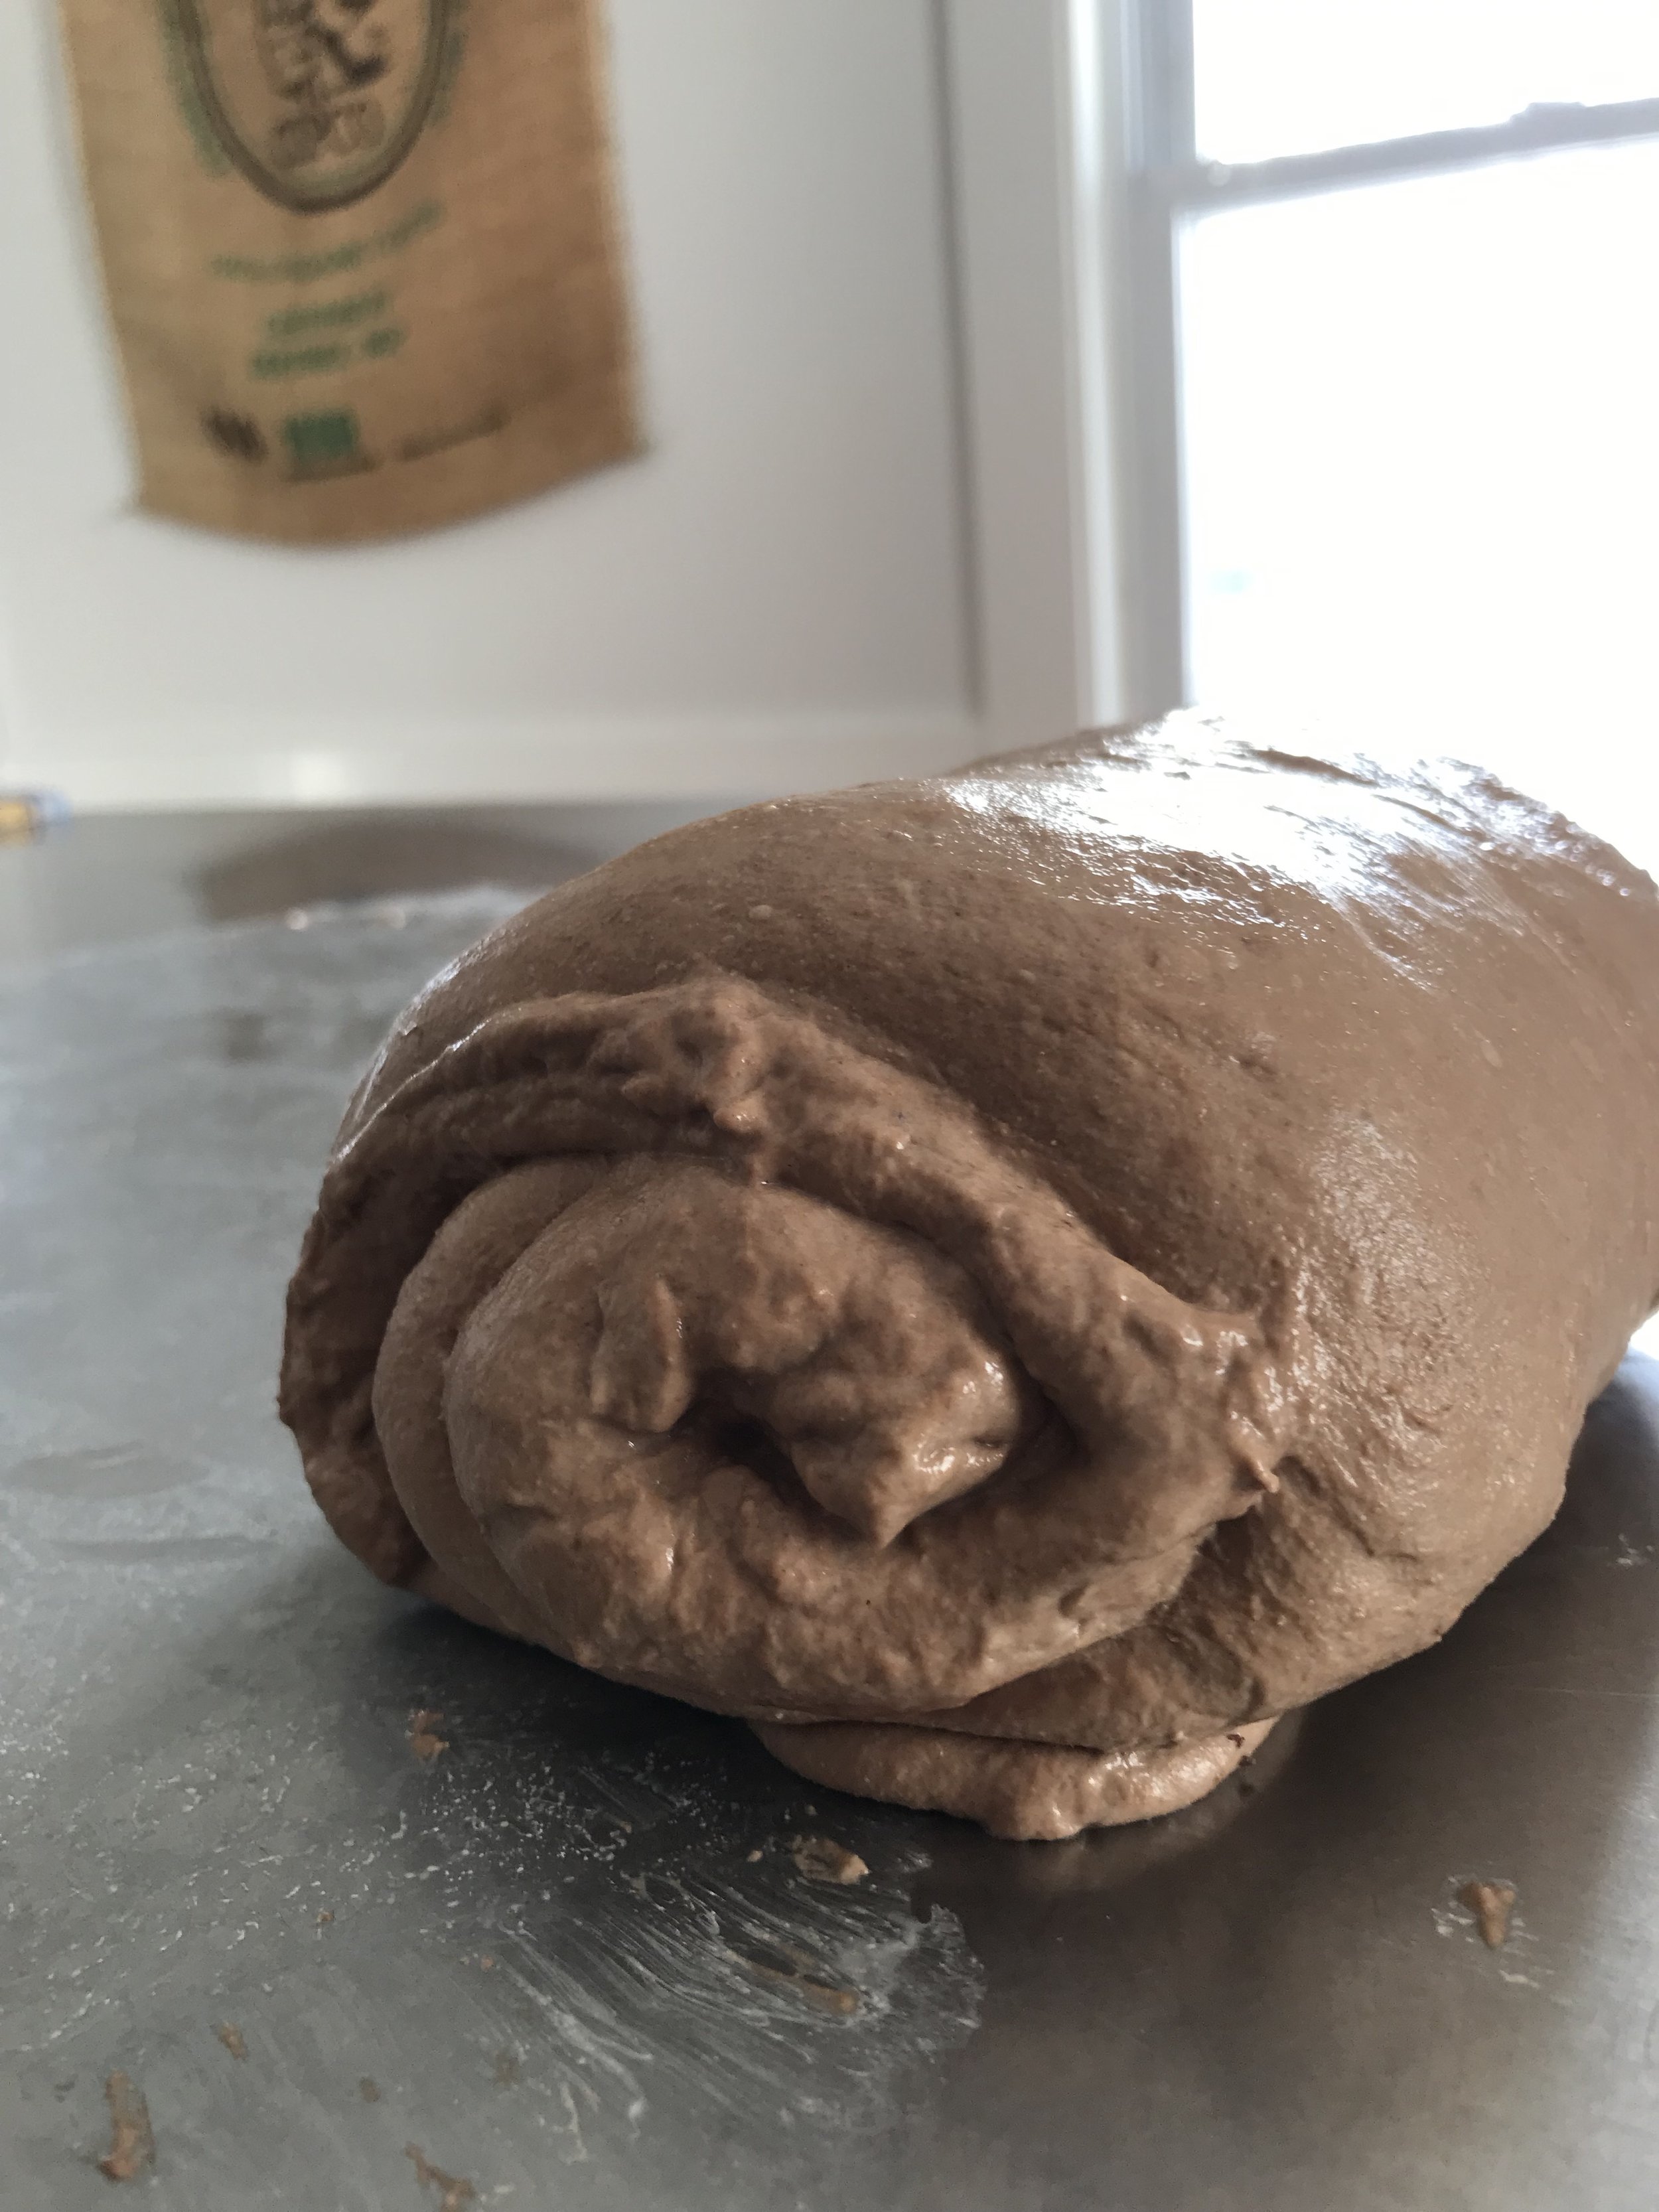
6. After laminating the dough and adding the fillings, return the dough to the bowl. Cover and let rest for 45 minutes. The rest of the bulk fermentation schedule went as follows:
Lamination + 45 minute rest.
Stretch and folds (or coil folds) + another 45 minute rest.
2nd set of folds + another 45 minute rest.
3rd set of folds + another 45 minute rest.
Let the dough sit undisturbed for the remainder of the bulk fermentation - usually anywhere from 2-4 hours for me.
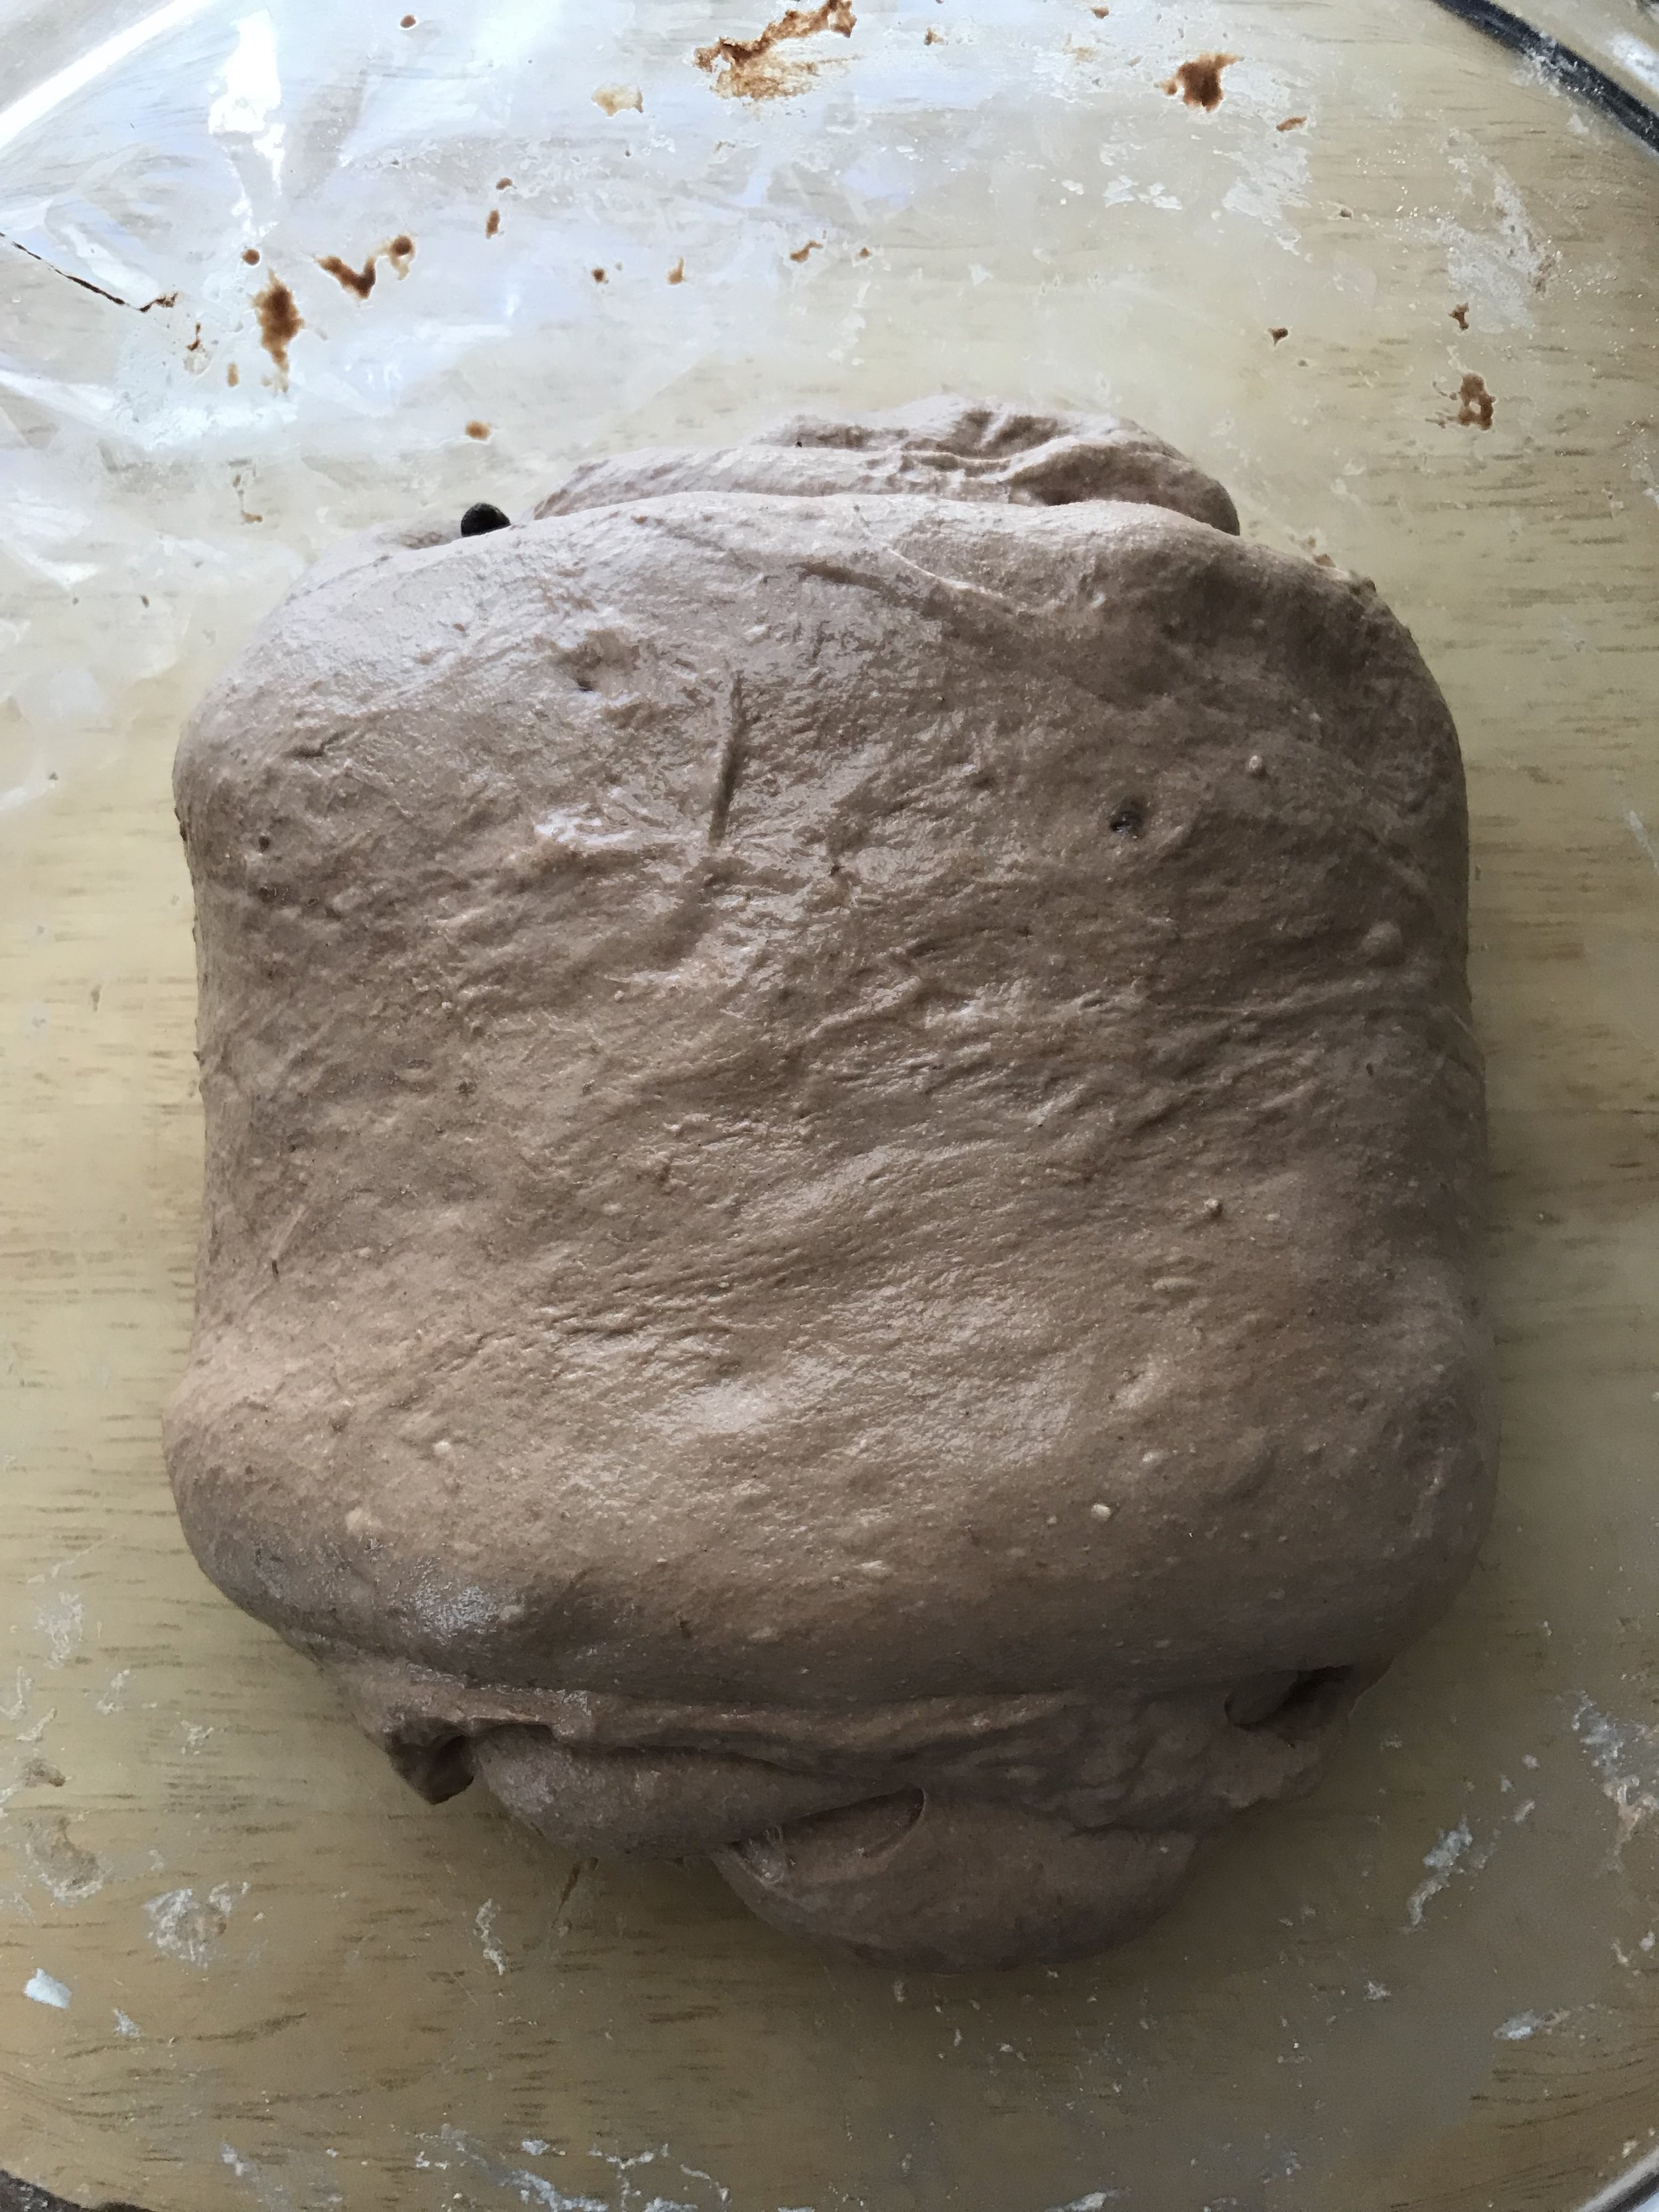
Pictured below: the dough on the left has relaxed after one of the 45 minute rests. On the right, it looks strong again after some folds.
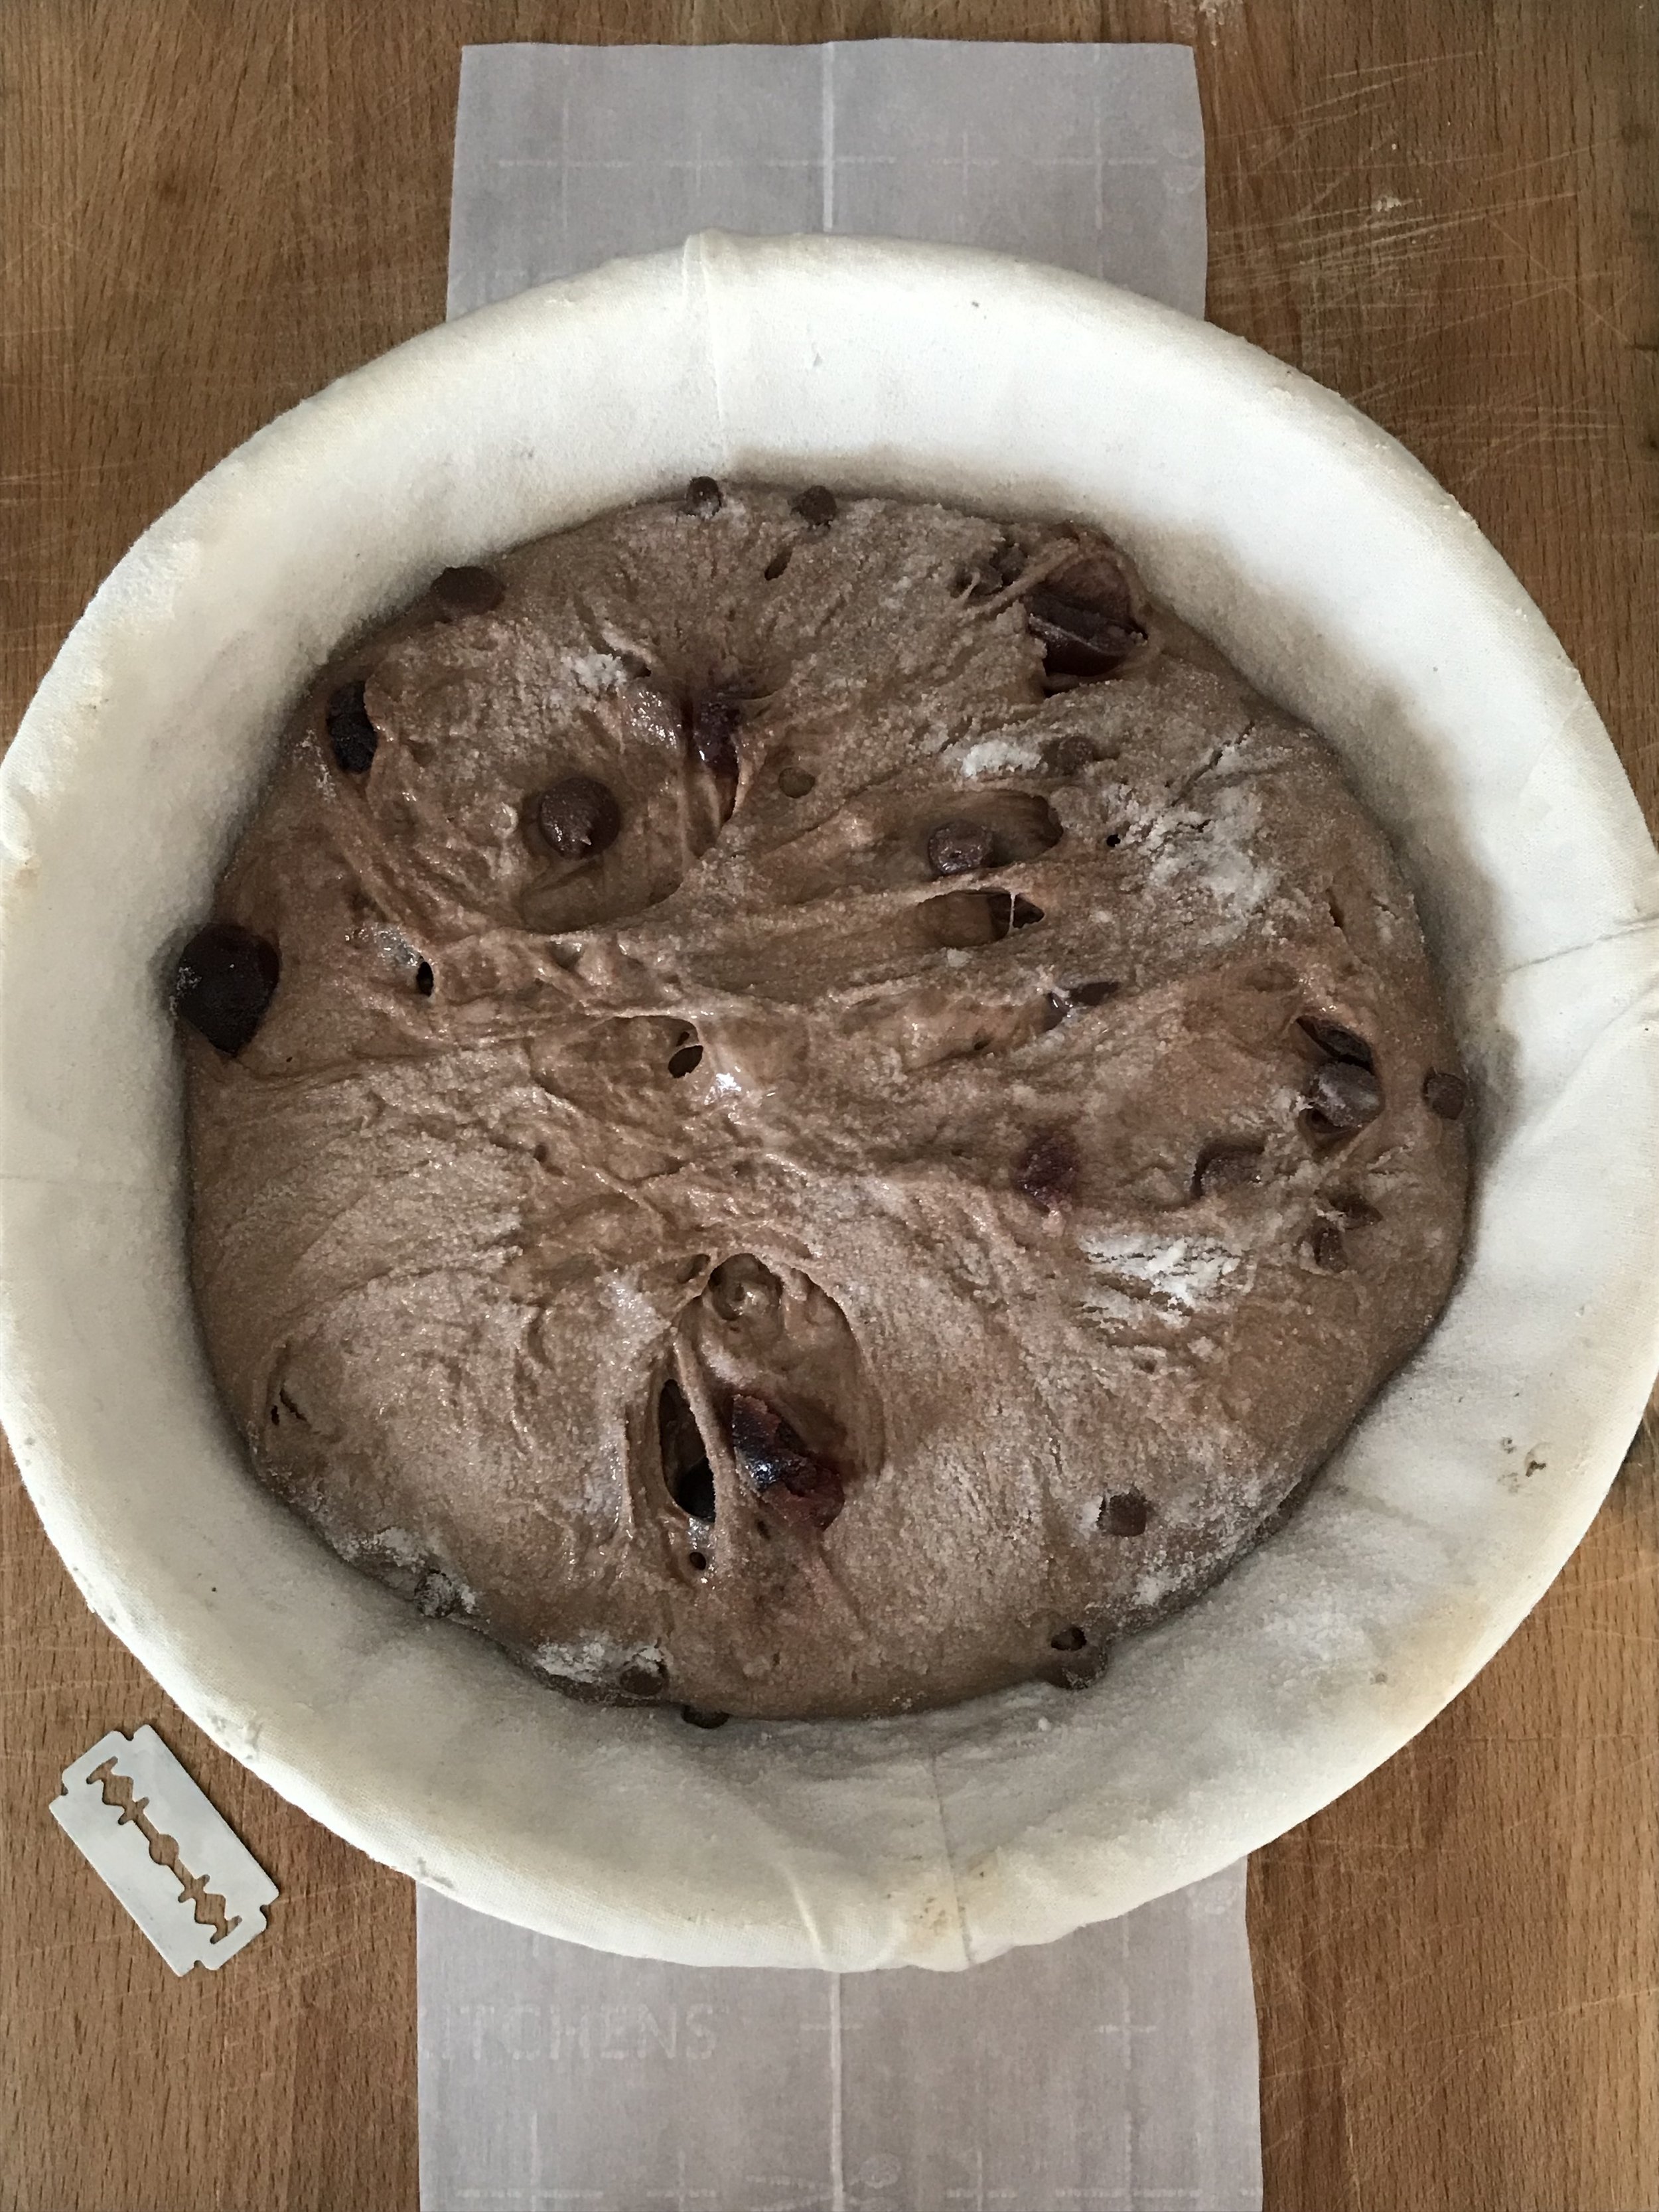
7. When your dough is ready to shape, line a banneton with rice flour and lightly wet (or flour) a work surface. Shape your dough into a taut ball or oval (depending on what shape you’re going for). Cover, and place it into the fridge overnight.
8. In the morning, pre-heat the oven to 475F with your baking vessel inside (dutch oven or heavy cast iron pot with a lid).
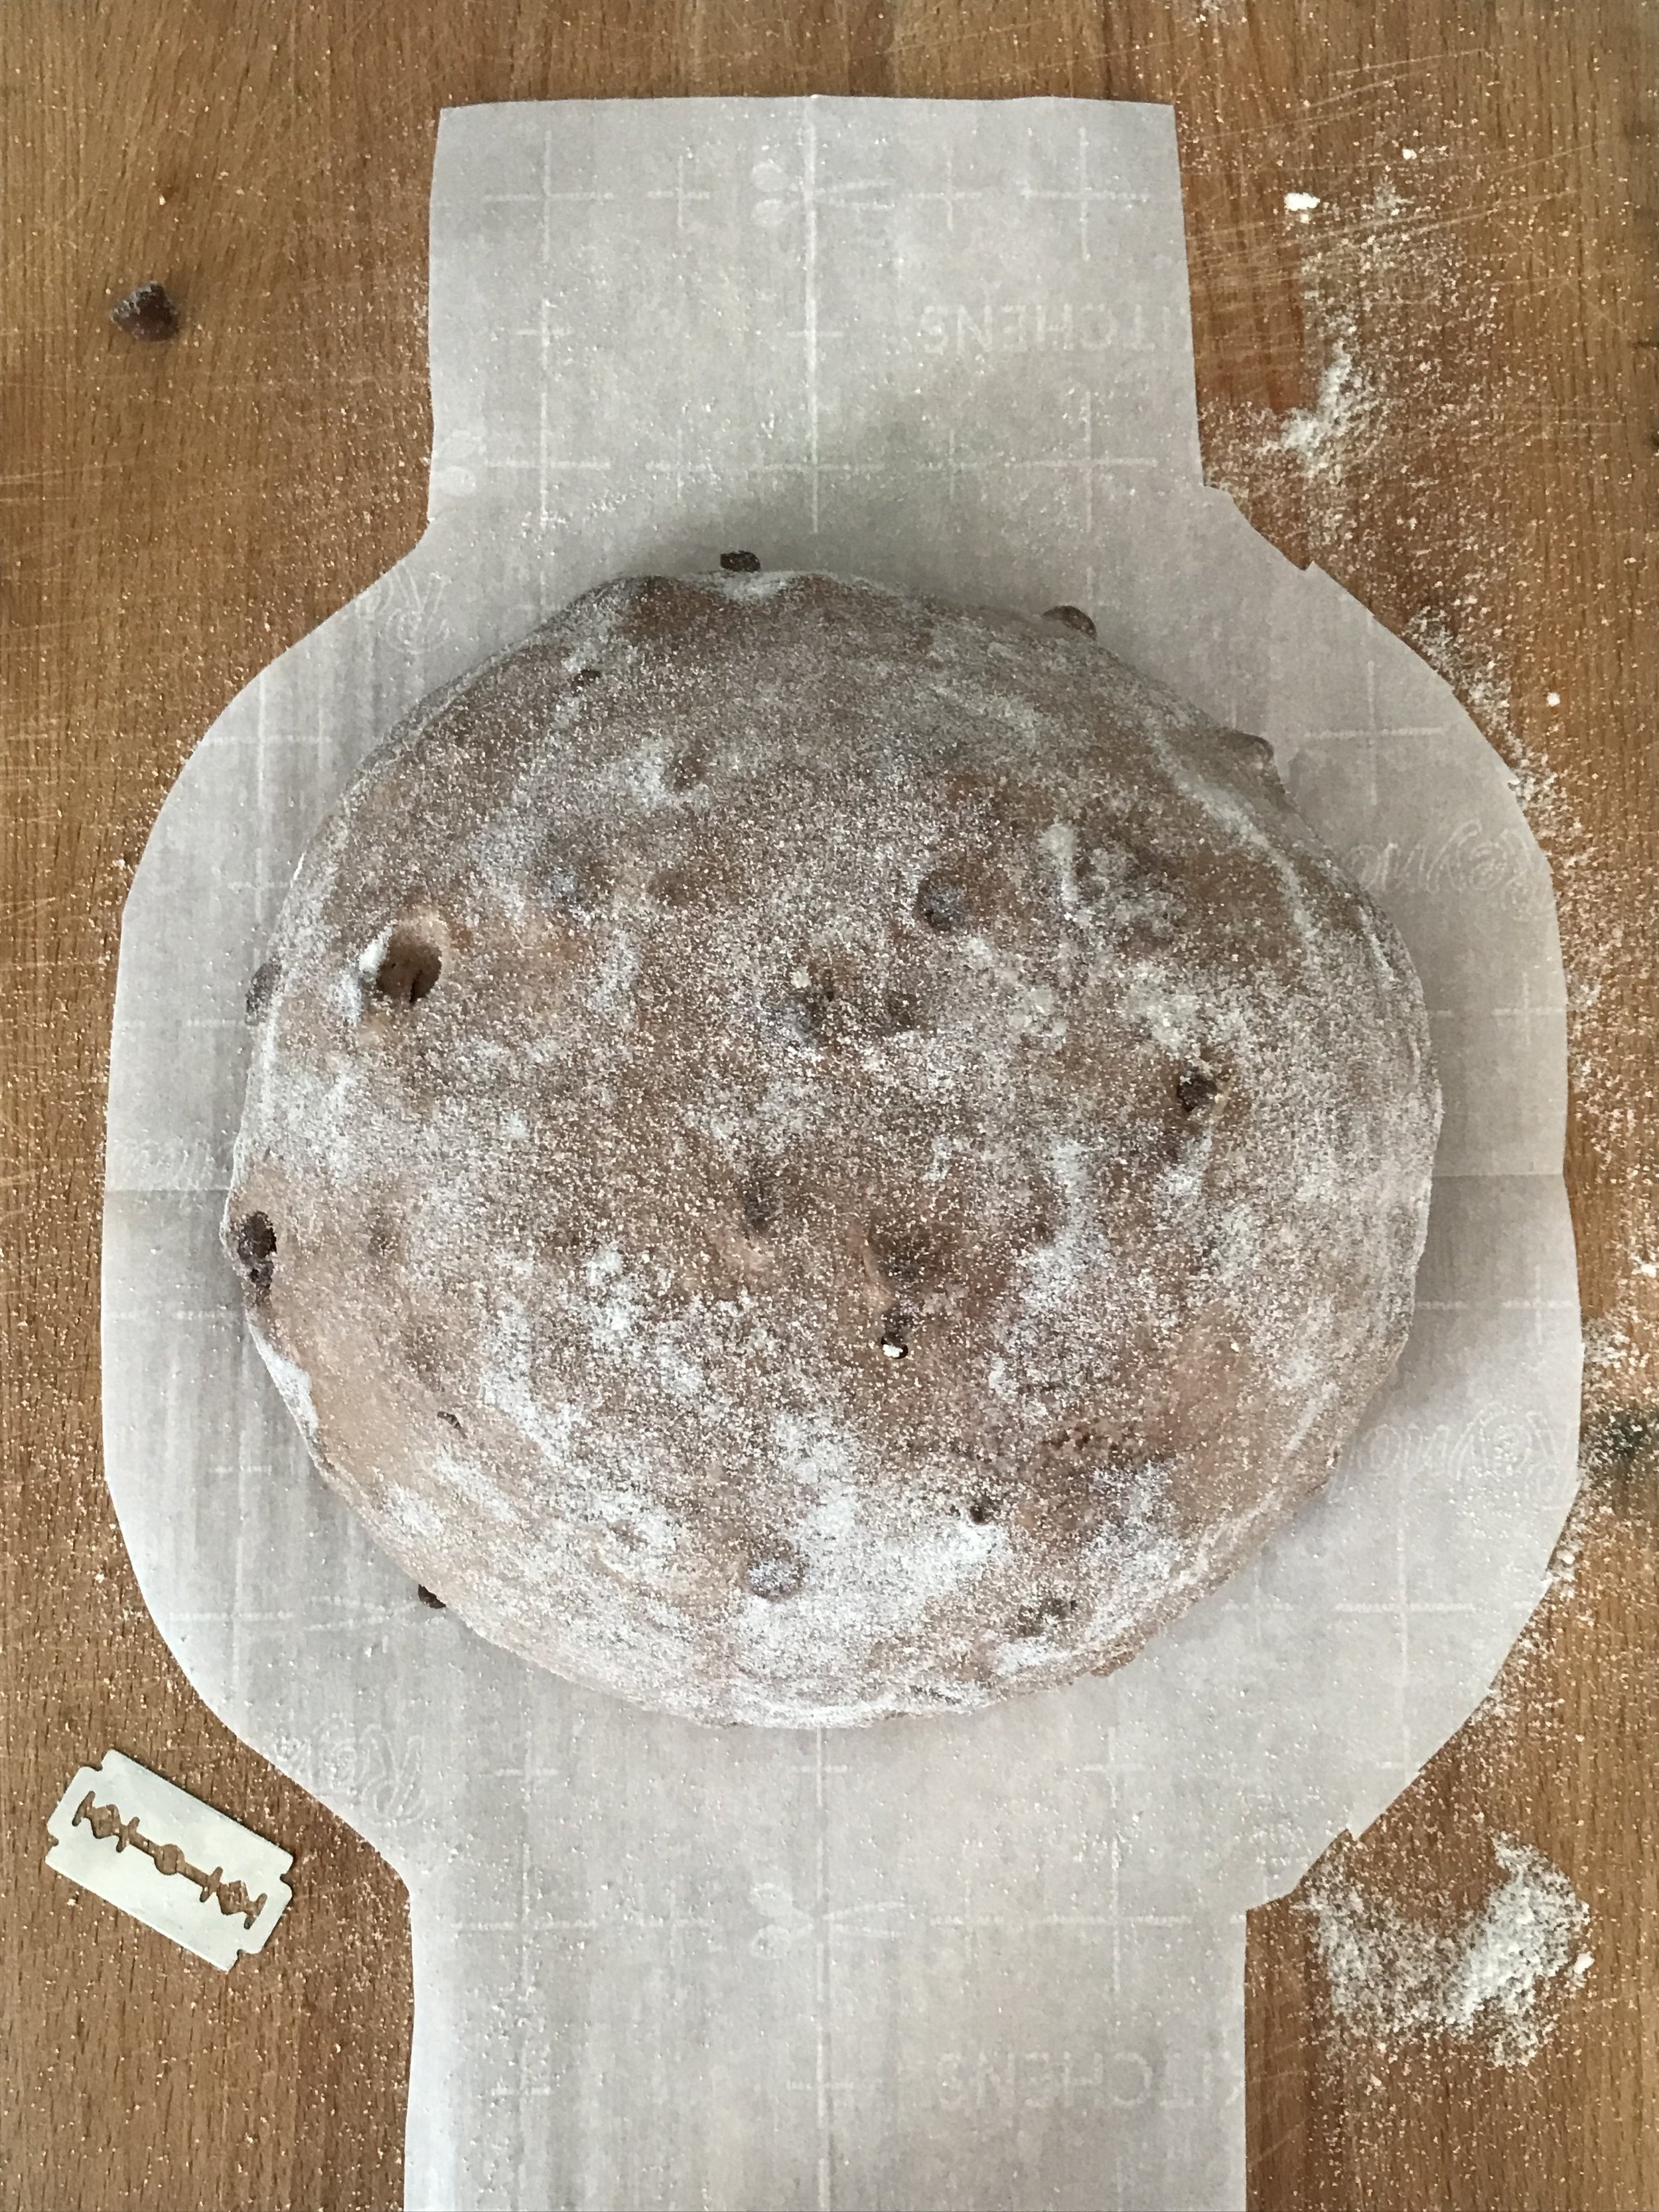
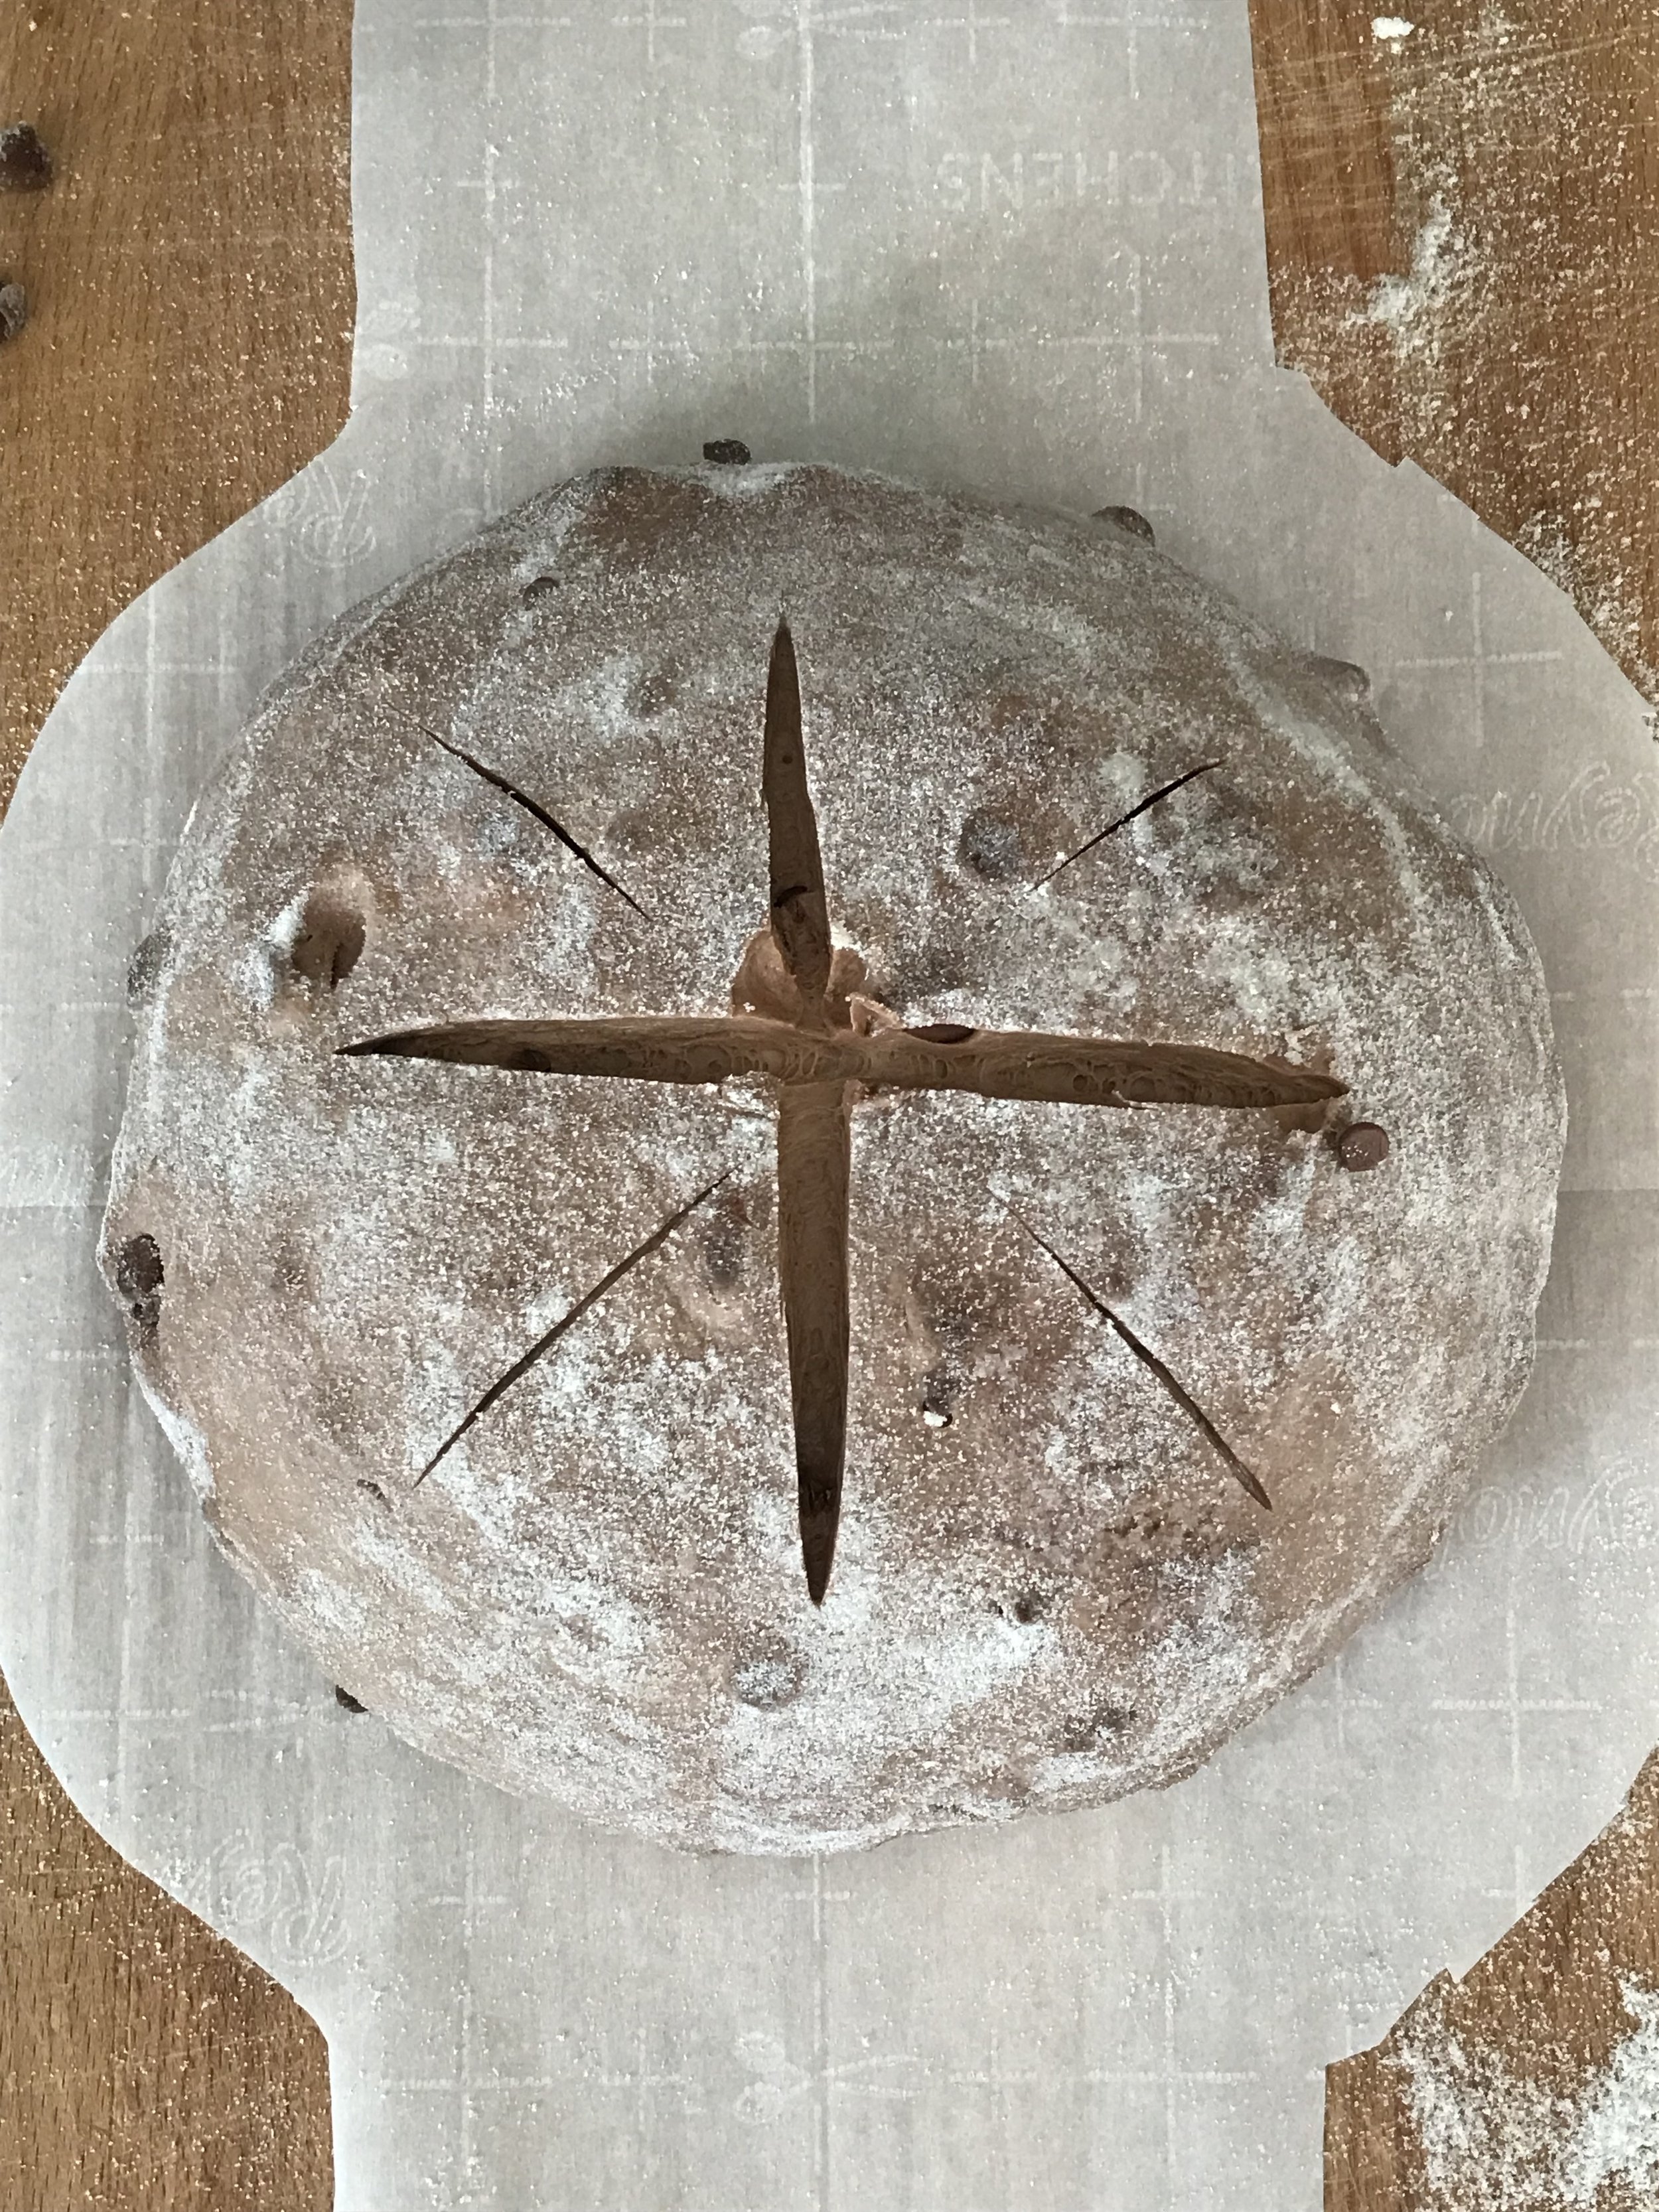
9. Remove the dough from the fridge, uncover, place a piece of cut parchment paper on top and flip the dough out. Score your dough and then carefully lower it into the hot baking vessel. Cover and bake for 25 minutes.
10. Then remove the lid and bake for an additional 15 minutes. This dough is dense and may take longer to bake than usual. If the bottom is burning, feel free to reduce the oven temperature or let it finish cooking outside of the baking vessel.
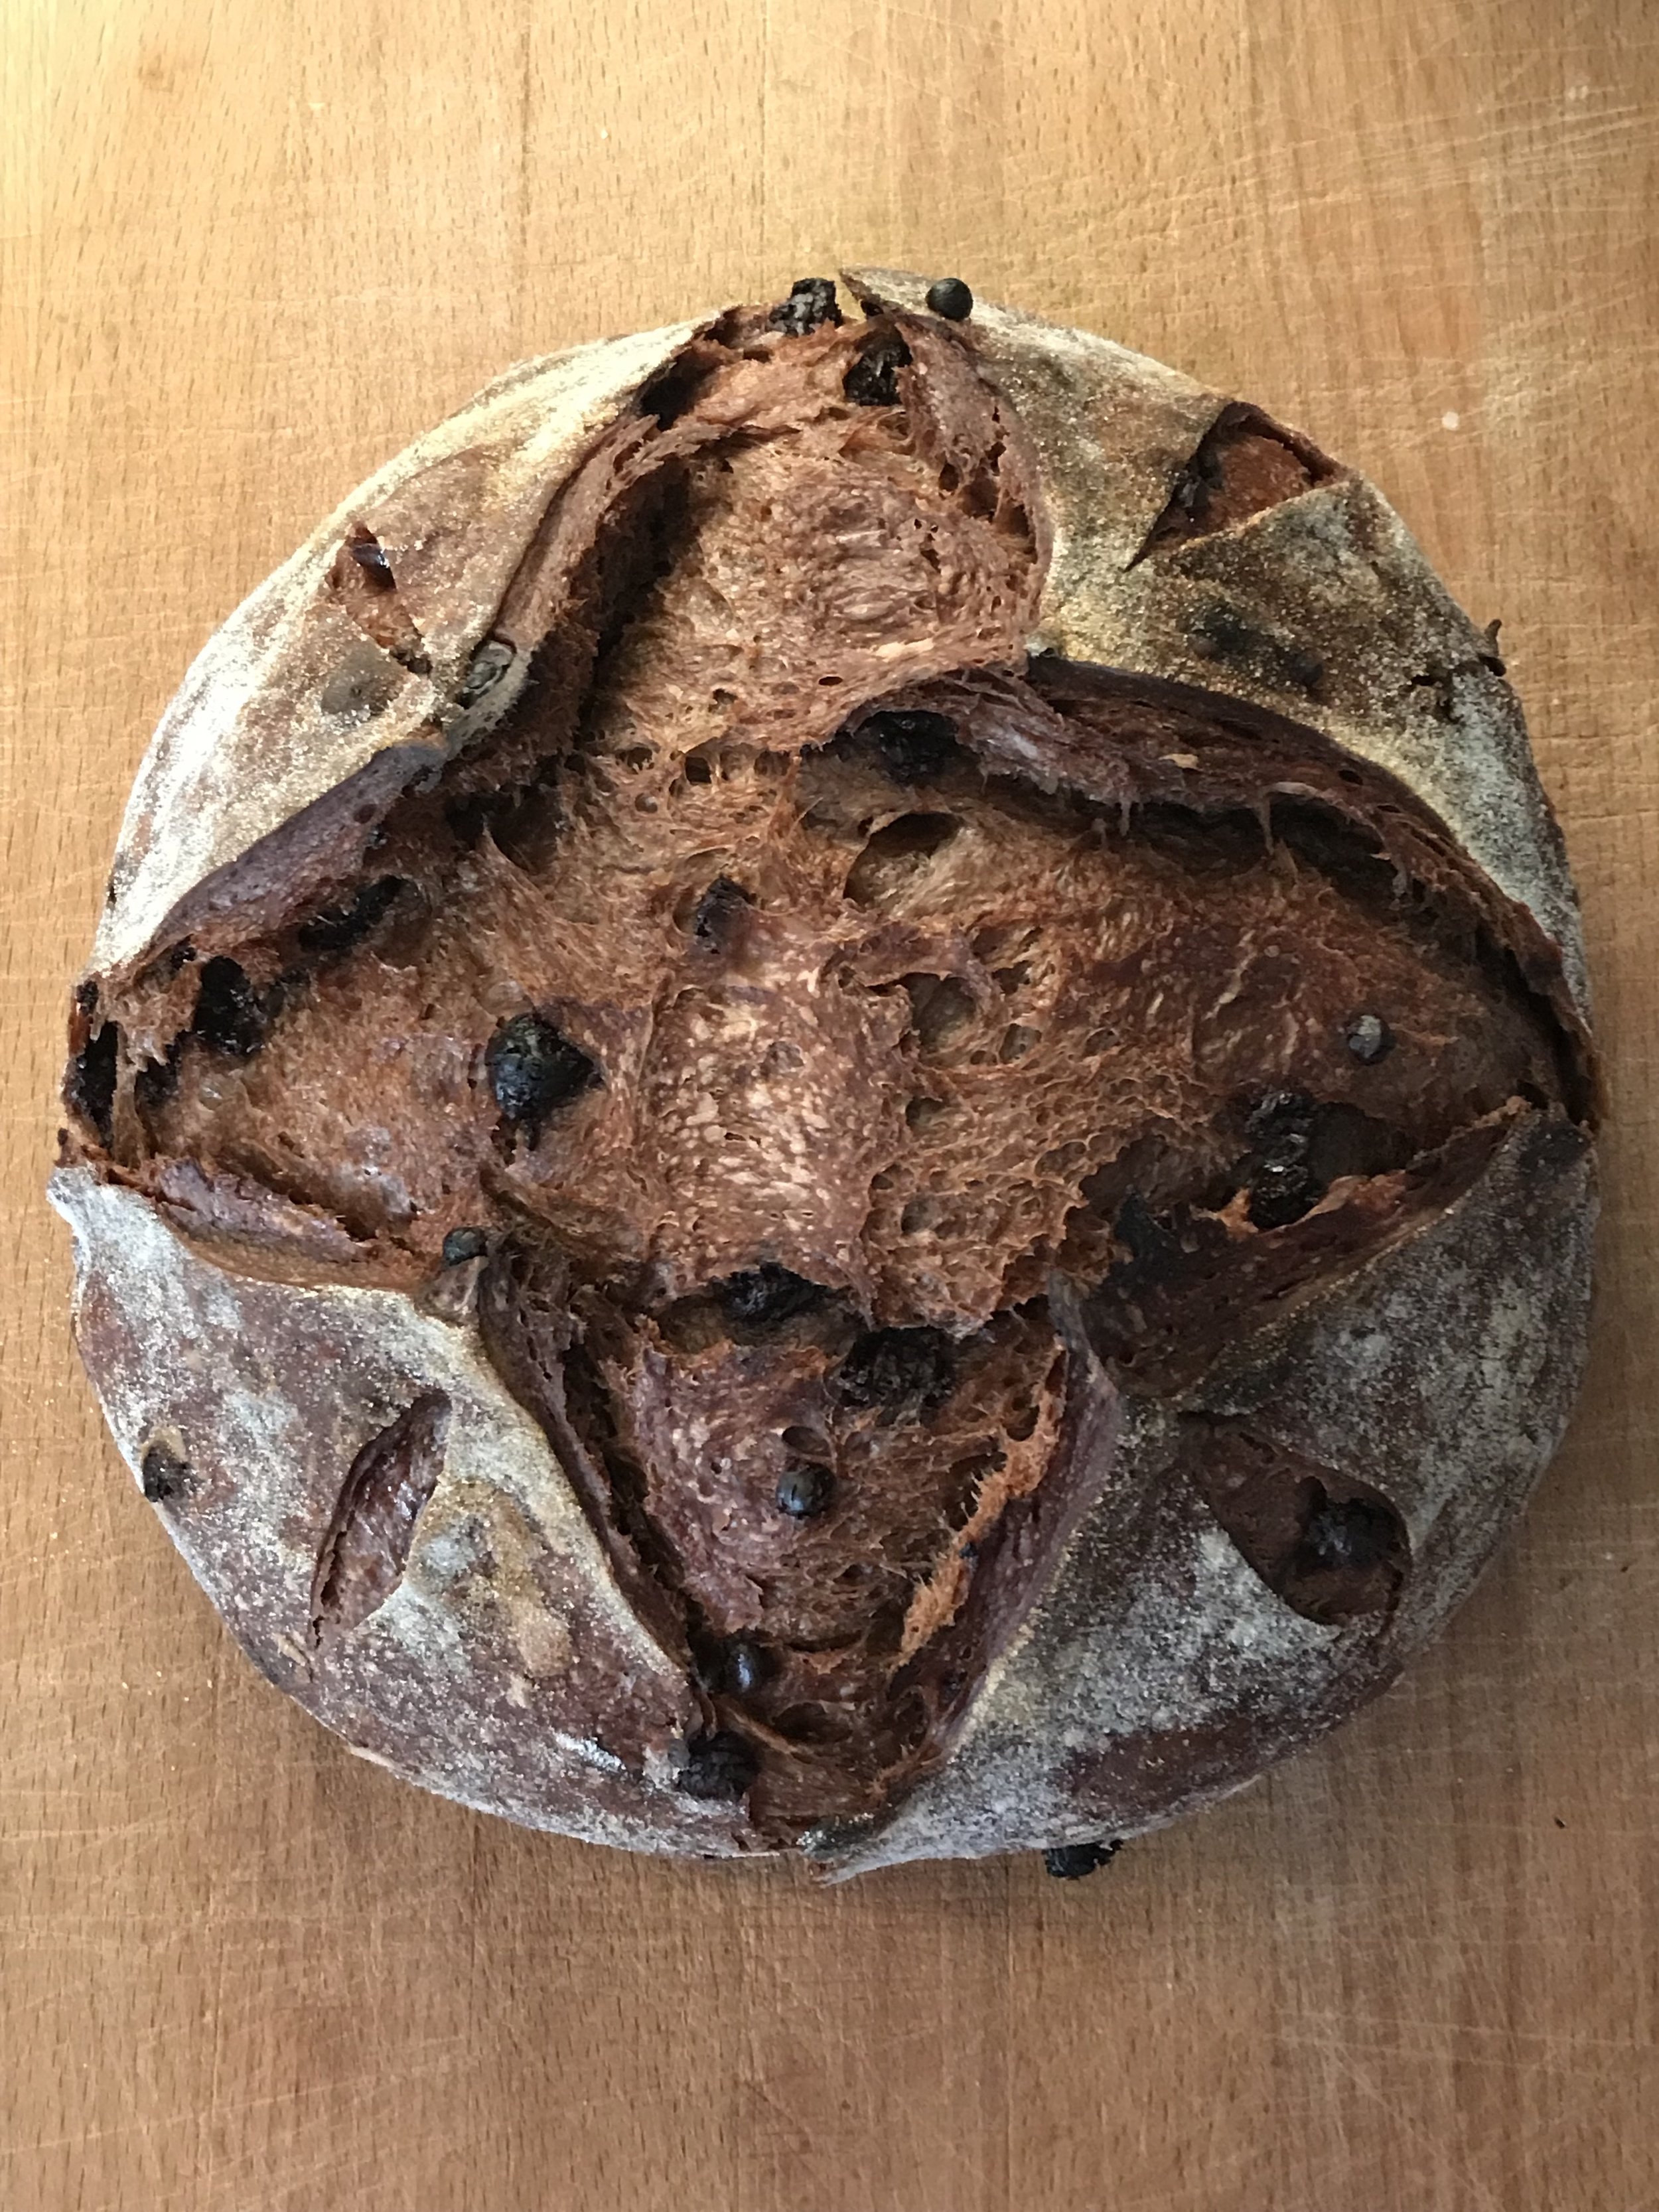
11. Let the bread cool for about an hour before slicing. Enjoy!
If you make this, I’d love to see! Tag @nokneadtoworry on Instagram and TikTok.
Read next

My Sourdough Method

Sourdough Bagels