Creating a Starter
At the most basic level, a sourdough starter is used as a natural rising agent. Typically, no commercial yeast is used in sourdough recipes. Made up of naturally occurring yeasts and good bacteria, the starter will eat sugars in the flour and burp out CO2, resulting in gas or air in the dough causing it to rise. This happy little colony can be established in your very own kitchen with just a few ingredients, time, and patience. Below you’ll find a 7 day guide to creating your own starter. Please note that conditions in every kitchen vary wildly, so your process may not mimic mine exactly, but it should eventually work! It may only take 5 days, but it may also take up to 14. Pick a time of day that works for you to feed it consistently, every day.
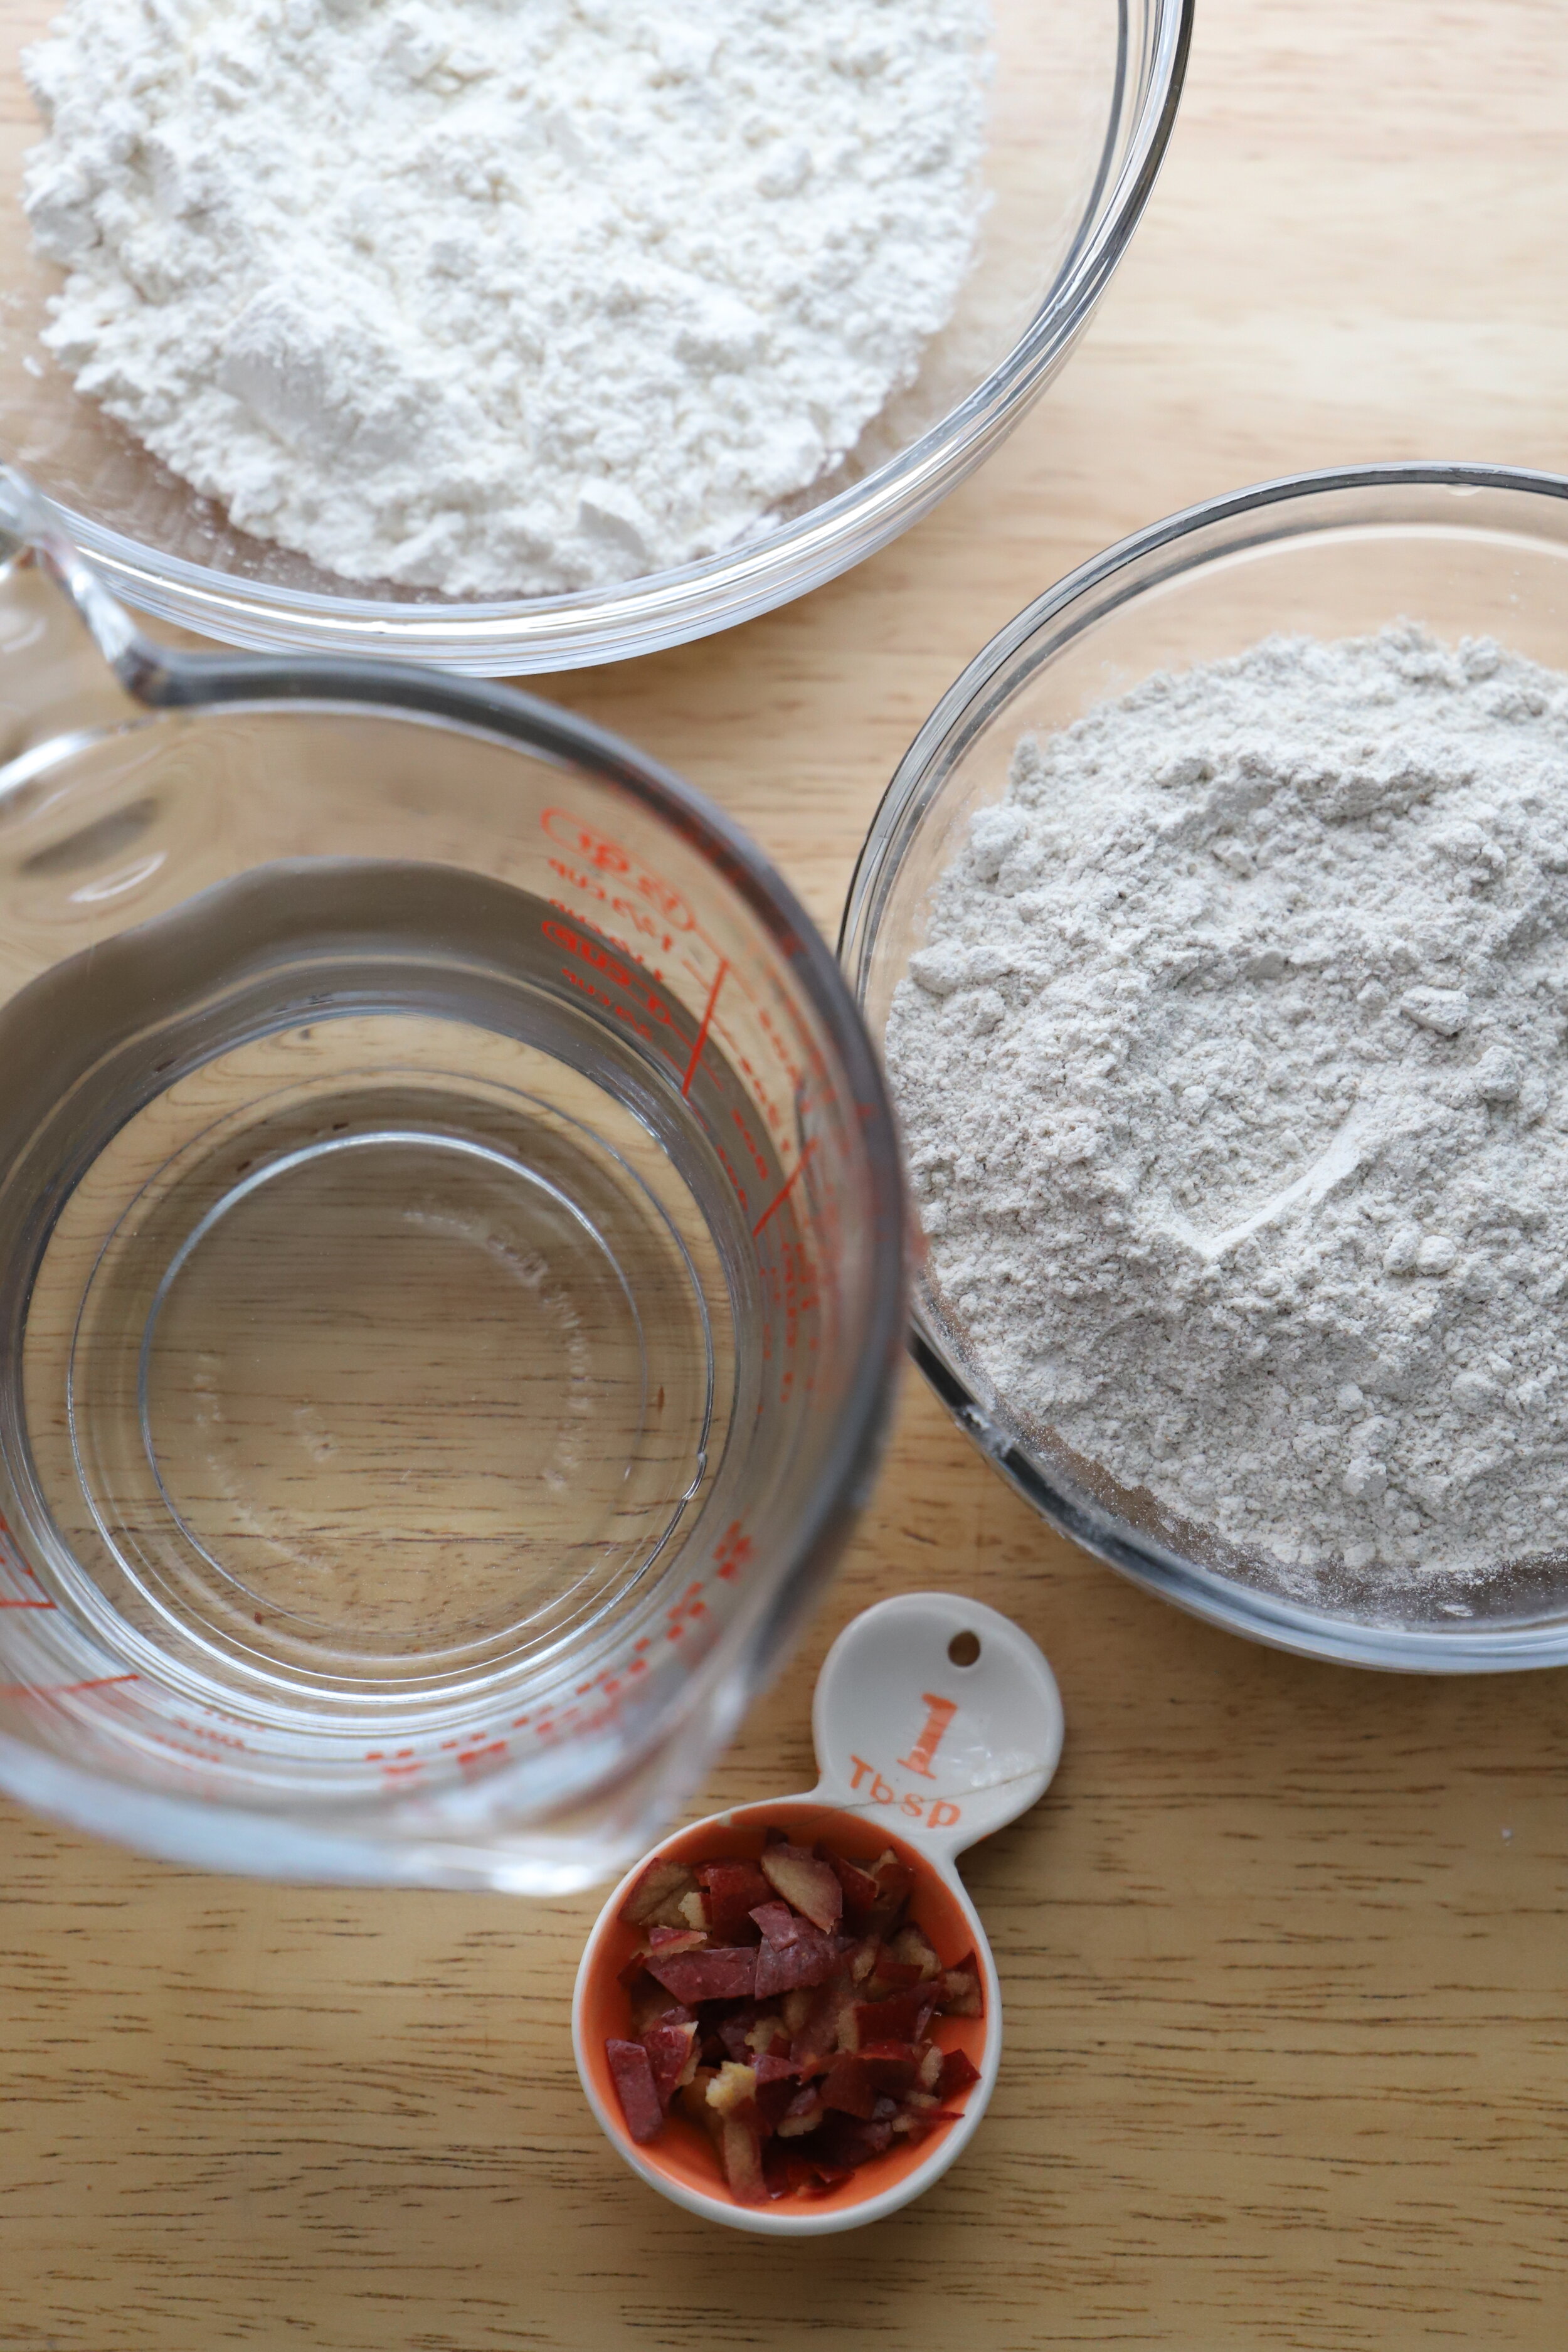
Here’s what you need to create your own starter:
Water: I used tap water to start mine, and it worked just fine. But you could also boil the water and let it cool so that you’re using extra fresh, clean water.
Flour: I recommend using a combination of all-purpose flour and medium rye flour. Those are the two flours I use in the guide below (my AP flour is from King Arthur and my rye is from Baker’s Authority).
Organic Apple Skin: This part is optional, but it’s how I made my starter below. Apple skins (ideally from an organic/no pesticide apple) contain LOTS of very wonderful natural yeasts. This can help jump start the starter.
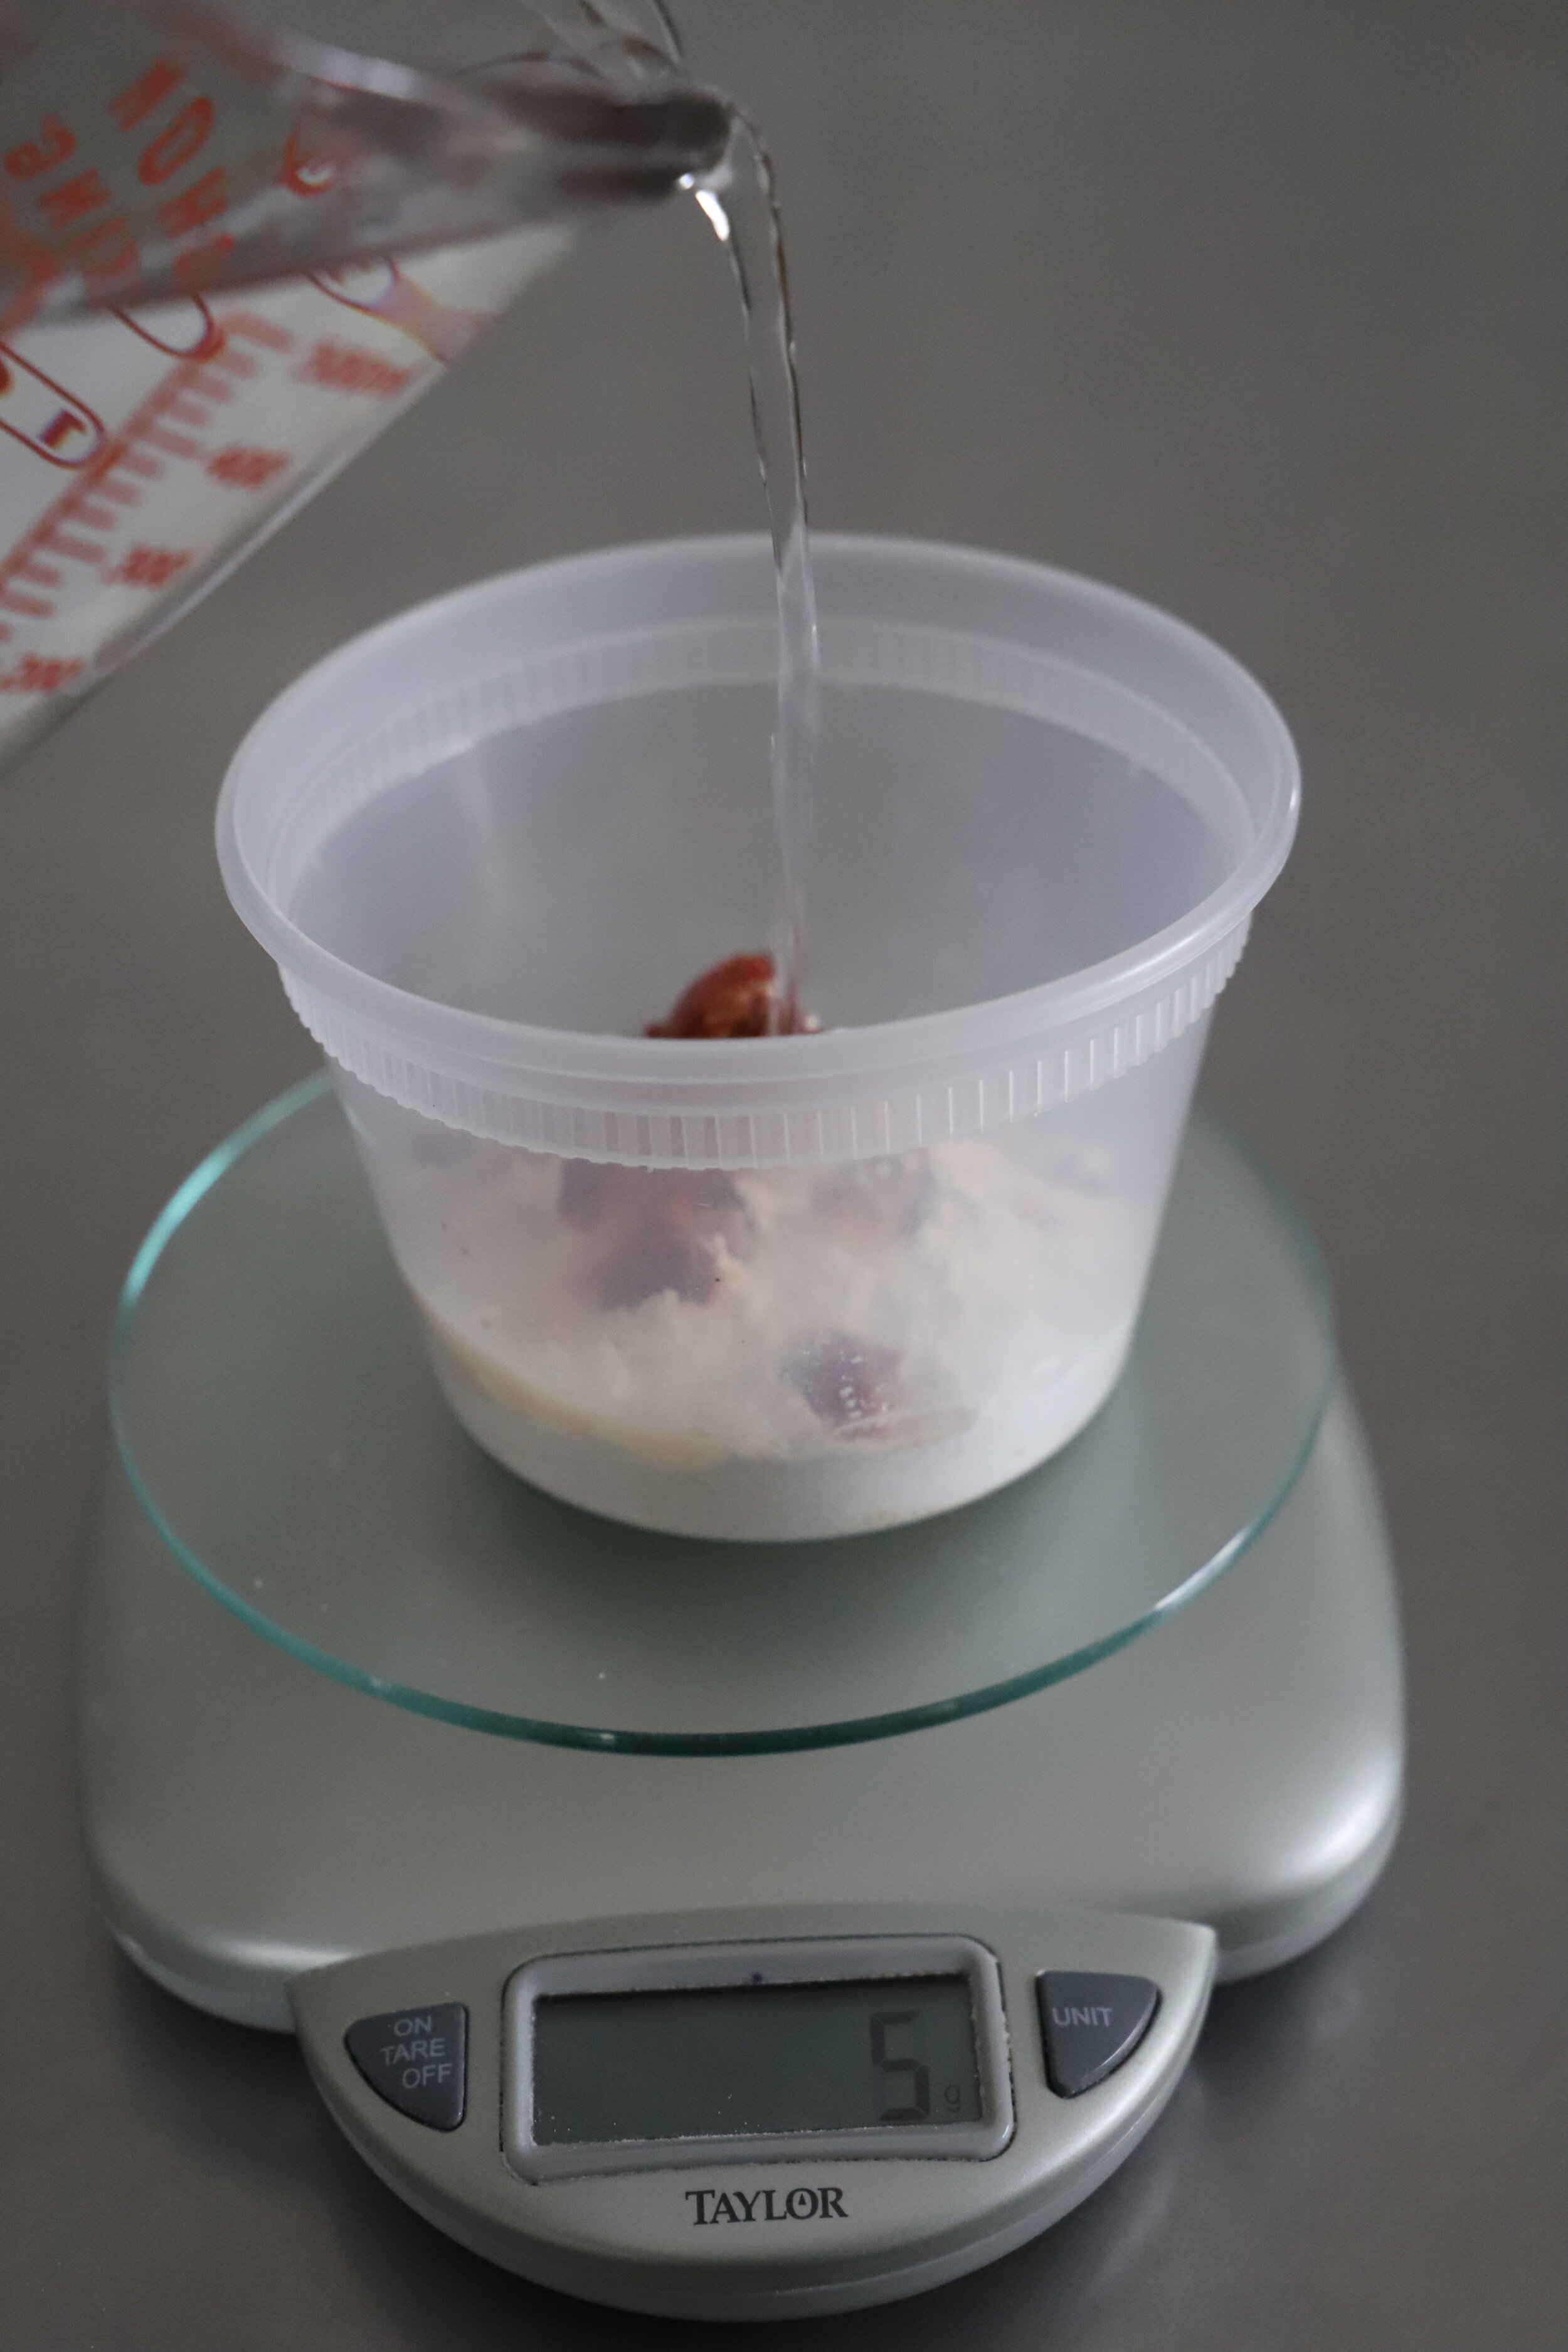
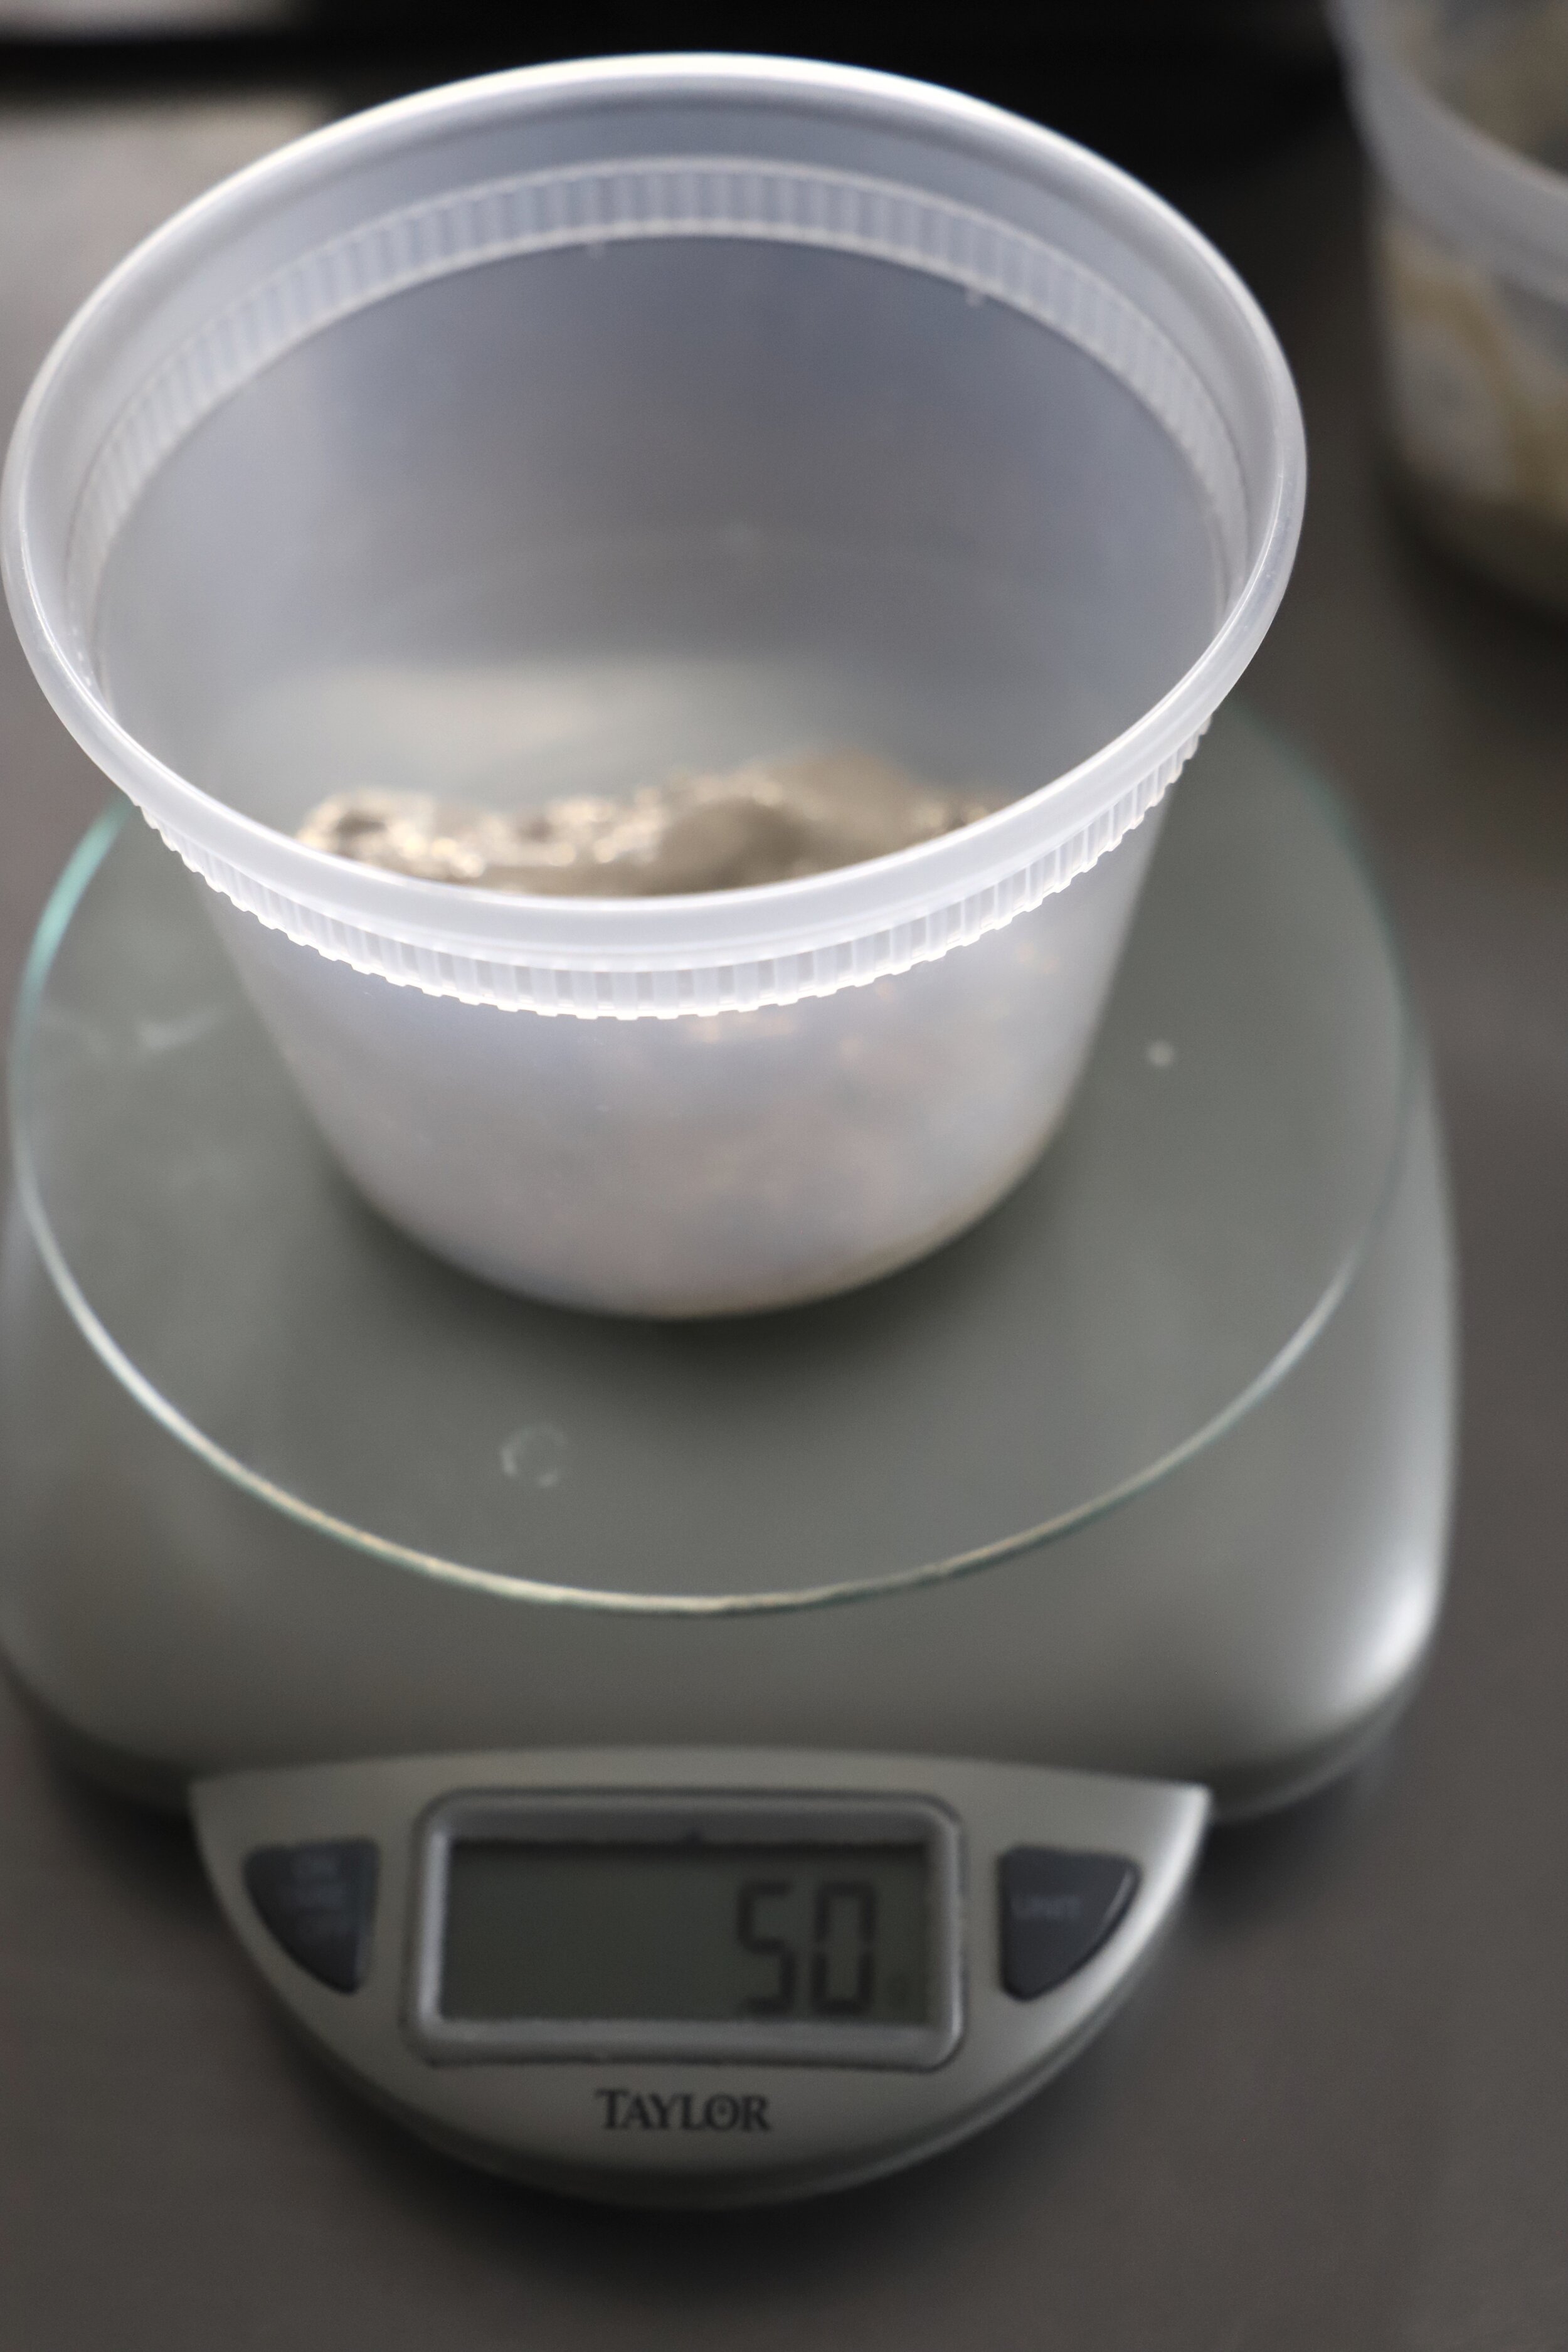
Kitchen Scale: A scale is essential. We’ll be weighing out everything in grams every day. My scale is from Taylor and you can get one for about $20 at Target in the U.S.
Containers/jars: You’ll need a set of containers of bowls (at a minimum, at least 2). I save quart and half quart containers from takeout or delis and use those, but you can really use any container or jar. Old peanut butter jars with wide mouths work well (just take the labels off). You can even use bowls, but try to have one with clear sides so you can monitor what’s happening inside.
Let’s begin!

On the left, all-purpose flour. On the right, medium rye. I recommend a combination of these two because rye tends to be higher in nutrients. All-purpose flours have been stripped of most parts of the wheat berry, leaving only one single part. Medium rye will contain more complex components to help your starter thrive. Note - it is entirely possible to only use all-purpose or bread flour.
Day 1:
On the first day, I recommend mixing a big batch of the flours so you have it easily on hand for “feedings” every day. In this case, I mixed 150g all-purpose with 150g rye flour in a container and mixed it up very well.
Ingredients:
Clean, clear sided vessel with a lid
50g of the flour mix (or 25g AP and 25g rye)
50g water
1 tbsp chopped organic apple skins
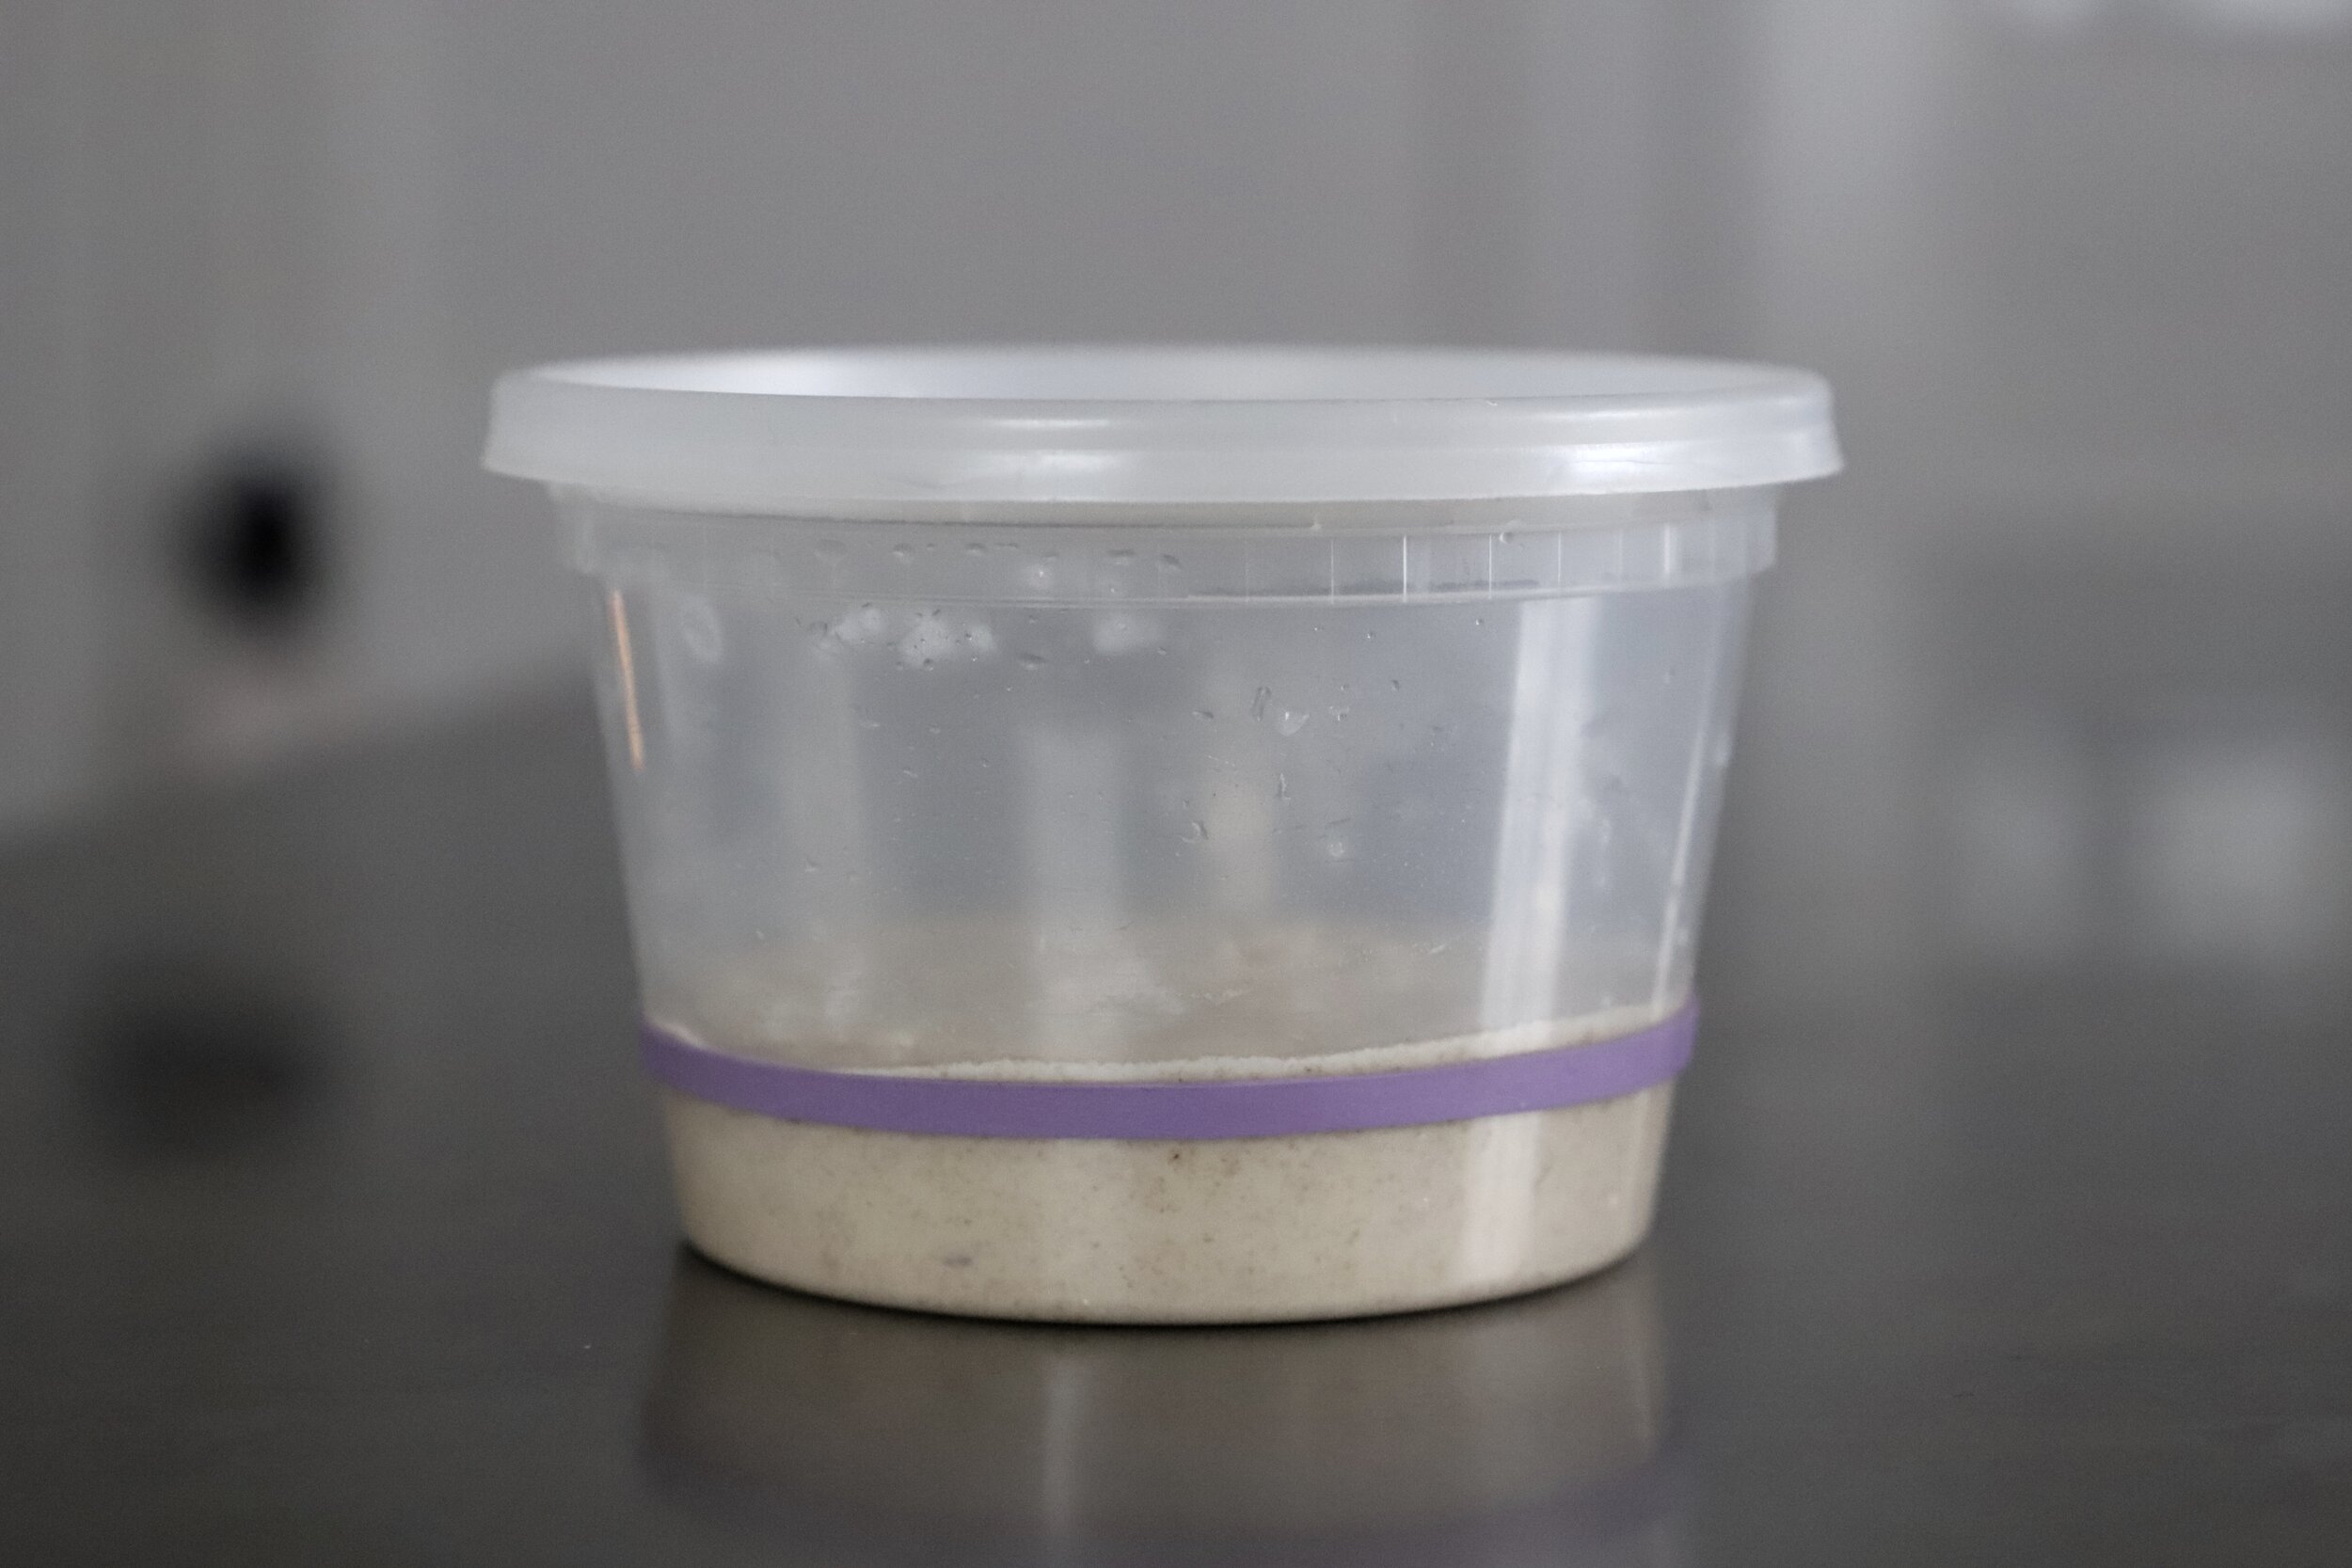
Process: In the clear vessel, add 50g of water, 50g of the flour mix and the apple skins. Mix to combine very well, and then cover the container. Don’t fully seal to cover - it’s good for just a bit of air to be able to get in. The only time to fully seal it is if the cover you’re using has a small hole poked into the top, as some of mine do. Place it in the warmest spot of your kitchen that you can find and leave it for 24 hours.
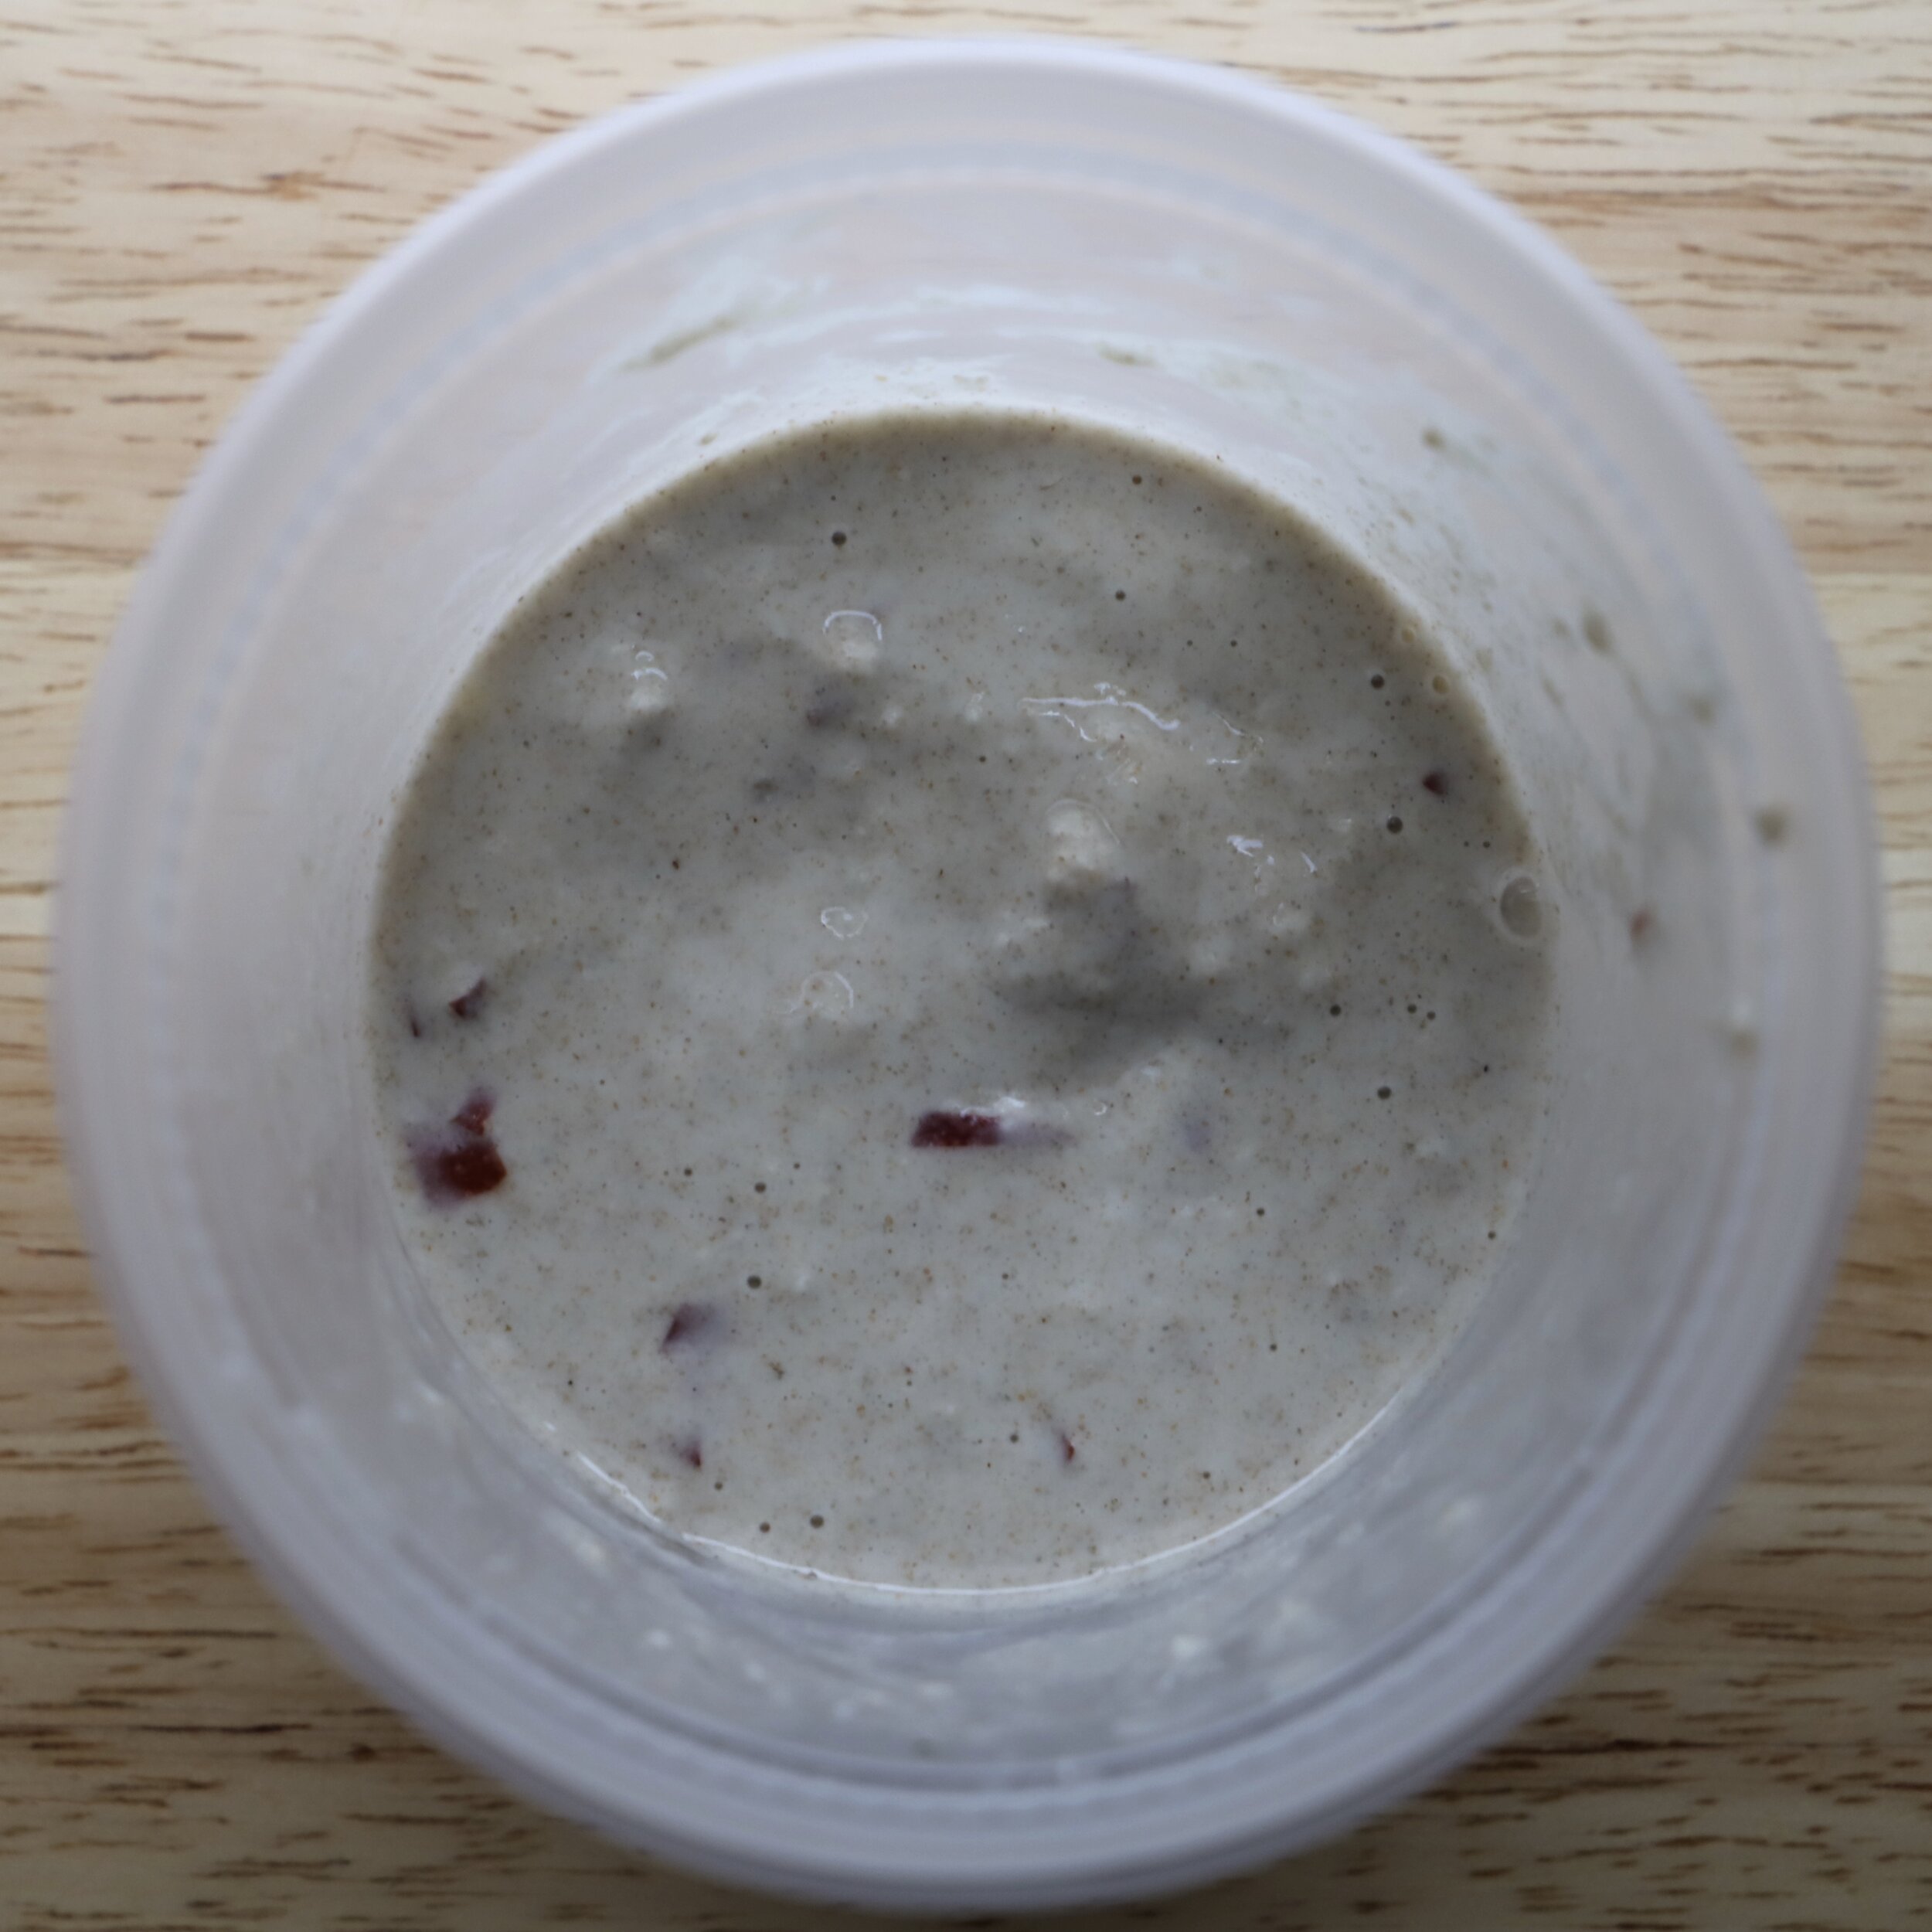
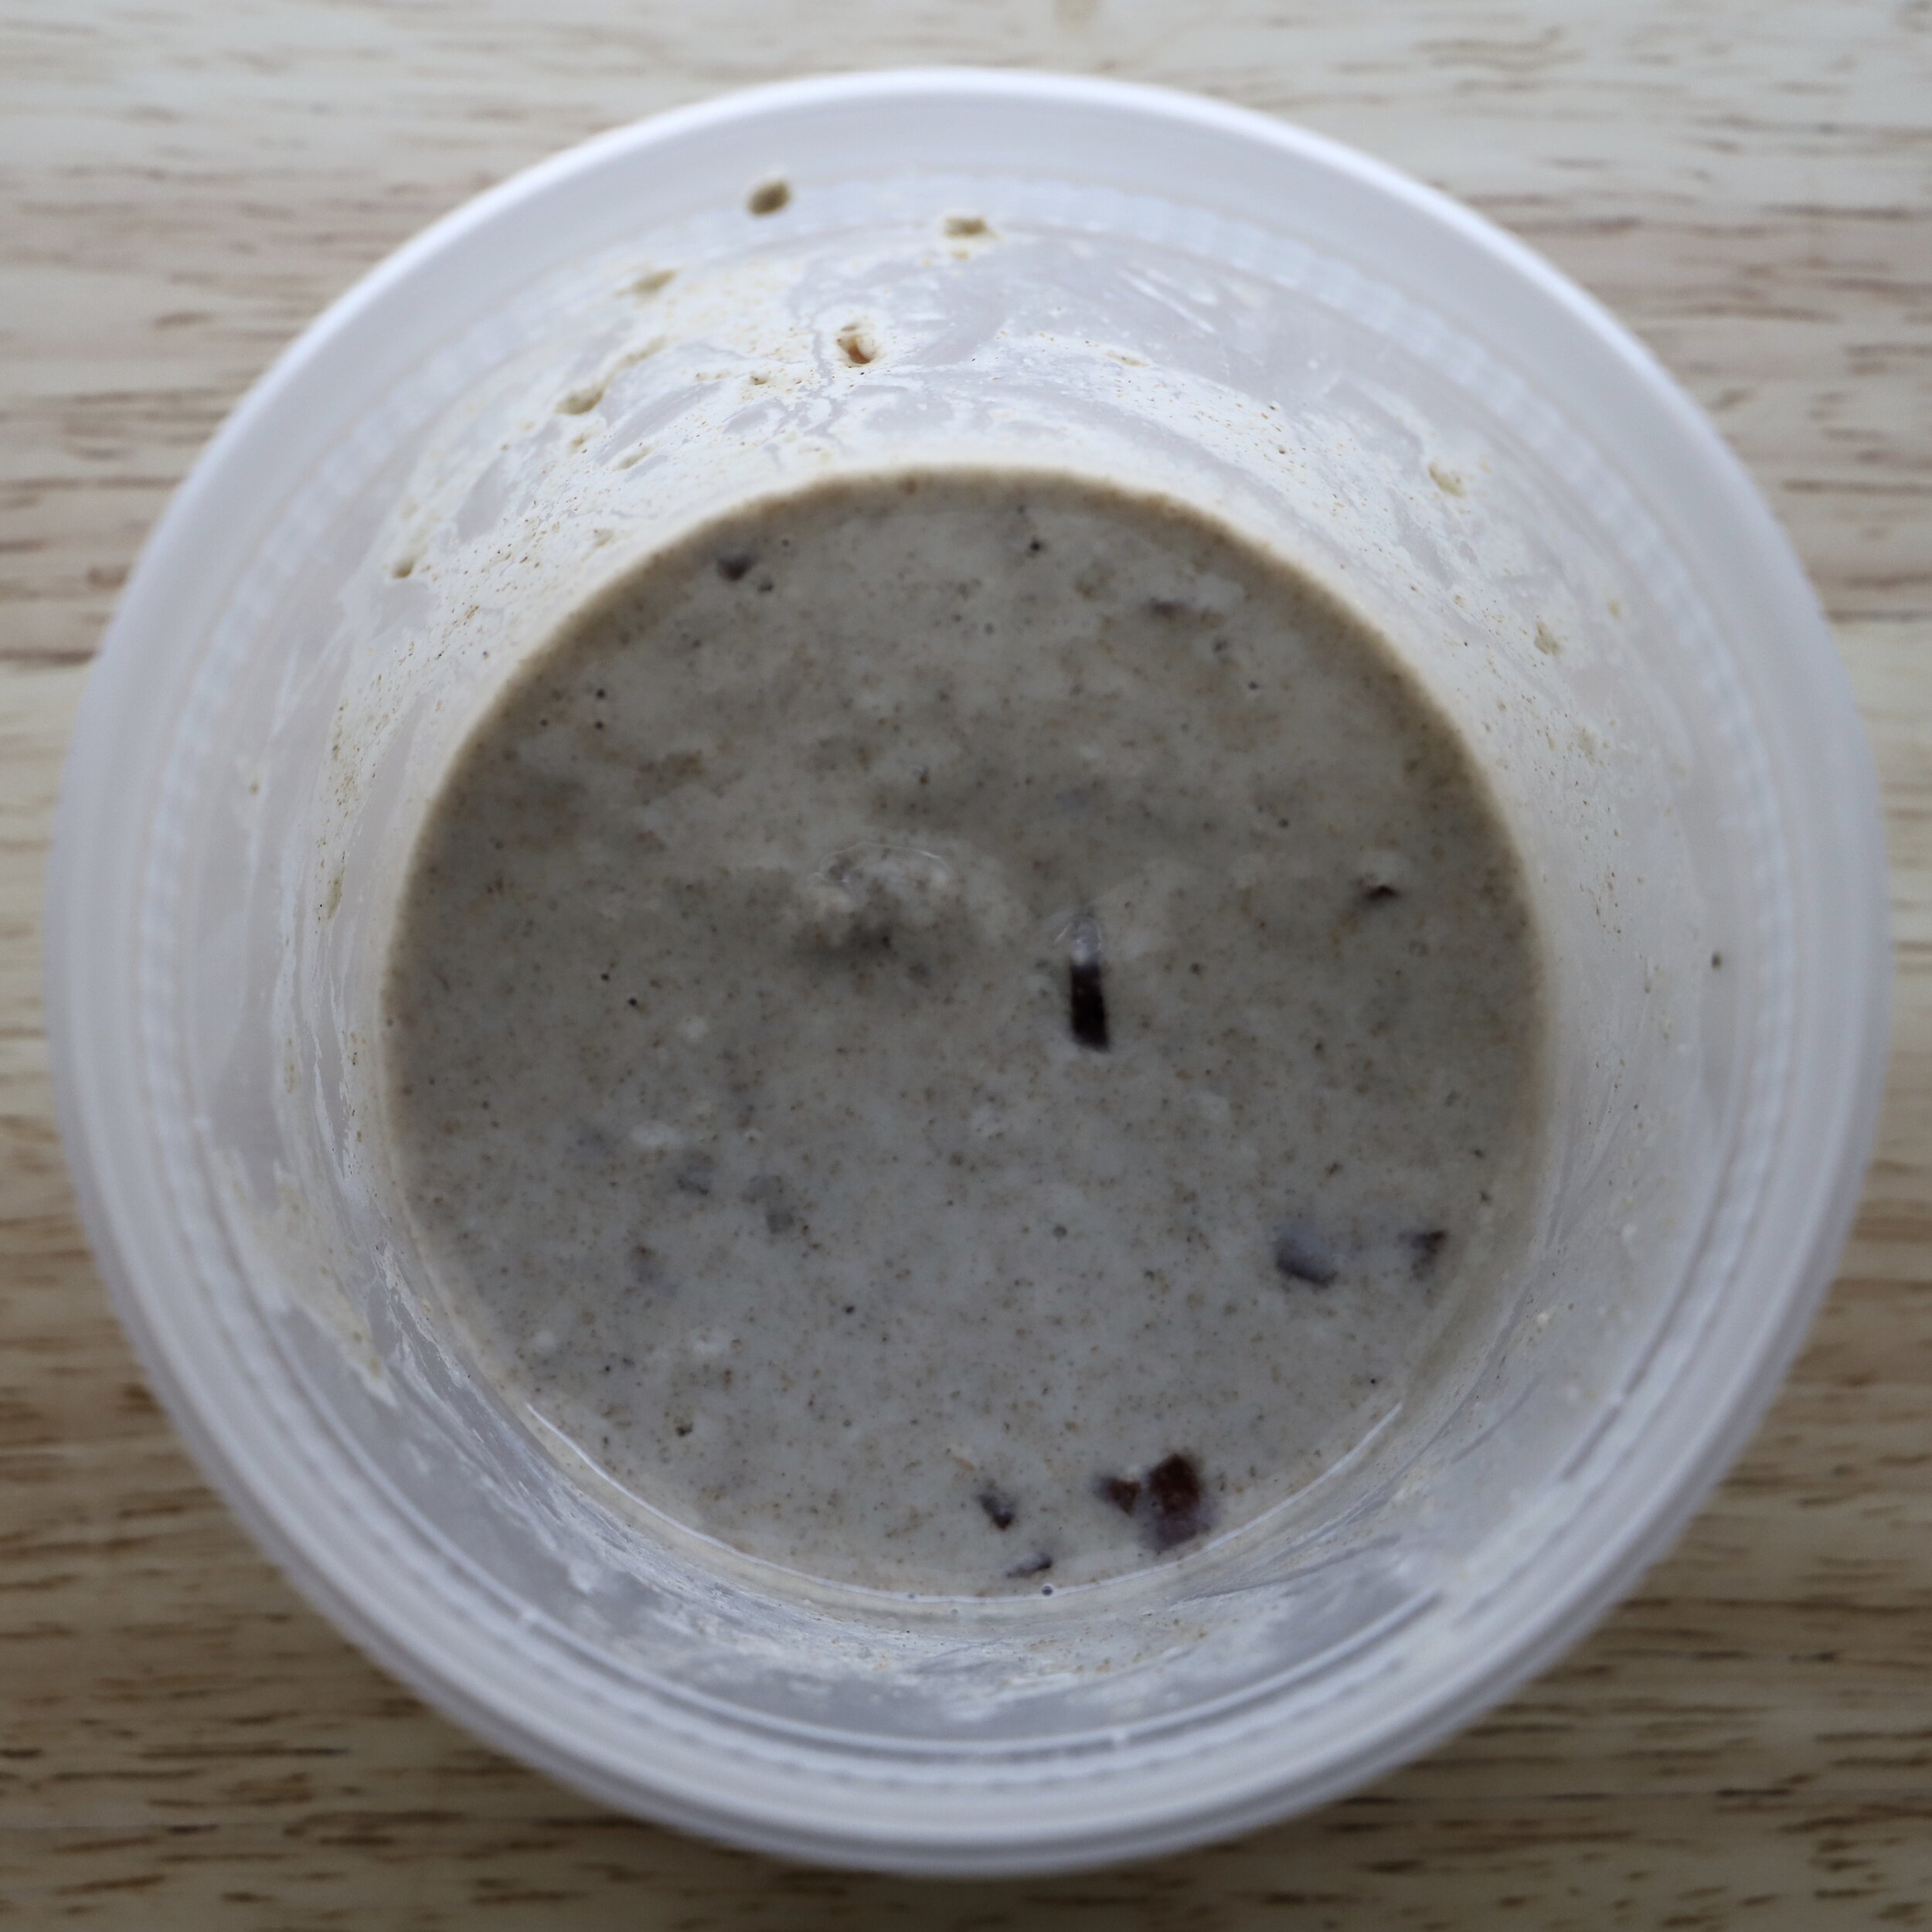
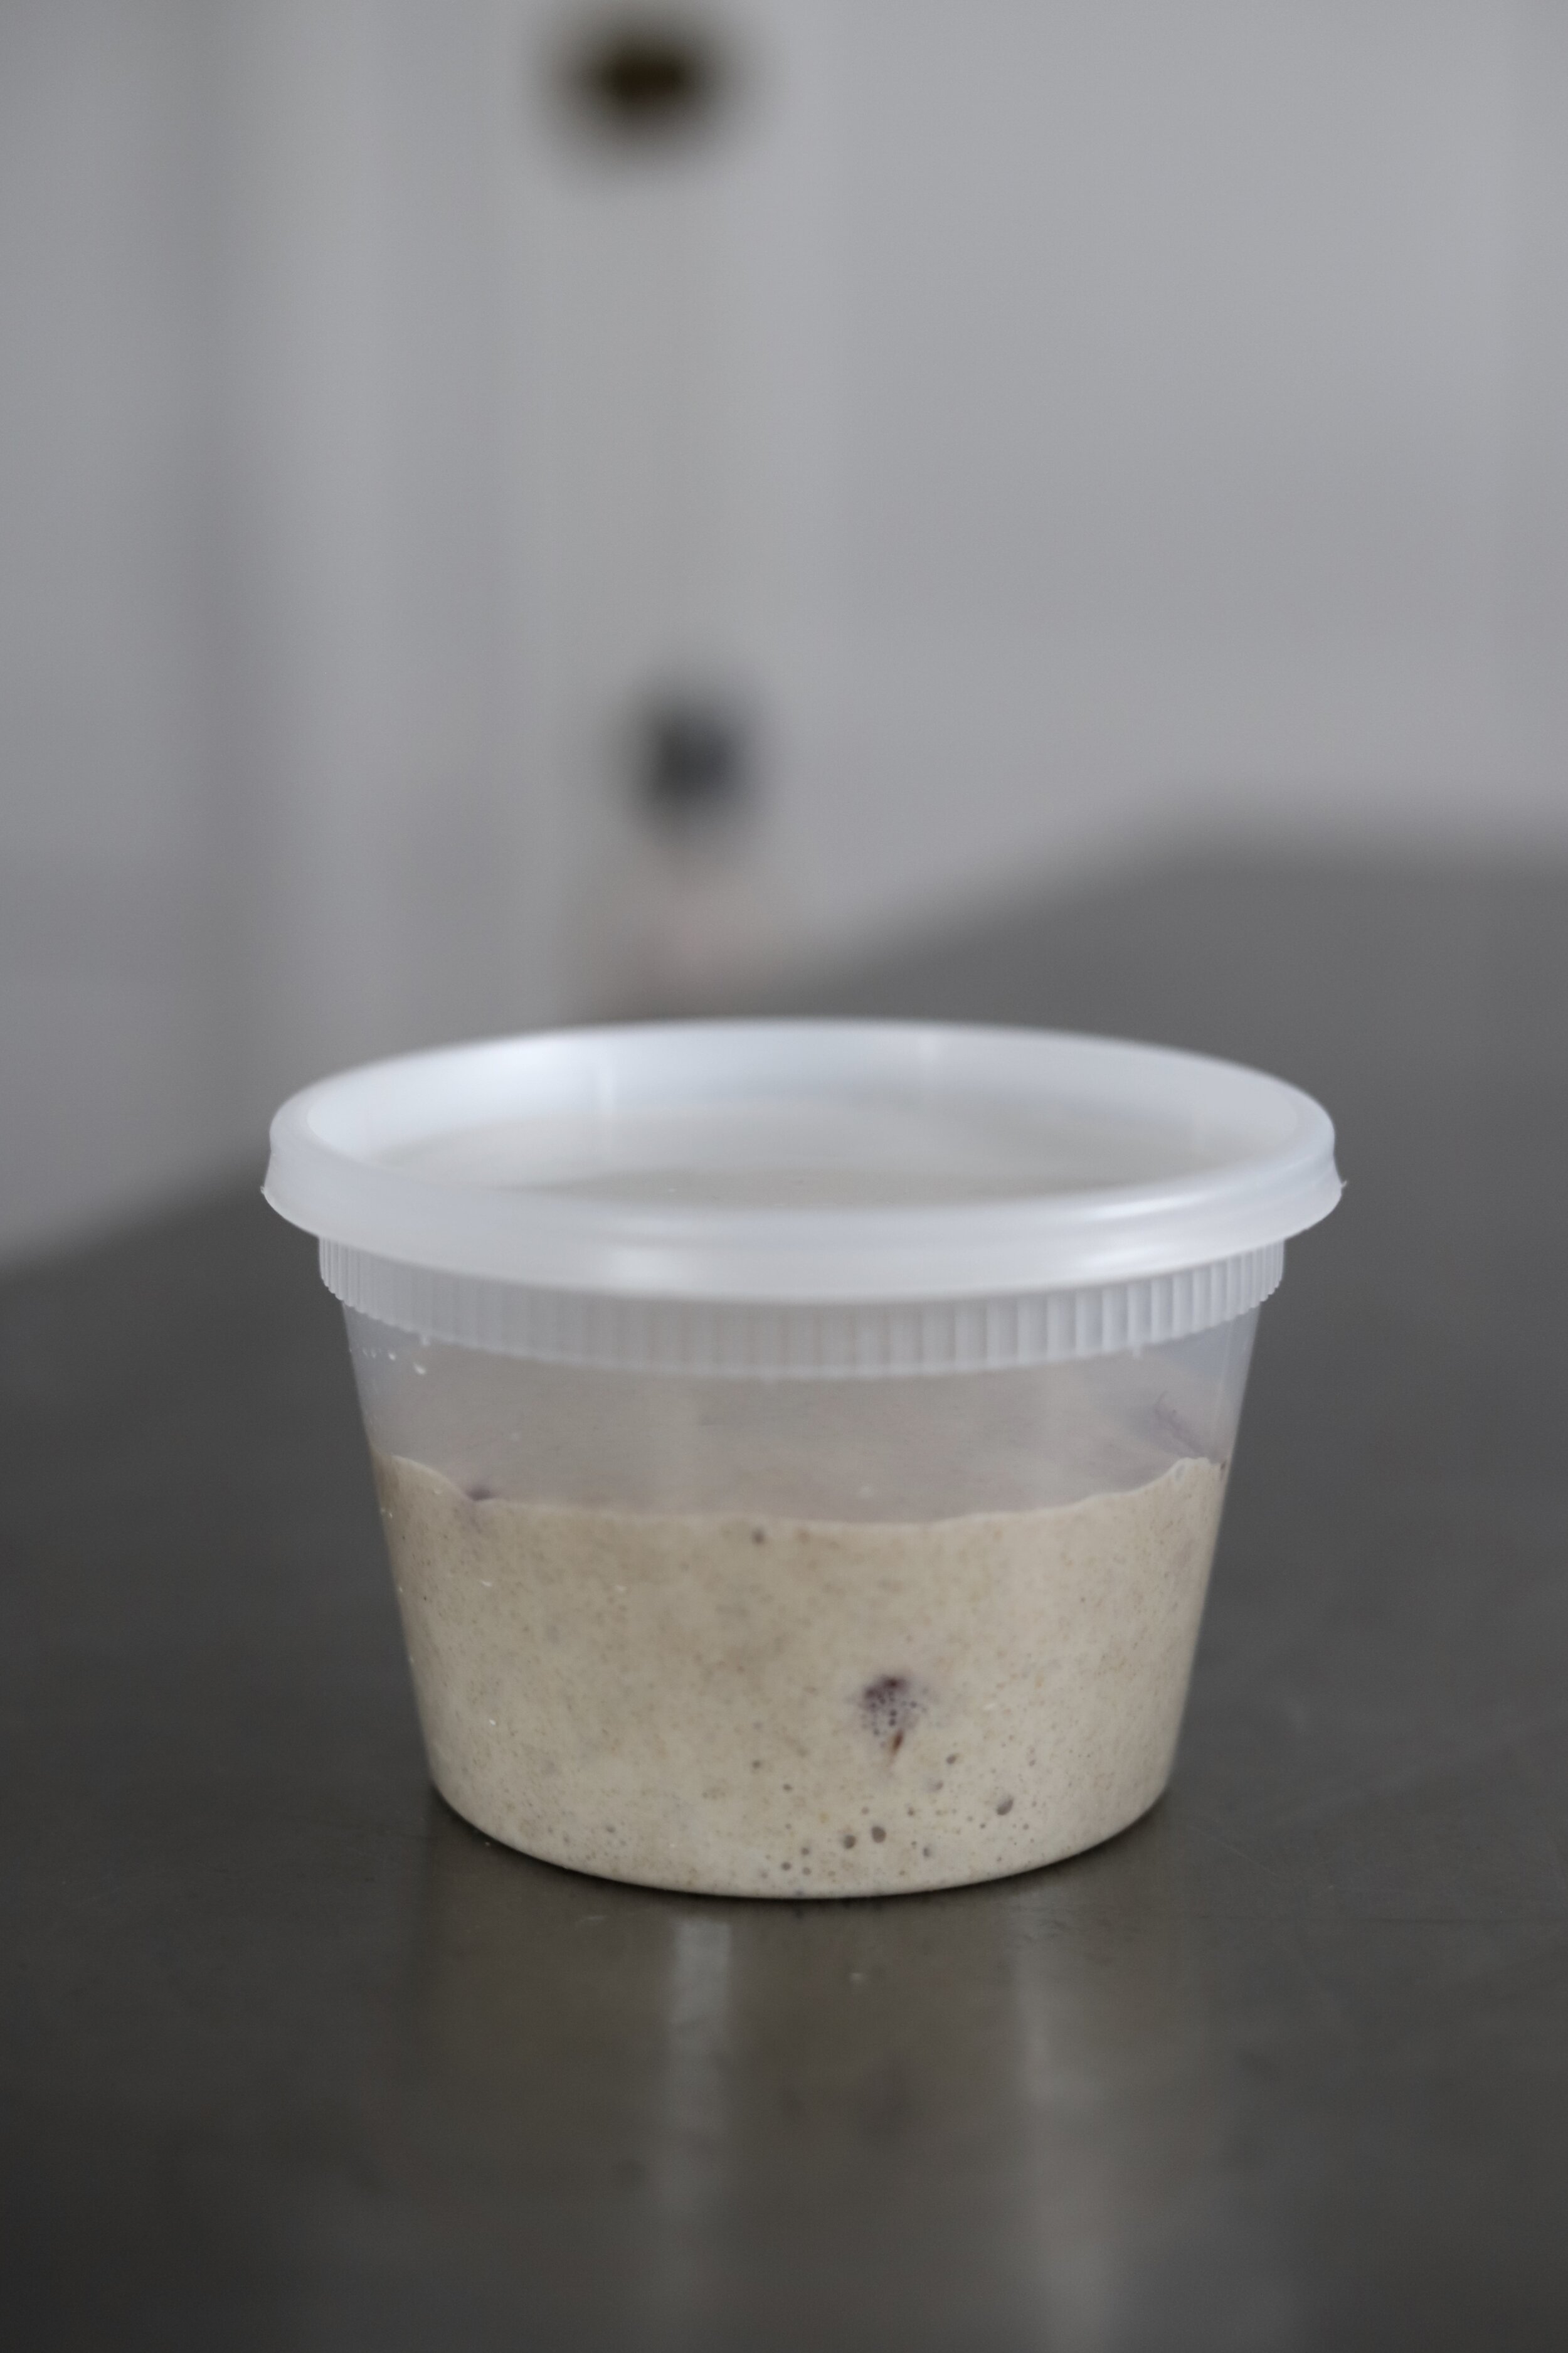
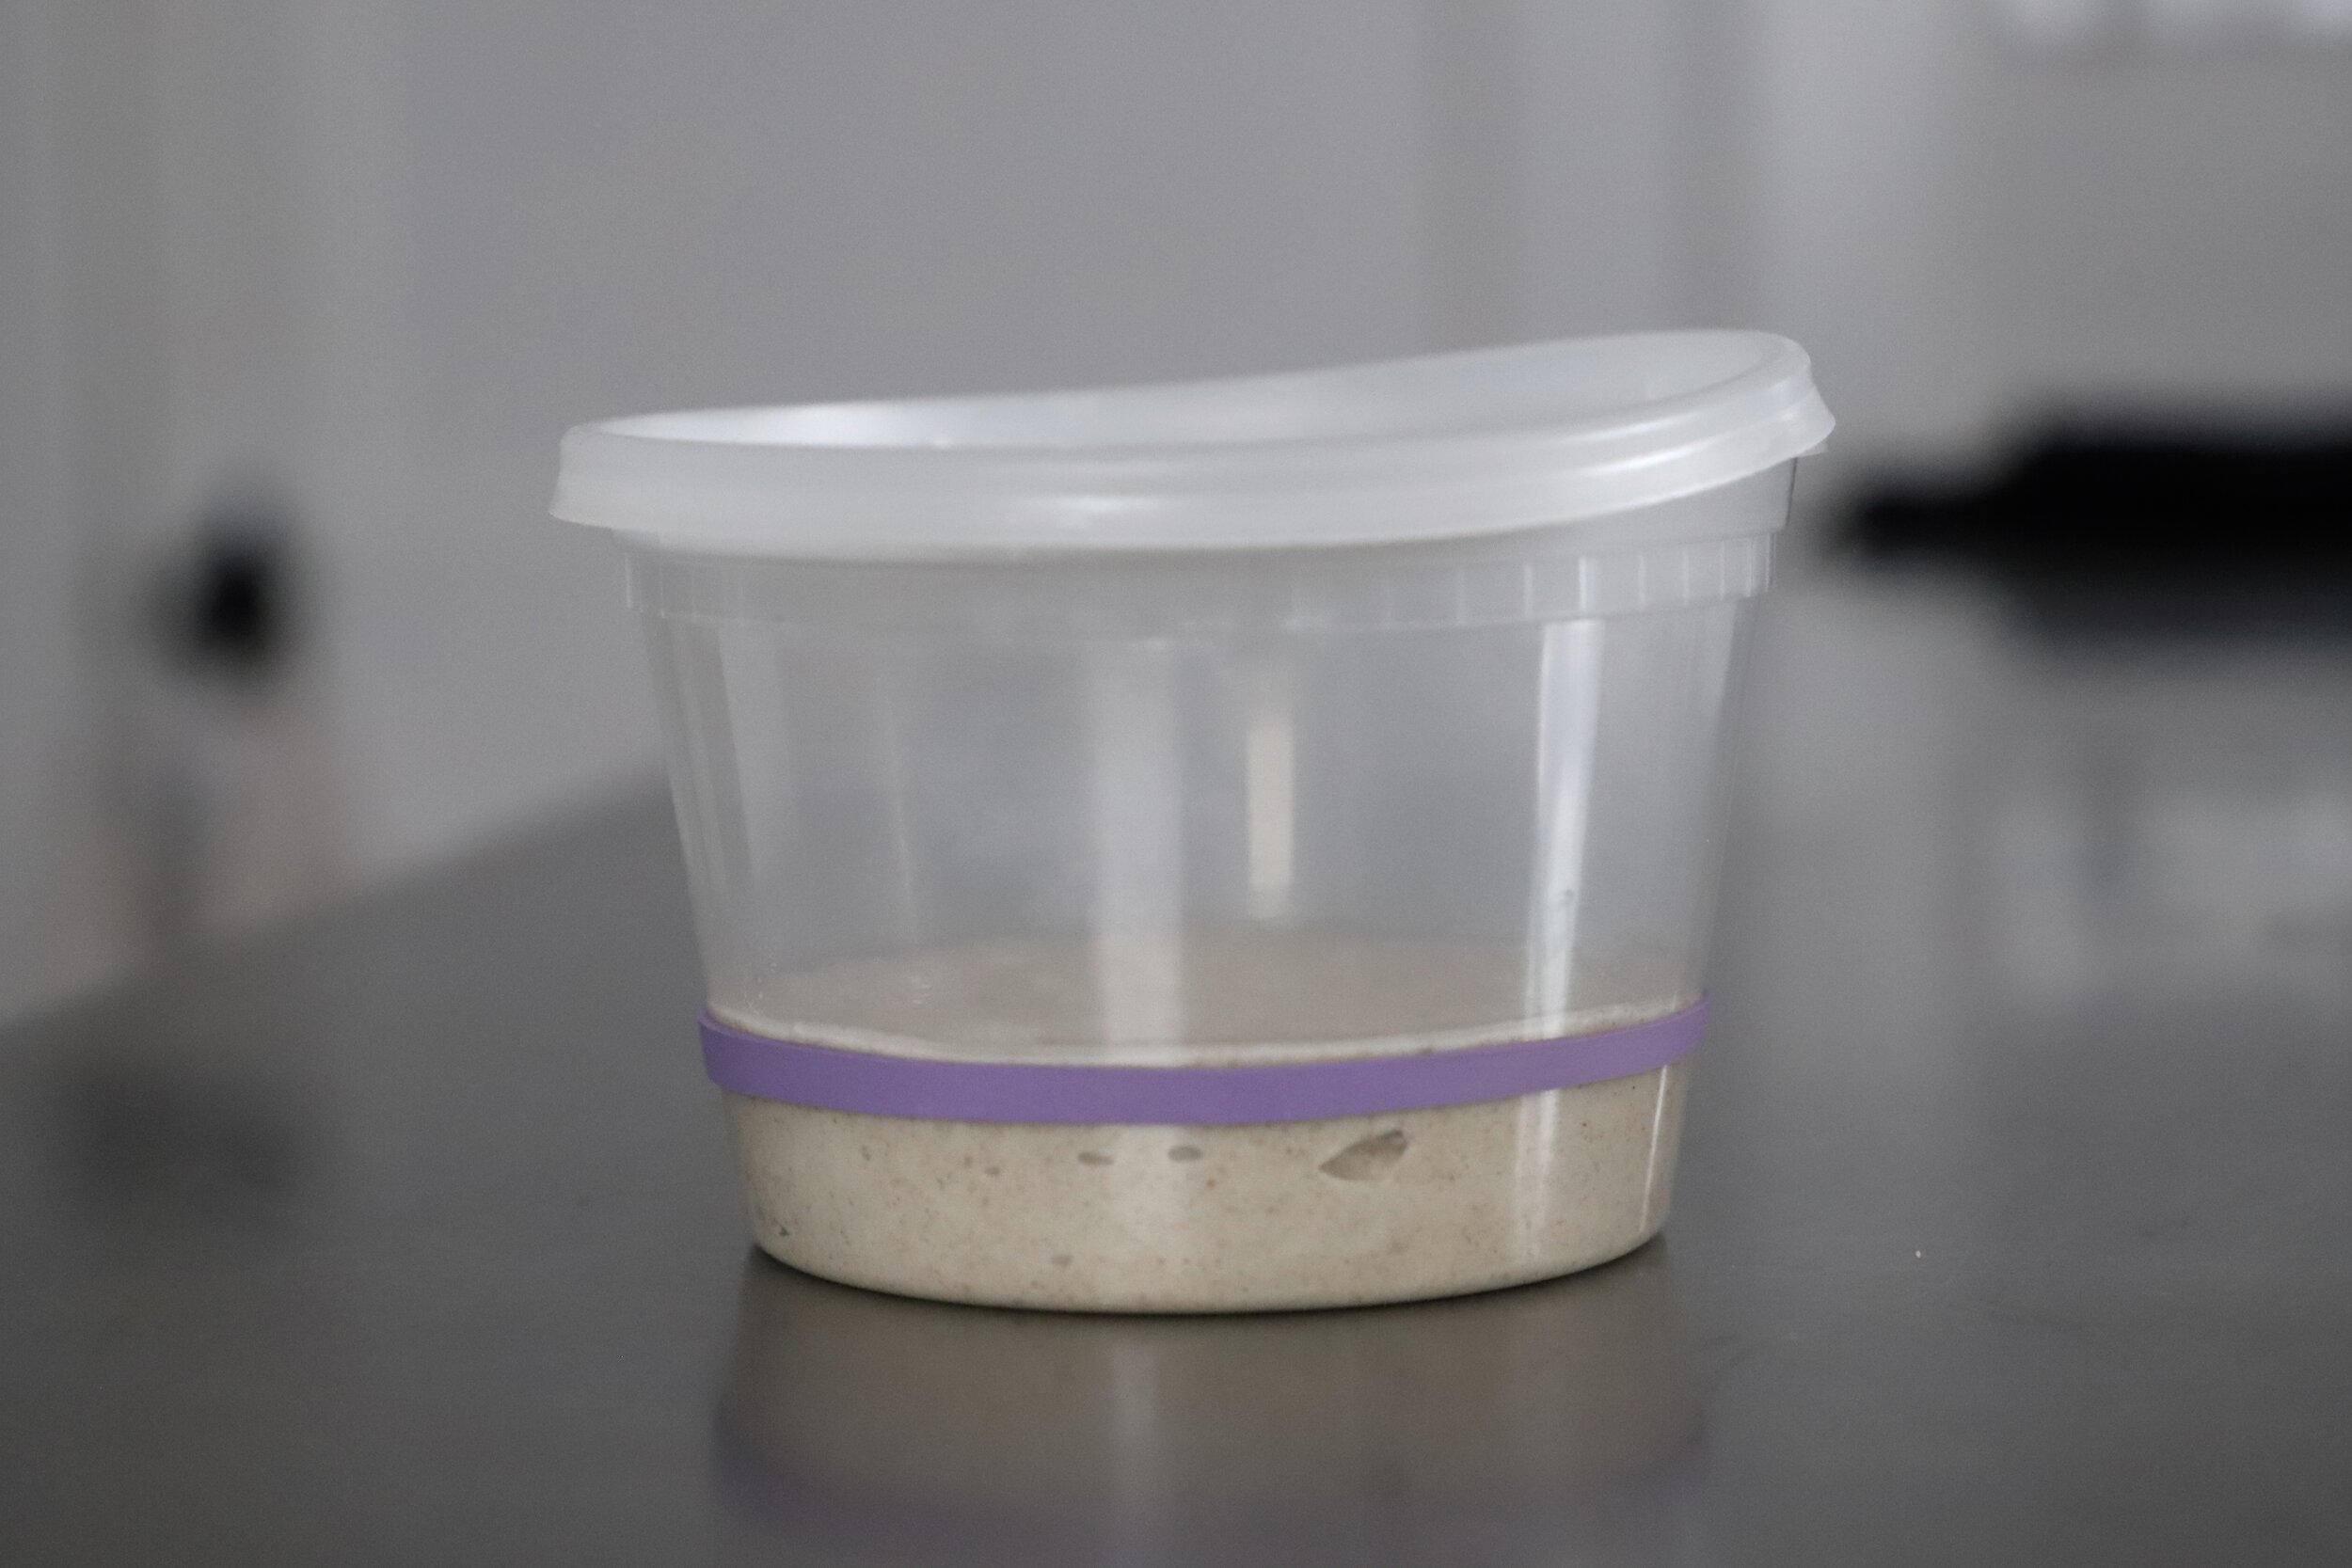
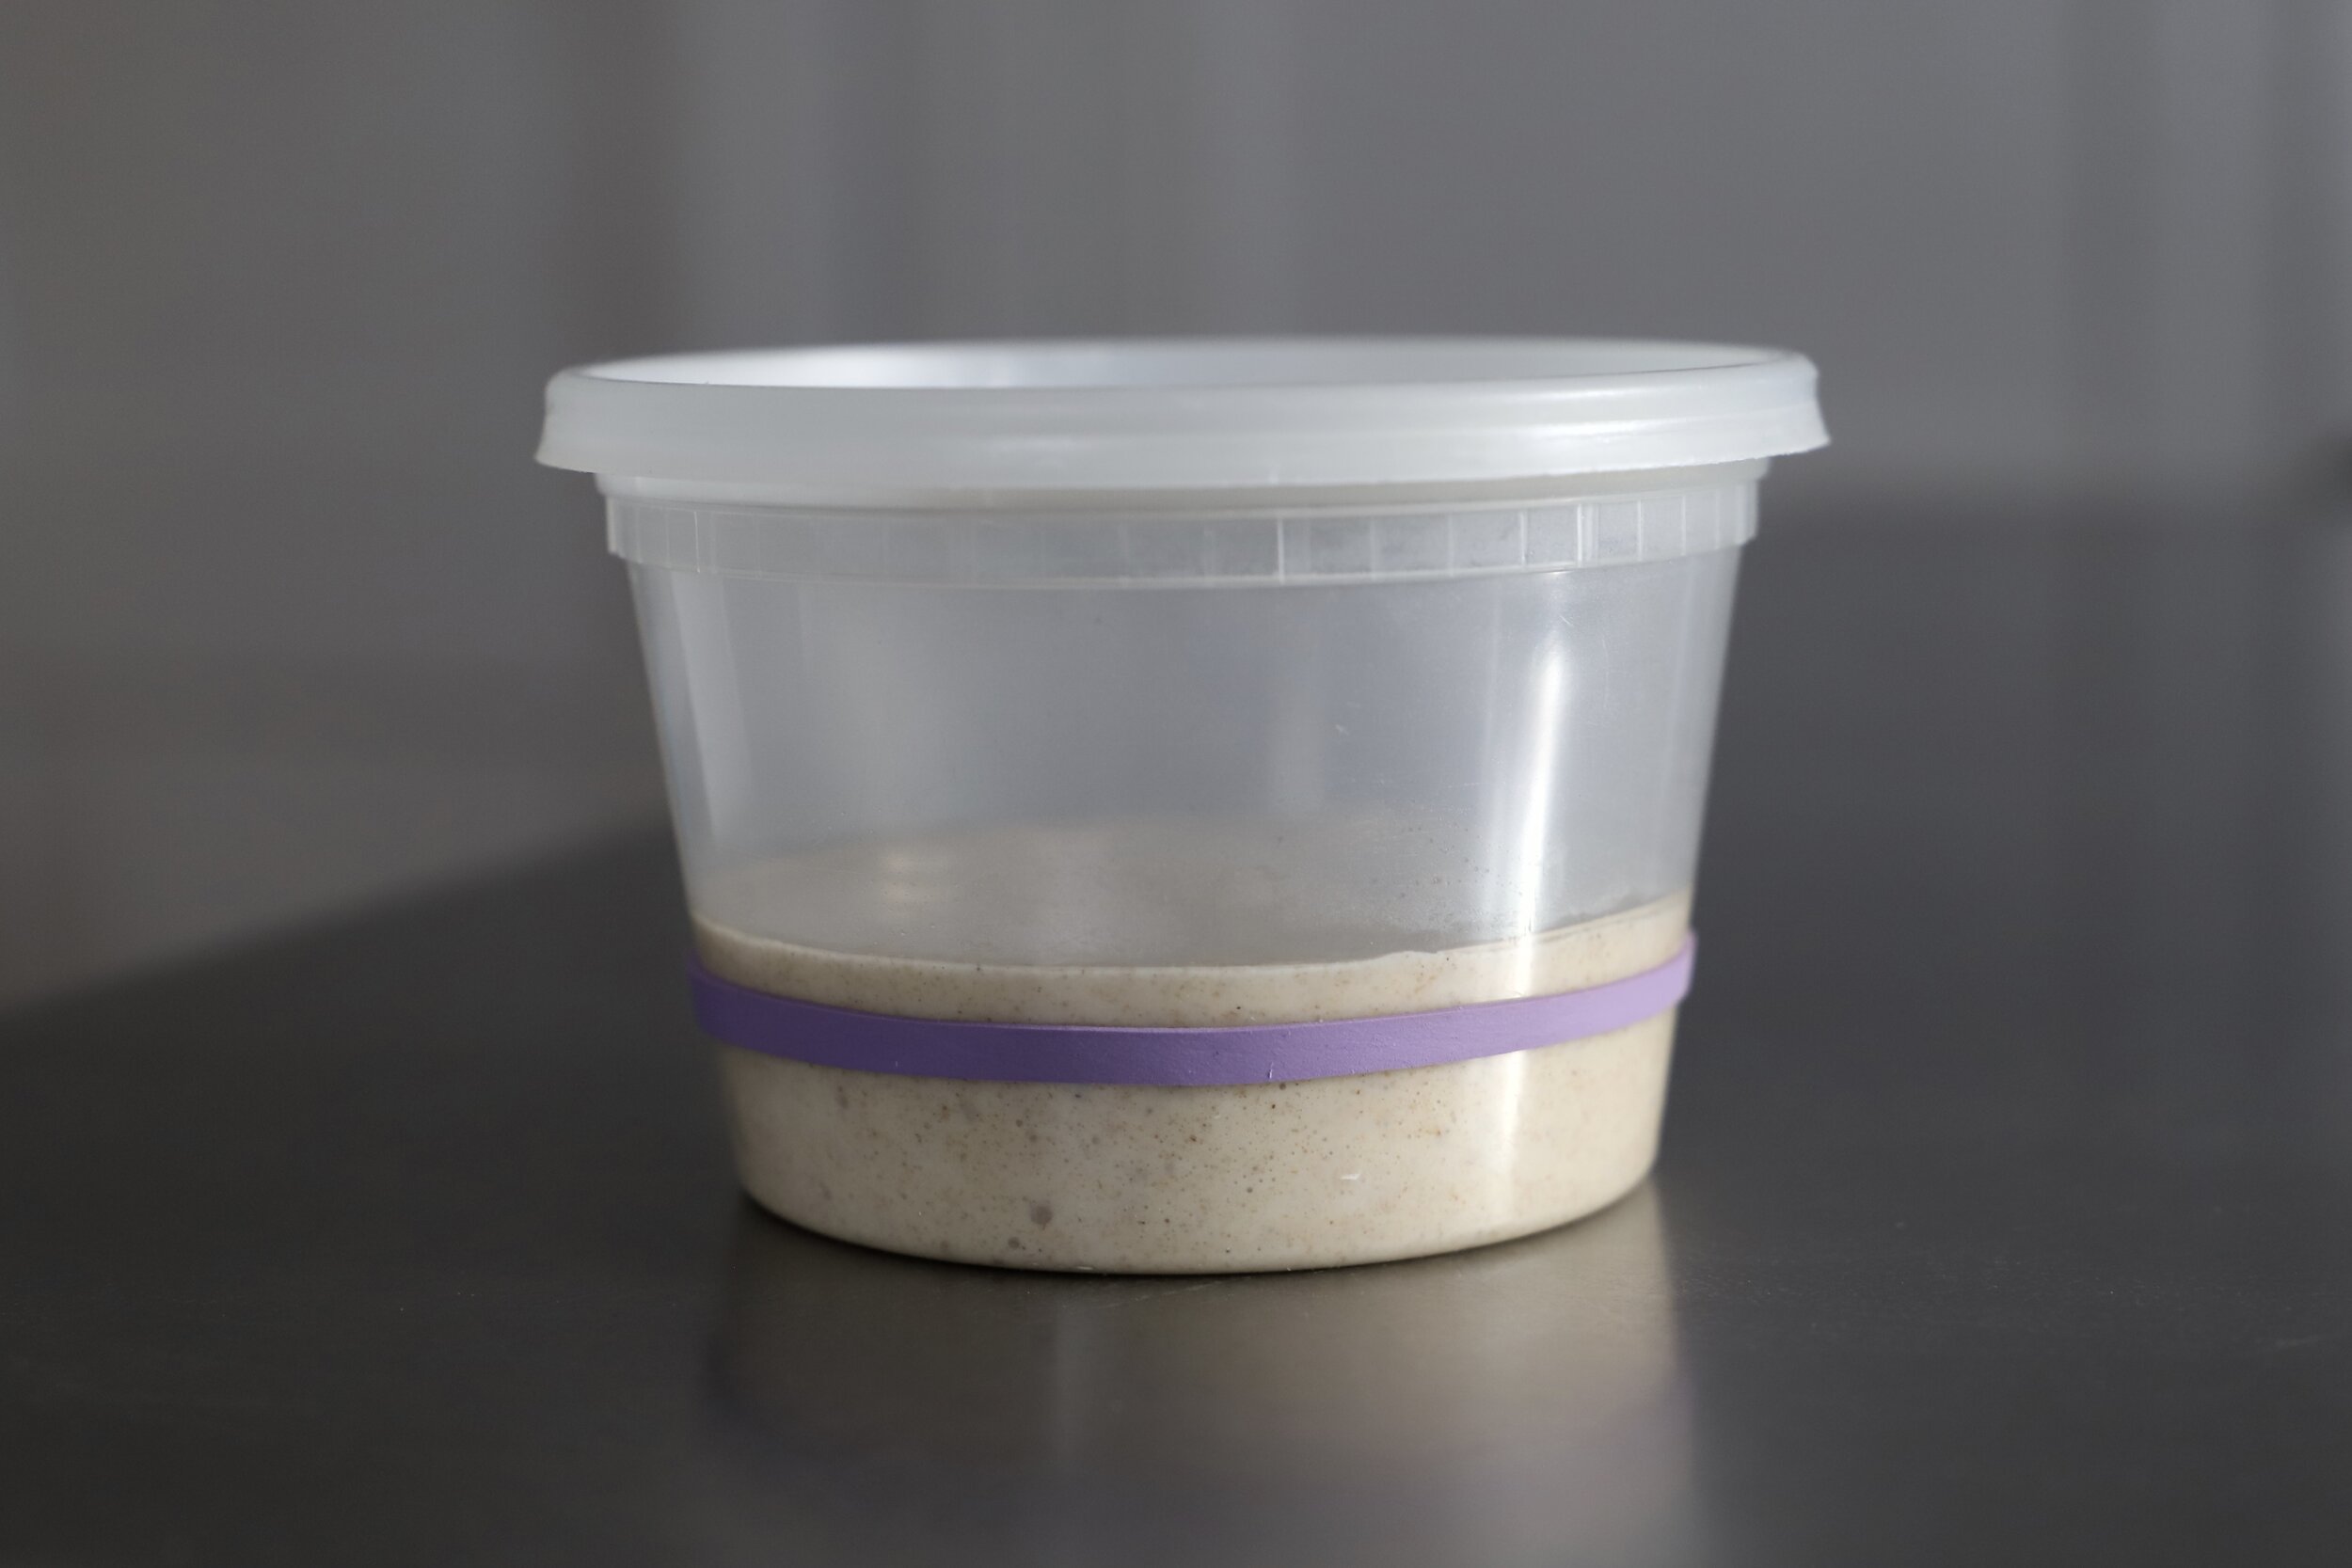
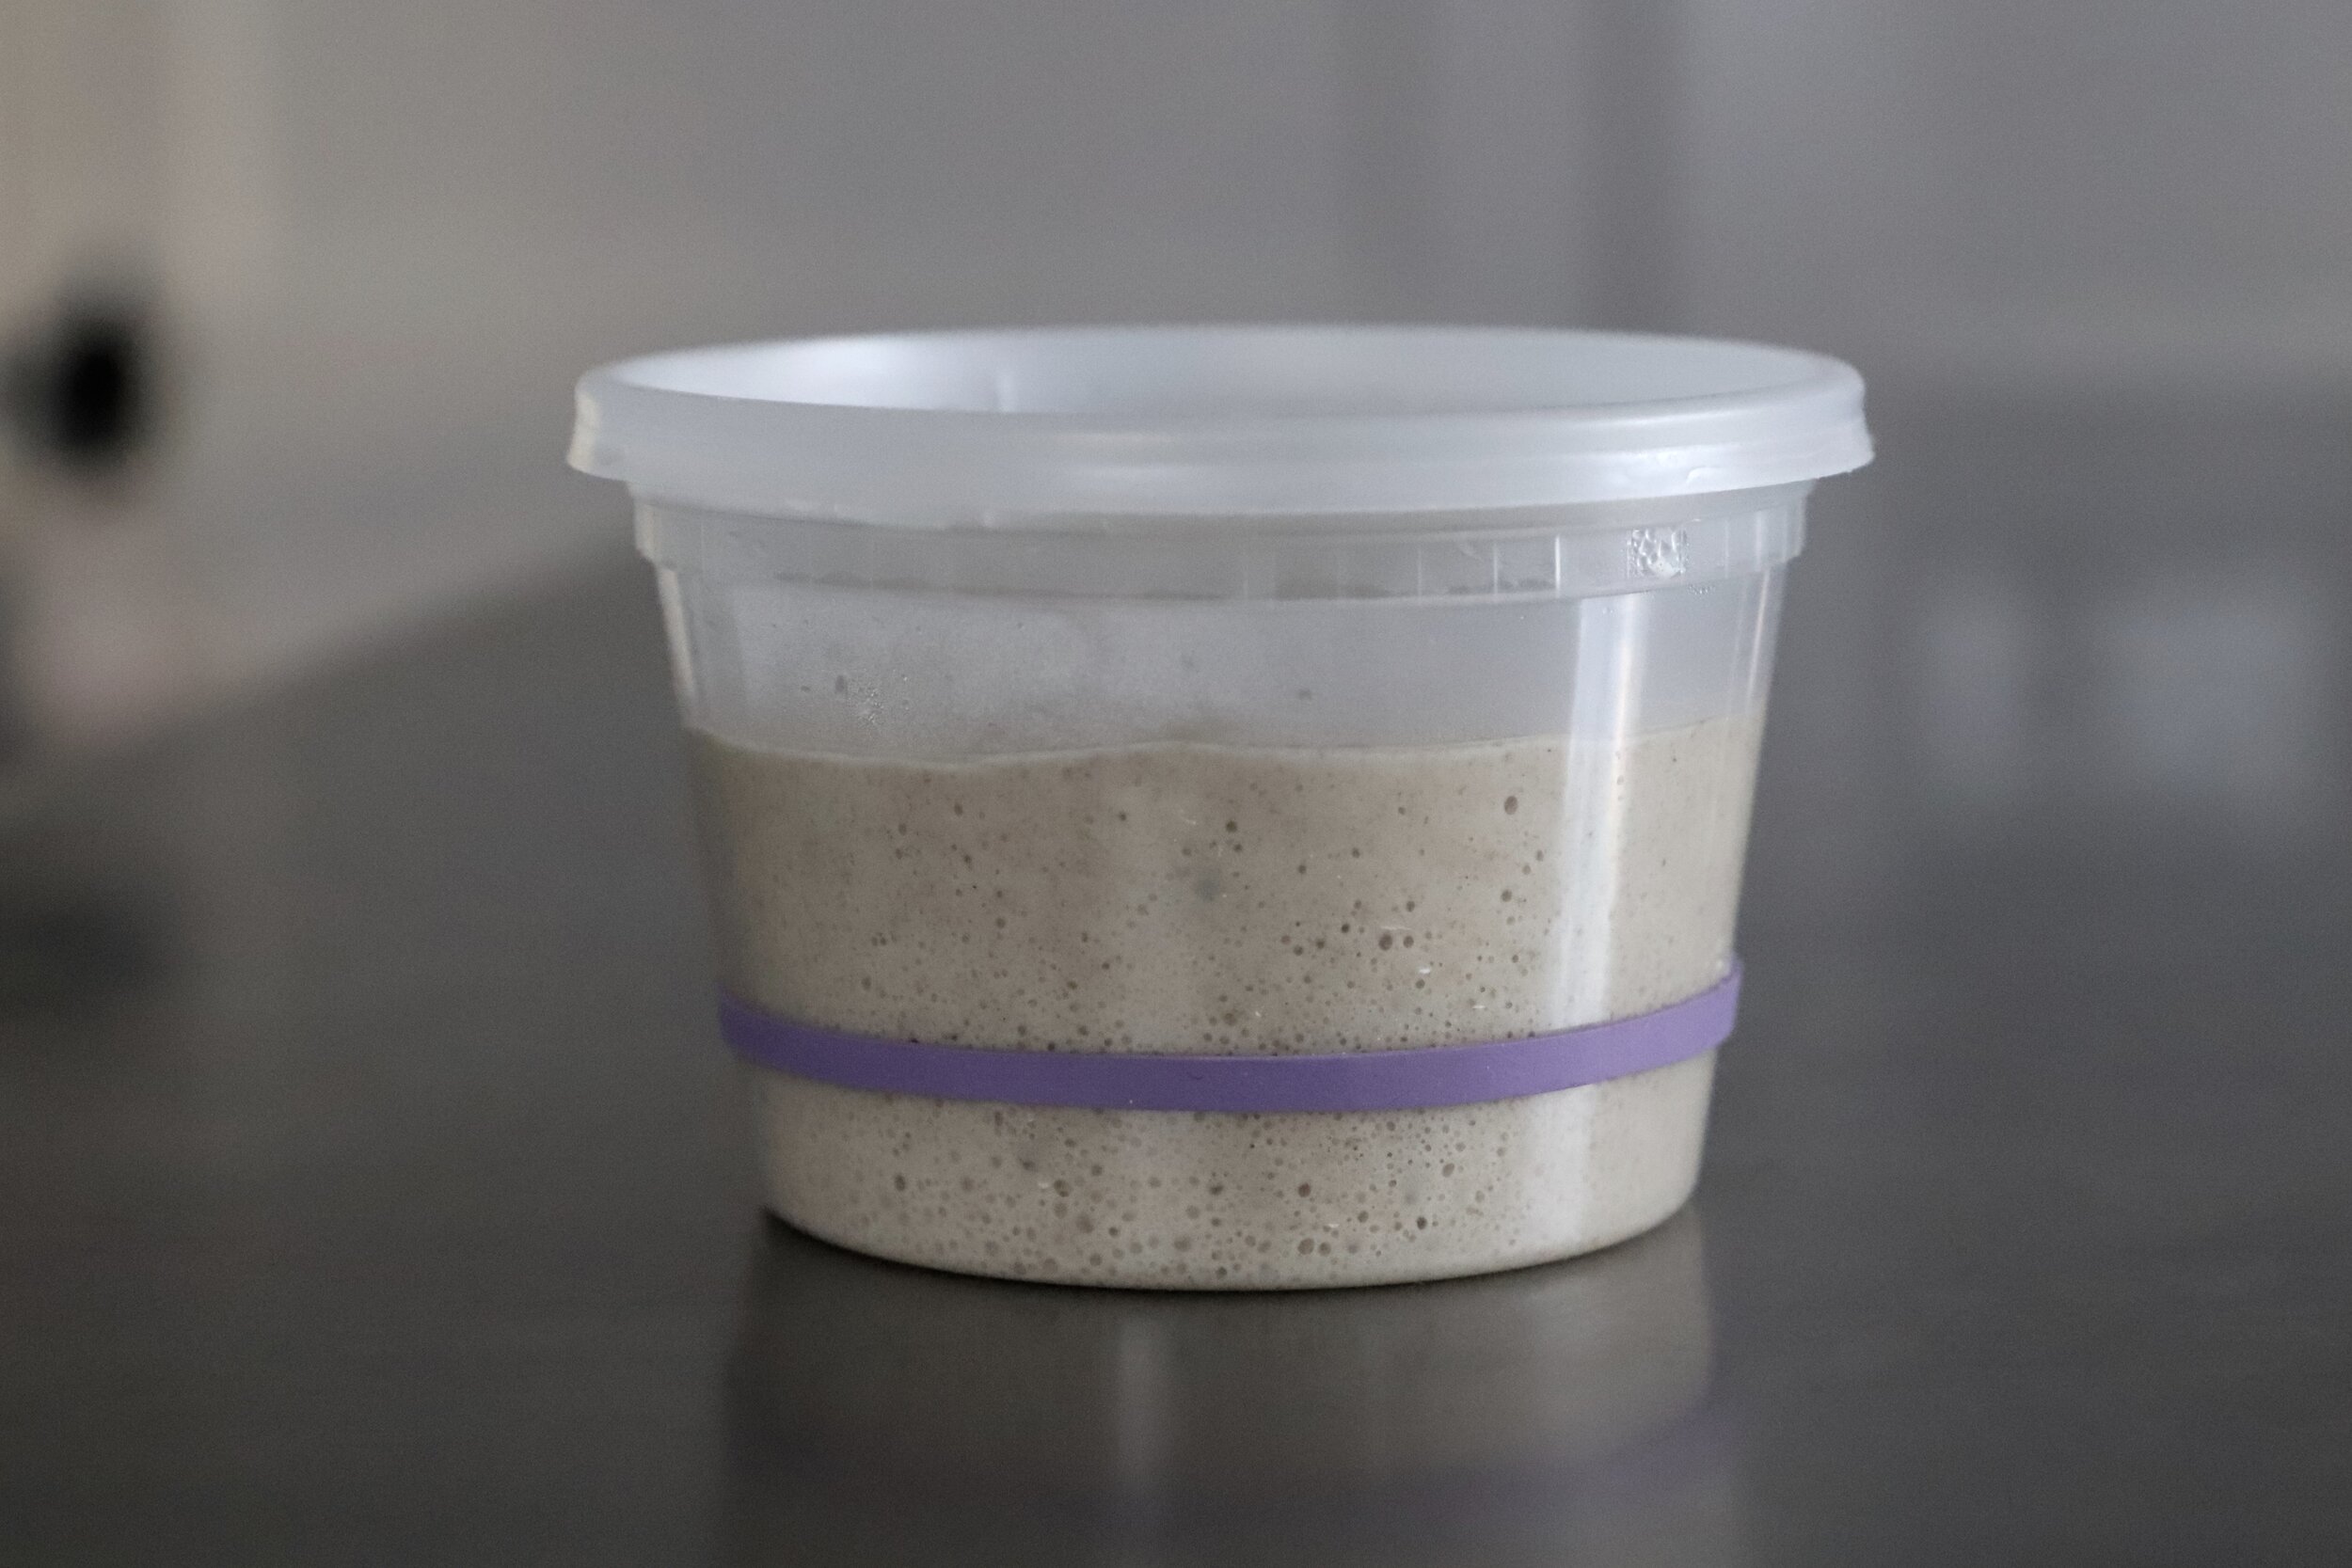
Below left: the starter after mixing on Day 1; below right: the starter after 24 hours, ready for feeding on Day 2. Not much has changed yet.
Day 2:
Not a lot will change from Day 1 to Day 2, but take note of anything you see and write it down. There may be a few bubbles, and it may smell a little funky - that’s OK.
Ingredients:
Clean, clear sided vessel with a lid
50g of the flour mix (or 25g AP and 25g rye)
50g water
Process: Get a new, clean container ready. Transfer 50g of your starter into the new container and feed it 50g of water and 50g of the flour mix. Mix to combine very well, and then cover the container. Place it in the warmest spot of your kitchen that you can find and leave it for 24 hours. Throw away the remaining mix from your initial container (do NOT start saving discard until the starter has reached full maturity, about a week later).
Below left: feeding the starter on Day 2; below right: the starter 24 hours later on Day 3.
Day 3:
Day 2 into Day 3 is often very exciting. You might see rapid growth - but don’t be fooled. This period of time is when ALL the yeasts and bacteria (good and bad) are waging a battle. You must wait until all the good stuff wins. It will smell very, very funky at this point. Again, that is OK. If you see mold (black or pink) those should be red flags to stop. Otherwise, forge ahead!
Ingredients:
Clean, clear sided vessel with a lid
50g of the flour mix (or 25g AP and 25g rye)
50g water
Process: Get a clean container ready. Transfer 50g of your starter into the new container and feed it 50g of water and 50g of the flour mix. Mix to combine very well.
At this point, it can also help to wipe down the inside of the container walls so you have a very clear view above the starter. I do this by wetting my finger and cleaning off the excess that spread on the walls while you were mixing. Put a rubber band around the area where the starter is so you can monitor growth. Cover the container and place it in the warmest spot of your kitchen that you can find and leave it for 24 hours. Throw away the remaining mix from the other container (do NOT start saving discard until the starter has reached full maturity, about a week later).
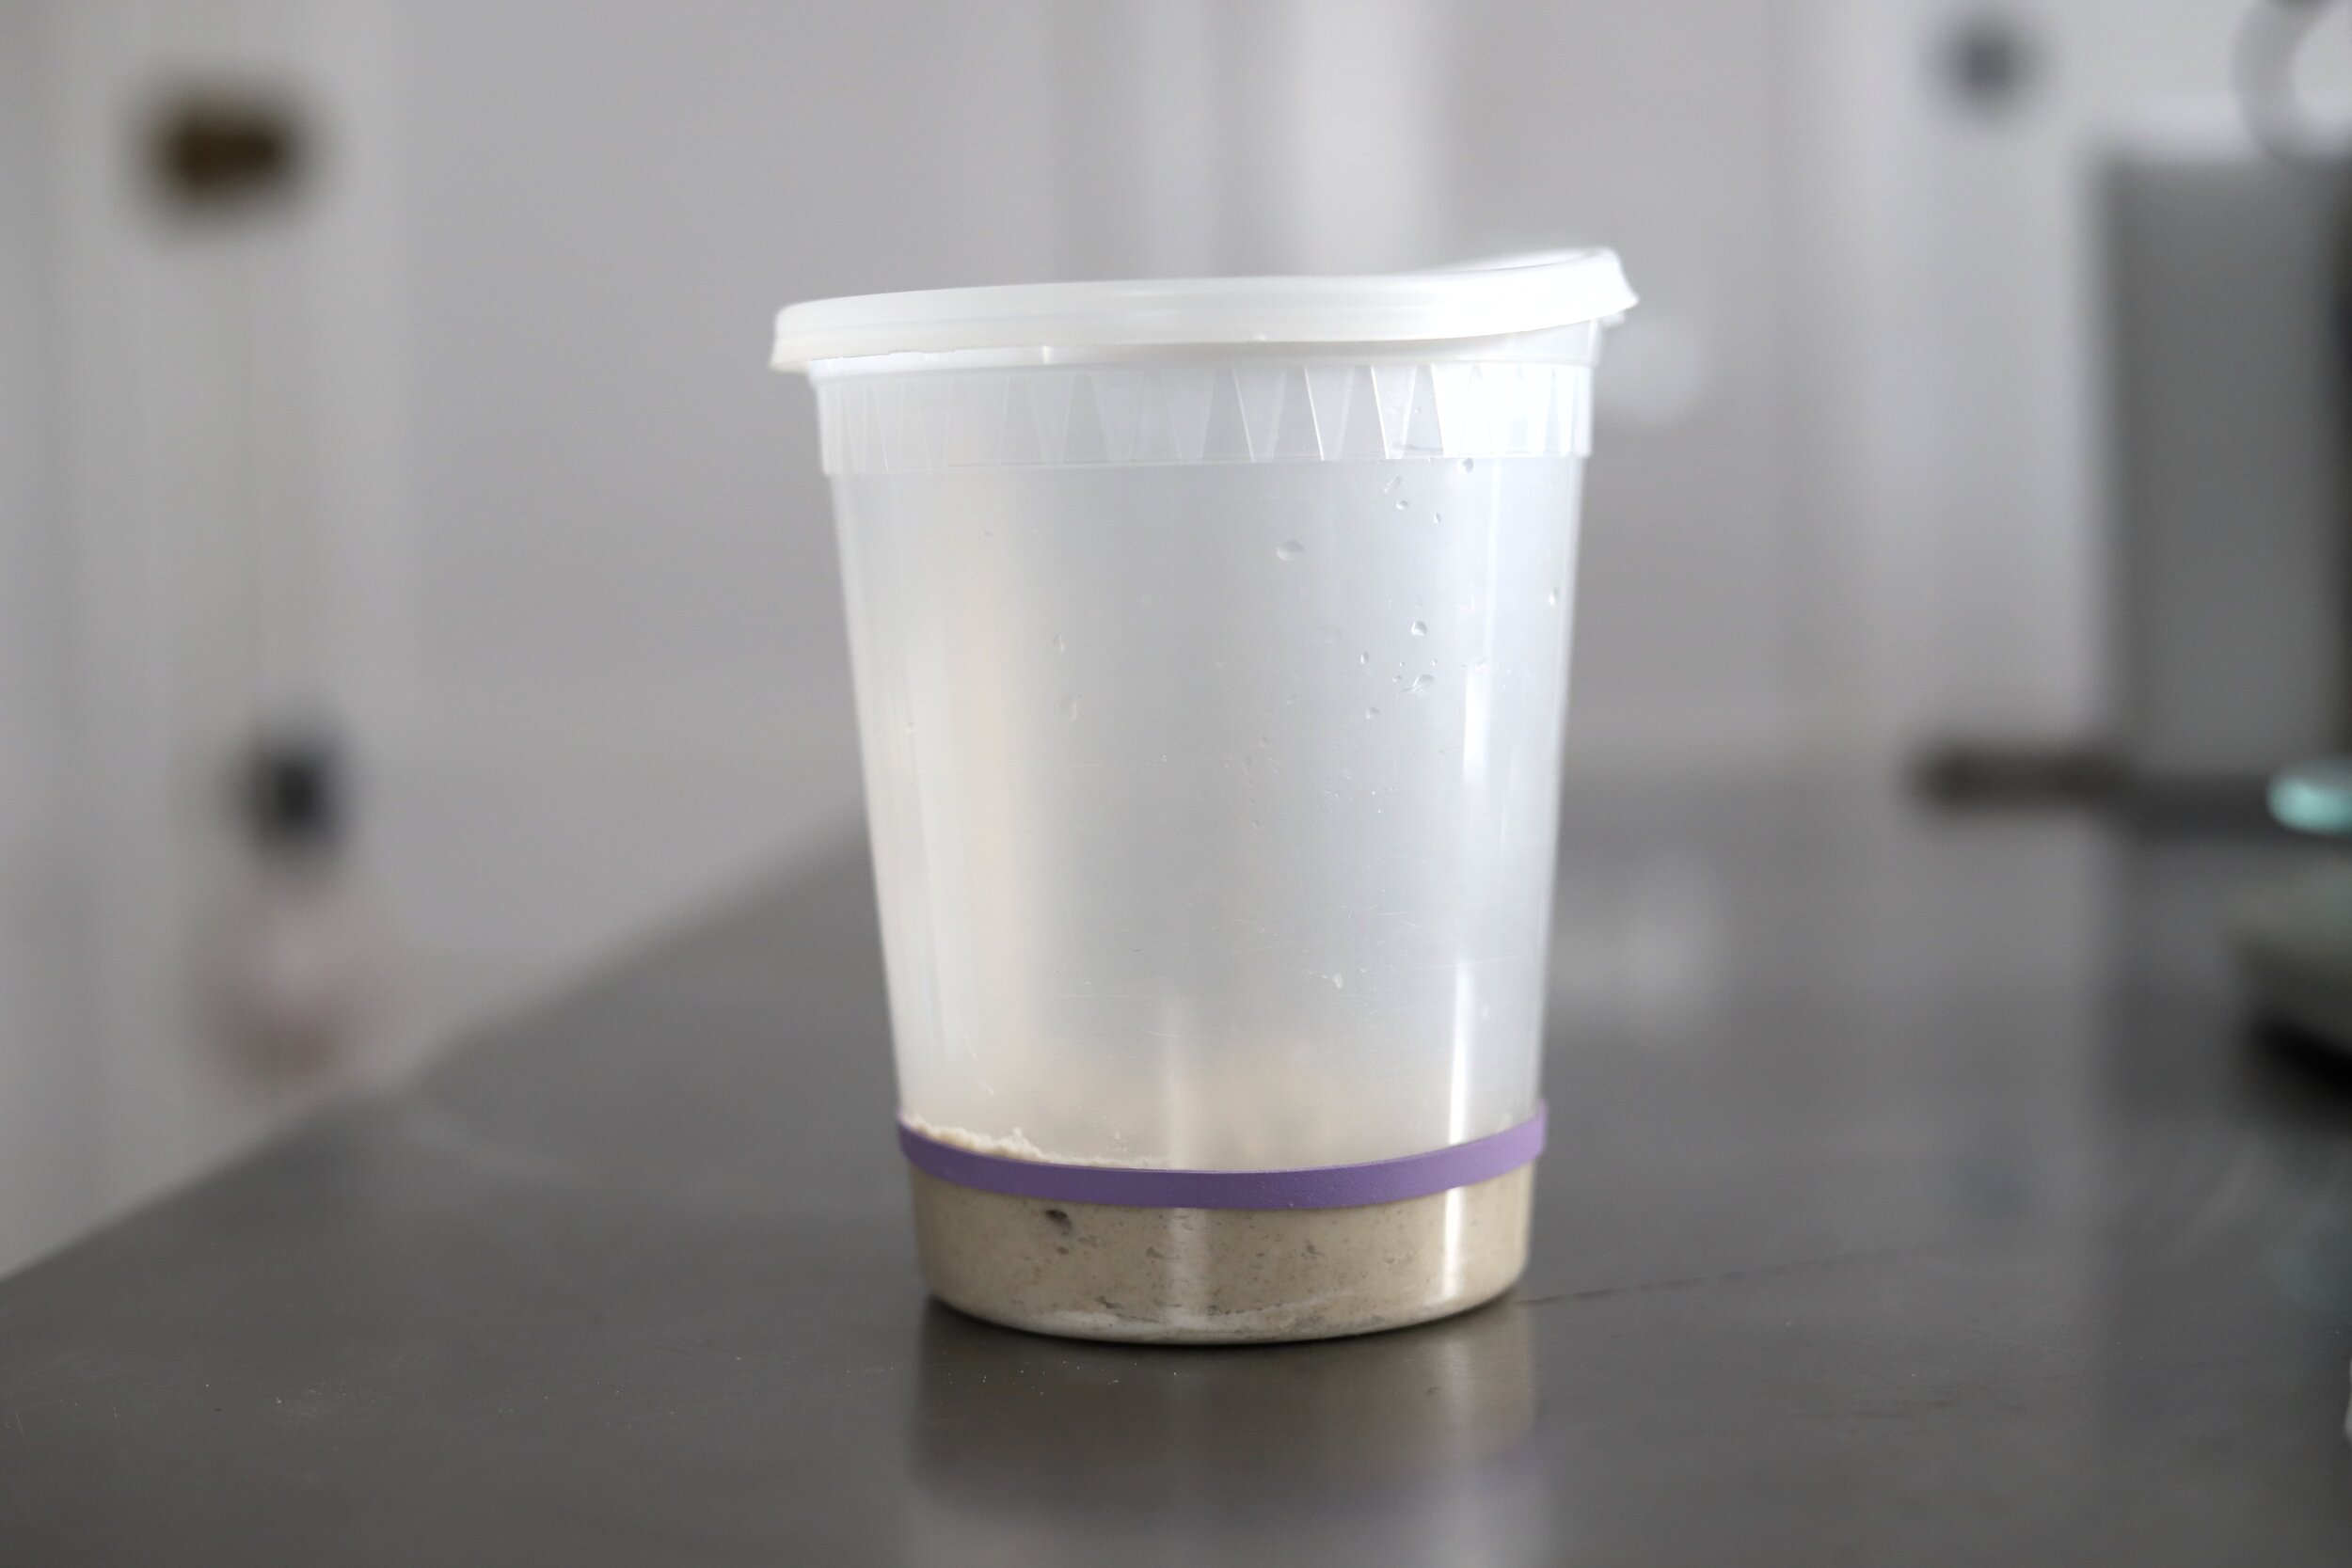
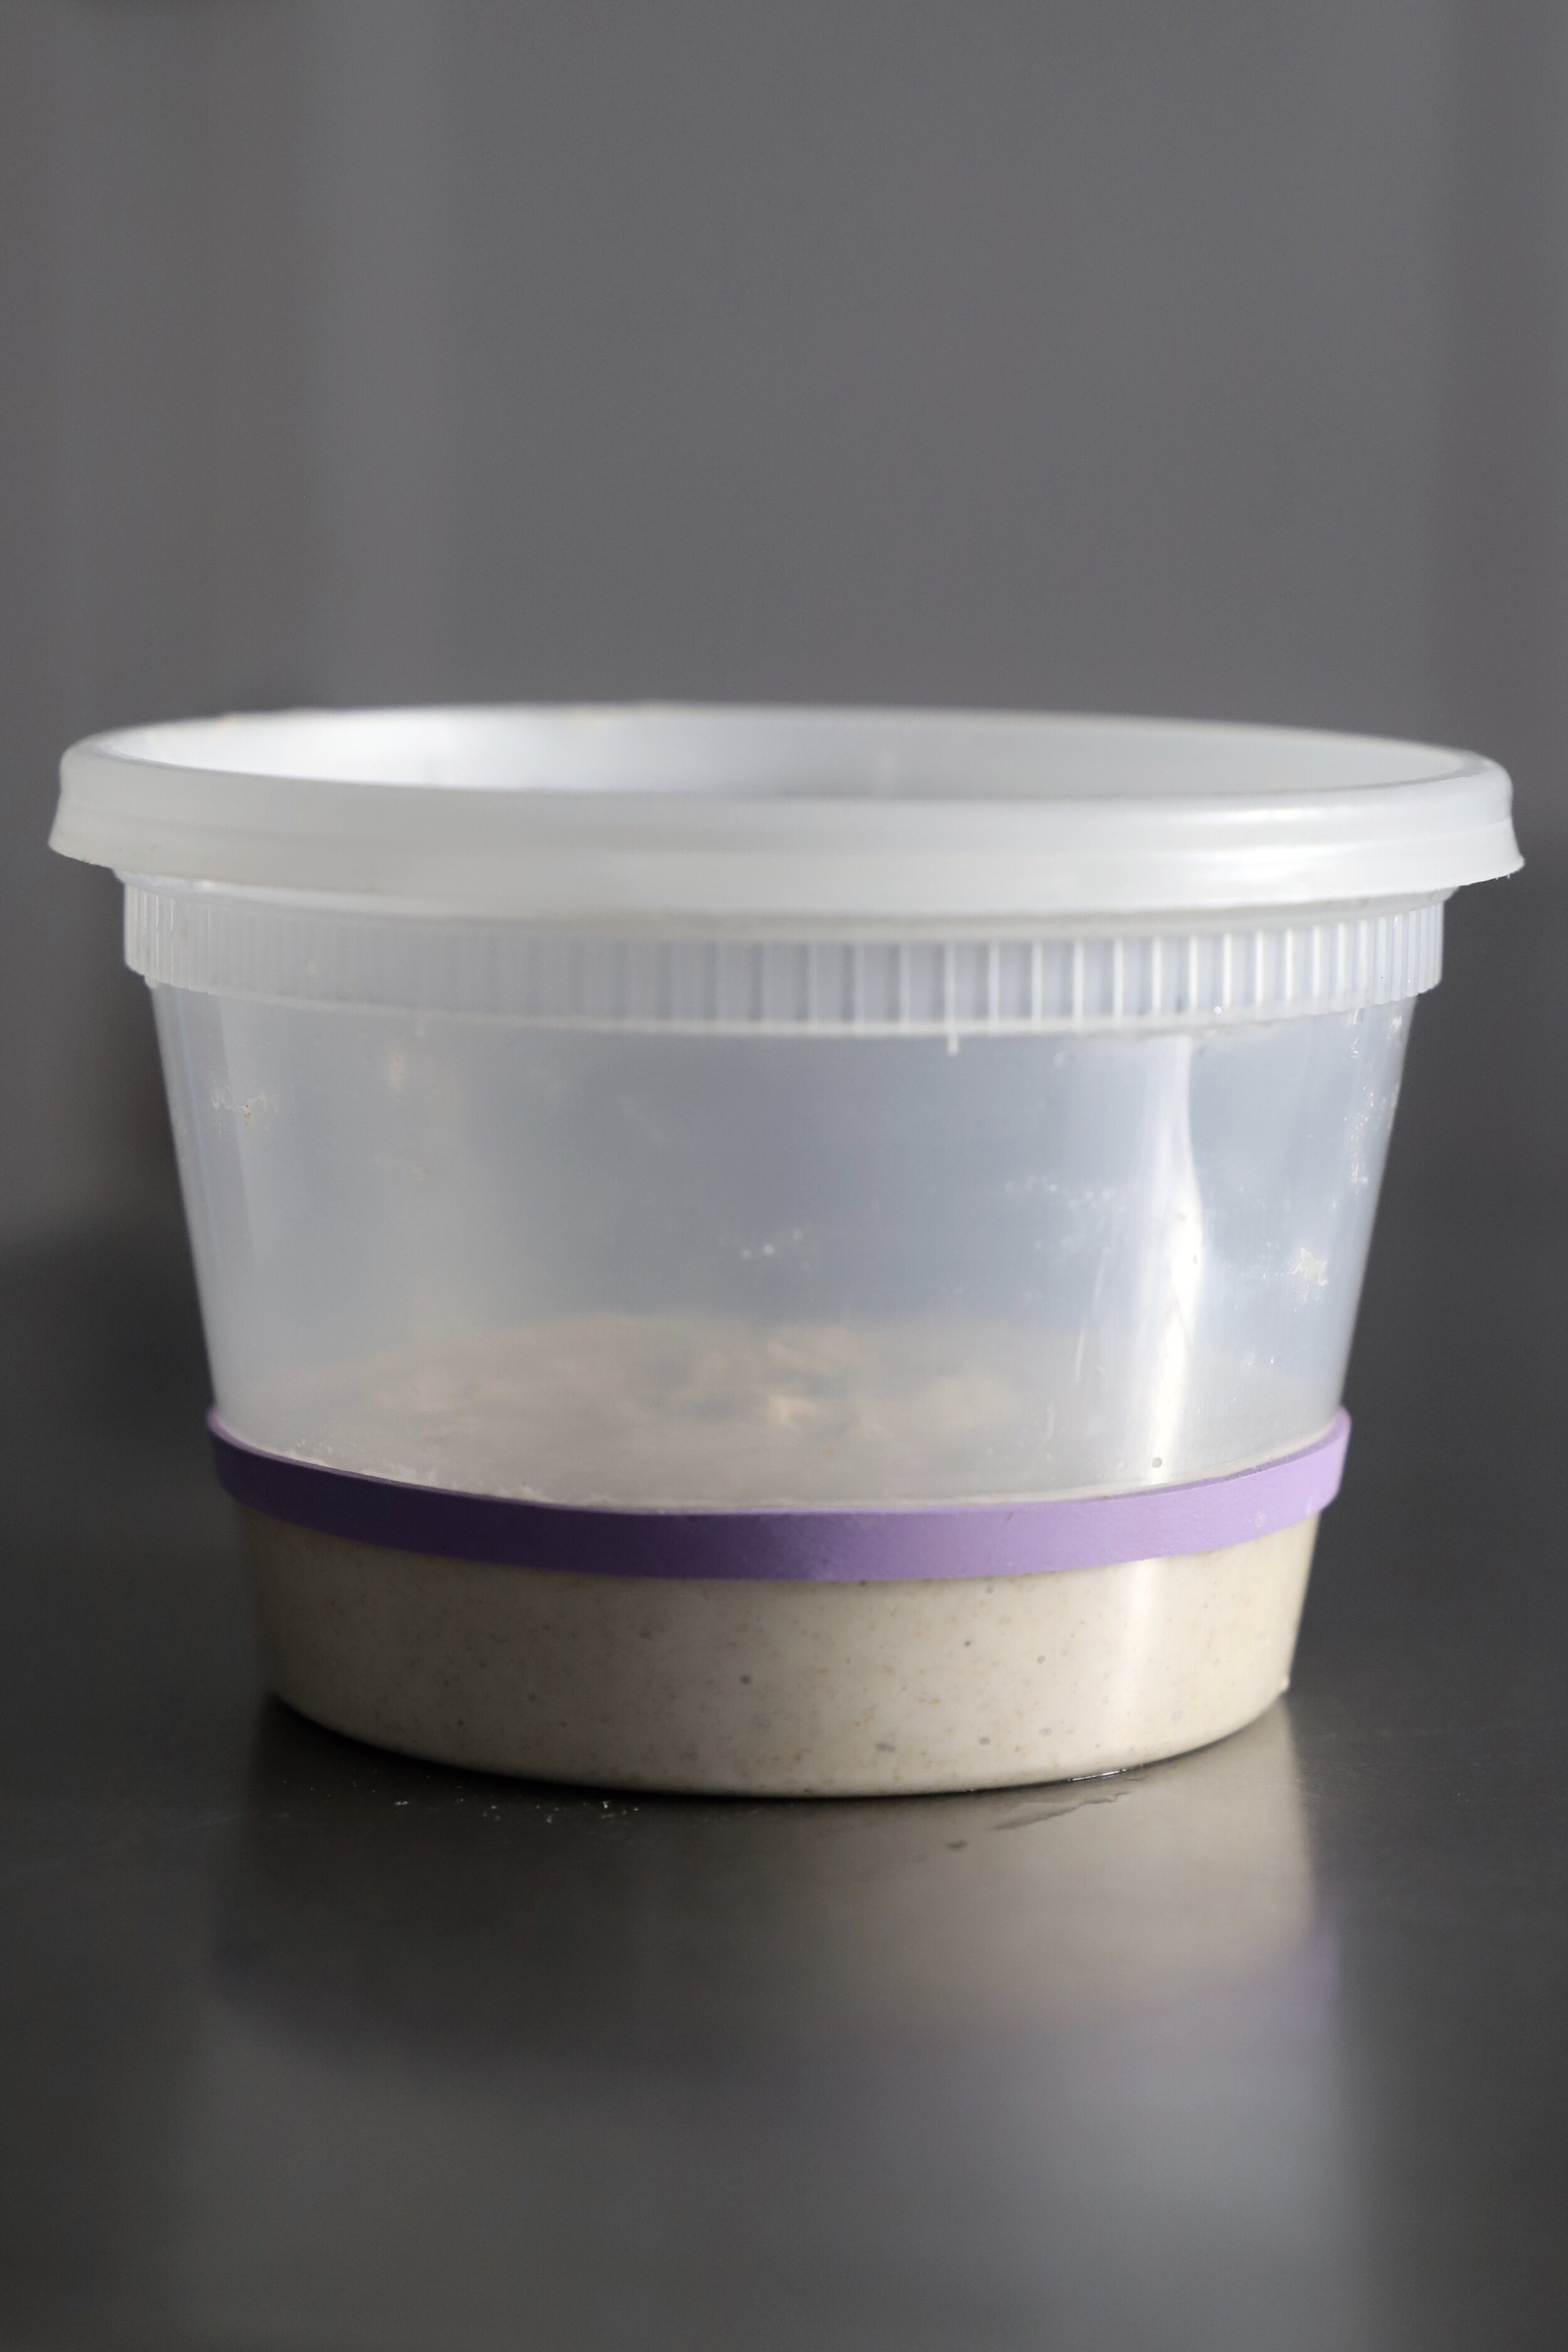
Below left: after feeding the starter on Day 3, adding the rubber band and leaving the cover cracked open just a bit; below right: the starter 24 hours later on Day 4. Very small growth (above the rubber band).
Day 4:
From Day 3 into Day 4 you may only notice a small bit of growth. That is OK and totally normal. In fact, you can expect the next couple days to look like this. The good yeasts and bacterias are starting to win, but they haven’t fully settled into their new home yet.
Ingredients:
Clean, clear sided vessel with a lid
50g of the flour mix (or 25g AP and 25g rye)
50g water
Process: Get a clean container ready. Transfer 50g of your starter into the new container and feed it 50g of water and 50g of the flour mix. Mix to combine very well. Wipe down the inside walls if you’d like, and add the rubber band. Continue to throw away the remaining mix from the other container.
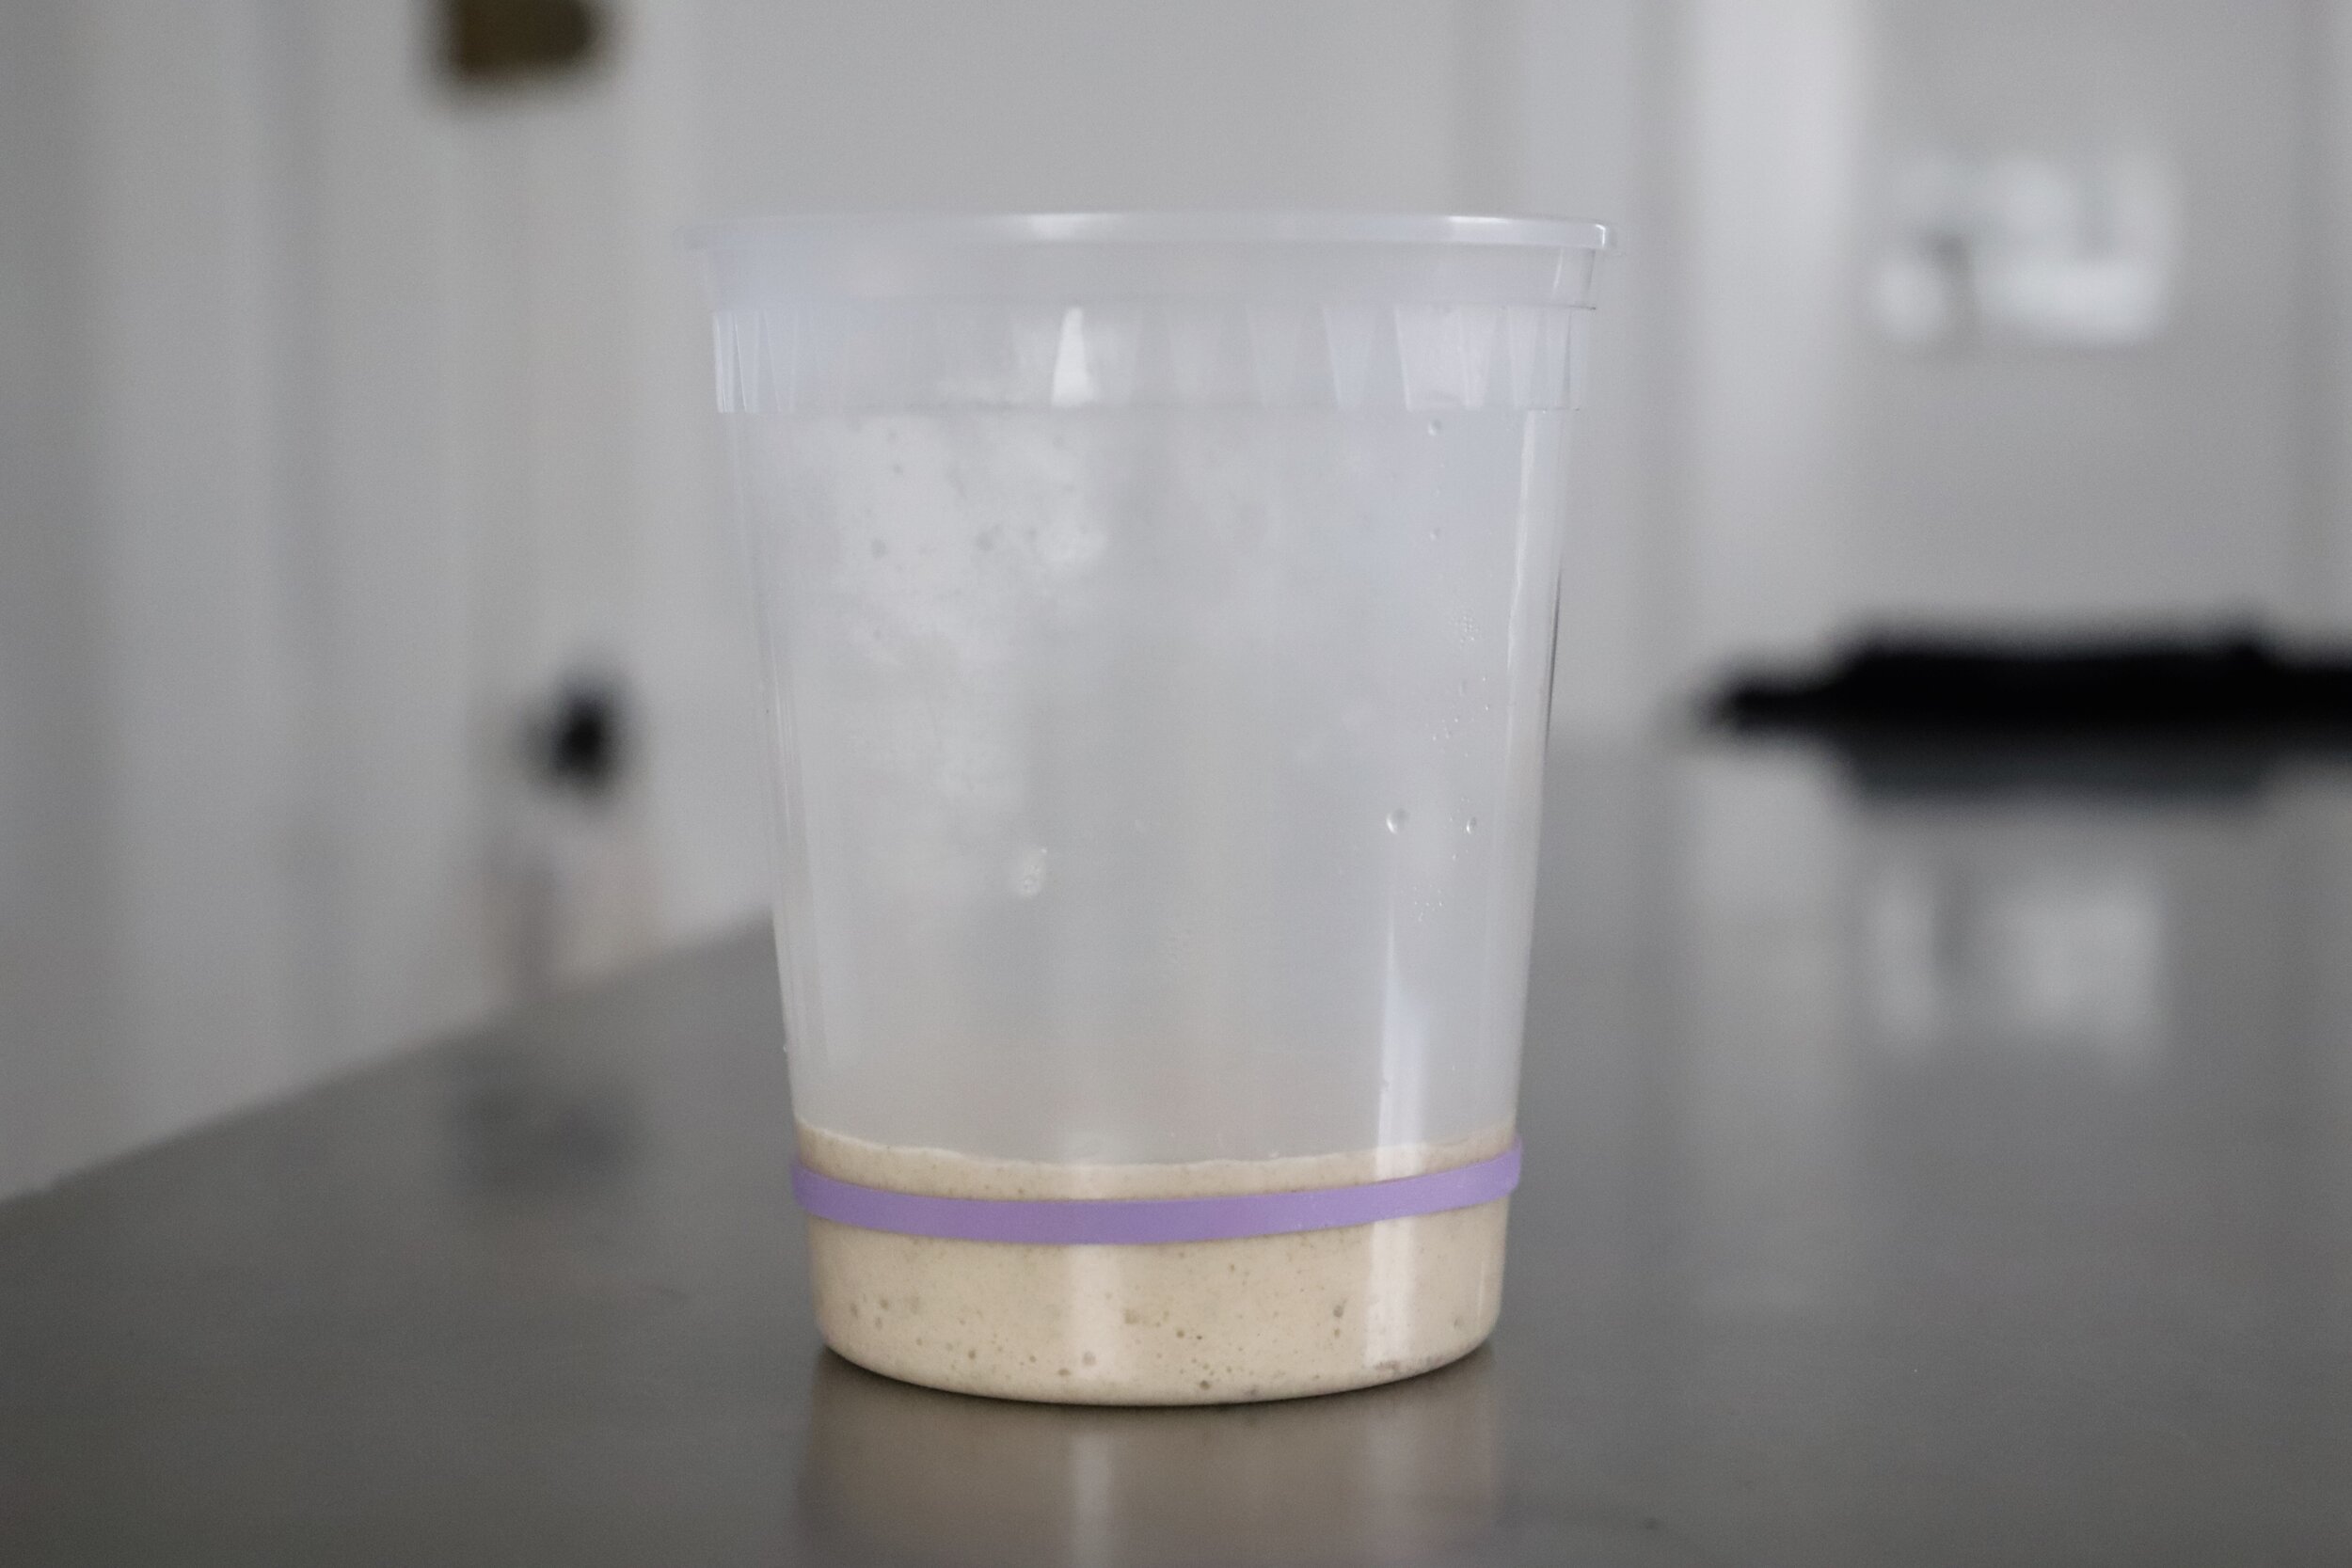
Below left: after feeding the starter on Day 4, adding the rubber band and leaving the top cracked (which I eventually sealed shut because this top has a small hole in the top for air flow); below right: the starter 24 hours later on Day 5. Very small growth (above the rubber band).
Day 5:
From Day 4 into Day 5 you may only notice a small bit of growth once again. That is OK and totally normal. Keep at it! What’s important is that you’re noticing SOME changes.
Ingredients:
Clean, clear sided vessel with a lid
50g of the flour mix (or 25g AP and 25g rye)
50g water
Process: Get a clean container ready. Transfer 50g of your starter into the new container and feed it 50g of water and 50g of the flour mix. Mix to combine very well. Wipe down the inside walls if you’d like, and add the rubber band. Continue to throw away the remaining mix from the other container.
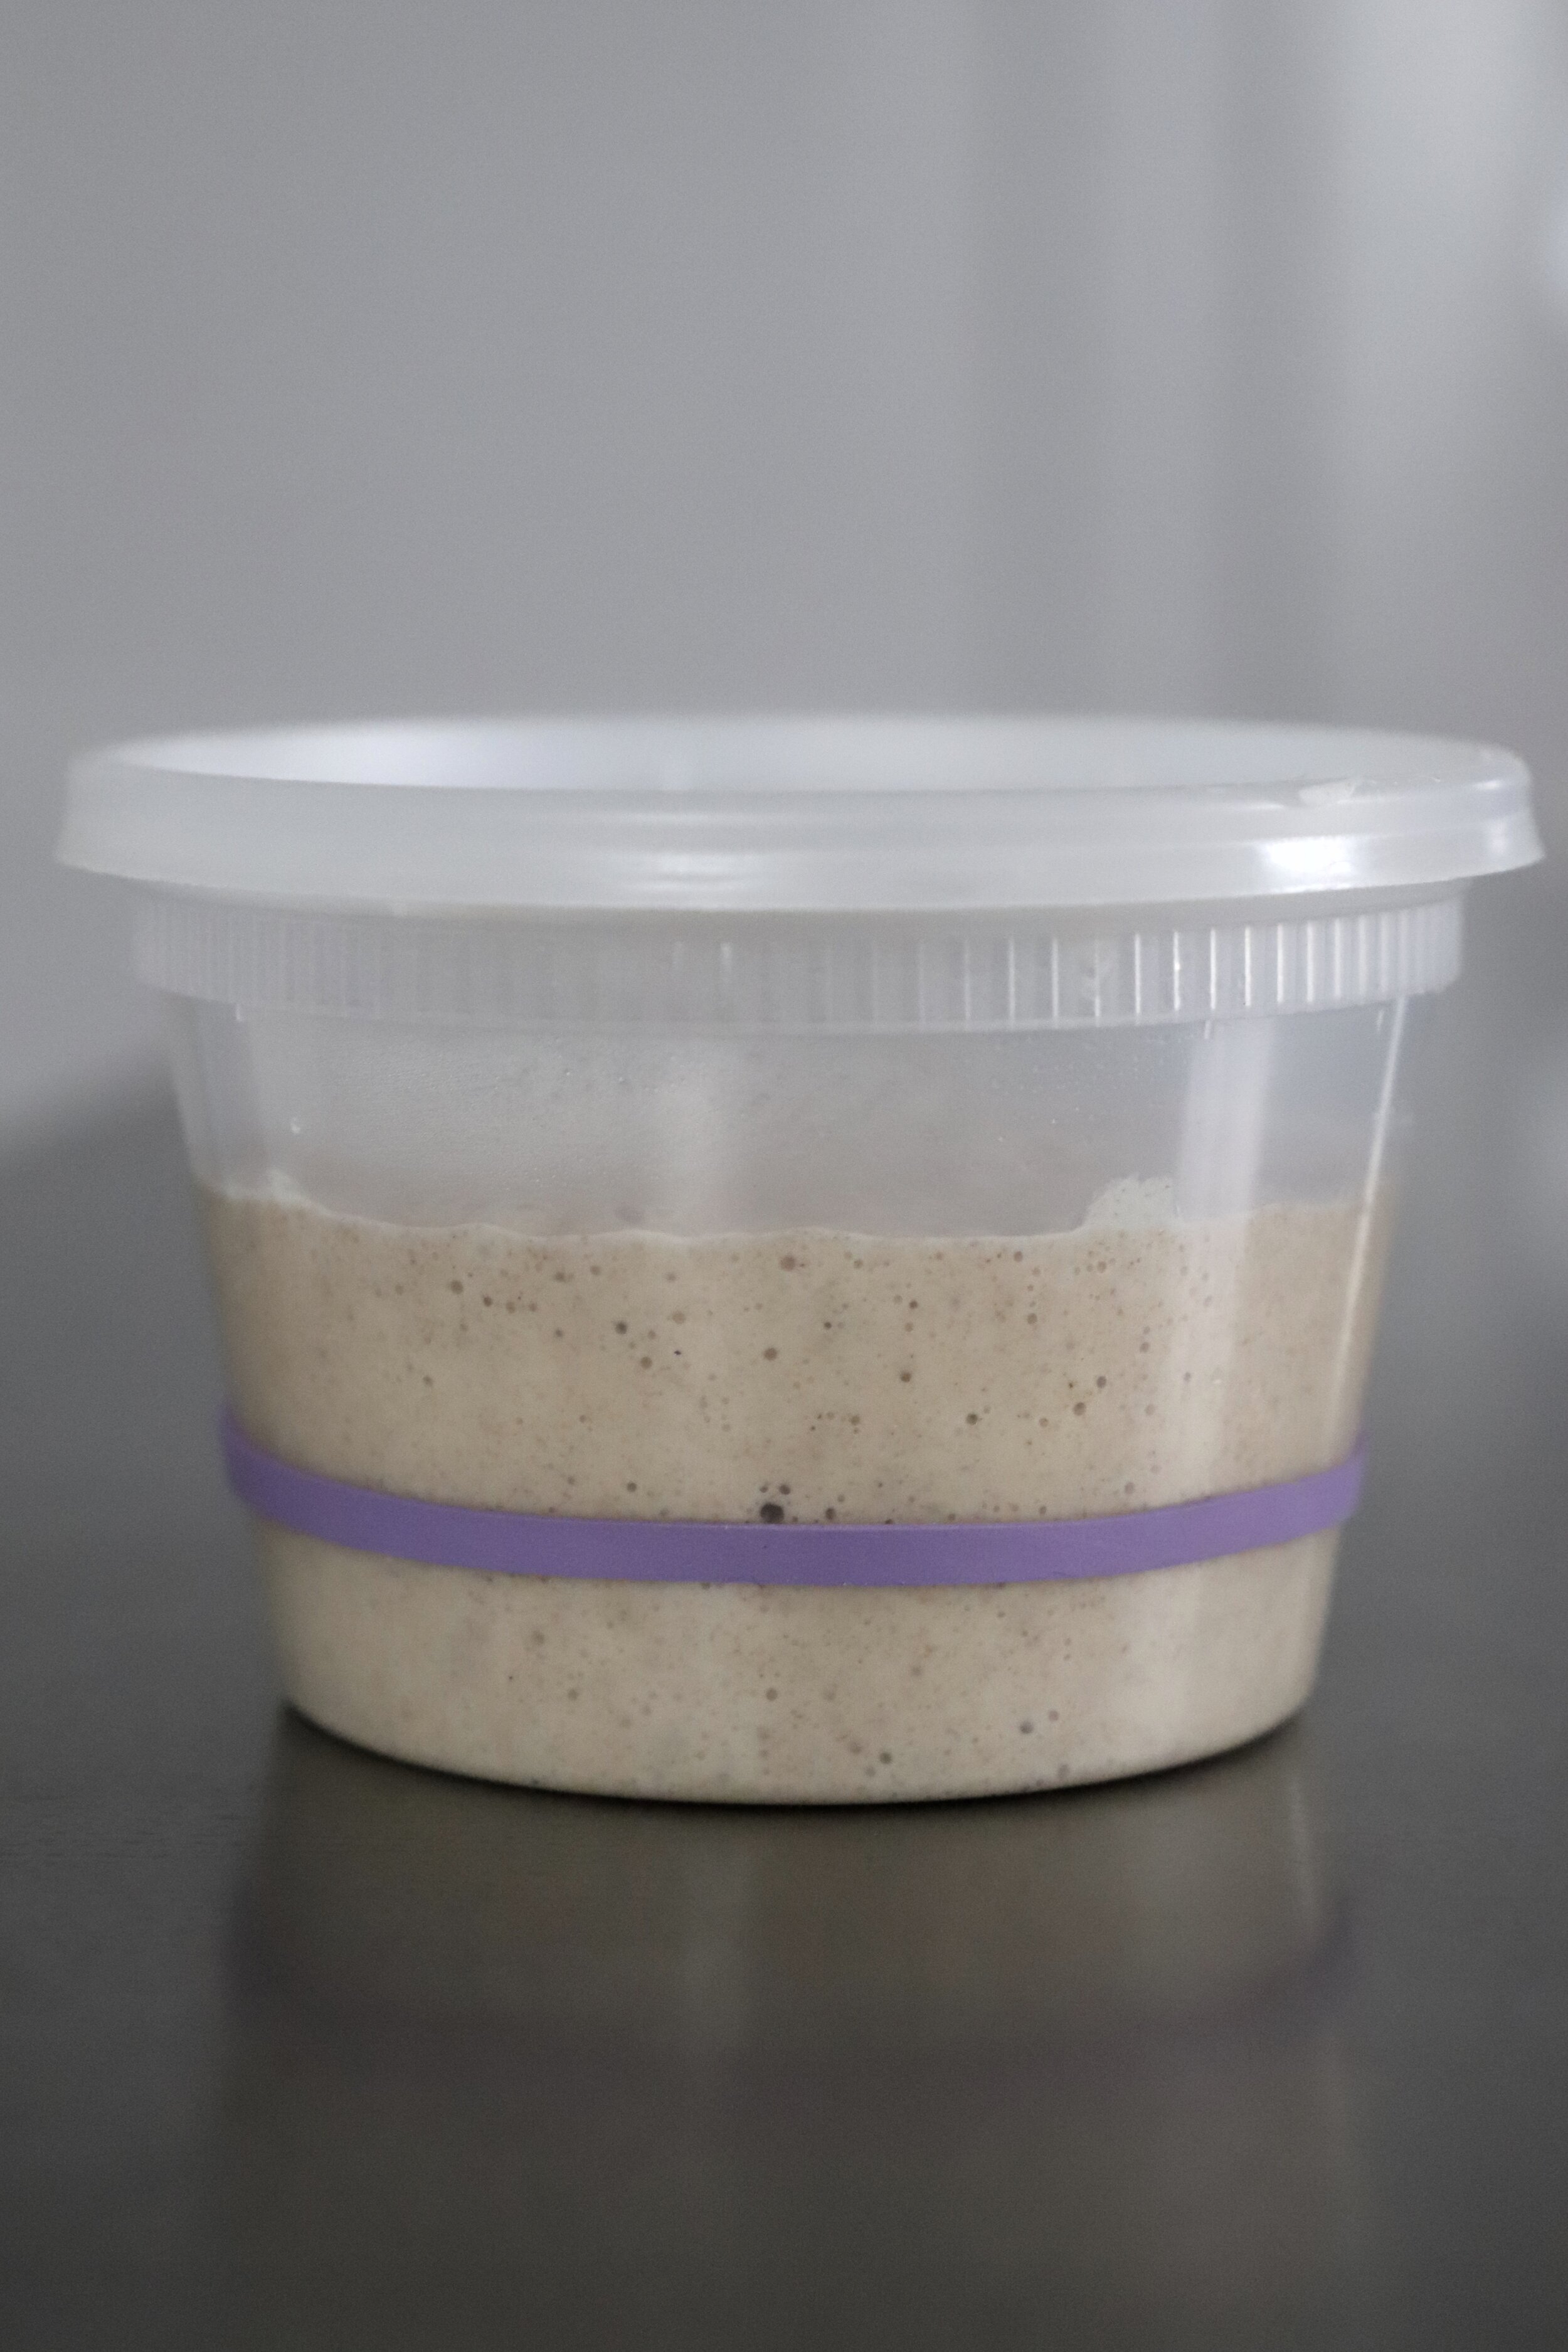
Below left: after feeding the starter on Day 5 and adding the rubber band; below right: the starter 24 hours later on Day 6. Major growth! The cover in this case has a small hole poked on top for air flow.
Day 6:
From Day 5 into Day 6 I had MAJOR growth! Whenever this happens to you, you will feel giddy, elated, and fully hooked on sourdough. Note that this might not be on Day 6 for you. It could happen sooner, or it could happen later. Just keep at it!
Ingredients:
Clean, clear sided vessel with a lid
50g of the flour mix (or 25g AP and 25g rye)
50g water
Process: Get a clean container ready. Transfer 50g of your starter into the new container and feed it 50g of water and 50g of the flour mix. Mix to combine very well. Wipe down the inside walls if you’d like, and add the rubber band. Continue to throw away the remaining mix from the other container.

Above: the inside/top of my starter on Day 6 prior to feeding.
Day 7:
Once your starter has doubled in size somewhere around a week after you started it, it should smell yeasty and potentially slightly fruity. The smell should not make you recoil as it did on Day 3. At this point, I suggest continuing to feed and discard another couple of days to make sure your starter is consistently doubling in size.
Ingredients:
Clean, clear sided vessel with a lid
50g of the flour mix (or 25g AP and 25g rye)
50g water
Process: Get a clean container ready. Transfer 50g of your starter into the new container and feed it 50g of water and 50g of the flour mix. Mix to combine very well. Wipe down the inside walls if you’d like, and add the rubber band. You may now start saving discard in a separate container in the fridge! See the Discard section of my website for ideas on how to use it.
Below left: after feeding the starter on Day 7 at around 12pm. Below right: four hours later on Day 7, the starter has more than doubled in size in just four hours! Again, the cover here has a small hole poked on top for air flow.
Day 8 and Beyond:
For me, this particular starter reached maturity in about 7 days. Again, depending on where you live, the time of year, temperature and humidity in your kitchen, the type of flours you use, etc. will all contribute to your timeline. Sourdough is a slow process, so enjoy the journey and practice some patience along the way :) At this point you MUST also name your stater. I have two starters. My older one is named Sebastian, and the younger one (born in the above blog post) is named Earnest.
Now what?
You can start baking with your starter at this point, or you can continue to feed it once a day in this same regimen. If you don’t think you’ll be baking with it frequently, you can place it into the fridge and feed it once/week. For a brand new starter, I recommend keeping it at room temperature and feeding it daily or even twice a day.
When to use a starter, and knowing how much to use:
Note that depending on what recipe you follow, you may need more or less starter. Most of my recipes call for between 50 and 100g of starter. Others out there in the world may call for more or less. Pay attention to that and keep in mind that you must wait for your starter to double in size before you bake with it. The more bubbly the better.
If you try to use a starter that has doubled and then sank back down significantly, it will still work, but it may impact the final rise and fermentation of your loaf.
What should you make first?
I recommend starting with an easy sourdough focaccia. You likely already have the necessary tools and ingredients on hand.
For a sourdough loaf you’ll need a few (potentially new) things: a dutch oven pot, a resting basket (banneton), linens or tea towels, a scoring tool, and a proofing container. Many normal kitchen items can double as sourdough tools, though. A colander works fine as a “resting basket” as long as you line it with a clean linen coated in flour (ideally rice flour!). Scissors or a sharp knife will work just fine for scoring in the beginning. And a large mixing bowl covered with plastic wrap can work as your proofing vessel.
Above all, enjoy the journey! Don’t hesitate to reach out if you have questions, and please share your starters and other creations with me on Instagram by tagging @nokneadtoworry :)